
Are you ready to transform your space with large wall stickers but unsure how to hang them perfectly? You’re not alone—getting those big designs up without bubbles, wrinkles, or mistakes can feel tricky.
But don’t worry, with the right steps, you can achieve a smooth, stunning look that grabs attention and brings your walls to life. Keep reading, and you’ll discover simple tips and tricks that make the whole process easy and even enjoyable.
Your walls are about to become your favorite part of the room!

Credit: wmdesignhouse.com
Choosing The Right Wall Sticker
Choosing the right wall sticker sets the foundation for a beautiful and lasting decoration. It impacts how easy the sticker is to apply and how it looks on your wall. Consider several factors before picking a large wall sticker to ensure it fits your space perfectly.
Material Types
Wall stickers come in various materials. Vinyl is popular because it is durable and easy to clean. Fabric stickers offer a matte finish and can be repositioned without damage. Paper stickers are less durable and best for short-term use. Choose a material that matches your wall’s texture and the room’s humidity.
Size And Placement
Measure the wall space where you plan to hang the sticker. Large stickers need enough room to avoid crowding other decorations. Consider the height and width carefully. Visualize how the sticker will look from different angles. Placement affects the room’s balance and style.
Design Selection
Pick a design that fits your room’s theme and mood. Bold patterns work well in simple rooms. Soft, subtle designs suit calm and cozy spaces. Think about colors that match your furniture and wall paint. Choose a design that you will enjoy for a long time.
Preparing The Wall Surface
Preparing the wall surface is a crucial step before hanging large wall stickers. The right preparation ensures your sticker adheres well and lasts long without peeling or bubbling. Taking a little extra time here saves you from frustration later.
Cleaning Techniques
Start by removing any dust, dirt, or grease from the wall. Use a mild soap solution and a soft cloth to wipe the area gently. Avoid harsh chemicals that might damage the paint or leave residue behind.
After cleaning, rinse with plain water and dry the surface thoroughly with a lint-free cloth. Even a small amount of moisture can reduce the sticker’s stickiness. Have you ever tried sticking something on a dusty wall? It rarely sticks well, right? That’s why cleaning is non-negotiable.
Surface Smoothness
Check the wall for bumps, cracks, or peeling paint. A smooth surface is key for your sticker to lay flat and look flawless. Use fine sandpaper to lightly smooth out rough patches or flaking paint.
If your wall has holes or dents, fill them with a lightweight filler and sand it down once dry. Uneven surfaces cause bubbles and wrinkles under the sticker, which are hard to fix later. Think about it—would you want a giant sticker on your wall looking uneven and messy?
Avoiding Common Mistakes
One common mistake is trying to apply stickers on freshly painted walls. Paint needs at least two weeks to cure properly; otherwise, your sticker might peel off prematurely. Patience here pays off.
Another error is skipping the cleaning step or using oily cloths, which leave residues that prevent adhesion. Also, avoid applying stickers to textured or wallpapered surfaces unless specified by the manufacturer.
Have you ever rushed to hang a sticker only to see it peel off in days? Avoid that by preparing your wall carefully. Your effort will show in a perfectly applied, long-lasting wall sticker.
Tools You Will Need
A clean, smooth surface is essential for hanging large wall stickers. Gather a squeegee, measuring tape, and a level for precise placement and smooth application.
Hanging large wall stickers requires the right tools for a smooth process. The right tools ensure your stickers stay secure and look great. Below, we break down the essential items and optional accessories you’ll need.Essential Items
- Measuring Tape:For accurate placement and alignment.
- Pencil:To mark the wall lightly for positioning.
- Level:Ensures stickers are straight.
- Cleaning Cloth:To remove dust or dirt from the wall.
- Application Squeegee:Smooths out bubbles and creases.
Optional Accessories
- Step Stool:Helpful for reaching high spots on the wall.
- Masking Tape:Temporarily holds the sticker in place.
- Craft Knife:Trims any excess sticker edges.
- Hairdryer:Gently warms stubborn stickers for easier application.
- Spray Bottle:Mists water for easy repositioning, if needed.
Step-by-step Hanging Process
Hanging large wall stickers can transform your space instantly, but the process needs some patience and precision. Taking it step-by-step makes the task manageable and ensures a smooth, bubble-free finish. Let’s break down the key actions that will help your wall sticker look perfect.
Measuring And Marking
Start by measuring the area where you want to place the sticker. Use a tape measure to find the exact height and width, then mark the corners lightly with a pencil or painter’s tape.
Double-check your marks by stepping back and visualizing the final look. Are the marks level and centered? Small adjustments now save big headaches later.
Peeling And Aligning
Carefully peel the backing paper off the sticker, exposing the adhesive side. Try peeling a small section first to avoid the entire sticker sticking to itself.
Hold the sticker close to the wall and align it with your marks. If you’re working with a multi-piece design, align each piece as you go to maintain proper spacing.
Applying The Sticker
Press the sticker gently onto the wall starting from one edge. Use a squeegee or a credit card wrapped in cloth to press down firmly and evenly.
Work your way across the sticker, applying steady pressure to ensure full adhesion. Avoid rushing—smooth application prevents future peeling.
Smoothing Out Air Bubbles
Air bubbles are common but easy to fix. Use your squeegee to push bubbles toward the edges of the sticker, applying firm, consistent pressure.
If bubbles persist, gently lift the affected area and reapply. For tiny bubbles that remain, a pin can be used to prick and release trapped air without damaging the sticker.
Tips For Large And Complex Designs
Hanging large and complex wall stickers can feel overwhelming at first. But with the right approach, you can achieve a smooth, professional look without stress. Focus on careful preparation and patience, and you’ll see how manageable the process becomes.
Using Transfer Paper
Transfer paper is your best friend for large designs. It helps keep the sticker in place and aligned while you move it onto the wall.
Start by firmly pressing the transfer paper onto the sticker to ensure it sticks well. This prevents any parts from shifting or tearing when you lift it.
Think about the wall surface too. Is it smooth and clean? Transfer paper works best on a flat, dust-free surface, so clean your wall before you start.
Working With Multiple Pieces
Many large designs come in separate pieces to make application easier. Treat each piece like a mini-project.
Arrange all parts on the floor first, matching the pattern exactly. This lets you see how everything fits and prevents mistakes on the wall.
Apply each piece one at a time. Use a level or measuring tape to keep everything straight and evenly spaced.
Have you ever tried to fix a misaligned sticker? It often leaves marks or tears. Taking your time with each piece avoids this common problem.

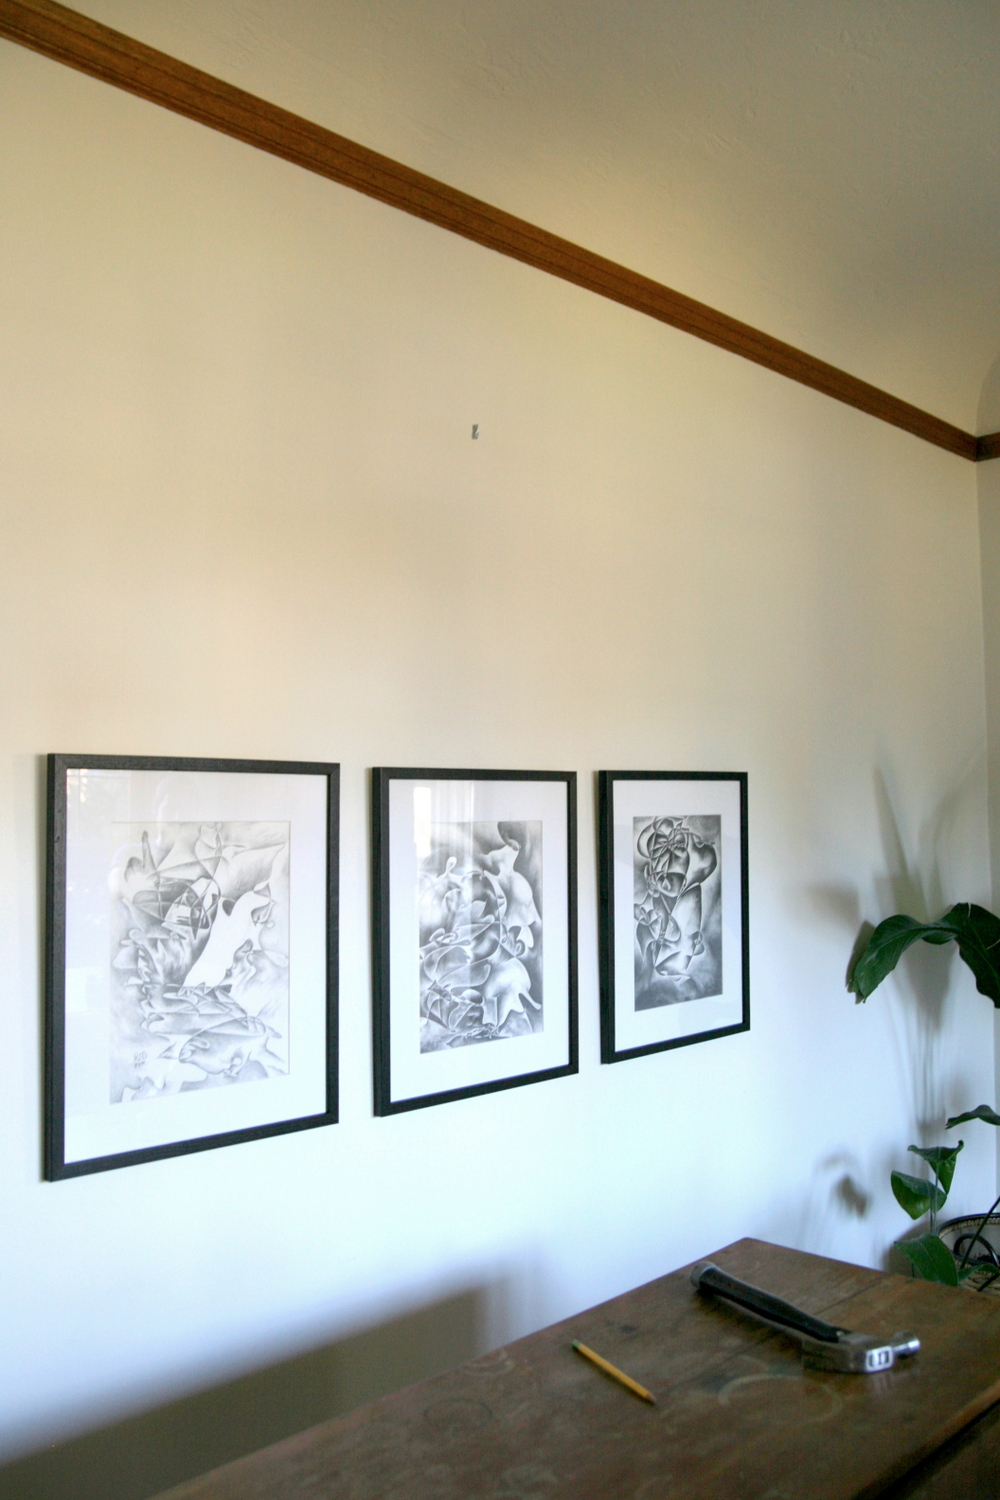
Credit: www.reddit.com
Caring For Your Wall Sticker
Caring for your large wall sticker ensures it stays vibrant and intact for years. Proper maintenance keeps your space looking fresh and protects your investment. Let’s dive into simple ways you can clean and protect your wall sticker effectively.
Cleaning Methods
Start with a soft, dry cloth to remove dust gently. Avoid using harsh chemicals or abrasive sponges that can damage the sticker’s surface.
If you need to clean stains, dampen a cloth slightly with water and mild soap. Test on a small corner first to ensure no discoloration occurs.
Pat the area dry immediately after cleaning to prevent moisture from weakening the adhesive. Have you noticed how a quick wipe can instantly refresh your wall art?
Avoiding Damage
Keep your wall sticker away from direct sunlight to prevent fading. Heat and UV rays can break down the adhesive and dull the colors over time.
Be mindful when moving furniture or hanging objects near the sticker. Even a slight scrape can peel the edges or cause bubbles.
Consider the room’s humidity levels; high moisture areas like bathrooms might reduce sticker lifespan. How often do you check your wall decor for signs of wear?
Troubleshooting Common Issues
Hanging large wall stickers can be a fun way to transform your space, but it’s normal to run into a few bumps along the way. Wrinkles and misplacements often happen, even if you follow all the instructions carefully. Don’t let these issues frustrate you—there are simple fixes to get your stickers looking perfect.
Fixing Wrinkles
Wrinkles can appear if the sticker wasn’t smoothed out properly during application. If you notice small air bubbles or creases, try gently lifting the sticker from the edge closest to the wrinkle. Use a soft cloth or a squeegee to smooth it down again, pushing the air out toward the edges.
Sometimes, heating the sticker slightly with a hairdryer makes the adhesive more flexible. This helps flatten wrinkles without damaging the design. Have you tried this on your wall stickers yet? It often makes a big difference.
Repositioning Stickers
Accidentally placing your sticker off-center or crooked isn’t the end of the world. Many large wall stickers allow you to peel them off carefully and reposition without losing stickiness. Start by slowly lifting one corner while pulling the sticker away from the wall at a low angle.
Make sure the wall surface is clean and dry before reapplying. If you find the sticker losing its grip, you can lightly dampen the wall with a spray bottle before pressing the sticker back on. This method gives you a little extra time to adjust the placement exactly where you want it.
Credit: www.create-enjoy.com
Frequently Asked Questions
How Do I Prepare The Wall For Large Stickers?
Clean the wall thoroughly to remove dust and grease. Use a damp cloth and mild detergent. Ensure the surface is dry and smooth before applying the sticker for better adhesion and long-lasting results.
What Tools Are Needed To Hang Large Wall Stickers?
You typically need a squeegee or credit card, a measuring tape, and a level. These tools help position the sticker accurately and remove air bubbles for a smooth finish.
Can Large Wall Stickers Be Repositioned After Application?
Most large wall stickers can be gently peeled and repositioned within the first few minutes. However, avoid stretching or tearing the sticker to maintain its quality and adhesive strength.
How Do I Avoid Air Bubbles Under Large Wall Stickers?
Apply the sticker slowly from one edge while smoothing it out with a squeegee. Work out air bubbles by pushing them towards the edges as you go along.
Conclusion
Hanging large wall stickers can brighten any room quickly. Start with a clean, dry wall for best results. Take your time to place the sticker carefully and smooth out air bubbles. Use simple tools like a ruler and a soft cloth.
Enjoy the new look without stress or mess. With these easy steps, decorating becomes fun and simple. Try it yourself and see the difference today!


