

Have you ever looked up at your chandelier and wondered how to safely take it down? Whether you’re updating your décor or need to clean it thoroughly, removing a chandelier can feel tricky and even a bit risky.
But don’t worry—this guide will walk you through each step clearly and simply. By the end, you’ll have the confidence to handle your chandelier like a pro, without the fear of breaking a single crystal or shocking yourself. Ready to make this task easy and stress-free?
Let’s get started!

Credit: www.youtube.com
Prepare The Area
Preparing the area before taking down a chandelier is crucial to ensure safety and efficiency. A well-organized space helps you work without stress and reduces the risk of damage. Let’s look at how you can get your area ready.
Clear The Surrounding Space
Remove any furniture or decorations directly under and around the chandelier. This gives you enough room to move freely and prevents anything from getting broken. Even small items like rugs or lamps should be moved to avoid accidents.
Think about where you’ll place the chandelier once it’s down. Having a clear spot ready will make the process smoother. Don’t forget to protect the floor with a blanket or drop cloth to catch any falling dust or small parts.
Gather Necessary Tools
Before you climb up, make sure you have everything within reach. Common tools include a sturdy ladder, screwdrivers, pliers, and a voltage tester. Having a helper hold the ladder or pass tools can save time and keep you safe.
Missing a tool mid-task can cause frustration and increase risks. Check if your chandelier requires special bulbs or replacement parts so you’re ready to handle them immediately. Keeping tools organized in a small box nearby can keep the process efficient.
Turn Off Power Supply
Safety is key, so always switch off the power at the circuit breaker, not just the wall switch. This prevents any accidental shocks while working on the wiring. Use a voltage tester to double-check that the power is completely off.
If you’ve ever experienced a sudden shock while handling electrical fixtures, you know how serious this step is. Don’t skip it or assume the switch is enough. Taking the extra time to confirm power is off protects both you and your home.
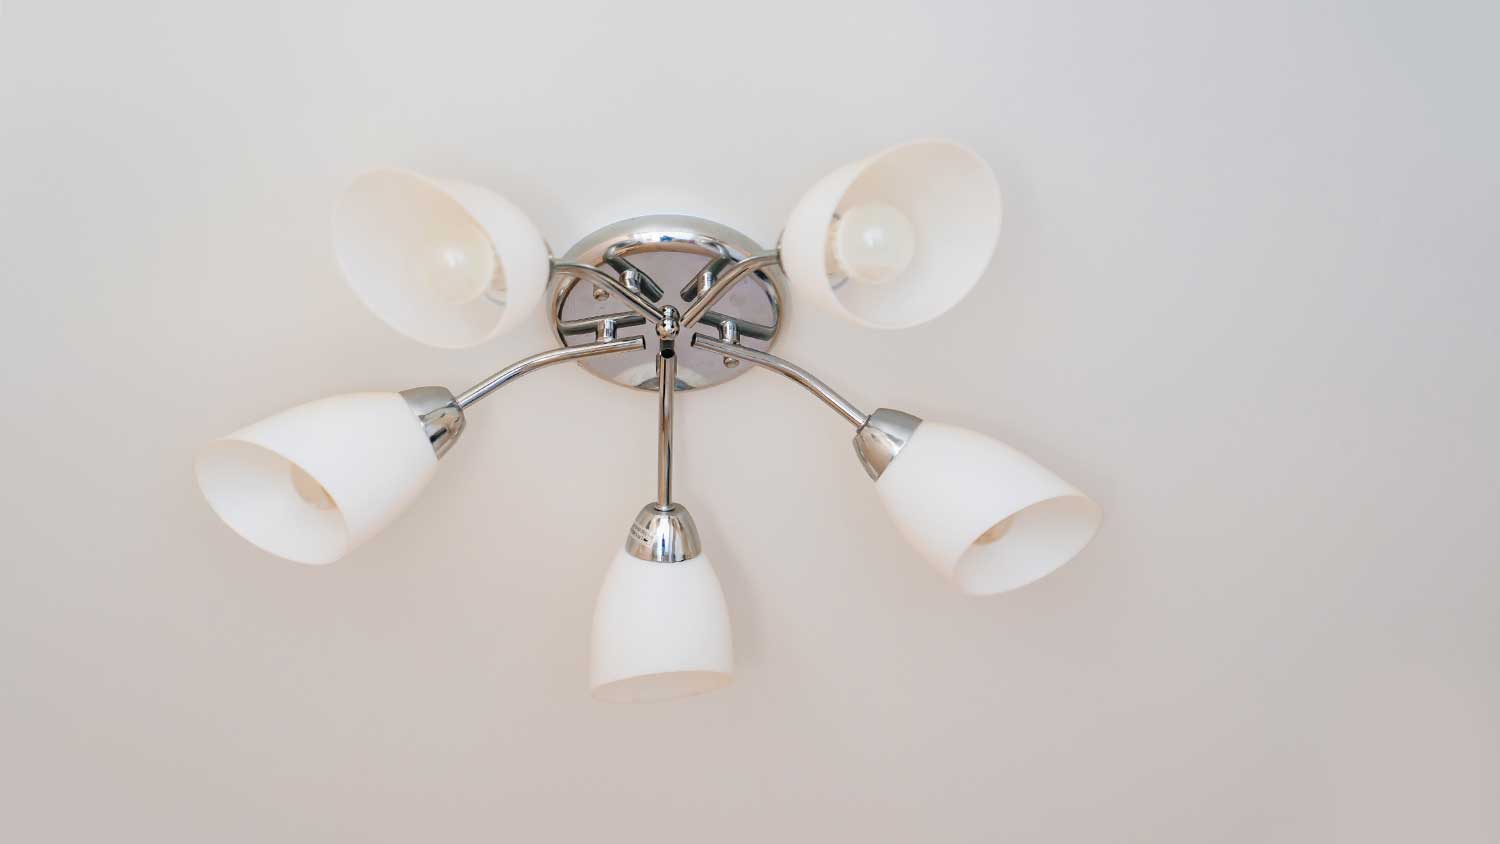
Inspect The Chandelier
Before you start taking down a chandelier, a careful inspection is essential. This helps you understand how the fixture is attached and what delicate parts you need to handle with extra care. Skipping this step can lead to damage or even injury, so take your time to really look over every detail.
Identify Mounting Type
Look closely at how your chandelier is mounted to the ceiling. Some chandeliers hang from a hook, while others are bolted directly into a ceiling box. Identifying whether it uses a chain, rod, or fixed bracket is crucial because each type requires different tools and techniques to remove.
Have you noticed if your chandelier has a canopy that covers the mounting hardware? This small piece often hides screws or bolts you’ll need to loosen. Understanding this can save you from unnecessary force that might damage the ceiling or the fixture itself.
Check For Fragile Parts
Chandeliers often have glass crystals, delicate arms, or intricate wiring that can break easily. Before you start unscrewing anything, take note of which parts look fragile or loosely attached. This helps you plan how to support the fixture as you remove it.
Try gently touching the crystals or decorative pieces to see how secure they are. If they wobble or seem loose, it’s a signal to handle that section with extra caution. Protecting these fragile parts means you won’t have to replace or repair them later.
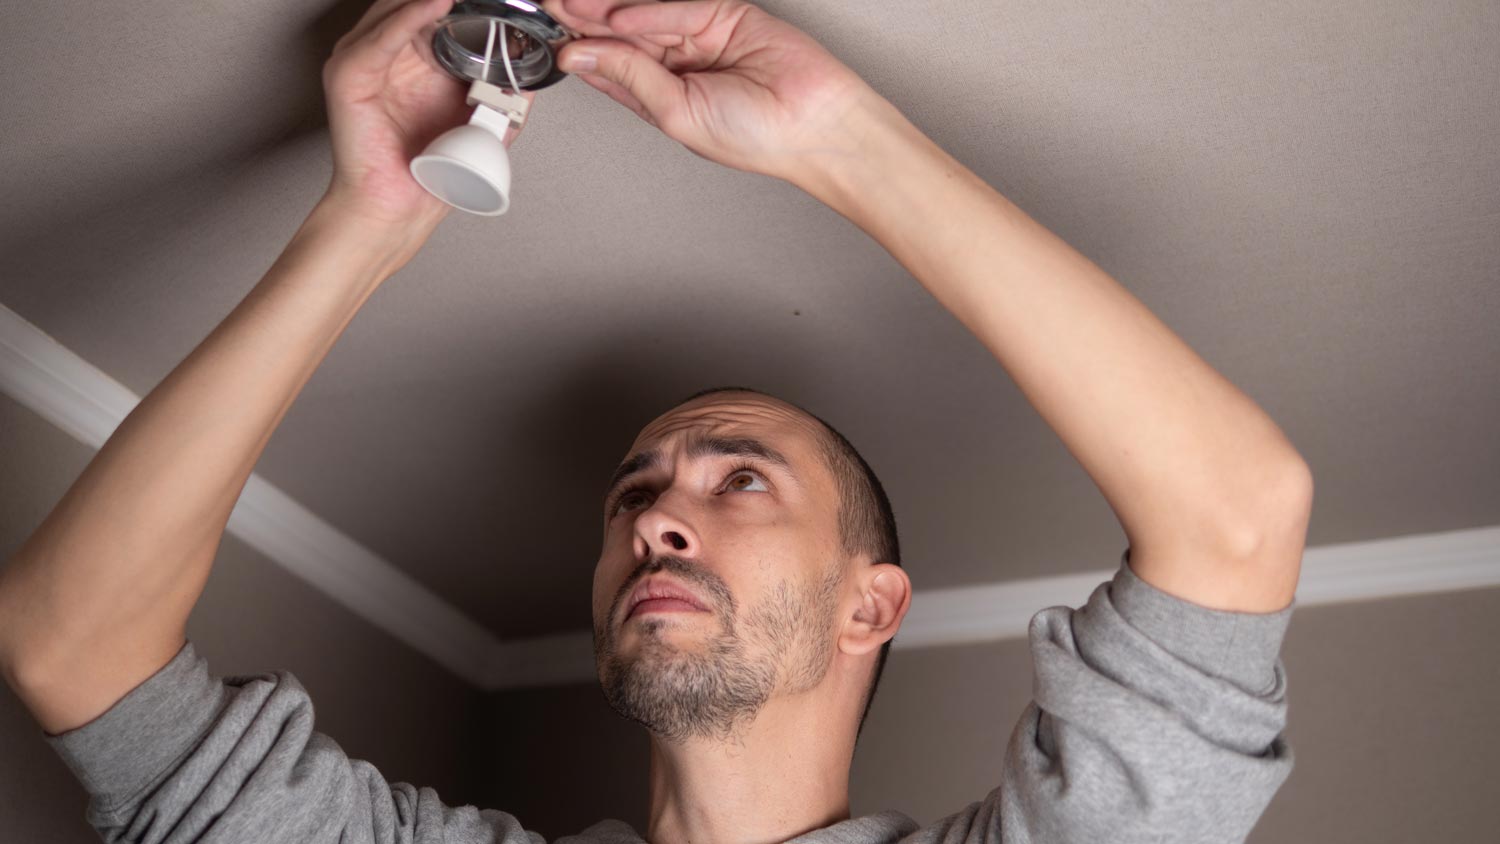
Remove Light Bulbs And Shades
Begin by gently twisting and removing each light bulb from the chandelier. Carefully take off the shades or covers to avoid damage or injury. This clears the fixture for safe handling and easier removal.
Removing a chandelier involves a few careful steps. One crucial part is dealing with the light bulbs and shades. This task requires patience and attention to detail. Removing these components first makes the rest of the process smoother and safer.Handle Bulbs With Care
Always start by turning off the power at the circuit breaker. This step ensures safety while handling electrical components. Use a sturdy ladder to reach the chandelier comfortably. Gently unscrew each bulb with a steady hand. Avoid applying too much pressure to prevent breakage. If a bulb feels stuck, use a cloth for a better grip.Set Aside Fixtures Safely
Place a soft cloth or towel on a nearby table. This protects bulbs and shades from damage. Carefully remove any shades or covers, if applicable. Rest them gently on the cloth, ensuring they don’t roll off. Keep all components organized in one place. This organization helps when reinstalling or storing the chandelier.Disconnect Wiring
Disconnecting the wiring is a crucial step when taking down a chandelier. It’s not just about removing wires; it’s about ensuring safety and making future installation easier. Handling electrical components with care can save you from shocks and headaches later.
Test For Live Wires
Before you touch any wiring, always test for live wires. Use a non-contact voltage tester to check if electricity is still running through the wires. This simple tool can prevent dangerous shocks and help you work confidently.
Remember, even if the switch is off, the wires might still be live. Double-checking is better than assuming. Have you ever underestimated this step? It’s a common mistake that can lead to accidents.
Label And Detach Wires
Once you confirm the wires are not live, label each wire before disconnecting. Use masking tape and a marker to note where each wire connects. This makes reconnecting much easier, especially if the wiring is complex or if someone else will reinstall the fixture.
After labeling, gently detach the wires using a screwdriver or wire cutters. Avoid pulling or yanking to prevent damage. What’s your plan if a wire seems stuck or difficult to remove? Sometimes, patience and a little wiggle go a long way.
Detach The Chandelier
Detaching a chandelier requires care and attention to avoid damage or injury. This stage focuses on safely separating the fixture from its mounting. Taking proper steps ensures the chandelier comes down smoothly without strain or accidents.
Unscrew Mounting Hardware
Locate the screws or bolts holding the chandelier to the ceiling bracket. Use a screwdriver or wrench that fits the hardware well. Turn the screws slowly to avoid stripping or falling parts. Keep the hardware in a safe place for reinstallation or disposal.
Check for any additional clips or supports that might secure the chandelier. Remove these gently to free the fixture completely. Make sure no wires or chains remain attached before moving on.
Support Weight During Removal
Support the chandelier’s weight with one hand or use a helper. Holding the fixture steady prevents it from dropping suddenly. Use a sturdy ladder or step stool to reach the chandelier comfortably.
Lower the chandelier slowly while maintaining support. Avoid twisting or pulling harshly on wires or chains. Keep your grip firm until the fixture is fully detached and safe to handle.
Handle And Store The Chandelier
Handling and storing a chandelier after removal requires careful attention to protect its delicate parts and preserve its beauty. You want to avoid damage that can occur from careless handling or improper storage. Taking a few extra steps now will save you time, money, and frustration later.
Wrap Fragile Components
Start by carefully wrapping each fragile piece, such as glass crystals, bulbs, and decorative arms. Use soft materials like bubble wrap, foam sheets, or thick cloth to cushion these parts. Avoid newspaper or anything with ink that might transfer onto the chandelier’s surfaces.
Secure the wrapping with painter’s tape, which won’t leave sticky residue. Label each wrapped component clearly to make reassembly easier. Have you ever tried to put something back together without knowing where each piece belongs? Proper wrapping and labeling prevent this headache.
Choose Safe Storage Location
Pick a storage spot that is dry, stable, and free from extreme temperature changes. Avoid damp basements or hot attics where moisture and heat can damage metals and glass. A climate-controlled room or a sturdy box in a closet works well.
Place the chandelier parts on a flat surface, avoiding stacking heavy items on top. If possible, store the chandelier in its original packaging or a custom-sized box padded with extra cushioning. Think about how you’ll access it later — is the spot easy to reach without risking falls or bumps?
Final Safety Checks
Before finishing the chandelier removal, final safety checks are crucial. These checks prevent accidents and ensure the electrical system is safe. Taking time to inspect and restore power carefully protects your home and your health.
Inspect Ceiling Fixture
Look closely at the ceiling fixture where the chandelier was attached. Check for loose wires or damaged parts. Make sure all electrical connections are properly capped or secured. Any exposed wires can cause shorts or shocks later. Use a flashlight for better visibility in tight spaces.
Also, examine the mounting bracket and ceiling box. They should be intact and not cracked or broken. If damage exists, consider repairing or replacing parts before installing a new light. A strong fixture keeps future lights stable and safe.
Restore Power Carefully
Turn the power back on at the circuit breaker slowly. Watch for any sparks or unusual smells near the ceiling fixture. If you notice anything odd, switch off the power immediately. Call a professional electrician to inspect the wiring.
Use a voltage tester to confirm the fixture is receiving power correctly. This step helps verify a safe and proper connection. Never assume the power is restored without testing. Safety first keeps accidents far away.
Credit: www.angi.com
Credit: www.angi.com
Frequently Asked Questions
How Do You Safely Turn Off Power To A Chandelier?
Always switch off the circuit breaker before working on a chandelier. Test with a voltage tester to confirm no electricity flows. This prevents electric shocks and ensures safety during removal.
What Tools Are Needed To Take Down A Chandelier?
You’ll need a ladder, screwdriver, voltage tester, wire cutters, and pliers. These tools help you reach, disconnect, and safely remove the chandelier from the ceiling.
How Do You Disconnect Wiring From A Chandelier?
First, identify and label wires. Unscrew wire nuts, then carefully separate each wire. Ensure power is off to avoid shocks or damage during this process.
Can One Person Remove A Chandelier Alone?
It’s safer to have at least two people. Chandeliers can be heavy and awkward. Assistance helps prevent accidents and protects the fixture from damage.
Conclusion
Taking down a chandelier is easier with careful steps. Always turn off the power first. Use a sturdy ladder to reach safely. Support the fixture firmly while loosening screws. Keep all small parts in a safe place. Take your time and avoid rushing.
Safety and patience make the job smooth. Now, you can remove chandeliers without worry. Ready for your next home project?


