
Want to turn your blank canvas into a stunning masterpiece? Adding a photo to canvas is easier than you think, and it’s a great way to personalize your space or create a unique gift.
Whether you’re a beginner or just looking for a simple step-by-step guide, this article will show you exactly how to do it. By the end, you’ll have the confidence to transform your favorite photos into beautiful canvas art that catches everyone’s eye.
Ready to get started? Let’s dive in!

Credit: at.csudh.edu
Choosing The Right Photo
Choosing a clear, high-quality photo ensures your canvas looks sharp and vibrant. Select an image that fits the canvas size and style for the best results. This makes your artwork stand out beautifully.
Choosing the right photo for your canvas ensures a stunning display. A great photo enhances the overall look and feel of your canvas. It can bring out emotions and tell a story. Let’s explore how to select the best photo for your canvas.Selecting High-quality Images
High-quality images make a significant difference. They offer clarity and depth. Look for photos with sharp details and vibrant colors. Avoid blurry or pixelated images. High-quality images provide a professional look.Considering Image Resolution
Image resolution impacts the final canvas result. Choose images with a high resolution. This ensures clear and crisp prints. Low-resolution images may appear grainy or blurred. Aim for at least 300 DPI for best results.Picking Photos That Match Canvas Size
Canvas size matters when selecting photos. Ensure your photo fits well on the canvas dimensions. Avoid stretching or cropping important parts of the image. Consider the aspect ratio for a perfect fit. This ensures your photo looks balanced and complete.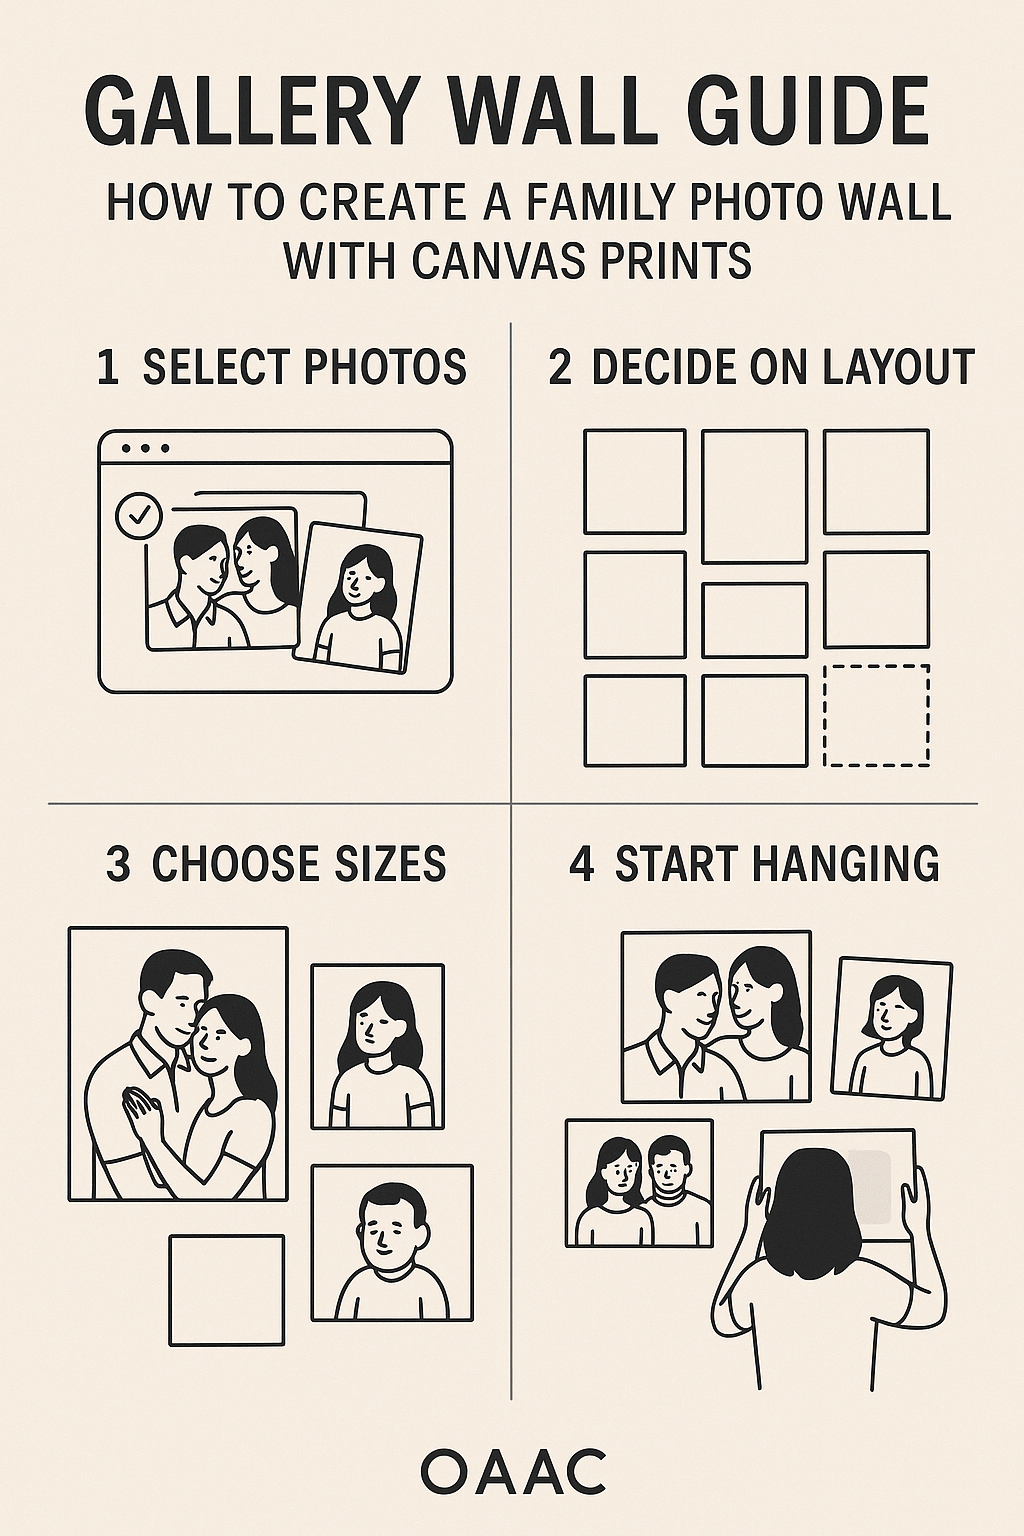
Credit: www.canvasprintscanada.com
Preparing The Photo For Printing
Preparing your photo for printing on canvas is a key step to get the best results. The photo must look sharp, clear, and vibrant. Small adjustments can greatly improve the final print. This process includes editing, cropping, resizing, and choosing the right file format. Each step helps ensure your image matches the canvas size and quality.
Editing And Enhancing Images
Start by adjusting brightness and contrast to make colors pop. Use simple tools to fix exposure and sharpness. Remove any unwanted spots or blemishes. Enhancing details helps the image look lively on a large canvas. Keep edits natural to avoid artificial appearance.
Cropping And Resizing Tips
Crop the photo to fit the canvas dimensions exactly. Use the same aspect ratio as the canvas. Avoid stretching the image as it causes distortion. Resize the photo to a high resolution for clear printing. A resolution of 300 DPI or higher works best for canvas prints.
Choosing The Best File Format
Save your photo in a file format that keeps quality high. Use formats like TIFF or PNG for lossless quality. JPEG files are okay if saved at the highest quality setting. Avoid formats that compress images heavily and lose detail. Proper file format preserves colors and sharpness for printing.
Selecting The Canvas Type
Selecting the right canvas type is key to creating a stunning photo display. The canvas you pick affects how your photo looks and how long it lasts. Different materials, thicknesses, and finishes offer unique qualities. Understanding these options helps you choose the best canvas for your artwork.
Different Canvas Materials
Canvas materials vary in texture and durability. The most common types include:
- Cotton:Soft and natural, great for vibrant colors.
- Linen:Strong and smooth, ideal for fine details.
- Polyester:Durable and moisture-resistant, good for outdoor use.
Each material affects color depth and how the image absorbs light.
Choosing Canvas Thickness
Canvas thickness affects the overall look and feel. Thicker canvases offer a bold, gallery-style appearance. Thin canvases are lightweight and easier to frame. Standard thickness ranges from 0.5 inches to 1.5 inches.
Consider where you will hang the canvas. Thicker canvases stand out more on walls.
Matte Vs Glossy Finishes
Finish changes the photo’s shine and mood. Matte finish reduces glare and gives a soft look. Glossy finish enhances colors and adds shine.
Choose matte for a subtle, classic style. Pick glossy to make colors pop and look vivid.

Credit: www.pictureframes.com
Printing Your Photo On Canvas
Printing your photo on canvas transforms digital images into beautiful, lasting art. It requires careful choices to ensure the final product looks great. The print quality, color accuracy, and material all affect the outcome. Explore options that fit your budget and skills.
Using Professional Printing Services
Professional services offer high-quality canvas prints with vibrant colors. They use advanced printers and premium materials for durable results. Many provide customization options like size, framing, and finishes. Upload your photo in the required format and resolution for best results.
Benefits include expert color management and precise printing. These services often deliver ready-to-hang canvases. Prices vary based on size and features, but the quality justifies the cost.
Diy Printing Options
Printing at home requires special canvas paper and an inkjet printer. Choose canvas sheets designed for your printer type. Prepare your photo file carefully, adjusting size and resolution.
Follow printer instructions to load canvas paper correctly. Allow prints to dry fully to avoid smudges. DIY printing saves money but may need practice for best quality. Consider testing small prints first.
Ensuring Color Accuracy
Colors can look different on screen and canvas. Calibrate your monitor for true-to-life color display. Use color profiles recommended by your printer or service.
Soft proof your image in editing software to preview final colors. Avoid extreme brightness or contrast changes that might not print well. Good lighting helps when evaluating prints.
Ask for a sample print if possible, especially with professional services. This helps confirm color accuracy before final printing.
Mounting And Stretching The Canvas
Mounting and stretching the canvas is a key part of preparing your photo for display. This process helps keep the photo tight and smooth on the frame. It also protects the image and gives it a professional look. Understanding the right tools and techniques makes this task easier and more effective.
Tools Needed For Mounting
- Wooden stretcher bars or frame
- Canvas pliers for a firm grip
- Staple gun or tacks for securing
- Measuring tape for precision
- Scissors or utility knife
- Rubber mallet (optional)
Stretching Techniques
Start by laying the canvas flat and placing the frame on top. Pull the canvas tightly over one side of the frame. Use canvas pliers to get a strong grip and stretch evenly.
Staple the canvas in the center of that side to hold it. Move to the opposite side, pull tight, and staple again. Repeat this for the other two sides, always pulling tight before stapling.
Work from the center towards the corners for even tension. Avoid wrinkles and bubbles by adjusting the canvas as you go.
Securing The Canvas Frame
After stapling the sides, focus on the corners. Fold the canvas neatly and staple it to the frame. Make sure the folds are smooth and tight.
Check the canvas for any loose spots and add extra staples if needed. Use a rubber mallet to tap staples in firmly if they are not secure.
Trim any excess canvas around the edges for a clean finish. Your photo is now well mounted and ready to hang.
Adding Finishing Touches
Adding finishing touches to your photo canvas enhances its beauty and durability. These final steps help protect your artwork and prepare it for display. Simple care and smart choices make your canvas look professional and last longer.
Applying Protective Coatings
Protective coatings shield your canvas from dust, moisture, and fading. Use a clear acrylic spray or varnish designed for canvas art. Apply thin, even layers and let each dry fully. This keeps colors bright and surface smooth. Avoid heavy coats that cause drips or uneven texture. Proper sealing improves longevity and keeps your photo vibrant.
Framing Options
Frames add style and protect edges of your canvas. Choose between:
- Floating frames that show canvas sides
- Traditional wooden frames for a classic look
- Metal frames for a modern, sleek finish
Pick a frame color that matches your room decor. Frames enhance the canvas’s appearance and make hanging easier.
Displaying Your Canvas Art
Place your canvas in a spot with good lighting but no direct sun. Use sturdy hooks or nails to hang securely. Consider grouping canvases for a gallery wall effect. Keep away from damp areas to avoid damage. Proper display highlights your photo and adds charm to your space.
Common Mistakes To Avoid
Adding a photo to canvas can transform your space, but small mistakes can ruin the final look. Knowing what to avoid helps you get a professional finish without frustration. Let’s look at the common errors that often trip people up and how you can steer clear of them.
Avoiding Low-resolution Images
Using a low-resolution image is one of the quickest ways to spoil your canvas print. When you enlarge a small photo, it becomes blurry or pixelated, which looks unprofessional and cheap.
Always check your image’s resolution before uploading. Aim for at least 300 DPI (dots per inch) for a crisp, clear print. If your photo looks fuzzy on your screen at 100% zoom, it’s unlikely to improve on canvas.
Have you ever been disappointed by a printed photo that looked great on your phone? That’s usually a resolution issue. Be picky about your source image to avoid this common pitfall.
Preventing Wrinkles And Bubbles
Wrinkles and bubbles can appear when stretching the photo over the canvas frame. These imperfections distract from the image and make your work look amateurish.
Take your time smoothing the photo onto the canvas. Use a flat tool like a credit card or a squeegee to press out air pockets gently as you go.
Try to work in a dust-free area to avoid debris causing bumps under your photo. If you notice a bubble after finishing, carefully lift that section and smooth it again.
Handling Canvas With Care
Canvas is sturdy but still needs gentle handling. Rough treatment can cause tears, dents, or stains that ruin your print’s appearance.
When moving or storing your canvas, hold it by the frame edges instead of the printed surface. Avoid stacking canvases directly on top of each other without protection.
Have you ever dropped or bent a canvas and seen permanent damage? Protect your work by planning your workspace and storage with care.
Frequently Asked Questions
How Do I Upload A Photo To Canvas?
To upload a photo, open your Canvas course and go to the desired module. Click “Files” then “Upload. ” Select your photo from your device and confirm. The image will be added and ready for use in assignments or pages.
Can I Add Photos Directly To Canvas Assignments?
Yes, you can add photos to assignments by editing the assignment description. Use the Rich Content Editor to click the image icon, then upload or link your photo. This helps make your assignment instructions clearer and more engaging.
What Image Formats Does Canvas Support?
Canvas supports common image formats like JPEG, PNG, GIF, and BMP. Using these formats ensures your photos upload correctly and display well across devices. Stick to these formats for the best compatibility.
How Do I Resize A Photo In Canvas?
After inserting a photo, click on it in the Rich Content Editor. Drag the corners to resize or use the toolbar options for precise dimensions. Resizing helps your photo fit perfectly within your course content.
Conclusion
Adding a photo to Canvas is simple and quick. Just follow the steps carefully. You can make your projects look better and more personal. Practice a few times to get comfortable with the process. Soon, you will add photos without any trouble.
Enjoy creating unique designs with your images. Keep experimenting and have fun with your Canvas work.


