

You want to add a mirror to your wall, but the thought of messy tools and complicated steps is holding you back. What if sticking a mirror could be simple, clean, and secure?
Imagine transforming your space with a shiny reflection, without the stress of drilling or damaging your walls. You’ll discover easy, effective ways to adhere a mirror to your wall that anyone can do. By the end, you’ll feel confident and ready to create that perfect look in your home.
Keep reading to find out how!
Choosing The Right Mirror
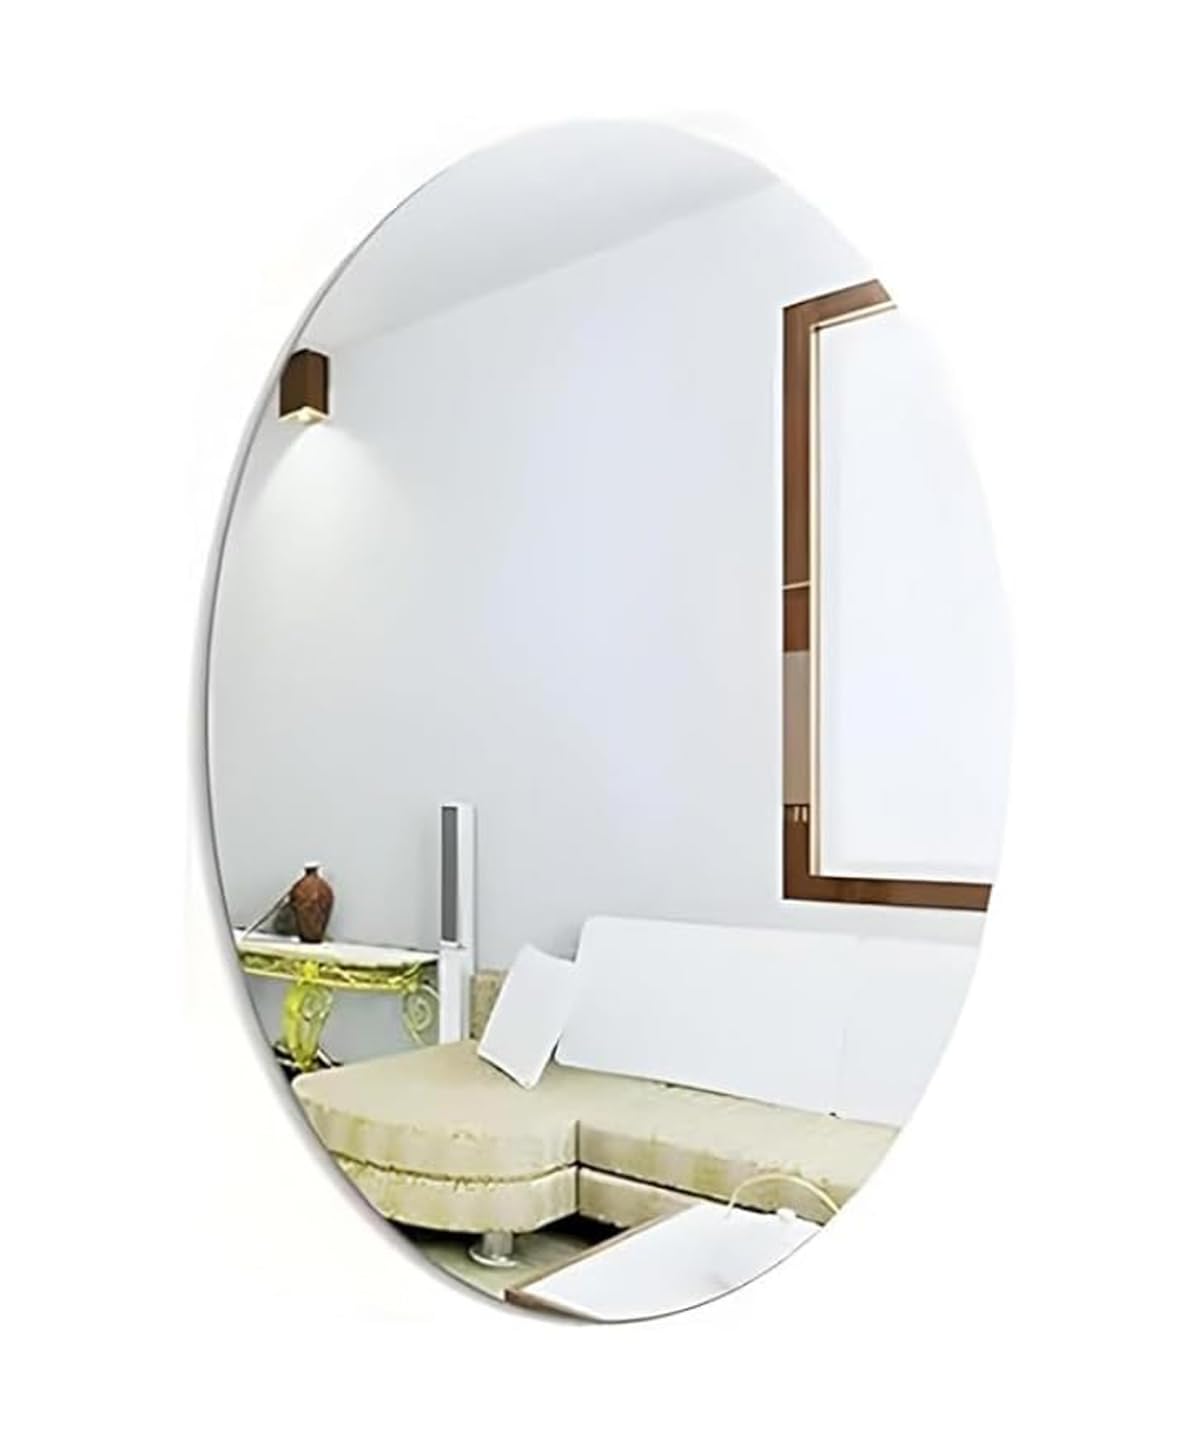
Choosing the right mirror is important before you stick it on the wall. It affects how well the mirror fits your space and how safe it stays. The right mirror also matches your room’s style and meets your practical needs. Consider several factors to pick the best option for your home.
Types Of Mirrors
Mirrors come in many shapes and designs. Some are plain glass, while others have special features. Common types include:
- Flat mirrors: Reflect true images, good for bathrooms and bedrooms.
- Beveled mirrors: Have angled edges for a decorative look.
- Frameless mirrors: Sleek and modern, easy to clean.
- Magnifying mirrors: Help with close-up tasks like makeup.
Choose a type that suits your room’s function and style.
Size And Weight Considerations
Size matters for both appearance and safety. Large mirrors create space but weigh more. Small mirrors are lighter but might not give enough reflection. Check wall strength before hanging heavy mirrors. Use appropriate wall anchors if needed. Measure your space to avoid mirrors that look too big or too small.
Frame Material And Style
Frames add character to your mirror. Materials include wood, metal, and plastic. Wood frames bring warmth and classic style. Metal frames suit modern or industrial looks. Plastic frames are lightweight and budget-friendly. Pick a frame that matches your room’s decor. Consider color and texture to blend or stand out.
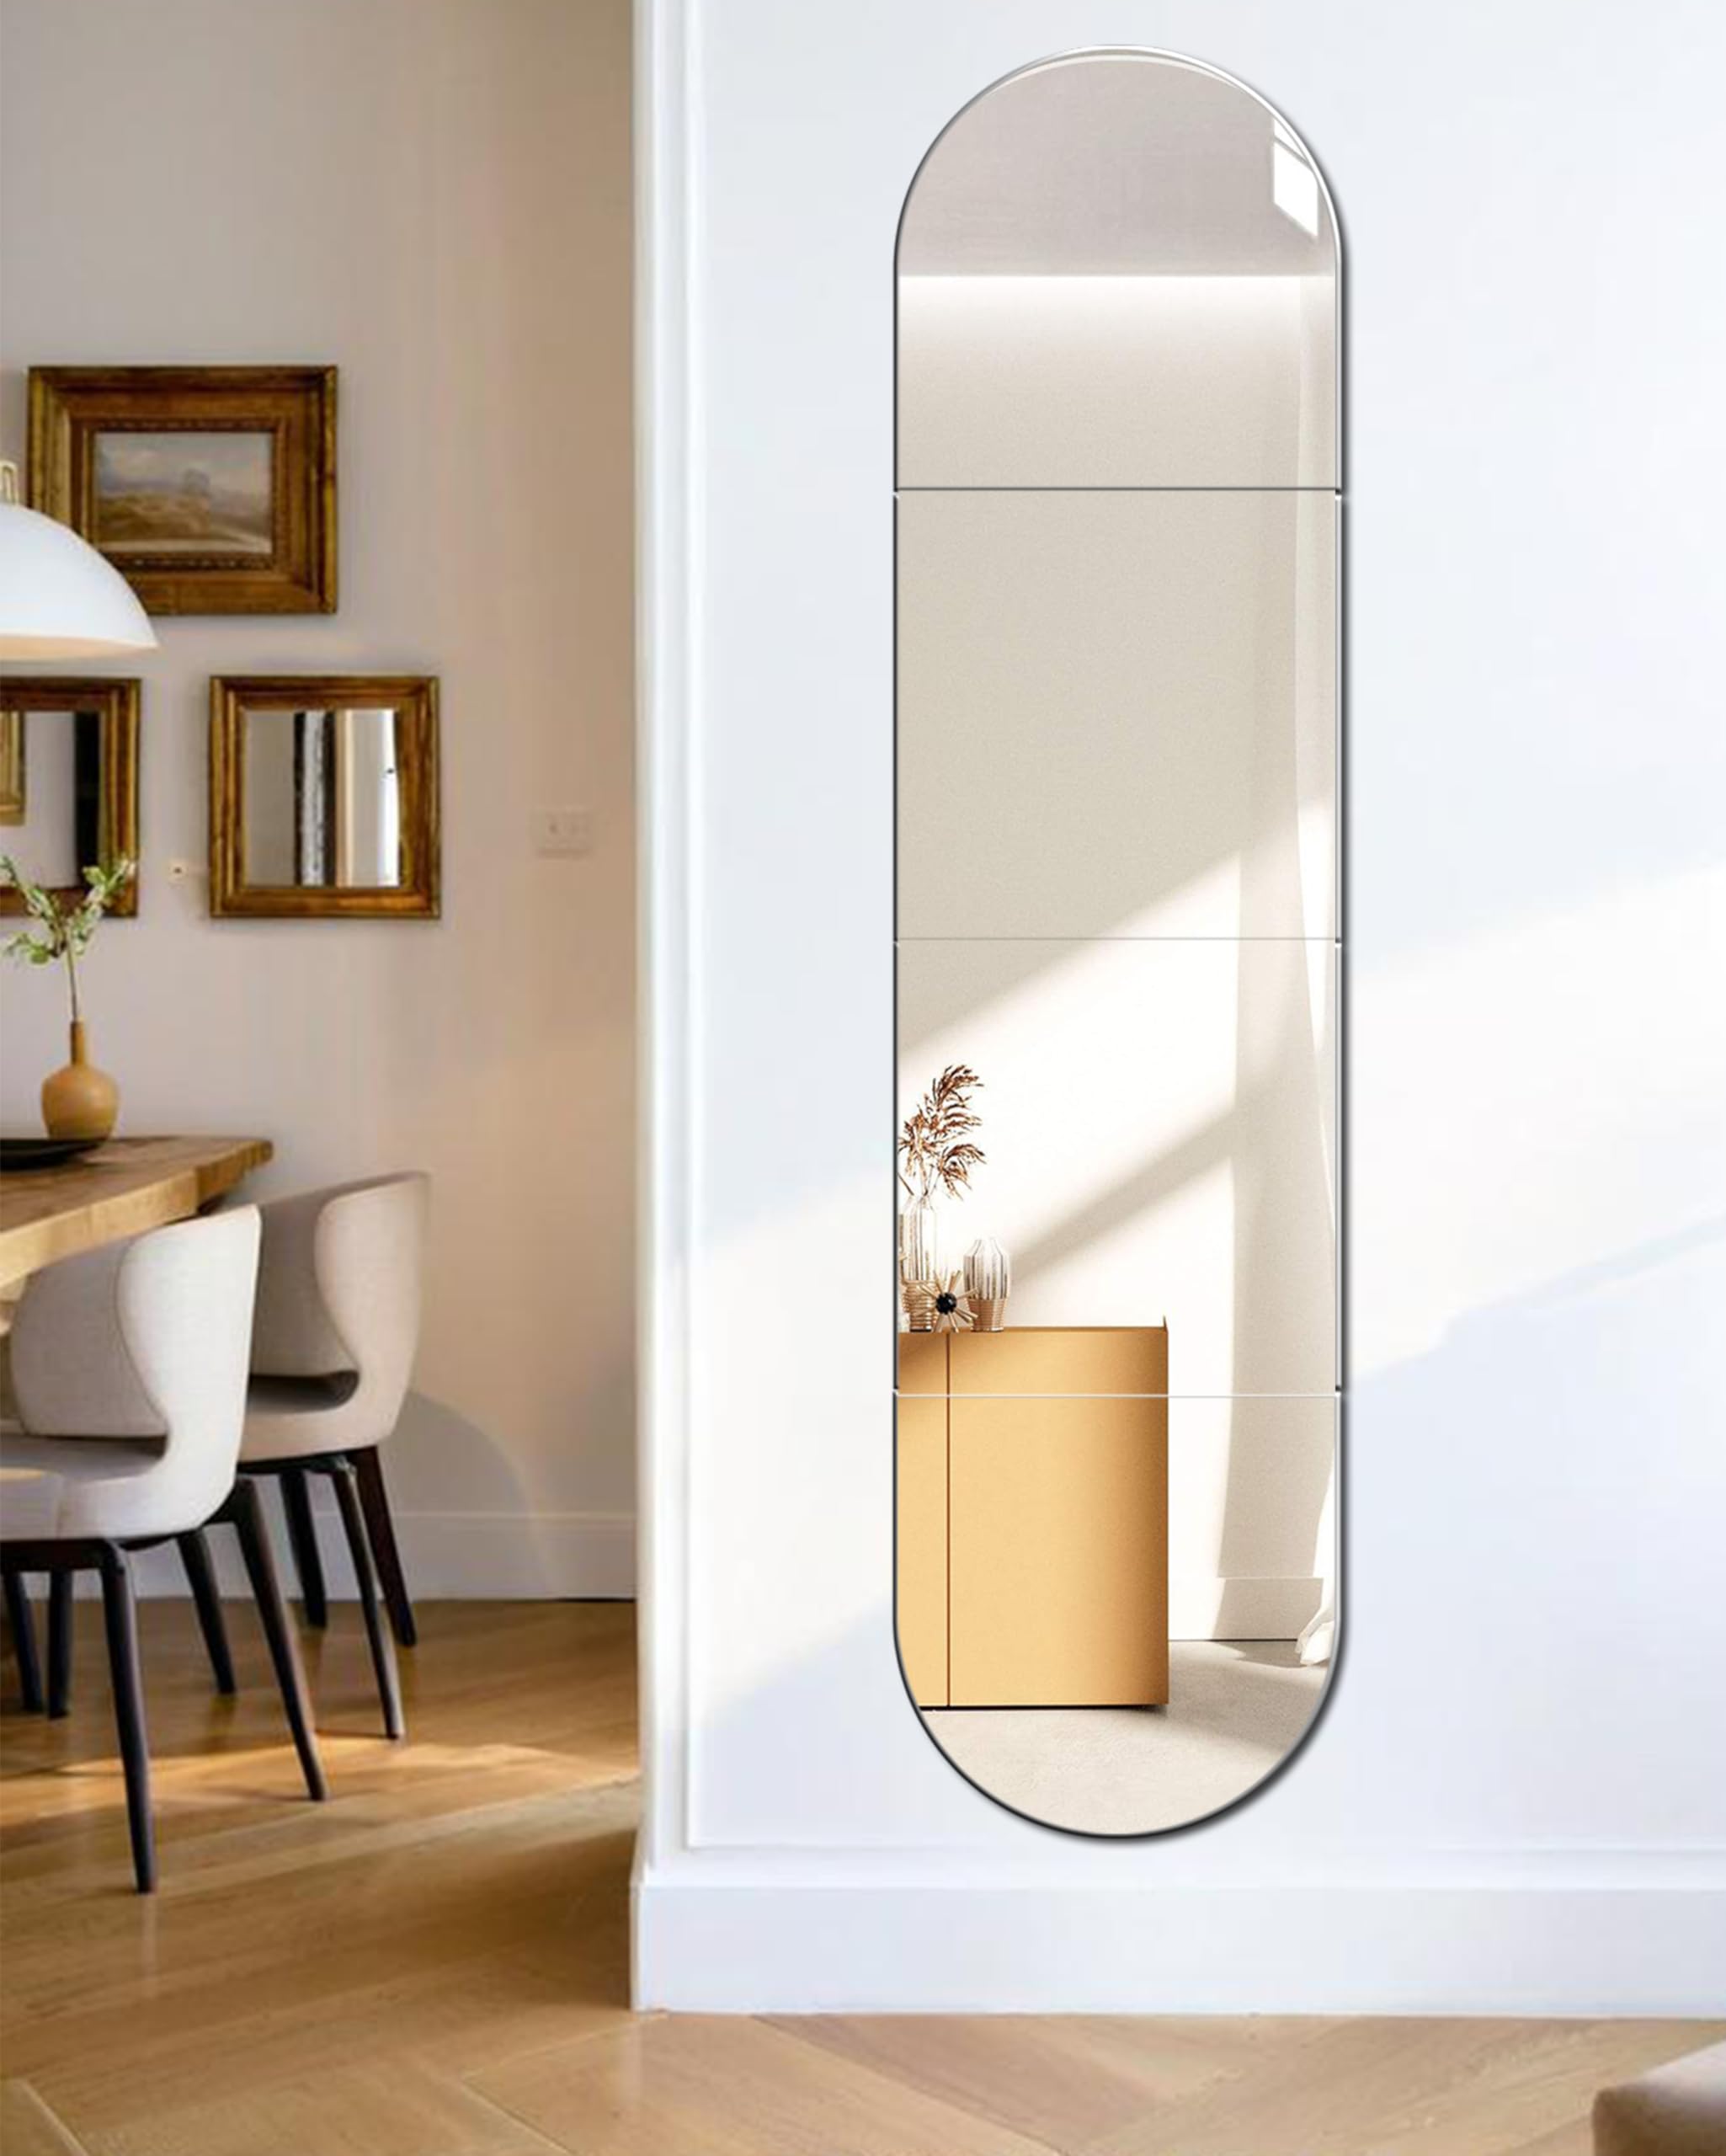
Credit: www.amazon.co.uk
Preparing The Wall
Clean the wall thoroughly to remove dust, dirt, and grease for better adhesion. Ensure the surface is dry and smooth before attaching the mirror. Use a level to mark the exact spot for accurate placement.
Preparing the Wall Before you can hang a mirror on your wall, you need to ensure the wall is ready. A well-prepared wall not only makes the installation easier but also ensures the mirror stays securely in place. Take a few moments to assess and prepare your wall, and you’ll be rewarded with a flawless finish.Surface Cleaning
Start by cleaning the wall surface thoroughly. Dust, dirt, and grease can prevent adhesive from sticking properly. Use a damp cloth with mild soap to wipe the area, then dry it completely with a clean towel. Why not give it a quick touch with a lint-free cloth? This simple step can make a big difference in ensuring the adhesive bonds well.Checking Wall Material
Knowing your wall material is crucial. Is it drywall, plaster, or perhaps brick? Different materials require different approaches for mirror installation. For drywall, you’ll typically use anchors. Plaster might need special screws, while brick could require masonry nails or specific adhesive.Repairing Imperfections
Look closely for any imperfections. Holes, cracks, or uneven surfaces can affect how well the mirror adheres. Fill holes with wall filler and sand the area smooth once dry. Have you considered using a level to check for flatness? Even a small bump can make a big difference in the final appearance of your mirror installation.Selecting Adhesive Options
Choosing the right adhesive for mounting a mirror can make all the difference in both safety and appearance. The type of wall, mirror weight, and your long-term plans affect which adhesive works best. Let’s break down some common options so you can decide what fits your project perfectly.
Double-sided Tape
Double-sided tape is a quick and clean solution, especially for lightweight mirrors. It sticks firmly without the mess of glue and is easy to apply. However, it might not hold well on textured or uneven walls, so check your wall surface first.
Think about using heavy-duty versions designed for mirrors—they offer stronger bonds and better durability. Have you tried this tape on your walls before? You might be surprised how well it can hold small mirrors or decorative pieces.
Mirror Adhesive Glue
Mirror adhesive glue provides a strong, permanent hold and is ideal for heavier mirrors. It’s specially formulated to avoid damaging the reflective backing on mirrors. Applying it requires careful placement and some drying time, but the result is secure and long-lasting.
This option demands a bit more patience and precision. If you want your mirror to stay put without any risk of slipping, mirror adhesive glue is often worth the effort. Ever felt hesitant about gluing a mirror? Knowing the right glue can ease that worry.
Command Strips And Hooks
Command strips and hooks offer a damage-free way to hang mirrors, perfect for renters or temporary setups. They come with clear instructions and remove cleanly without leaving holes. Plus, they support a decent amount of weight depending on the size and number of strips used.
These are great if you want flexibility—move or adjust your mirror without repainting or patching walls. Have you considered how easy it is to change your room’s look with removable mounting options? Command products make that simple and stress-free.
Measuring And Marking Placement
Measuring and marking the placement of a mirror on the wall sets the foundation for a perfect hang. Precise measurements ensure the mirror is centered and level. Marking clear guidelines prevents mistakes during installation. This step creates a smooth and confident hanging process.
Finding The Center Point
Start by measuring the wall width where the mirror will hang. Divide this measurement by two to find the center point. Next, measure the mirror’s width and divide it by two. Mark the wall at the spot where the mirror’s center aligns with the wall’s center. This ensures the mirror sits perfectly balanced.
Using A Level
Place a level horizontally at the center point on the wall. Adjust the level until the bubble is centered between the lines. Draw a light horizontal line along the level’s edge. This line acts as a reference to keep the mirror straight. Double-check the level before marking to avoid crooked placement.
Marking Guidelines
Measure the mirror’s height and mark the top and bottom points on the wall. Use a pencil to draw light vertical lines connecting these marks. These lines form a rectangular outline of the mirror on the wall. This outline guides the exact placement and helps align mounting brackets or adhesive strips.
Applying Adhesive To Mirror
Applying adhesive to the mirror is a key part of attaching it securely to the wall. The right technique ensures the mirror stays in place without damage. Careful application prevents excess glue and mess.
Preparing The Adhesive
Choose an adhesive made for mirrors and walls. Read the instructions on the packaging. Cut the adhesive tube tip at an angle for smooth flow. Use a caulk gun for better control. Wear gloves to keep hands clean.
Applying Evenly
Apply the adhesive in small dots or thin beads. Space them evenly across the back of the mirror. Focus on edges and the center to support weight. Avoid large blobs that cause uneven sticking. Use steady pressure on the caulk gun trigger.
Avoiding Mess And Drips
Keep the mirror flat while applying adhesive. Work slowly to prevent drips from falling. Wipe any excess glue immediately with a damp cloth. Place a drop cloth or newspaper under your workspace. Clean tools and hands before the adhesive dries.

Credit: www.meesho.com
Mounting The Mirror
Mounting the mirror is the crucial moment where all your preparation meets the wall. This step requires precision and care to ensure the mirror stays securely in place. Getting this right not only enhances your room’s look but also prevents accidents from a falling mirror.
Aligning With Marks
Start by carefully matching the mirror’s edges to the marks you made earlier on the wall. Take a step back and check from different angles to confirm it’s perfectly aligned. If you rush here, you might end up with a crooked mirror that ruins your effort.
Pressing Firmly
Once aligned, press the mirror firmly against the wall. Use even pressure across the surface to make sure the adhesive sticks well. Imagine trying to peel off a sticker—if you don’t press it down properly, it won’t hold.
Securing For Drying Time
After pressing, avoid touching or adjusting the mirror. Use painter’s tape or temporary supports to keep it steady while the adhesive dries. How long you wait depends on the adhesive type, but rushing this step could cause the mirror to slip or fall later.
Safety Tips And Precautions
Adhering a mirror to a wall needs care and attention. Safety is key to avoid accidents or damage. Follow these safety tips and precautions before starting your project.
Handling Heavy Mirrors
Heavy mirrors require two or more people for lifting. Use gloves to improve grip and protect your hands. Avoid rushing to reduce the chance of dropping the mirror. Hold the mirror firmly from the sides. Place it on a soft surface if you need to set it down.
Protecting Wall And Floor
Cover the floor with a drop cloth or old blanket. This prevents scratches or damage if the mirror falls. Use painter’s tape or soft pads on the wall to avoid marks. Check the wall surface for cracks or weak spots. Fix these issues before attaching the mirror.
Using Proper Tools
Use tools designed for mirror installation like mirror adhesive or mounting brackets. Read instructions on the adhesive carefully. Use a level to ensure the mirror is straight. Wear safety goggles to protect your eyes from dust or debris. Keep tools organized and within reach to avoid accidents.
Troubleshooting Common Issues
Sticking a mirror to a wall can seem straightforward, but sometimes things don’t go as planned. Issues like the mirror not staying put, uneven placement, or worries about removing it later without damage are common hurdles. Let’s look at how to handle these problems effectively, so your mirror stays secure and looks perfect.
Mirror Not Sticking
If your mirror won’t stick, check the wall surface first. Dust, grease, or moisture can prevent adhesives from bonding properly. Clean the area with rubbing alcohol and let it dry completely before applying any adhesive.
Also, consider the type of adhesive you’re using. Some tapes or glues aren’t strong enough for heavier mirrors. Try using a mirror adhesive specifically designed for glass and walls, or heavy-duty mounting tape.
Have you tested the weight limit of your adhesive? Exceeding it is a common mistake that causes mirrors to fall. Always match the adhesive strength with your mirror’s weight.
Uneven Placement
Uneven mirrors are an eyesore and can ruin the room’s balance. Use a level tool before sticking the mirror to ensure it’s straight. Mark the wall lightly with a pencil as a guide.
Applying adhesive unevenly can also tilt the mirror. Spread glue or tape evenly across the entire back surface for better support. If you feel unsure, ask someone to help hold the mirror steady while the adhesive sets.
Wondering how to check alignment after hanging? Step back and view from different angles. Small adjustments early on save you from big headaches later.
Removing Mirror Without Damage
Removing a mirror can be nerve-wracking, especially if you want to avoid wall damage. Heat the adhesive with a hairdryer to soften it before gently prying the mirror away with a plastic scraper or putty knife.
Take your time and avoid forcing the mirror off quickly. Slow, steady pressure reduces the risk of breaking the glass or tearing paint.
If adhesive residue remains, use a mild adhesive remover or rubbing alcohol to clean the wall. Have you ever tried removing a mirror and ended up with a damaged wall? This method helps protect both your mirror and your paint.
Credit: www.amazon.in
Frequently Asked Questions
How Do I Prepare The Wall For Mirror Adhesion?
Clean the wall thoroughly to remove dust and grease. Ensure the surface is dry and smooth. Use a level to mark the mirror position before applying adhesive.
What Adhesive Is Best For Sticking Mirrors To Walls?
Use mirror adhesive or silicone-based glue designed for mirrors. These adhesives provide strong, lasting bonds without damaging the mirror or wall.
Can I Hang A Heavy Mirror With Adhesive Only?
Yes, but ensure the adhesive is rated for the mirror’s weight. For very heavy mirrors, use additional mechanical supports like brackets or screws.
How Long Should I Wait For Mirror Adhesive To Dry?
Allow the adhesive to cure for at least 24 hours. Avoid touching or moving the mirror during this period for best results.
Conclusion
Attaching a mirror to a wall can change any room’s look. Choose the right adhesive for your mirror’s weight and wall type. Clean the surface well before starting the work. Measure carefully to place the mirror evenly and safely. Take your time to follow each step clearly.
A well-fixed mirror stays secure and looks great. Enjoy the new space with your beautifully hung mirror. Simple steps bring a big difference.


