
Are you ready to transform your space with eye-catching wall art but unsure how to apply large vinyl stickers without bubbles or wrinkles? You’re in the right place.
Applying big vinyl stickers can seem tricky, but with the right steps, you’ll get a smooth, professional finish that makes your walls pop. Keep reading, and you’ll discover simple tips that save you time and frustration—so your room looks amazing, fast.
Let’s make your walls come alive!
Materials Needed
Applying large vinyl stickers on walls needs specific materials for a smooth finish. Choosing the right materials helps avoid bubbles and wrinkles. Preparation is key to a clean, lasting result. Gather everything before starting.
Choosing The Right Vinyl Sticker
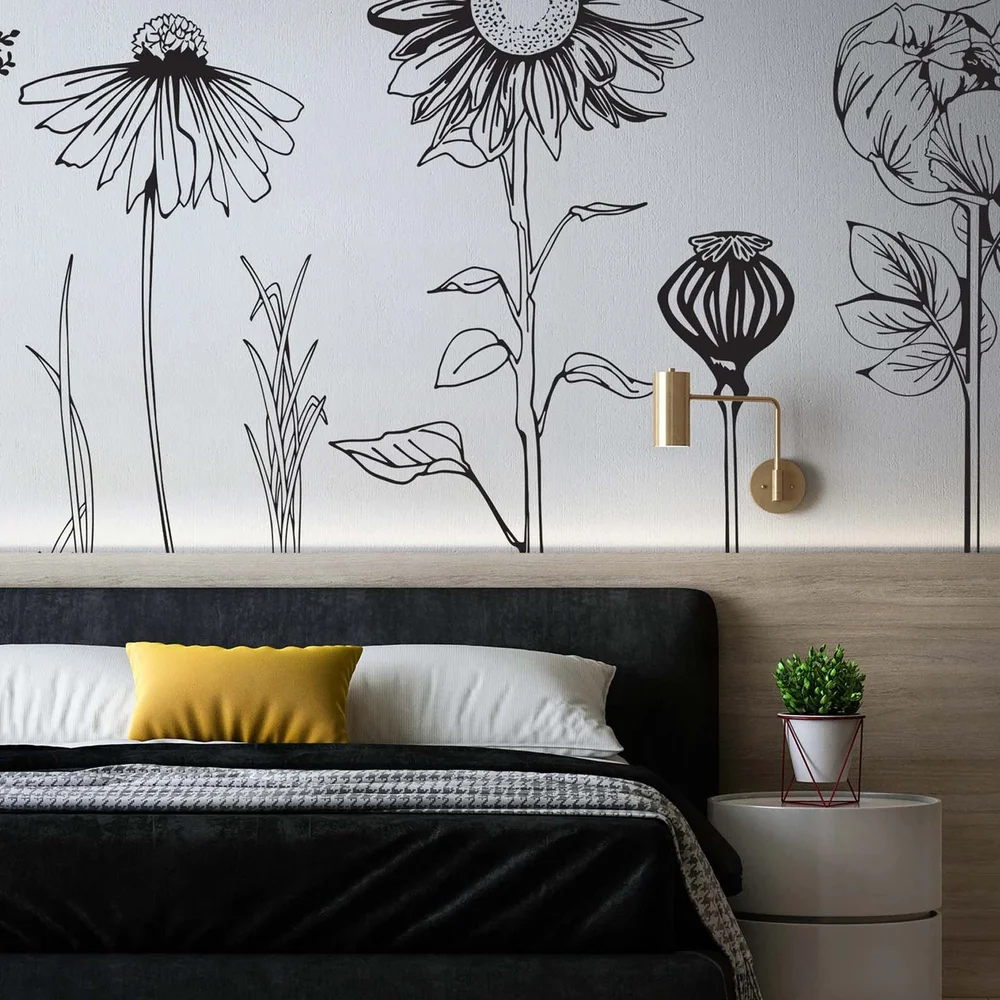
Select a vinyl sticker designed for wall application. Look for stickers labeled as removable or repositionable. Matte finishes reduce glare and show details better. Check the size matches your wall space. Quality vinyl lasts longer and peels off cleanly.
Tools For Application
- Squeegee or plastic scraper to smooth the sticker
- Measuring tape for precise placement
- Level to keep the sticker straight
- Masking tape to hold the sticker in place
- Utility knife for trimming excess vinyl
- Spray bottle with soapy water (optional for wet application)
- Lint-free cloth to clean the wall
Preparing The Wall Surface
Clean the wall with mild soap and water. Remove dust, dirt, and grease. Let the wall dry completely before applying the sticker. Avoid textured or rough surfaces for better adhesion. A smooth, flat surface ensures the sticker sticks well and lasts longer.

Credit: www.etsy.com
Preparing The Wall
Preparing the wall is a crucial step before applying large vinyl stickers. A clean, smooth surface ensures the sticker sticks well and lasts longer. Skipping this step can cause bubbles, peeling, or uneven adhesion.
Cleaning And Drying
Start by removing dust, dirt, and grease from the wall. Use a mild detergent mixed with water and a soft cloth or sponge. Gently wipe the entire area where the sticker will go. Avoid harsh chemicals that can damage paint or wallpaper.
Rinse the wall with clean water to remove any soap residue. Dry the surface completely with a clean towel or let it air dry. Moisture can weaken the sticker’s adhesive and cause it to peel off.
Smoothing Out Imperfections
Check the wall for bumps, cracks, or holes. These imperfections can create bubbles or wrinkles under the sticker. Use fine sandpaper to gently smooth rough spots. Fill holes or cracks with wall filler or spackle and let it dry.
After filling, sand the patched areas again for an even surface. Wipe away dust with a dry cloth. The smoother the wall, the better the sticker will adhere and look.
Measuring And Positioning
Measure the wall space carefully to fit the vinyl sticker perfectly. Mark light guidelines to position the sticker straight and centered before peeling the backing.
Applying large vinyl stickers on your wall can be a delightful way to refresh your space with minimal effort. However, achieving a professional look requires careful measuring and positioning. Ensuring your sticker is perfectly aligned is crucial for a seamless aesthetic. Let’s dive into some practical tips on how to measure and position your vinyl stickers accurately.Marking Placement
Begin by deciding where you want your sticker to be placed. Use a pencil to lightly mark the top and sides of where the sticker will go. This will serve as a guide during application. Consider using masking tape to temporarily hold the sticker in place. Step back and observe if the placement feels right. Adjust as necessary until you’re satisfied with its position.Using A Level For Accuracy
A level tool is your best friend when aiming for precision. Place the level across the top markings you’ve made on the wall. Ensure the bubble is centered to confirm the line is straight. If you don’t have a traditional level, a smartphone app can be a handy alternative. Many free apps are available that provide accurate leveling capabilities. Accuracy in positioning isn’t just about aesthetics—it can affect the overall harmony of your room. Have you ever noticed how even a slightly crooked picture can be distracting? The same applies to wall stickers. By focusing on these measuring and positioning techniques, you’ll ensure your vinyl stickers enhance your space beautifully.Applying The Sticker
Applying a large vinyl sticker on your wall can transform a room instantly, but the process requires care and attention. Taking your time during application ensures the sticker lays flat and looks professional. Let’s break down the key moments to focus on as you apply your vinyl sticker.
Peeling The Backing
Start by gently peeling the backing paper from one corner of the sticker. Avoid pulling too fast, which can cause the vinyl to stretch or tear. If you notice the sticker lifting off the transfer tape unevenly, slow down and adjust your angle.
Use a flat surface to rest the sticker as you peel, preventing it from folding or sticking to itself. Holding the sticker by the edges keeps your fingers from touching the adhesive, which can weaken its stickiness.
Aligning And Sticking
Before fully pressing the sticker onto the wall, hold it up and check the alignment carefully. Use a level or a tape measure if precision matters to your design. Ask yourself: does it look straight from different angles?
Once satisfied, press the sticker onto the wall starting from the center and moving outward. This method helps avoid trapping air under the vinyl. It’s better to apply light pressure first—you can always press harder after confirming the placement.
Smoothing Out Bubbles
Air bubbles are the most common issue with vinyl stickers, but they’re easy to fix. Use a squeegee or a credit card wrapped in a soft cloth to smooth the sticker out. Work from the center towards the edges, pushing bubbles out gently.
If a stubborn bubble remains, try puncturing it with a pin and pressing the air out carefully. Patience here pays off; rushing can create wrinkles that are harder to remove later. How often have you ignored small bubbles only to regret it after the sticker sets?
Finishing Touches
Finishing touches make your large vinyl sticker look smooth and polished. These final steps remove extra materials and fix any small issues. Proper care here ensures your sticker lasts long and stays beautiful.
Removing Transfer Tape
Peel the transfer tape slowly at a sharp angle. Pull it back gently, close to the wall surface. If the sticker lifts, press it down again with a squeegee or your hand. Remove the tape in a steady, even motion to avoid bubbles or wrinkles.
Fixing Small Imperfections
Check the sticker for tiny air bubbles or edges lifting. Use a pin to gently poke bubbles, then press the air out with a soft cloth. For edges that peel, add a small amount of adhesive glue or press firmly with a squeegee. Smooth out wrinkles by rubbing from the center to edges carefully.

Credit: www.amazon.com
Tips For Longevity
Keeping your large vinyl stickers looking fresh and vibrant over time takes more than just careful application. Paying attention to how you protect and maintain them can make a big difference in their lifespan. Small changes in how you treat your walls and stickers help you avoid peeling, fading, and damage.
Avoiding Sun Damage
Direct sunlight can quickly fade the colors of your vinyl stickers and weaken their adhesive. Consider placing stickers on walls that don’t get harsh, all-day sun exposure.
If you can’t avoid a sunny spot, try using UV-protective sprays designed for vinyl surfaces. These sprays add a layer of protection and slow down the fading process significantly.
Think about the direction your room faces and the time of day the sunlight hits your walls most intensely. Have you noticed how some areas of your room look brighter and warmer? That’s where your stickers may need extra care.
Cleaning Without Damage
Cleaning your vinyl stickers regularly keeps dust and dirt from building up, but you must do it gently. Avoid harsh chemicals or abrasive sponges that can scratch or peel the vinyl.
Use a soft cloth or sponge with mild soapy water to wipe the stickers. Rinse with a damp cloth and dry immediately with a clean towel to prevent water spots.
Have you ever tried cleaning a sticker with a strong cleaner and ended up with peeling edges? Stick to simple, gentle cleaning to keep your stickers intact and looking sharp.

Credit: 40visuals.com
Frequently Asked Questions
How Do I Prepare The Wall For Vinyl Sticker Application?
Clean the wall thoroughly to remove dust, dirt, and grease. Use a mild detergent and water. Dry the surface completely before applying the sticker to ensure strong adhesion.
Can I Apply Large Vinyl Stickers On Textured Walls?
Large vinyl stickers stick best on smooth, flat surfaces. Textured walls may cause bubbles or peeling. For textured walls, test a small area first or consider a different wall.
What Tools Do I Need To Apply Large Vinyl Stickers?
You need a squeegee or credit card, masking tape, a level, and a clean cloth. These tools help smooth the sticker and align it properly on the wall.
How Do I Avoid Air Bubbles Under Vinyl Stickers?
Apply the sticker slowly using a squeegee from the center outward. Work gently to push out trapped air. If bubbles appear, puncture with a pin and smooth again.
Conclusion
Applying large vinyl stickers on walls can be simple and fun. Clean the surface well before starting. Use a level to keep the sticker straight. Peel the backing slowly and press firmly. Smooth out bubbles with a squeegee or cloth.
Take your time to avoid mistakes. With patience, your wall will look great. Enjoy your new decoration every day.


