
Want to transform your room with a warm, magical glow? Attaching fairy lights to your wall is one of the easiest and most charming ways to do it.
But if you’re worried about damaging your walls or making a mess, you’re not alone. The good news is, you don’t need to be an expert or spend hours figuring it out. In this guide, you’ll learn simple, effective ways to hang your fairy lights safely and beautifully—so your space feels cozy and inviting in no time.
Keep reading, and discover how small changes can make a big difference in your home’s atmosphere.
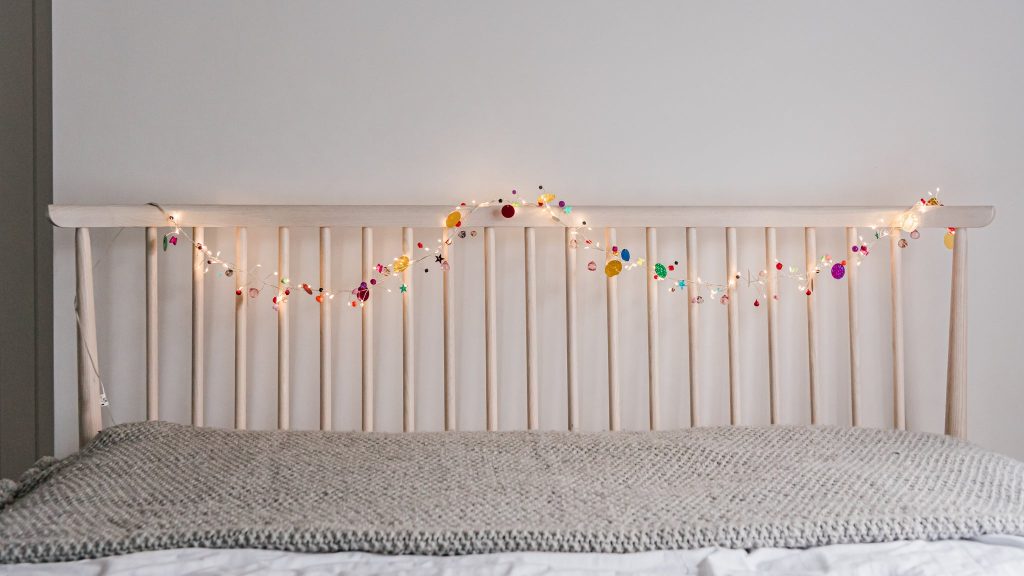
Credit: www.koopower.com
Choosing The Right Fairy Lights
Choosing the right fairy lights can make a huge difference in how your space looks and feels. You want lights that match your style, fit your space, and provide the right brightness. Think about where you’ll hang them and how much light you really need before making your choice.
Types Of Fairy Lights
Fairy lights come in several styles, each creating a different vibe. You can pick from classic string lights with tiny bulbs, LED wire lights that are flexible and thin, or globe lights with larger, round bulbs for a bold look.
If you want a cozy, warm glow, warm white LEDs are perfect. For a playful or festive look, multi-colored lights add a fun twist. Have you thought about whether you want steady lights or ones that twinkle or change colors?
Length And Brightness Considerations
Measure your wall or the area where you want to hang the lights. Fairy lights come in lengths ranging from 10 feet to over 100 feet. Picking the right length prevents overcrowding or having too few lights to create impact.
Brightness matters too. Some fairy lights are soft and subtle, while others shine brightly enough to light up a small room. Think about whether you want them to be a gentle accent or the main light source.
Battery Vs Plug-in Options
Battery-operated fairy lights offer flexibility and no visible cords, which is great for places without nearby sockets. However, you’ll need to replace or recharge batteries regularly.
Plug-in lights provide consistent power, ideal for long-term or heavy use. But they limit where you can place them due to cord length and access to outlets.
Which option fits your space and lifestyle better? Do you prefer a neat look without cords or a reliable, steady glow without worrying about batteries?

Credit: sparkle.lighting
Preparing Your Wall Surface
Clean the wall to remove dust and dirt for better light adhesion. Ensure the surface is dry and smooth before attaching fairy lights. Test a small area to check if the wall holds clips or tape firmly.
Preparing your wall surface is the first step to successfully attaching fairy lights. A well-prepared wall ensures your lights not only hang beautifully but stay secure over time. Let’s dive into how you can get your wall ready for this magical transformation.Cleaning And Drying The Wall
Before you start, it’s essential to clean the wall. Dust and grime can prevent adhesive hooks or tape from sticking. Use a damp cloth to wipe down the area where you plan to hang the lights, and then let it dry completely. A dry surface is crucial for adhesives to work effectively. If the wall is even slightly damp, it can cause the lights to fall prematurely. Have you ever noticed how frustrating it is when things don’t stick the way they should?Checking Wall Material
Understanding your wall material can save you from a lot of trouble later. Different materials, such as drywall, brick, or tile, require different methods of attachment. For example, brick walls might need stronger adhesive hooks, while drywall is often more forgiving. Take a moment to assess what your wall is made of—this small step can make a big difference.Avoiding Damage-prone Areas
Identify areas that might be prone to damage. Avoid hanging lights near electrical outlets or in places where cords might be pinched. It’s also wise to steer clear of freshly painted walls, as the paint needs time to cure. Have you ever pulled paint off a wall with tape? It’s not a pleasant sight. By focusing on these preparation steps, you’re setting yourself up for success. Your fairy lights will shine brightly and stay secure without causing any damage to your walls. Ready to start hanging those lights?Damage-free Attachment Methods
Attaching fairy lights to your wall without causing damage is crucial, especially if you rent your space or want to keep your walls pristine. Choosing the right damage-free method ensures you can enjoy your cozy lighting without worrying about peeling paint or leftover marks. These options are simple, effective, and often reusable, making them perfect for creating a magical atmosphere without the hassle.
Using Adhesive Hooks And Clips
Adhesive hooks and clips are designed to hold lightweight decorations firmly without nails or screws. They come with sticky backs that attach easily to smooth surfaces like painted walls or tiles.
When I first used adhesive hooks for my fairy lights, I was surprised by how securely they held the strands, even along tricky corners. Just remember to clean the wall surface before applying to maximize stickiness.
- Choose hooks with a weight limit suitable for your lights
- Press firmly and wait an hour before hanging lights
- Remove gently to avoid residue or paint damage
Command Strips And Removable Tape
Command strips offer a balance between strong hold and easy removal. They work well on various wall types and won’t leave sticky residue if removed correctly.
I’ve found them ideal for temporary setups during holidays or parties. The key is to follow the removal instructions—pulling the strip slowly along the wall prevents damage.
- Select strips rated for the weight of your lights
- Attach strips to both the wall and light clip evenly
- Apply pressure for better adhesion
Sticky Tack And Putty Options
Sticky tack or putty is perfect for small sections of fairy lights or lightweight decorations. It’s reusable and works best on smooth, clean surfaces.
One time, I used putty to secure a few strands above a window frame. It held up well and came off cleanly when I redecorated.
- Roll small amounts into balls for easy application
- Press firmly on both the wall and light wire
- Check periodically to ensure it hasn’t dried out or lost stickiness
Which of these options fits your wall type and lighting plan? Testing a small area first can save you from surprises later.
Creative Hanging Patterns
Creative hanging patterns make fairy lights more than just decoration. They turn simple lights into art on your wall. Different styles create unique moods and fit various spaces. Choose a pattern that matches your room’s style and your personal taste. Experiment with shapes and lines to bring warmth and charm.
Straight Lines And Grids
Straight lines give a clean, modern look. Hang fairy lights horizontally or vertically for neat rows. Grids create a structured pattern that fills larger walls well. Use small hooks or clear tape to keep lights in place. This style suits minimalist and contemporary rooms.
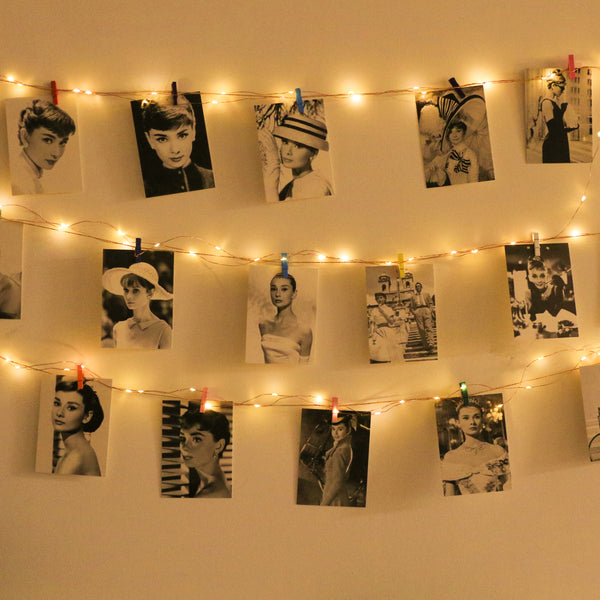
Draped And Swag Styles
Draped lights hang in soft curves. Let the strands swoop down between hooks for a relaxed feel. Swag styles add gentle waves and loops across your wall. This pattern adds a cozy, romantic glow. Use flexible hooks or nails spaced evenly to shape the swags.
Shaping Words Or Symbols
Create words or symbols with fairy lights for a personal touch. Outline letters or simple shapes like hearts or stars. Plan your design on paper first. Attach lights carefully, securing bends with small clips or tape. This pattern makes a strong, creative statement on any wall.
Safety Tips For Fairy Lights
Fairy lights bring a warm glow to any room or outdoor space. Safety is key to enjoy their beauty without risks. Follow these tips to keep your fairy lights safe and long-lasting.
Avoiding Overheating
Choose LED fairy lights. They produce less heat than traditional bulbs. Avoid covering lights with fabric or paper. Overheating can cause fire hazards. Turn off lights when not in use to reduce heat buildup.
Securing Loose Wires
Loose wires can cause trips or damage the lights. Use adhesive hooks or clips to hold wires in place. Keep wires away from sharp edges or corners. Inspect wires regularly for cracks or frays. Replace damaged wires immediately.
Using Timers And Surge Protectors
Timers help turn lights on and off automatically. This prevents lights from running too long. Surge protectors protect lights from power spikes. They extend the life of your fairy lights. Use both for safer and smarter lighting.

Credit: alder.in
Removing Fairy Lights Without Damage
Removing fairy lights from walls without causing damage takes care and patience. The goal is to keep the paint and surface intact. Quick pulling can peel paint or break the lights. Using gentle methods helps preserve both the wall and the fairy lights for future use.
Gentle Detachment Techniques
Start by unplugging the lights. Look for the spots where the lights attach. Slowly peel the tape or hooks off the wall. Avoid sharp pulls or sudden tugs. Use your fingers or a plastic card to lift edges gently. If adhesive is strong, warm it slightly with a hairdryer. Heat softens glue and eases removal.
Cleaning Residue Off Walls
Sticky marks can remain after removing lights. Use a damp cloth with mild soap to wipe the area. Avoid harsh scrubbing to protect paint. For tougher glue, try rubbing alcohol or vinegar on a cotton ball. Test a small spot first to check for damage. Dry the wall with a clean cloth to prevent stains.
Storing Lights For Reuse
Proper storage extends the life of fairy lights. Wrap the lights around a piece of cardboard or spool. Keep the plug and wires untangled. Store in a dry, cool place away from direct sunlight. Use a plastic bag or container to protect from dust. Label the container for easy finding next time.
Frequently Asked Questions
How Do I Safely Hang Fairy Lights On A Wall?
Use adhesive hooks or clear mounting tape to avoid wall damage. Ensure lights are rated for indoor use. Avoid nails or staples that can cut wires. Test lights before hanging for safety and functionality.
What Materials Work Best To Attach Fairy Lights?
Adhesive hooks, clear tape, command strips, or removable wall clips work best. These options protect paint and allow easy removal. Avoid metal fasteners that can damage wires or walls. Choose based on wall texture and light weight.
Can Fairy Lights Be Attached To Painted Walls?
Yes, use gentle adhesive hooks or command strips designed for painted surfaces. Avoid adhesives that may peel paint when removed. Test a small area first to ensure no damage. Clean the wall before application for better adhesion.
How Do I Prevent Fairy Lights From Falling Off?
Secure hooks or tape firmly and space them evenly along the wire. Avoid heavy decorations that strain the lights. Regularly check for loose areas and reattach as needed. Choose quality materials that hold well on your wall type.
Conclusion
Attaching fairy lights to a wall can brighten any room easily. Use simple tools like hooks or tape for a secure hold. Place lights carefully to avoid damage to walls or wires. Choose a style that fits your space and mood.
Enjoy the warm, cozy glow that fairy lights bring. Small efforts create big changes in your room’s look. Have fun decorating and make your space feel special.


