
Are you tired of clutter taking over your space? Building a shelf on your wall can be the perfect solution to organize your things and add style to any room.
Imagine having a sturdy, custom shelf that fits exactly what you need—without paying for expensive furniture. In this guide, you’ll discover simple steps to create your own shelf quickly and confidently, even if you’ve never done it before. Ready to transform your wall and your space?
Let’s get started!
Credit: www.christeneholderhome.com
Choosing The Right Shelf
Choosing the right shelf is a key step for a successful wall shelf project. The shelf must fit your space and hold your items safely. Consider the style, material, and size before making a choice. A good shelf matches your room’s look and serves your needs well.
Types Of Shelves
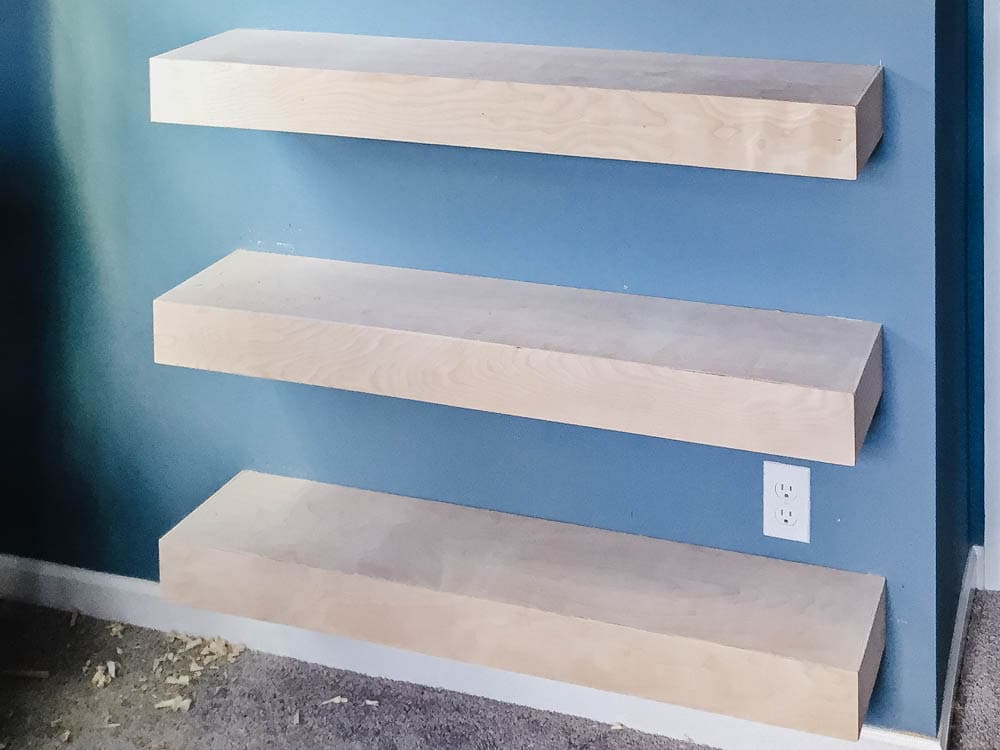
Shelves come in many styles. Floating shelves have no visible supports, offering a clean look. Bracket shelves use metal or wood supports under the shelf. Corner shelves fit into room corners, saving space. Ladder shelves lean against the wall and add a decorative touch.
Material Selection
Wood is common and easy to work with. It looks warm and natural. Metal shelves are strong and modern, ideal for heavy items. Glass shelves appear light and sleek but need careful handling. Choose a material that fits your room style and holds your items safely.
Size And Weight Considerations
Measure your wall space before buying a shelf. The shelf should not be too big or small. Think about what you will place on it. Heavy items need strong shelves and supports. Light shelves suit small items like decorations or books. Proper size and strength keep your shelf safe and stable.
Tools And Materials Needed
Building a shelf on a wall requires specific tools and materials. Having the right items makes the process easier and safer. It also ensures your shelf is strong and lasts long. Prepare all tools and materials before starting the project.
Essential Tools
- Power drill – for making holes and driving screws
- Level – to keep the shelf straight and balanced
- Stud finder – to locate wall studs for secure mounting
- Measuring tape – to measure space and shelf dimensions
- Pencil – to mark drilling points on the wall
- Screwdriver – to tighten screws manually if needed
- Hammer – useful for tapping in anchors or nails
- Safety goggles – to protect your eyes during drilling
Hardware And Accessories
- Wall anchors – provide support when no studs are found
- Screws – to attach brackets and secure the shelf
- Brackets or shelf supports – hold the shelf firmly in place
- Wood or pre-made shelf board – the surface to hold items
- Sandpaper – to smooth the edges of wooden shelves
- Paint or finish – optional, for protecting and decorating the shelf
Preparing The Wall
Clear the wall surface and check for studs using a stud finder. Mark the spots to ensure the shelf will hold firmly. Clean the area to remove dust and debris for better adhesion.
Preparing the wall is a crucial step in building a shelf. A well-prepared wall ensures that your shelf is stable and secure. Before you start drilling, take time to assess the wall. This will save you from potential mishaps and unsightly errors.Finding Wall Studs
Wall studs provide a strong anchor for your shelf. Use a stud finder to locate them. They are typically 16 to 24 inches apart. Mark their location with a pencil. This will guide you during installation. If you don’t find a stud, consider using wall anchors.Marking Placement
Determine where you want your shelf to sit. Use a level to draw a straight line. This line will help ensure the shelf is even. Measure the distance from the floor to the line. Make sure the height suits your needs. Mark the spots where you will drill holes.Checking For Obstacles
Before drilling, check for hidden obstacles. Avoid areas with electrical wires or plumbing. Use a wire detector if unsure. This step prevents damage and ensures safety. Pay attention to outlet placements. Adjust your plans if necessary to accommodate them.
Credit: www.youtube.com
Cutting And Assembling The Shelf
Cutting and assembling the shelf is where your project starts to take shape. This stage demands precision and care because the quality of your cuts and the way you put pieces together determine the shelf’s strength and appearance. Let’s break down these tasks so you feel confident to tackle them head-on.
Measuring And Cutting Wood
Accurate measurements are your best friend here. Measure twice, cut once is not just a saying—it can save you from wasting wood and time. Use a tape measure and mark your wood clearly with a pencil.
When cutting, a handsaw or circular saw works well depending on your comfort level. I once rushed this part and ended up with uneven edges, which made the shelf look off-balance. Take your time to cut straight lines; using a guide or clamp can help keep the saw steady.
Sanding And Finishing
After cutting, sanding smooths the edges and surfaces, making the shelf safe and visually appealing. Start with a medium-grit sandpaper to remove roughness, then finish with a fine grit for a sleek touch.
Don’t skip this step, even if the wood looks good at first. I learned that rough edges can catch on clothes or scratch walls. You can also add a finish like paint, stain, or varnish to protect the wood and match your room’s style.
Attaching Brackets
Choosing the right brackets is crucial for stability. Pick brackets that support the shelf’s weight and fit your wall type. Before screwing them in, hold the bracket and shelf up to the wall to check for level and spacing.
Use a level tool to ensure the shelf will sit straight once attached. Drill pilot holes for the screws to avoid splitting the wood or wall damage. I found that pre-drilling makes installing brackets smoother and gives you a more secure hold.
Mounting The Shelf
Mounting the shelf is where your project starts to take real shape. This step ensures your shelf stays sturdy and level, holding everything you want without trouble. Focusing on precision now saves headaches later.
Drilling Pilot Holes
Drilling pilot holes prevents the wall from cracking when you insert screws. Use a drill bit slightly smaller than your screws for the best fit.
Mark the exact spots for the holes using a pencil and a level. Double-check these marks to avoid mistakes that could weaken your shelf’s support.
Securing Brackets To The Wall
Attach the brackets firmly using screws that are suitable for your wall type—drywall anchors for drywall, masonry screws for brick or concrete.
Push the brackets flush against the wall before tightening screws. This ensures the shelf won’t tilt or wobble once installed.
Leveling The Shelf
Place the shelf on the brackets and use a spirit level to check if it’s perfectly horizontal.
If the shelf isn’t level, adjust the brackets slightly or add shims under the shelf until it balances perfectly. A crooked shelf can ruin the look and cause items to slide off.
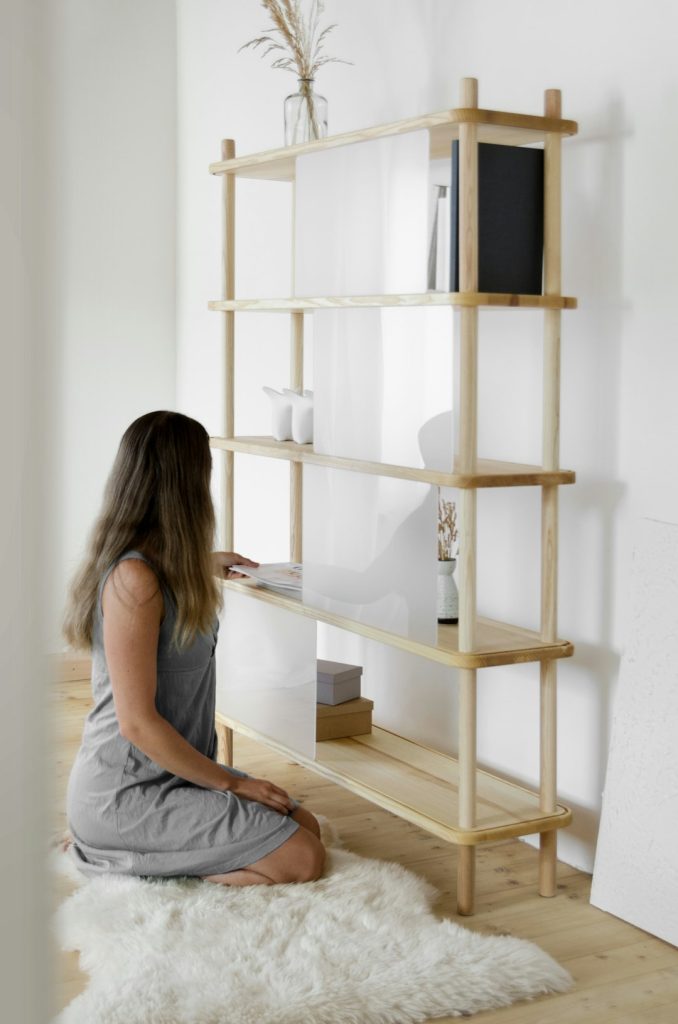
Styling Your Shelf
Styling your shelf is where your personality truly shines. It’s about turning a simple wall fixture into a focal point that speaks to your taste and lifestyle. The way you arrange and balance items can transform any space from bland to beautiful.
Arranging Decorative Items
Start by mixing different shapes and sizes to create visual interest. Place taller items like vases or framed photos at the back and smaller pieces in front to add depth.
Try grouping items in odd numbers—three or five objects often look more natural and appealing. Don’t be afraid to leave some empty space; a clutter-free shelf lets each item stand out.
Think about color too. Using a consistent color palette can unify the look, but a pop of contrasting color can draw the eye. Have you noticed how a single bright object can change the whole vibe of a shelf?
Balancing Function And Aesthetics
Your shelf should look good and work well for you. Combine decorative pieces with practical items, like books, baskets, or storage boxes.
Place frequently used items within easy reach, and store less-used things higher up. This keeps your shelf tidy and functional without sacrificing style.
Consider texture to add warmth—wood, metal, glass, or woven materials can create an inviting mix. What small functional item could you style to double as a decor piece?
Maintenance Tips
Maintaining your wall shelf keeps it looking good and working well. Regular care stops damage and extends its life. Simple steps help you keep the shelf safe and neat.
Cleaning The Shelf
Dust the shelf often using a soft cloth or duster. Use a damp cloth to remove stains or sticky spots. Avoid harsh chemicals; they can damage the shelf’s finish. Dry the shelf after cleaning to prevent moisture damage.
Checking Stability Over Time
Look at the shelf brackets and screws regularly. Tighten any loose screws to keep the shelf secure. Check the wall anchors for signs of wear or damage. Replace worn parts quickly to avoid accidents or falls.

Credit: tailorwoodhaven.com
Frequently Asked Questions
How Do I Choose The Right Wall For My Shelf?
Select a sturdy, flat wall with studs for support. Avoid drywall-only areas. Use a stud finder to locate studs before installation to ensure the shelf holds weight safely.
What Tools Are Needed To Build A Wall Shelf?
You need a drill, level, stud finder, screws, brackets, tape measure, pencil, and a saw. These tools help measure, cut, and securely mount the shelf to the wall.
How Do I Ensure My Shelf Is Level?
Use a spirit level or laser level during installation. Mark bracket positions carefully and check the shelf’s alignment before drilling or fixing to the wall.
What Materials Work Best For Wall Shelves?
Solid wood, plywood, or MDF are popular choices. Choose materials based on weight capacity and room style. Solid wood offers durability and a classic look.
Conclusion
Building a shelf on a wall is simpler than it seems. Start with the right tools and materials. Measure carefully to ensure a perfect fit. Secure the shelf firmly to avoid accidents. Take your time and follow each step clearly.
Enjoy your new shelf for books, plants, or decorations. A well-made shelf adds both function and style. Try this project to improve your space today.


