
Are you tired of cluttered spaces and looking for a stylish way to organize your books and decor? Building bookshelves on your wall can transform any room, adding both function and charm.
Imagine having a custom shelf that fits perfectly in your space and holds all your favorite reads. In this guide, you’ll discover simple steps to create sturdy, beautiful bookshelves—even if you’ve never done a project like this before. Keep reading, and you’ll soon be on your way to crafting shelves that make your room stand out and keep your belongings neatly displayed.
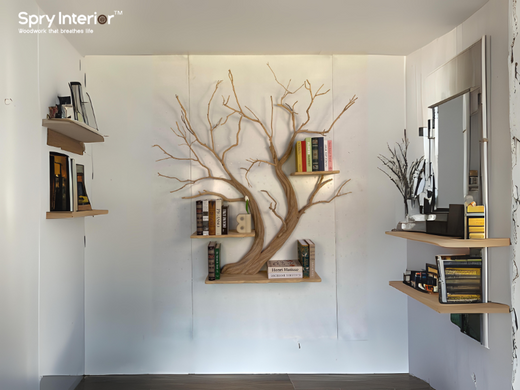
Credit: www.smorhome.com
Planning Your Bookshelf
Planning your bookshelf is the foundation of a successful project. It ensures the final result fits perfectly in your space and meets your storage needs. Taking time here will save you frustration and costly mistakes later.
Choosing The Right Wall
Not every wall is ideal for mounting bookshelves. Look for a wall that is sturdy and preferably made of solid wood studs or concrete. Drywall alone won’t hold heavy shelves and books without proper anchors.
Think about the wall’s location. Is it in a high-traffic area where shelves might get bumped? Or a quiet corner where your collection can shine? Also, consider natural light and how it might affect your books over time.
Measuring Space And Dimensions
Measure the height, width, and depth where you want the shelves carefully. Don’t forget to check for obstacles like electrical outlets, light switches, or baseboards. These can affect shelf placement and size.
Visualize how many books you want to store and their sizes. Tall art books need deeper shelves, while novels can fit on narrower ones. Ask yourself: Will you want to display decorative items alongside your books?
Selecting Materials And Tools
Choosing the right materials impacts both the look and durability of your shelves. Solid wood offers strength and a classic feel, while plywood can be a budget-friendly alternative. Think about paint or stain options for the finish.
Gather essential tools before you start: a drill, level, stud finder, screws, and brackets. Having everything ready will keep your work smooth and efficient. Do you have a trusted friend or neighbor who can lend a hand or tools?
Preparing The Wall
Preparing the wall is the first and most crucial part of building bookshelves. It sets the foundation for everything that follows. Taking time here can save you from costly mistakes and ensure your shelves hold up over time.
Locating Studs
Studs are the wooden beams behind your drywall that support the weight of your shelves. You want to attach your shelves to these studs for maximum strength.
Use a stud finder tool to locate them. Slowly slide it across the wall and mark the edges where the tool indicates a stud. The center between these edges is where you’ll want to screw in your brackets.
Without studs, your shelves might pull away from the wall under the weight of your books. Have you ever tried hanging something heavy just on drywall? It rarely ends well.
Marking Shelf Positions
Before drilling, decide exactly where your shelves will go. Use a pencil and a level to mark a straight, even line for each shelf position. This helps avoid crooked shelves that can throw off your entire setup.
Think about the height of your books or decorations. Do you want taller shelves for large art books or shorter ones for paperbacks? Mark these measurements on the wall clearly.
Double-check your marks before moving on. A slight misalignment here can become a big headache later.
Gathering Safety Equipment
Safety often gets overlooked, but it should be your top priority. Gather basic gear like safety goggles, gloves, and a dust mask before you start drilling.
Protecting your eyes from dust and debris is essential, especially if you’re sanding or cutting wood nearby. Gloves help prevent splinters and give you a better grip on tools.
Have you ever underestimated the mess or risk involved in a project? Taking simple safety steps upfront keeps your work area clean and your body safe.
Cutting And Assembling Shelves
Cut wood pieces carefully to fit your wall space. Join the shelves firmly using screws or brackets for strong support. Ensure each shelf is level before securing it to the wall.
Creating a bookshelf that perfectly fits your wall space is an exciting project. It not only saves you money but also gives you a custom piece tailored to your style and needs. The journey from raw wood to a finished shelf requires precision and care, especially during the cutting and assembling process. By following some practical steps, you can ensure your shelves are both functional and beautiful.Cutting Wood To Size
Accurate measurements are key. Start by measuring your wall space where the shelves will be installed. Use these dimensions to mark the wood, ensuring each piece is cut to fit seamlessly. It’s a good idea to double-check measurements before cutting to avoid costly mistakes. A circular saw is ideal for cutting straight lines. Always wear safety goggles and follow safety protocols. If you don’t own a saw, many hardware stores offer cutting services—just bring your measurements!Sanding And Finishing
Once cut, it’s time to smooth out the edges. Sanding the wood removes splinters and prepares it for finishing. Use medium-grit sandpaper first, followed by a finer grit for a smooth surface. Consider the finish that matches your decor. You might opt for a natural stain to highlight the wood grain or a splash of color for a modern look. Finish by applying a sealant to protect the wood from wear and tear.Assembling Shelf Components
With your pieces cut and finished, it’s time to assemble. Lay out all components and ensure everything fits as planned. This is a good time to decide on the arrangement of each shelf. Use wood glue and screws to secure the pieces together. A clamp can hold pieces in place while the glue dries. Pay attention to alignment to ensure a professional finish. Have you considered adding brackets or a back panel for extra support? These small touches can enhance stability and style. Building bookshelves on a wall can be a rewarding DIY project. What personal touches will you add to make your shelves uniquely yours?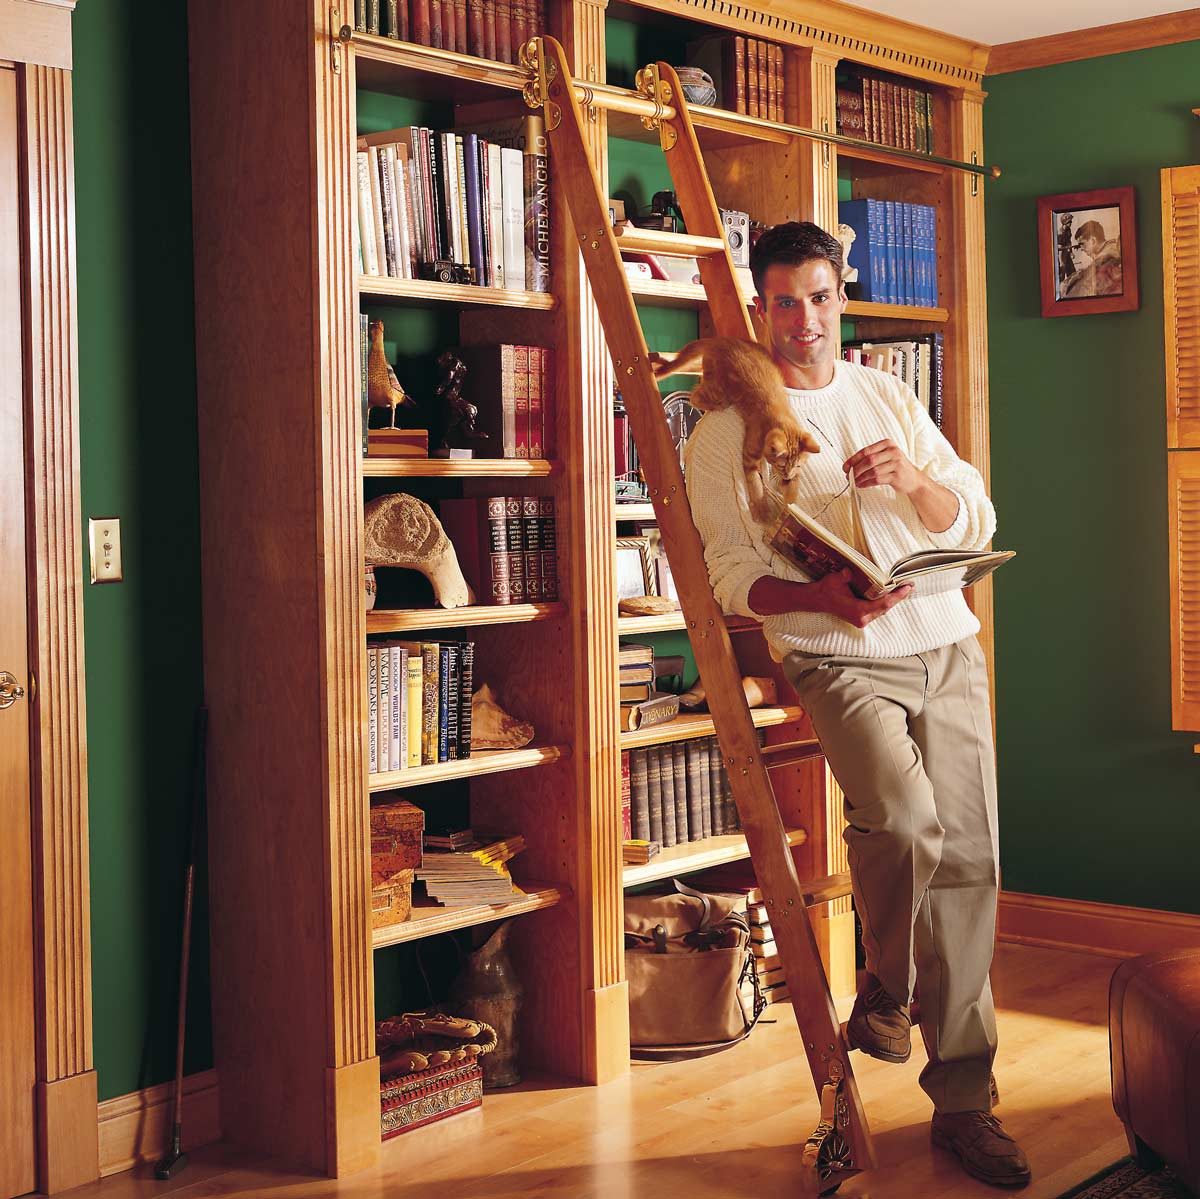
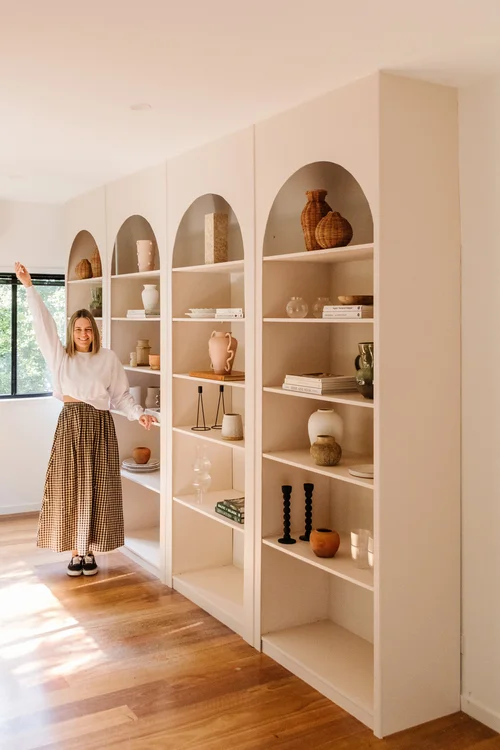
Credit: www.familyhandyman.com
Mounting The Shelves
Mounting the shelves securely on your wall is a crucial step that ensures both safety and style. It’s not just about placing wood on brackets; it’s about making sure your shelves can hold weight and stay put over time. You want your books and decor to be supported without any wobble or risk of falling.
Drilling Pilot Holes
Start by marking the exact spots where the screws will go. Use a level to keep everything perfectly straight—nothing throws off a room like crooked shelves.
Drilling pilot holes prevents the wall or wood from splitting. Choose a drill bit slightly smaller than your screws. This small step makes the installation smoother and more secure.
Installing Brackets Or Supports
Pick sturdy brackets that match your shelf size and weight needs. Metal brackets offer strong support, while wooden ones can blend better with your shelf design.
Attach the brackets to the wall using the pilot holes you drilled. Make sure each bracket is flush against the wall and firmly screwed in. This is the backbone of your shelving system.
Securing Shelves To The Wall
Once the brackets are in place, position your shelves on top. Check if they sit evenly and adjust if necessary.
Use screws or small nails to fix the shelves to the brackets. This prevents any sliding or tipping when you add books or decorations.
Have you thought about how much weight your shelves need to hold? Choosing the right anchors and screws for your wall type can make all the difference in durability and safety.
Finishing Touches
Finishing touches can transform your newly built bookshelves from simple storage into a stunning feature of your room. These final steps are where you can truly personalize your shelves, enhancing both their look and function. Paying attention to these details ensures your bookshelves blend seamlessly with your space and reflect your style.
Painting Or Staining
Choosing the right paint or stain can make a huge difference in your bookshelf’s appearance and durability. If you want a modern look, try a matte or satin finish in neutral colors like white, gray, or black. For a warmer, classic feel, staining the wood enhances its natural grain and adds richness.
Think about your room’s existing colors and lighting when deciding. Have you noticed how a dark stain can make a bookshelf feel like a cozy nook, while a bright paint color can make it pop as a focal point? Always apply a primer before painting for better adhesion and longer-lasting results.
Adding Decorative Elements
Decorative touches can make your shelves unique and invite guests to explore your collection. Consider adding trim or molding along the edges to give your shelves a polished, built-in look. You can also install LED strip lights underneath each shelf to highlight your books and create ambiance.
Small hardware like stylish knobs or brackets can also add character. What about mixing materials—metal brackets with wooden shelves—for an industrial vibe? These elements don’t just beautify; they also add personality and depth to your space.
Organizing Your Books
How you arrange your books can affect both the look and usability of your shelves. Group books by genre, color, or size to create visual harmony and make finding titles easier. Don’t hesitate to leave space for decorative items or plants to break up rows of books and add interest.
Try stacking some books horizontally to create varied heights and surfaces for displaying objects. Have you ever noticed how a well-organized shelf invites you to pick up a book? Your arrangement can encourage more reading and enjoyment of your collection.
Troubleshooting Common Issues
Building bookshelves on a wall can be rewarding but might bring some challenges. Troubleshooting common issues helps keep your shelves strong and stable. This section covers how to fix typical problems like wobbly shelves, uneven walls, and weight support. Simple solutions improve safety and shelf durability.
Fixing Wobbly Shelves
Wobbly shelves feel unsafe and can damage your books. Tighten all screws and brackets first. Use a level to check shelf balance. Add corner braces under the shelf for extra support. Make sure brackets are firmly attached to wall studs. Avoid relying only on drywall anchors for heavy loads.
Dealing With Uneven Walls
Uneven walls cause shelves to tilt or gaps to appear. Use shims made of wood or plastic to fill gaps between the shelf and the wall. Measure carefully to place shims where needed. Sand or trim shims to fit tightly. Check shelf level after adding shims. This creates a flush, stable surface for your shelves.
Ensuring Weight Support
Bookshelves must hold weight without bending or falling. Find wall studs with a stud finder for strong anchoring. Use heavy-duty brackets rated for your shelf size and load. Distribute weight evenly across shelves. Avoid placing too many heavy items on one spot. Regularly inspect shelves for signs of stress or damage.

Credit: tailorwoodhaven.com
Frequently Asked Questions
How Do I Choose The Right Wall For Bookshelves?
Choose a sturdy wall with enough space and studs to support shelves. Avoid walls with pipes or wires inside. Measure the area carefully before starting the build.
What Tools Are Needed To Build Wall Bookshelves?
You need a stud finder, drill, level, saw, screws, brackets, and measuring tape. These tools help ensure accurate, secure, and straight bookshelf installation.
How Do I Secure Bookshelves To The Wall Safely?
Use wall anchors or screw directly into studs for stability. Ensure shelves are level and brackets are firmly attached to prevent accidents.
What Type Of Wood Is Best For Bookshelves?
Choose hardwoods like oak, maple, or pine for durability and aesthetics. These woods support heavy books and look attractive in any room.
Conclusion
Building bookshelves on a wall adds space and style to any room. Start with a clear plan and the right tools. Measure carefully to fit your space perfectly. Secure shelves well to hold your books safely. Take your time and work step by step.
Enjoy the satisfaction of your new, custom shelves. This simple project can improve your home quickly. Try it and see how much space you save. A little effort makes a big difference.


