
Are you ready to transform your space with stickers but unsure how to place them perfectly? How you colocate stickers on your wall can make all the difference between a chaotic look and a stunning display.
Imagine stepping into a room where every sticker complements the other, creating harmony and style that catches every eye. In this guide, you’ll discover simple, practical tips that anyone can follow to arrange stickers like a pro. Keep reading, and you’ll unlock the secret to turning your walls into captivating art that reflects your personality.
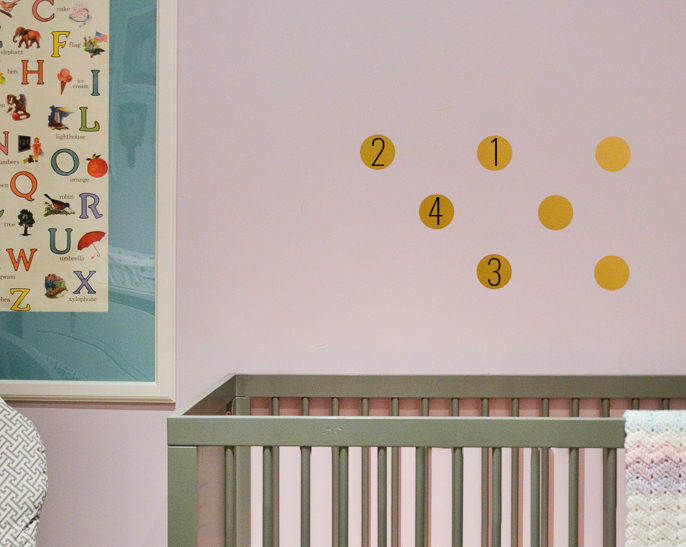
Credit: mejmej.com
Choosing The Right Wall
Choosing the right wall is key to making your stickers stick well and look great. Not every wall surface welcomes stickers the same way, and a poor choice can lead to peeling or damage. Let’s break down how to find the perfect spot for your wall stickers.
Surface Types And Suitability
Not all walls are created equal when it comes to sticking stickers. Smooth surfaces like painted drywall, glass, or tiles provide the best grip. Rough or textured surfaces such as brick, stucco, or wallpaper can cause your stickers to peel off quickly.
Think about your wall’s texture before applying. Have you ever tried sticking a sticker on a textured wall only to watch it curl at the edges? Avoid this frustration by testing a small sticker piece first.
Assessing Wall Cleanliness
Clean walls are essential for stickers to adhere properly. Dust, grease, or dirt create a barrier that weakens the bond. Take a moment to wipe the wall with a damp cloth and mild soap, then let it dry completely before applying your sticker.
Have you noticed stickers falling off just days after putting them up? Often, it’s because the wall wasn’t cleaned thoroughly. This simple step saves time and keeps your stickers looking fresh longer.
Avoiding High-humidity Areas
Humidity can ruin sticker adhesion by softening the glue. Areas like bathrooms or kitchens often have moisture in the air that causes stickers to peel or bubble. Choose a dry spot where humidity levels are low and consistent.
Have you ever found a sticker lifting off near a sink or shower? That’s the moisture at work. Keep your stickers happy by placing them in rooms with stable humidity or using special waterproof stickers if moisture is unavoidable.
Preparing Your Stickers
Preparing your stickers is a key part of creating a neat and lasting wall display. Taking time to get your stickers ready ensures they stick well and look great. It helps avoid bubbles, wrinkles, and misplacement. Careful preparation also saves time and frustration during the application process.
Peeling Techniques
Peeling stickers slowly prevents damage. Start from one corner and lift gently. Avoid pulling too hard to keep the sticker intact. Use your fingernail or a plastic tool to separate the sticker from its backing. This helps maintain the shape and adhesive quality.
Testing Adhesion
Test your sticker on a small wall spot first. Press lightly to check if it sticks well. This step prevents surprises like peeling or falling off later. If the sticker does not stick, clean the wall surface or try another location. Good adhesion is essential for a long-lasting display.
Organizing Sticker Layout
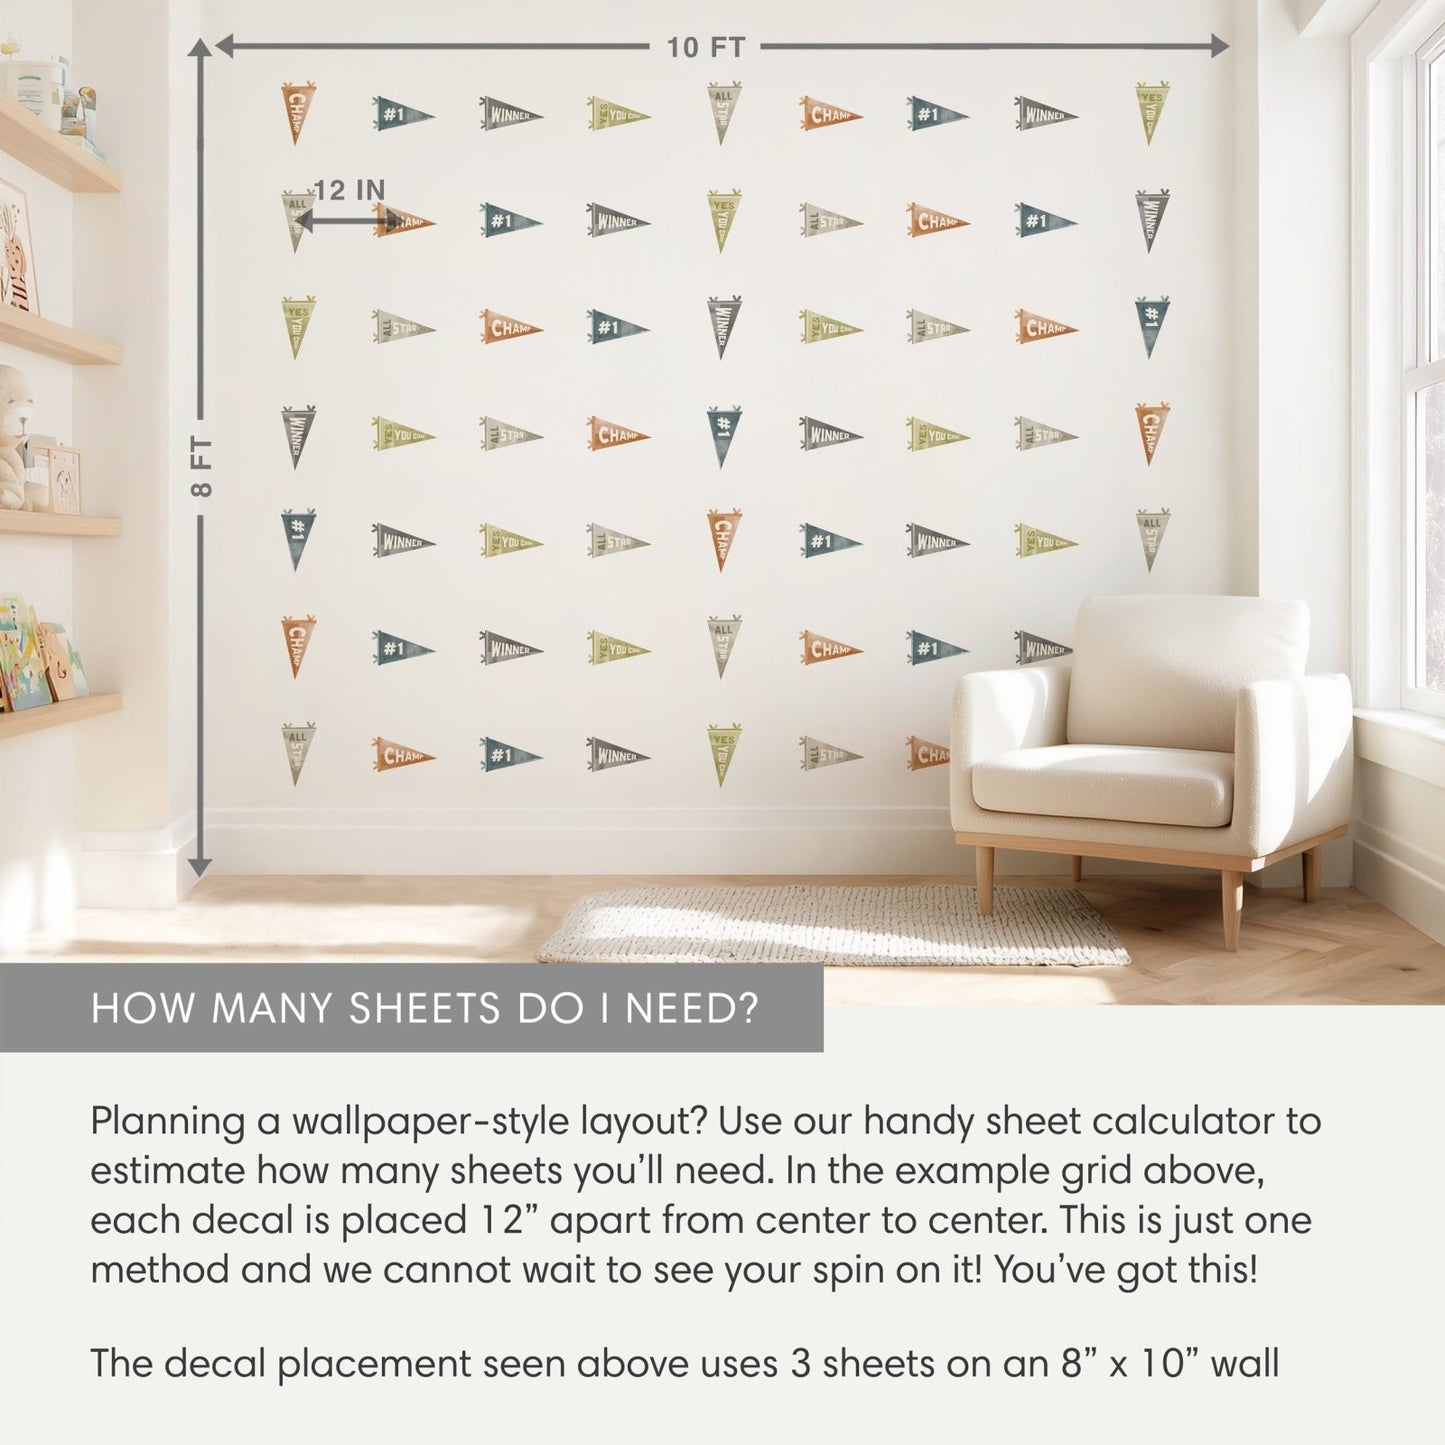
Arrange your stickers on a flat surface before placing them on the wall. This helps visualize the final look. Move stickers around to find the best spacing and alignment. Use a ruler or tape measure for even gaps. Plan the layout to avoid mistakes and create a balanced design.
Planning Sticker Placement
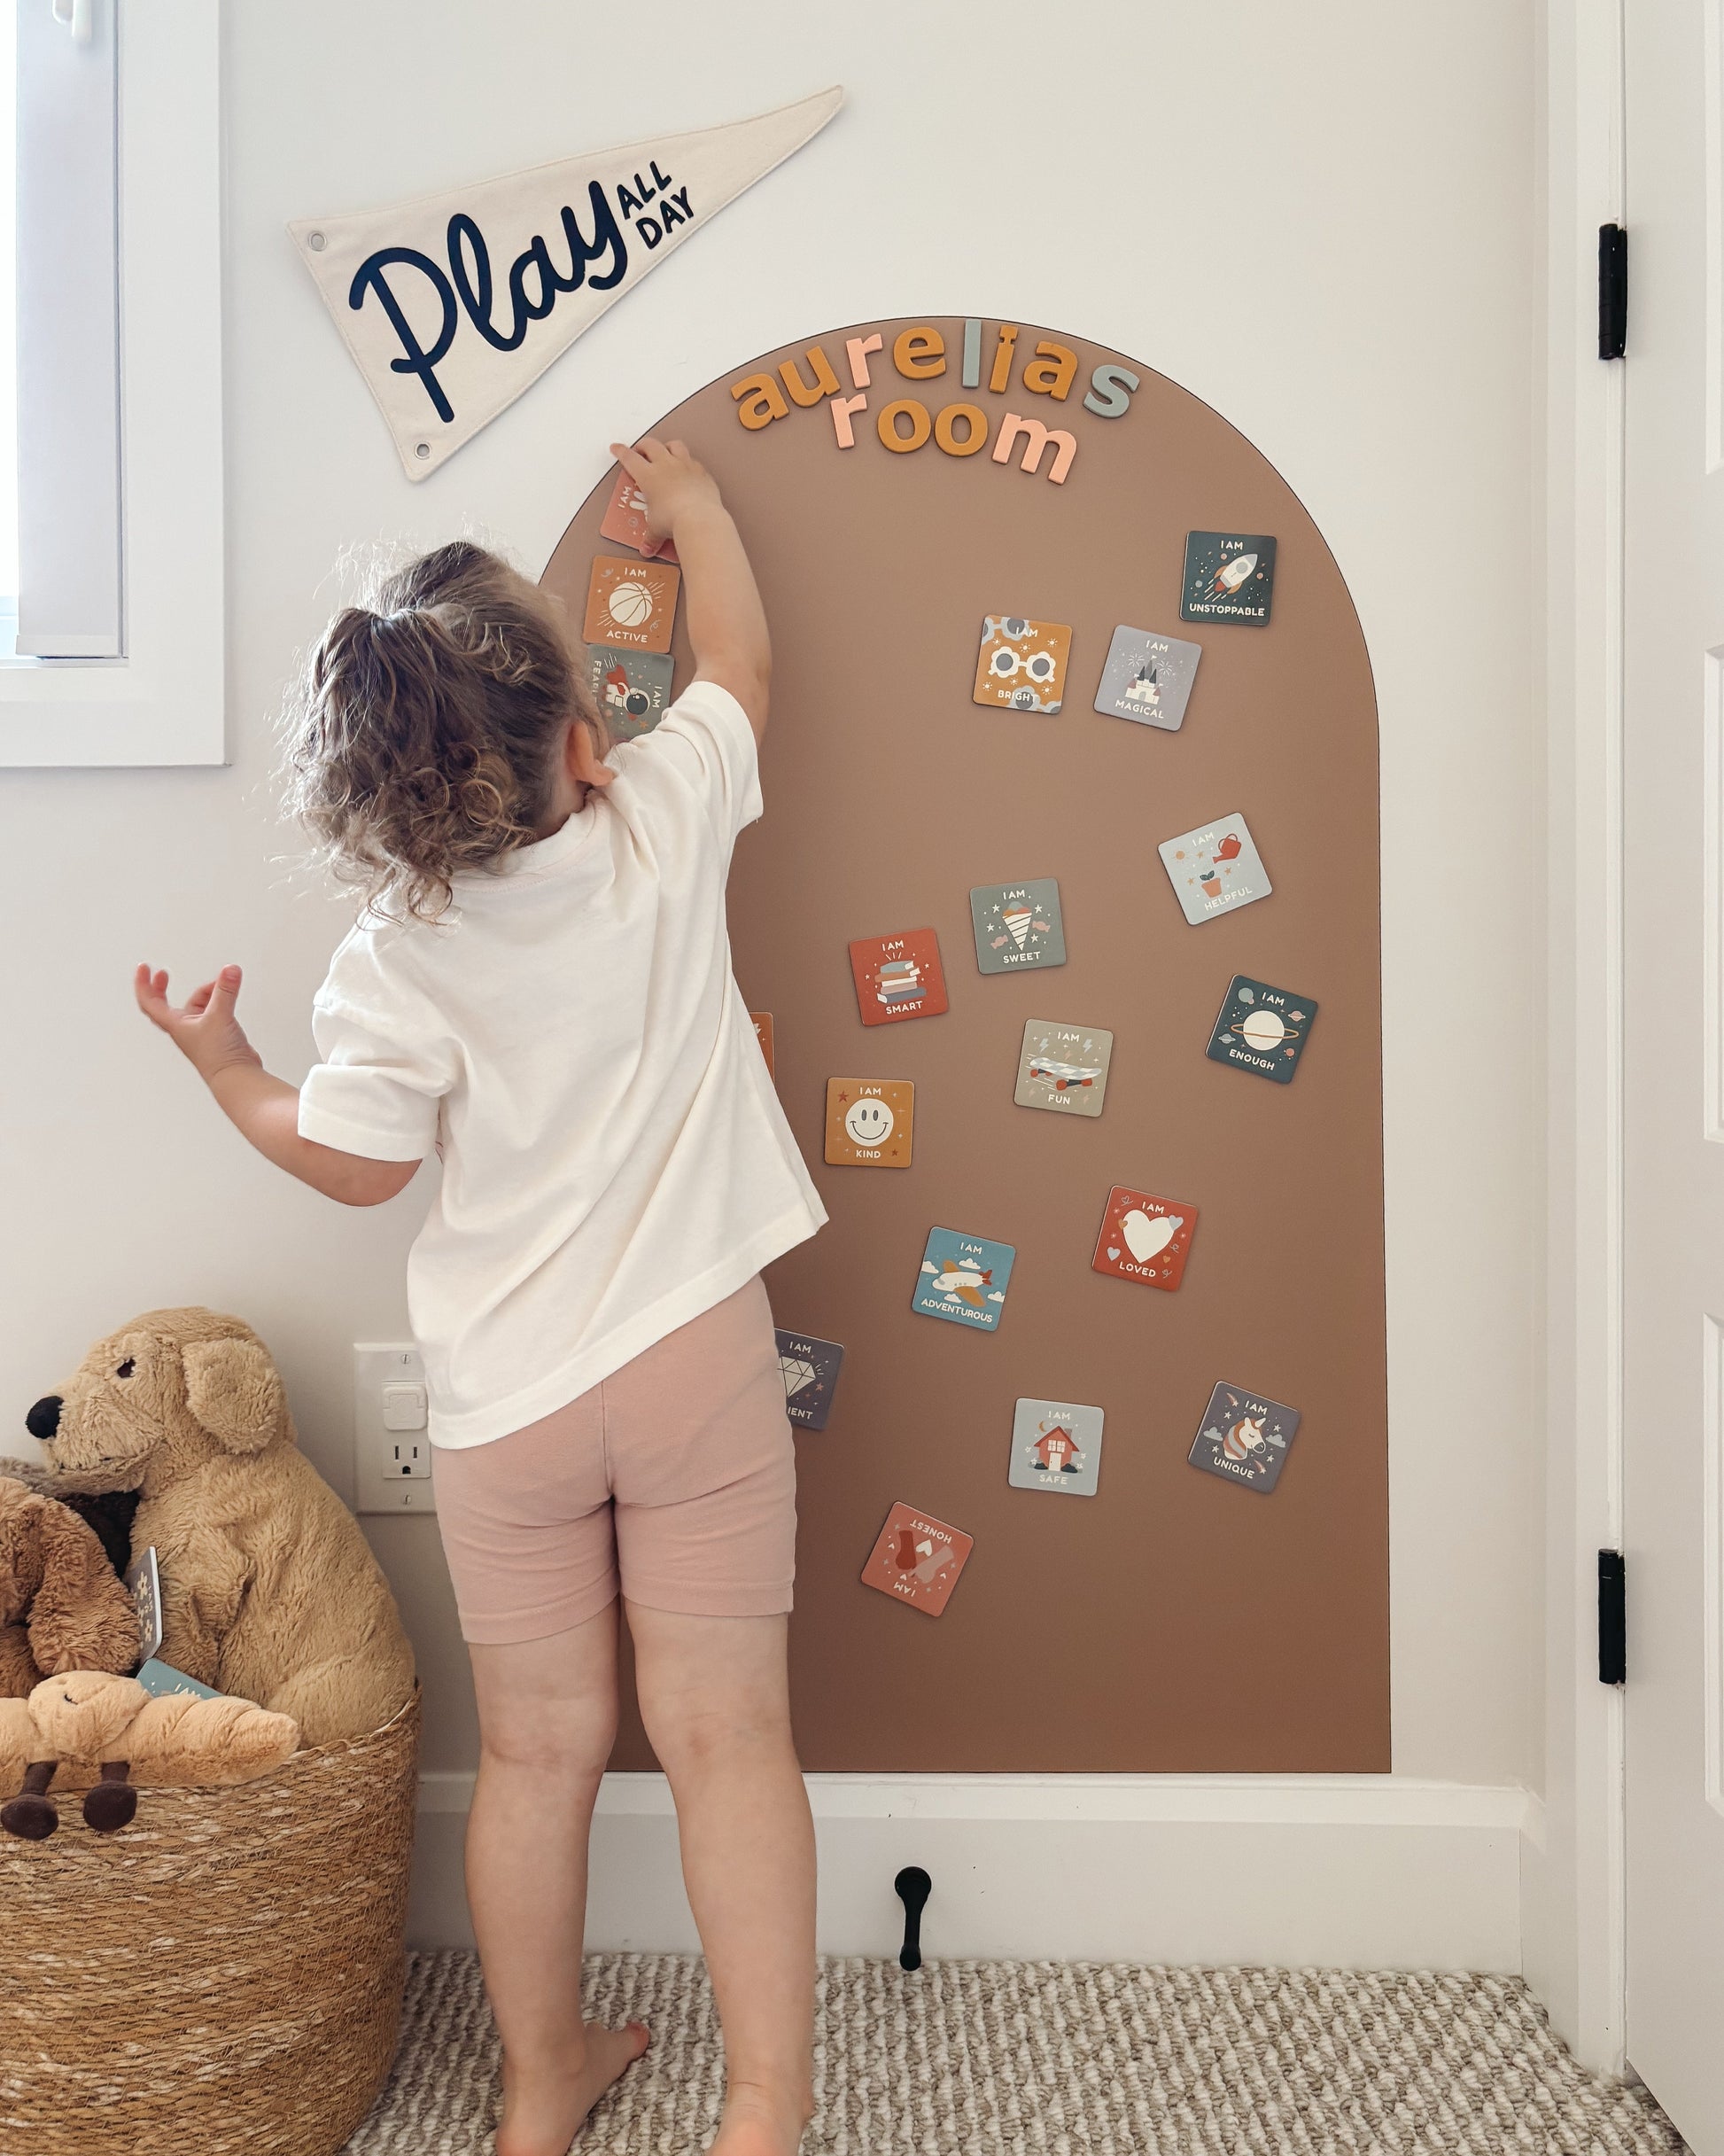
Planning sticker placement is crucial for a cohesive wall design. It ensures stickers enhance the room’s aesthetic. Careful planning prevents clutter and chaos. Consider size, color, and shape when arranging stickers. Thoughtful placement creates harmony and balance.
Creating A Mock Layout
Create a mock layout before sticking anything. Use paper cutouts to mimic sticker sizes. Arrange them on the wall using tape. Adjust positions until satisfied with the design. This helps visualize the final look. It allows easy changes without damaging stickers.
Using Measuring Tools
Use measuring tools for precise placement. A ruler or measuring tape helps maintain spacing. Level tools ensure stickers are straight. Consistent spacing creates a professional appearance. Even simple tools enhance the overall look.
Balancing Colors And Shapes
Balance colors and shapes for visual appeal. Mix bright and neutral colors for contrast. Alternate large and small stickers for variety. Distribute colors evenly across the wall. Avoid clumping similar shapes together. This balance prevents monotony and enhances interest.
Credit: shopcherrypick.com
Applying Stickers Smoothly
Applying stickers smoothly can make a big difference in how professional and neat your wall decoration looks. The key is to avoid wrinkles, bubbles, and misalignment. With a bit of care and the right approach, you can achieve a flawless finish that lasts.
Starting From The Center
Begin by positioning your sticker at the center of the intended area. This helps ensure that the sticker is evenly placed and balanced on the wall.
Peel off a small section of the backing paper from the middle, then press the sticker gently onto the wall. Gradually peel away the rest of the backing while smoothing outward toward the edges.
This technique prevents uneven adhesion and reduces the chance of air pockets forming underneath. Have you ever noticed a sticker looking crooked or peeling at the edges? Starting from the center can prevent that.
Removing Air Bubbles
Air bubbles are the most common problem during sticker application. Use a flat edge, like a credit card or a plastic squeegee, to push bubbles toward the edges.
If you find stubborn bubbles, try gently lifting the sticker near the bubble and reapplying it while smoothing out the air. You can also prick tiny bubbles with a needle and press out the trapped air.
Patience is important here. Taking your time to smooth out every bubble ensures your sticker stays put without distracting bumps.
Using Application Tools
Application tools can make a noticeable difference in the smoothness of your sticker. A squeegee or a plastic card helps apply even pressure and eliminates wrinkles.
- Use a felt-edged squeegee to avoid scratching delicate sticker surfaces.
- Work slowly from the center outward to push out air.
- Keep the tool clean to prevent dust or dirt from getting trapped.
These tools take the guesswork out of applying pressure and give you more control. Have you tried applying stickers without any tool? You might find that a simple card can save a lot of frustration.
Maintaining Sticker Longevity
Keeping stickers looking fresh on your wall takes some care. Small habits can help stickers last longer and stay vibrant. A few simple steps can protect stickers from damage and fading.
Cleaning Around Stickers
Clean the wall gently around stickers using a soft cloth. Avoid scrubbing directly on the sticker surface. Dust and dirt can be removed with a dry or slightly damp cloth. Harsh cleaners or water can weaken the sticker’s adhesive.
Avoiding Direct Sunlight
Place stickers where sunlight does not hit them for long. Sunlight can cause colors to fade and edges to peel. Use curtains or blinds to protect stickers from strong light. Cooler areas help stickers hold their stickiness longer.
Touching Up Edges
Check sticker edges for lifting or curling regularly. Press edges down gently to keep them stuck. Use a small amount of clear glue for loose corners. Keep stickers smooth to prevent dirt buildup under edges.

Credit: yourdecalshop.co.nz
Frequently Asked Questions
How Do I Prepare The Wall For Sticker Placement?
Clean the wall with a damp cloth to remove dust and grease. Ensure the surface is dry and smooth before applying stickers. Avoid textured or rough walls for best adhesion.
What Tools Are Needed To Colocate Stickers On The Wall?
You need a clean cloth, a level, a ruler, and a squeegee or credit card. These tools help align and smooth out stickers without bubbles or wrinkles.
Can I Reposition Stickers After Placing Them On The Wall?
Yes, gently peel and reposition stickers within minutes. Avoid stretching or tearing. For best results, apply slowly and carefully to minimize repositioning.
How Do I Avoid Air Bubbles Under Wall Stickers?
Apply stickers slowly from one edge to the other. Use a squeegee or card to smooth out bubbles immediately. Small bubbles can be popped with a pin carefully.
Conclusion
Placing stickers on the wall can be fun and easy. Plan the design first to avoid mistakes. Clean the wall to help stickers stick well. Peel slowly and press firmly for best results. Use a ruler or tape to keep stickers straight.
Take your time to enjoy the process. Your walls will look fresh and creative. Try different patterns to express your style. Small steps lead to great decoration. You can change stickers anytime without damage. Simple tips make your space feel new.
Give your room a personal touch today.


