
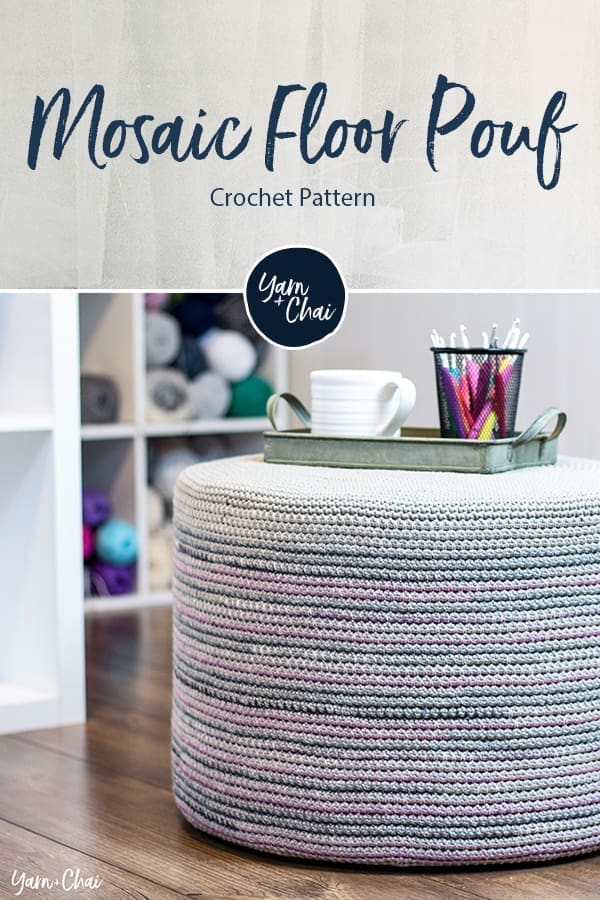
Are you looking for a fun and creative way to add a cozy touch to your living space? Learning how to crochet a floor pouf is easier than you think, even if you’re a beginner.
This project lets you make a stylish and comfy piece that fits perfectly in any room. Imagine relaxing on a soft, handmade pouf that you crafted yourself—sounds great, right? Keep reading, and you’ll discover simple steps and tips to create your own floor pouf, turning your home into a warm and inviting place with your own hands.
Let’s get started!
Materials Needed
Gathering the right materials is key to crochet a floor pouf easily. Knowing what you need saves time and keeps your project smooth. Use good quality tools and yarn for a neat finish and durability.
Yarn Selection
Choose thick, sturdy yarn for a floor pouf. Bulky or super bulky yarn works best. Cotton and acrylic blends offer strength and easy care. Pick colors that match your home style. Avoid thin yarn; it won’t hold shape well.
Choosing The Right Hook
Pick a crochet hook size that matches your yarn. Usually, a large hook between 8mm and 12mm fits bulky yarn. A bigger hook makes stitches loose and soft. Smaller hooks make tight, stiff stitches. Check yarn label for hook size advice.
Additional Supplies
- Stuffing material like polyester fiberfill or old cushions
- Scissors for cutting yarn
- Tapestry needle for weaving in ends
- Measuring tape to keep size right
- Stitch markers to track rounds
Credit: yarnandchai.com
Basic Crochet Stitches
Mastering basic crochet stitches is essential for creating your own floor pouf. These stitches form the foundation of every project, making complex patterns easier to handle. Understanding and practicing these stitches will boost your confidence and improve your crochet skills.
Chain Stitch
The chain stitch is the starting point for nearly every crochet project. It creates a foundation row that you build upon with other stitches. To make a chain stitch, you loop the yarn over your hook and pull it through the loop already on the hook.
Think of it as making a simple chain of loops. It might feel tricky at first, but with practice, your fingers will get the rhythm. Try making a chain of 20 stitches and see how consistent you can keep the size of each loop.
Single Crochet
The single crochet stitch is one of the most basic and versatile stitches you’ll use for your floor pouf. It produces a tight, dense fabric, perfect for something that needs to hold its shape. To do a single crochet, insert your hook into the stitch, yarn over, pull up a loop, yarn over again, and pull through both loops on the hook.
This stitch might feel slow at first, but it creates a sturdy texture. Practice by making a square piece of fabric. Notice how the evenness of your stitches affects the final look and strength of your pouf.
Slip Stitch
The slip stitch is a simple but powerful stitch used to join rounds or move your yarn across stitches without adding height. It looks like a tiny, almost invisible stitch but keeps your work neat. To make a slip stitch, insert your hook into the stitch, yarn over, and pull the loop through both the stitch and your hook in one motion.
It’s especially handy for closing your pouf rounds or moving to a new position. Practicing this stitch helps you avoid awkward gaps and keeps your project looking clean. Have you noticed how a neat edge changes the overall appearance of your crochet work?
Starting The Pouf
Starting a crochet floor pouf is exciting and rewarding. This beginner-friendly project adds charm to any room. Let’s dive into the initial steps to crochet your own pouf.
Creating A Magic Ring
The magic ring is essential for starting the pouf. It creates a neat circle, perfect for this project. To begin, wrap the yarn around your fingers. Then, pull the loop through to form a ring. Secure it with a slip knot. This forms the base for your stitches.
Practice this step until you feel comfortable. The magic ring technique is key to seamless crochet projects.
Crocheting The Base
With your magic ring ready, start crocheting the base. Use single crochet stitches to fill the ring. Keep your stitches tight and even for a smooth finish.
After completing the first round, close the ring. This creates a sturdy foundation for the pouf. Continue crocheting in the round, increasing stitches as needed. Each round adds size to the base.
Keep your tension consistent throughout. A consistent tension ensures the base remains flat and even. With practice, your base will grow into a beautiful crochet pouf.

Credit: yarnandchai.com
Building The Sides
Building the sides of your crochet floor pouf shapes its height and overall look. This part gives the pouf its round, sturdy form. Pay close attention to stitch count and tension. These factors keep the sides even and well-structured.
Increasing Stitches
Increasing stitches helps the sides grow wider without curling. Add new stitches gradually for a smooth curve. Too many increases can cause bumps or waves. Keep your increases spaced evenly in each round.
- Start with a base stitch count matching the bottom circle.
- Add increases by crocheting two stitches in one stitch.
- Place increases evenly around the circle.
- Increase less as the sides get taller to keep shape.
Maintaining Shape
Maintaining the pouf’s shape requires steady tension. Use the same yarn thickness and hook size throughout. Check your work often by holding the piece up. Adjust your stitch tightness to prevent loose or tight spots.
- Count stitches regularly to avoid mistakes.
- Keep your tension consistent for even sides.
- Use stitch markers to track rounds.
- Stop increasing when sides reach desired height.
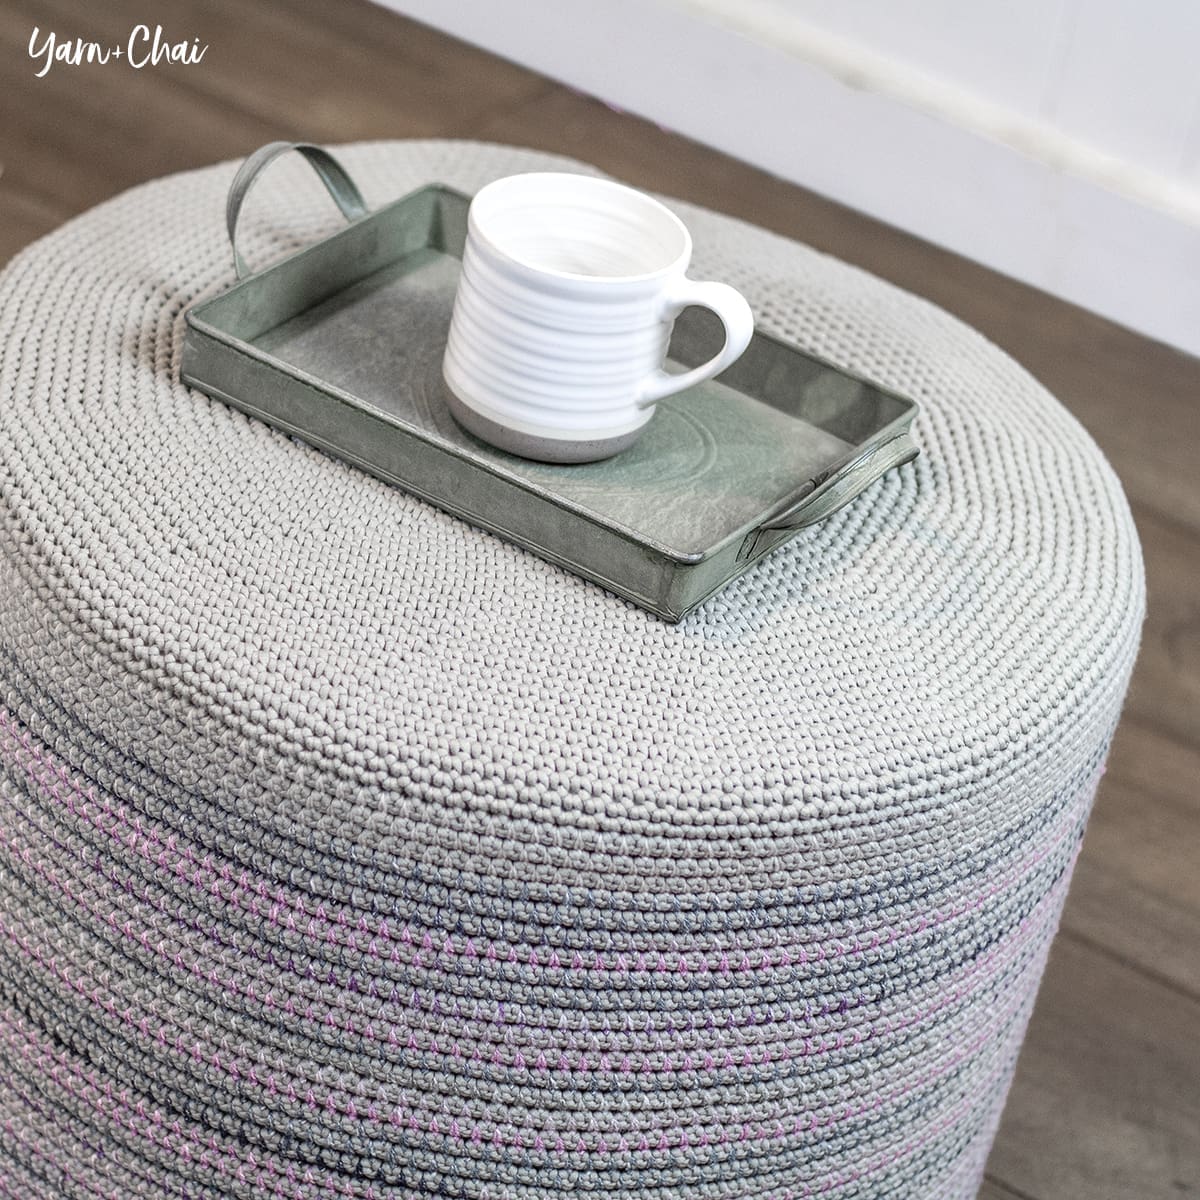
Crocheting The Top
Crocheting the top of your floor pouf is a crucial step that sets the tone for the entire piece. This part, often called the lid, not only completes the pouf but also determines how well it holds its shape and fits with the sides. Getting the top right can make your pouf look professional and inviting.
Shaping The Lid
Start by crocheting a flat circle that matches the diameter of your pouf’s body. Keep an eye on your stitch count to ensure the circle stays flat and doesn’t curl up or ruffle. You can do this by increasing stitches evenly in each round, usually adding 6 stitches per round for standard crochet.
If the circle starts to curl, try adding more stitches evenly. If it ruffles, reduce the number of increases. Trust your hands and eyes here—feeling the tension and watching the shape will guide you better than any pattern alone.
Finishing Touches
After shaping the lid, make sure to weave in all yarn ends neatly to prevent unraveling. Adding a border with single or slip stitches can give your pouf a clean and sturdy edge. This border also helps the lid sit snugly on top without slipping off.
Have you thought about adding a handle or decorative button to the center? This small detail can make your pouf easier to move and add a personal touch. Don’t hesitate to experiment with colors or textures here to match your room’s style.
Stuffing And Assembly
Stuffing and assembly are key to making a comfortable and sturdy floor pouf. Proper stuffing gives the pouf shape and softness. Assembling the parts well ensures durability and a neat finish. This section covers how to pick the right stuffing and how to join your crocheted pieces.
Choosing Stuffing Material
Pick stuffing that holds shape but feels soft. Polyester fiberfill is popular for poufs. It is lightweight and easy to work with. Foam pieces provide firm support and last longer. Old clothes or fabric scraps make a budget-friendly option. Avoid stuffing that is too heavy or stiff. Consider allergies when choosing natural or synthetic fillers.
- Polyester fiberfill: soft, light, easy to shape
- Foam chunks: firm, supportive, durable
- Fabric scraps: eco-friendly, affordable
Joining Pieces Together
Use a yarn needle and matching yarn to sew pieces. Whip stitch or mattress stitch work well for seams. Keep stitches tight but not too tight to avoid puckering. Begin assembly by aligning edges of each piece carefully. Sew pieces one by one, leaving an opening for stuffing.
After stuffing, close the opening with the same stitch. Check all seams for gaps or loose threads. Reinforce corners and stress points with extra stitches. Proper joining keeps your pouf strong and neat.
Care And Maintenance
Taking care of your crochet floor pouf helps it stay beautiful and last longer. Regular maintenance prevents dirt buildup and damage. Simple habits keep your pouf fresh and sturdy.
Cleaning Tips
Use a soft brush or vacuum to remove dust regularly. Spot clean stains with a damp cloth and mild soap. Avoid soaking the pouf to protect the yarn and stuffing. Let it air dry completely before use. Keep the pouf away from direct sunlight to avoid fading.
Repairing Small Damages
Fix loose stitches right away to stop unraveling. Use a matching yarn and needle to sew holes gently. Trim any frayed ends carefully to prevent further damage. Check your pouf often to catch small problems early. This simple care keeps your pouf looking neat and strong.

Credit: yarnandchai.com
Tips For Beginners
Starting your journey to crochet a floor pouf can feel overwhelming, but a few smart tips can make the process smoother and more enjoyable. Focusing on practical advice helps you avoid frustration and keeps your motivation high. Let’s look at some key pointers that will set you up for success and help you grow your skills.
Avoiding Common Mistakes
One common mistake beginners make is pulling the yarn too tight. This can make your stitches hard to work with and your pouf uneven. Try to keep your tension consistent—neither too tight nor too loose.
Another issue is skipping stitch counts. It’s easy to lose track, especially in rounds. Use stitch markers to mark the beginning of each round. This small habit saved me from unraveling hours of work once!
Also, don’t rush through your project. Slow down and check your work regularly. Catching errors early saves time and frustration later.
Improving Crochet Skills
Practice is the best way to improve. Set aside a few minutes each day to work on simple stitches before tackling the pouf. This builds muscle memory and confidence.
Watch video tutorials to see the stitches in action. Sometimes, seeing the motion makes a big difference in understanding. Have you noticed how watching someone else crochet clears up confusion faster than reading instructions?
Join online communities or local crochet groups. Sharing your progress and asking questions connects you with others who can offer helpful tips and support. This interaction helped me stay motivated through my first big project.
- Try different yarn types to find what feels comfortable.
- Experiment with various hook sizes to see how they affect your stitches.
- Don’t hesitate to redo a section if it doesn’t look right.
Each small improvement brings you closer to creating a beautiful, cozy floor pouf that you can be proud of.
Frequently Asked Questions
What Materials Do I Need To Crochet A Floor Pouf?
To crochet a floor pouf, you need bulky yarn, a large crochet hook, stuffing material, and a yarn needle. These basic supplies help create a sturdy and comfortable pouf for your home.
How Long Does It Take To Crochet A Floor Pouf?
Crocheting a floor pouf takes about 6 to 10 hours for beginners. The time varies based on skill level and the pattern’s complexity.
Can Beginners Easily Crochet A Floor Pouf?
Yes, beginners can crochet a floor pouf by following simple patterns. It’s a great project to practice basic stitches and improve skills.
How Do I Stuff A Crochet Floor Pouf Properly?
Use polyester fiberfill or old fabric scraps to stuff your pouf. Fill it evenly to maintain shape and comfort.
Conclusion
Crocheting a floor pouf is a fun and useful skill. It adds comfort and style to any room. You only need basic tools and simple stitches to start. Practice regularly to improve your technique and speed. This project suits beginners and helps build confidence.
Enjoy making a cozy, handmade pouf for your home. Keep exploring new patterns as you grow. Your creativity can make unique, beautiful pieces. Happy crocheting!


