
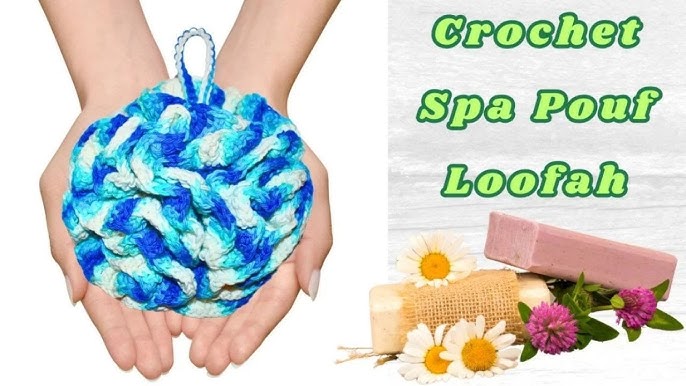
Are you looking for a simple way to add a touch of handmade charm to your bathroom? Learning how to crochet a very easy bath pouf is the perfect project for you.
Not only will you create something beautiful and useful, but you’ll also enjoy the satisfaction of making it yourself. Imagine having a soft, fluffy bath pouf that’s just the right size, made by your own hands. In this guide, you’ll find clear, step-by-step instructions that anyone can follow—even if you’ve never crocheted before.
Keep reading, and you’ll be amazed at how quickly you can make your own cozy bath pouf that feels great on your skin and looks fantastic in your bathroom.
Materials Needed
Gathering the right materials is key to making a bath pouf that’s both soft and durable. The right yarn, hook, and extras can make your crocheting experience smooth and enjoyable. Let’s break down what you’ll need to get started on your easy bath pouf.
Yarn Selection
Choosing the right yarn affects your pouf’s texture and longevity. Look for acrylic or nylon yarn because they dry quickly and resist mildew better than cotton. You want a yarn that feels soft on your skin but also holds its shape after many uses.
Think about the color too—bright hues can brighten your bathroom, but neutral tones blend well with most decor. Have you checked if the yarn is machine washable? That’s a big plus for bath items.
Crochet Hook Size
The size of your crochet hook changes how tight or loose your stitches turn out. For bath poufs, a medium-sized hook, usually between 5mm and 6.5mm, works best. It’s big enough to create a fluffy texture without gaps that reduce scrubbing power.
If your stitches are too tight, the pouf might feel stiff. Too loose, and it won’t hold its shape well. Experiment a bit to find a comfortable balance that suits your yarn.
Additional Supplies
- Scissors:You’ll need sharp ones to cut yarn cleanly.
- Tapestry Needle:This helps weave in yarn ends neatly.
- Stitch Markers:Useful for keeping track of rounds, especially if you’re new to crocheting.
- Optional: A hanging loop:Some poufs include a loop for easy drying and storage. You can crochet a small chain for this.
Do you have these supplies ready? If not, gathering them now will save frustration later. Trust me, having everything at hand makes your project flow smoothly.
Credit: www.craftpassion.com
Basic Crochet Stitches
Before you start crocheting your very easy bath pouf, it’s important to get comfortable with the basic crochet stitches. These stitches build the foundation of your project and make the process smoother. Mastering them will save you time and frustration as you create your bath pouf.
Chain Stitch
The chain stitch is the starting point of almost every crochet project. It creates a simple, flexible foundation for your work. You make it by looping the yarn over your hook and pulling it through the loop already on the hook.
Try to keep your chains even in tension—too tight and your work becomes stiff, too loose and it looks sloppy. Have you noticed how the chain stitch feels like the backbone of your project? Getting comfortable with it helps you build all other stitches easily.
Single Crochet
Single crochet is one of the most basic and useful stitches you will use in your bath pouf. It forms a tight, dense fabric that holds shape well. To make it, insert your hook into the stitch, yarn over, pull through, yarn over again, and pull through both loops on your hook.
When I first learned this stitch, I struggled with keeping tension consistent. Once I focused on relaxing my hands, my stitches looked much neater. Think about how this stitch can add strength and texture to your bath pouf—it’s the key to durability.
Slip Stitch
The slip stitch is a quick and simple stitch used mainly to join pieces or move your yarn without adding height. You insert your hook into the stitch, yarn over, and pull through both the stitch and the loop on your hook in one smooth motion.
This stitch feels like a secret shortcut in crochet. It’s perfect for finishing rounds or attaching your bath pouf layers neatly. How can using slip stitches improve the overall look of your bath pouf edges?
Starting The Bath Pouf
Begin by choosing soft yarn and a large crochet hook for an easy start. Create a simple loop and chain a few stitches to form the bath pouf’s base. Keep stitches loose to make it fluffy and gentle on the skin.
Starting a bath pouf can seem like a daunting task, but with the right approach, it becomes an enjoyable experience. Crocheting your own bath pouf allows you to add a personal touch to your bath routine. Plus, it makes for a unique handmade gift that shows you care.Making The Foundation Chain
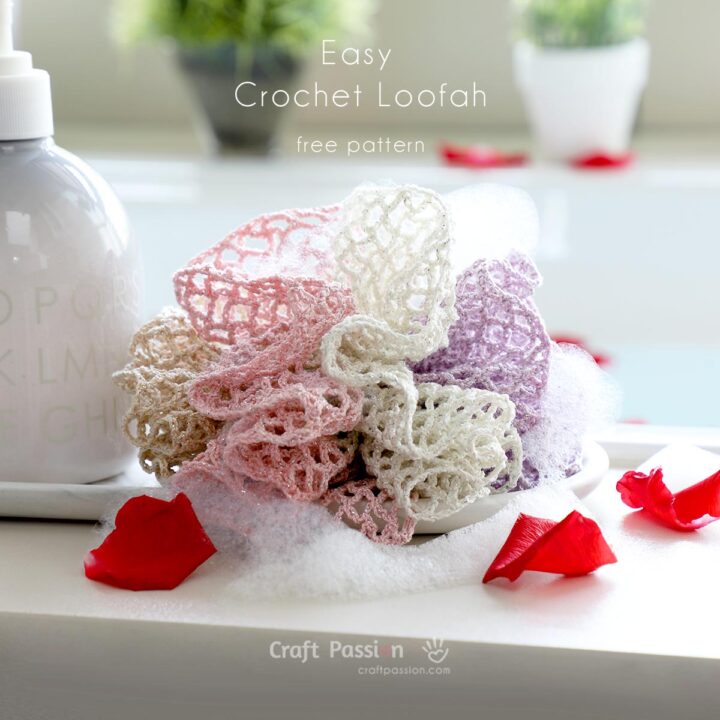
Begin by choosing a soft, absorbent yarn, ideally cotton, for your bath pouf. This ensures a gentle touch on your skin. Start with a slip knot on your crochet hook, leaving a tail of about six inches. Next, crochet a foundation chain of about 5 stitches. This chain will serve as the core structure of your bath pouf. Keep your stitches even and not too tight, as you’ll need to work into these stitches later on.Creating The Base Circle
Once your chain is ready, it’s time to form a circle. Join the last chain to the first with a slip stitch. This creates a small ring, the heart of your bath pouf. Crochet into the center of this ring, increasing the number of stitches in each round. This helps to expand the circle, setting the stage for the fluffy layers of your pouf. Remember, the beauty of crochet lies in its forgiving nature. Don’t worry about mistakes; they often lead to creative new designs. Have you ever turned an error into something beautiful?
Credit: www.craftpassion.com
Building The Pouf Layers
Building the pouf layers is where your bath pouf starts to take shape and gain volume. This part requires attention to detail so your pouf looks fluffy and holds its form well. Let’s dive into how you can carefully increase stitches and maintain the perfect shape as you go along.
Increasing Stitches
Increasing stitches is key to making your pouf expand evenly. Add stitches gradually by crocheting two stitches into one at regular intervals. This technique helps your pouf grow wider without creating awkward gaps or tight spots.
Think about how many increases you add per round. Too many can make the pouf ripple, too few and it won’t expand enough. I once added increases too quickly and ended up with a pouf that looked more like a flat disc—adjusting the pace really changed the final shape.
Try marking your rounds with stitch markers to keep track of where you increased. This keeps your work balanced and makes counting easier.
Maintaining Shape
Maintaining the pouf’s shape means paying attention to tension and stitch consistency. Keep your stitches neither too tight nor too loose to ensure the layers stack neatly.
It helps to occasionally lay your work flat and check its form. If it starts to curve in or flare out, adjust your stitch count or tension immediately.
Have you noticed how a slight change in your crochet hook size can affect your pouf’s fluffiness? Experimenting with hook size can be a simple way to fine-tune your pouf’s final look without changing your pattern.
Finishing Touches
Finishing touches give your bath pouf its final shape and durability. They ensure your hard work stays intact through many uses. Paying attention to these small details can make your pouf look professional and last longer.
Securing The End
After completing your crochet rounds, the last stitch needs to be secured tightly. Pull the yarn tail through the final loop and draw it snug. This stops your work from unraveling and keeps the pouf firm.
Don’t just cut the yarn immediately. Instead, weave the tail back through several stitches using a yarn needle. This hides the loose end inside the pouf and strengthens the hold.
Have you tried tugging gently on your pouf? If it feels loose, weaving in the ends more deeply can make a big difference.
Adding A Hanging Loop
A hanging loop is practical and adds a nice finishing detail. To add one, chain about 6 to 8 stitches after your last round, then slip stitch back into the base.
This creates a small loop perfect for hanging your pouf to dry or store. Choose a sturdy yarn to make sure the loop holds up over time.
Think about where you’ll hang your pouf. Would a longer loop fit better on your hook or shower handle? Adjust the chain length to suit your space.

Credit: offthebeatenhook.com
Care Tips For Your Pouf
Taking good care of your crochet bath pouf keeps it soft and fresh longer. Proper cleaning and drying stop bacteria and odors. Follow these simple tips to maintain your pouf’s quality and appearance.
Washing Instructions
Hand wash your bath pouf in warm water with mild soap. Gently squeeze the pouf to remove dirt and soap. Avoid twisting or wringing it hard. Rinse well to clear all soap. If needed, soak the pouf for a few minutes before washing. Machine washing can damage the yarn and shape. Use gentle care to keep the fibers strong.
Drying Methods
After washing, press the pouf gently between towels to remove excess water. Lay it flat on a dry towel in a well-ventilated area. Avoid direct sunlight to prevent fading. Do not use a dryer, as heat can shrink or deform the pouf. Flip the pouf occasionally to dry evenly. Make sure it is completely dry before using or storing to avoid mildew.
Frequently Asked Questions
What Materials Do I Need To Crochet A Bath Pouf?
You need nylon mesh, a crochet hook (size G or H), and scissors. The mesh creates the pouf’s texture, while the hook forms the stitches.
How Long Does It Take To Crochet An Easy Bath Pouf?
Crocheting a simple bath pouf typically takes 30 to 60 minutes. Your speed depends on your crochet experience and pattern complexity.
Can Beginners Crochet A Very Easy Bath Pouf?
Yes, beginners can crochet an easy bath pouf. The pattern uses basic stitches and simple techniques, ideal for new crocheters.
How Do I Care For My Crocheted Bath Pouf?
Rinse your pouf after each use and hang it to dry. Machine wash gently when needed to keep it clean and fresh.
Conclusion
Crocheting a bath pouf is simple and fun. You only need basic stitches and some yarn. This project saves money and adds a personal touch to your bathroom. Practice a little, and your skills will grow fast. Enjoy making soft, fluffy poufs for yourself or as gifts.
Keep trying, and each pouf will look better. Now, you can relax while using your handmade bath pouf every day. Easy, useful, and creative—all in one project!


