
Are you looking to add a personal touch to your space without spending a fortune? Designing your own wall stickers is an easy and fun way to transform any room instantly.
Imagine seeing your unique ideas come to life on your walls, making your home truly one-of-a-kind. In this guide, you’ll discover simple steps to create stunning wall stickers that reflect your style perfectly. Ready to turn blank walls into your favorite art?
Keep reading, and let’s get started!
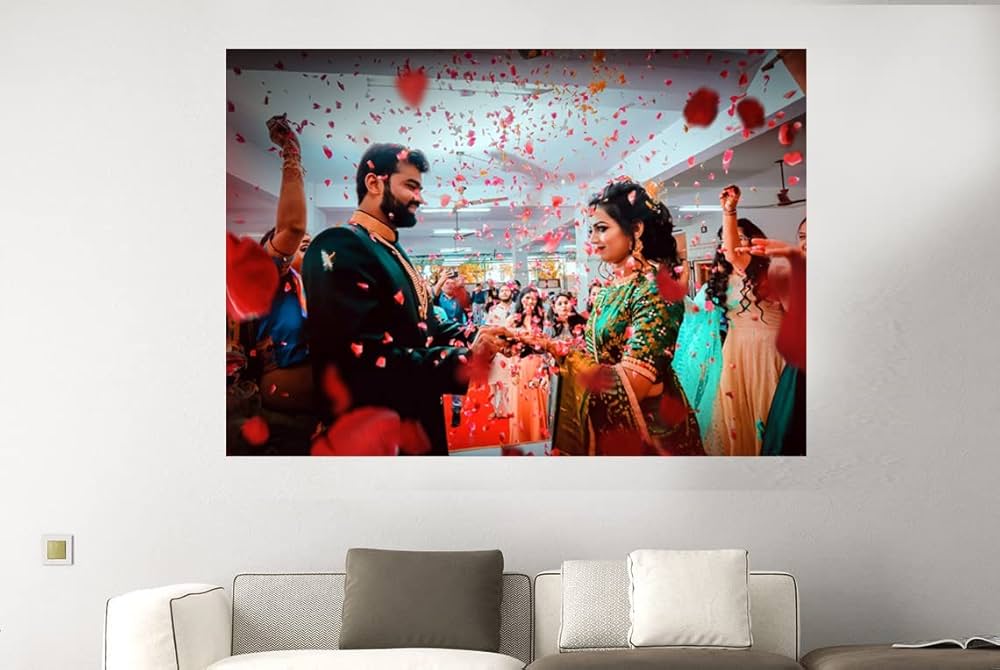
Credit: vyoletshop.com
Choosing The Right Materials
Choosing the right materials is essential when designing your own wall stickers. The materials you pick affect not only how your design looks but also how long it lasts. Understanding the different options helps you make informed choices that suit your space and style.
Types Of Vinyl For Wall Stickers
Vinyl is the most popular material for wall stickers, but not all vinyl is the same. You can choose between removable, permanent, and static cling vinyl.
- Removable vinylis perfect if you want to change your design often. It peels off easily without damaging your walls.
- Permanent vinylsticks firmly and lasts longer, ideal for designs you want to keep for years.
- Static cling vinyldoesn’t use adhesive. It sticks to smooth surfaces through static electricity, making it reusable but less durable.
Think about the surface you want to decorate and how long you want your sticker to stay there. Have you considered how often you might want to update your decor?
Tools Needed For Application
Using the right tools makes applying your wall stickers smooth and wrinkle-free. You’ll need a squeegee or a credit card to press the vinyl down evenly.
- A measuring tapehelps position the sticker precisely where you want it.
- Masking tapecan hold your design in place temporarily during alignment.
- A clean clothor alcohol wipes prepare your wall surface by removing dust and oils.
Applying a wall sticker feels easier when you have the right tools ready. Have you checked your workspace and tools before starting your project?
Durability And Finish Options
Durability depends on both the vinyl type and the finish you choose. Matte finishes reduce glare and hide fingerprints, while glossy finishes add shine and make colors pop.
Consider if your wall sticker will be in a high-traffic area or exposed to sunlight. Some vinyl options are UV-resistant and waterproof, which helps maintain vibrant colors over time.
Would you prefer a subtle look or something that stands out? The finish you select can transform your design’s impact on the room.
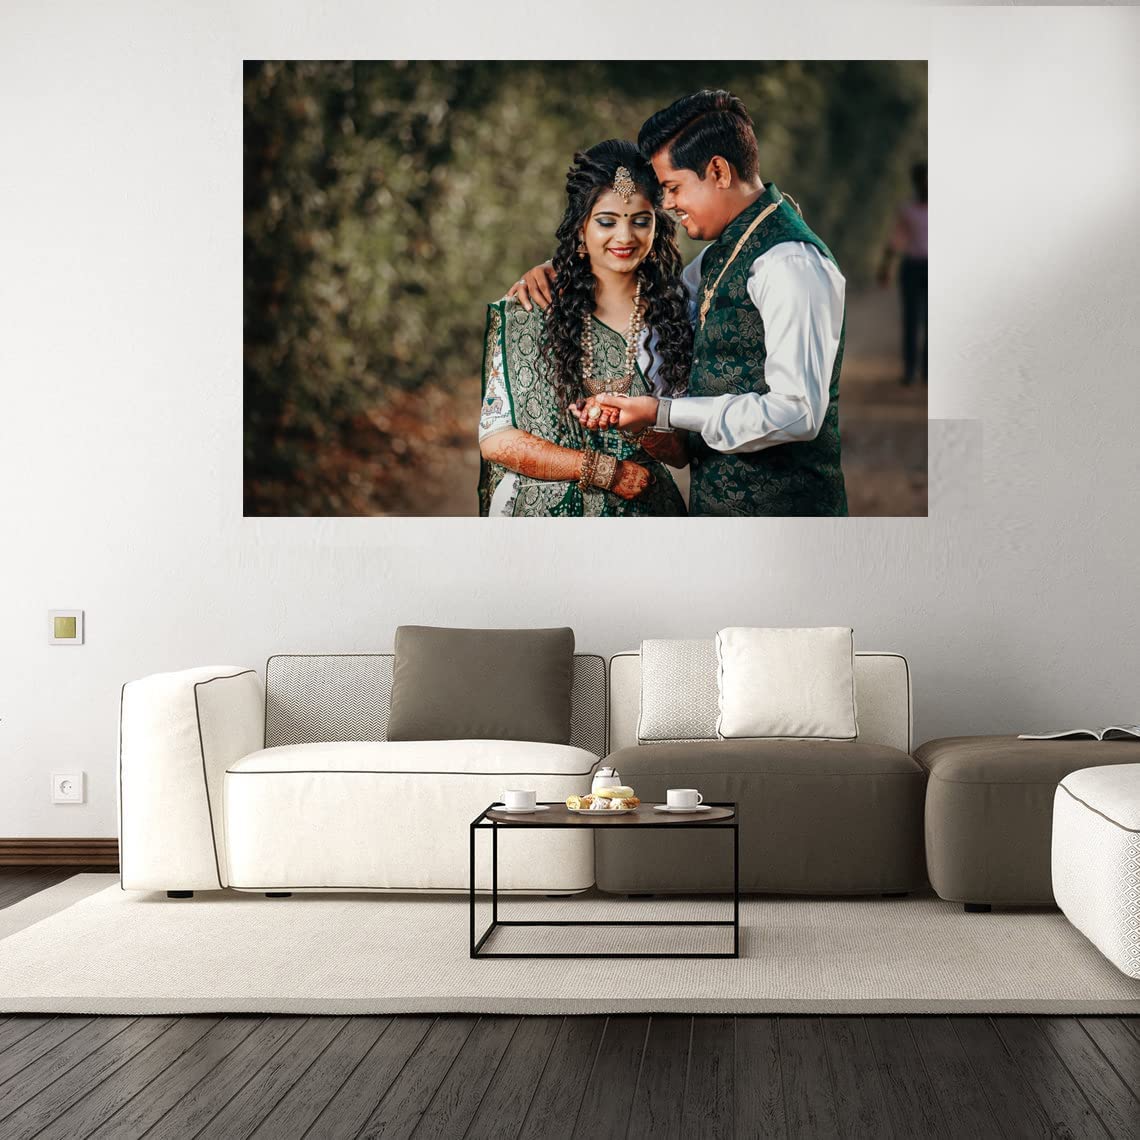
Credit: www.amazon.in
Finding Design Inspiration
Finding design inspiration for your own wall stickers is the first exciting step in creating something truly unique. Inspiration can come from many places, and knowing where to look helps you shape a design that fits your personality and space perfectly. Let’s explore some ideas that can spark your creativity and guide your design choices.
Popular Themes And Styles
Think about the vibe you want your space to give off. Popular themes like minimalism, vintage, or pop art can guide your design direction.
- Minimalist designs use clean lines and simple shapes, perfect if you want a modern, sleek look.
- Vintage themes bring nostalgia, with retro fonts and classic patterns.
- Pop art offers bold colors and playful imagery to energize any room.
Ask yourself: which style matches your daily mood or the atmosphere you want to create? Your answer will help narrow down your choices quickly.
Using Nature And Geometry
Nature offers endless patterns and forms that inspire beautiful wall stickers. Leaves, flowers, and animals can add warmth and life to your walls.
Geometry provides structure with shapes like triangles, circles, and hexagons. Combining these can create a balanced, eye-catching design.
- Try mixing natural elements with geometric shapes for a unique contrast.
- Use repeating patterns like leaf clusters or honeycomb grids for a rhythmic effect.
Have you noticed how certain shapes and forms calm or energize you? Use that feeling as a guide when selecting your design elements.
Incorporating Personal Interests
Your hobbies and passions can make your wall stickers deeply personal. Whether it’s music, travel, or books, these themes tell your story.
- If you love music, consider designs with instruments or sound waves.
- Travel enthusiasts might choose landmarks or maps for a worldly touch.
- Book lovers can use quotes or illustrations from favorite stories.
Think about what makes you happy or sparks your creativity daily. Including those elements turns your wall stickers into meaningful art, not just decoration.
Creating Your Design
Choose simple shapes and colors that match your room’s style. Use easy drawing tools or apps to create your design. Keep the size and details clear for the best look on your wall stickers.
Creating your own wall stickers is an exciting journey that allows you to bring your personal touch to your living space. Whether you want to add a splash of color to your bedroom or a unique pattern to your office, designing your own stickers can be both fun and rewarding. Let’s dive into the creative process and explore some practical ways to craft a design that truly reflects your style and personality.Sketching Ideas By Hand
Start with a simple sketch. Grab a pencil and some paper to brainstorm ideas. Drawing by hand gives you the freedom to explore different concepts without the constraints of digital tools. Don’t worry about perfection; focus on capturing your imagination. Once you have a few sketches, refine them. Look for recurring themes or elements you love. These will guide you as you move forward in the design process.Using Digital Design Software
If you’re comfortable with technology, digital design software can be a game-changer. Programs like Adobe Illustrator or Canva offer a variety of tools to enhance your creativity. You can experiment with different fonts, colors, and shapes. These programs allow for easy adjustments and provide you with a professional-looking design. Save your work frequently to avoid losing any progress. This ensures you can return to any stage of your design process if needed.Balancing Colors And Shapes
Color and shape are powerful elements in design. Think about how they interact and complement each other. Choose a color palette that reflects your mood or the atmosphere you want to create. Limit your palette to a few colors to keep it cohesive and pleasing to the eye. Play with shapes to add interest. Consider how they fit together and balance each other. Are you aiming for a symmetrical design, or something more dynamic and free-flowing? As you finalize your design, ask yourself: does it capture the essence of what you envisioned? Your wall stickers should be a reflection of your creativity and a joy to see every day.Preparing The Wall Surface
Preparing the wall surface is key to making your wall stickers look great and last long. A clean, smooth wall helps stickers stick better and prevents peeling. Picking the right spot ensures your design stands out. Testing small samples helps avoid mistakes before you place the full sticker.
Cleaning And Smoothing Walls
Start by cleaning the wall to remove dust, dirt, and grease. Use a mild soap and water solution with a soft cloth. Let the wall dry completely before moving on.
Check for bumps or rough spots. Sand these areas gently with fine-grit sandpaper. Smooth walls help stickers stick evenly and look neat.
Choosing The Best Wall Location
Pick a wall free from direct sunlight to avoid fading. Avoid walls near heat sources or high humidity, like kitchens or bathrooms. Look for a flat, large area without many switches or outlets.
Consider the wall color. Light backgrounds show stickers best, but dark walls can work with bright designs. Think about how the sticker fits the room’s style.
Testing Small Samples First
Cut a small piece of your wall sticker and stick it on the wall. Leave it for a day to check how well it sticks and if it leaves marks. This helps you see if the wall needs more cleaning or smoothing.
Testing prevents wasting your full design. It gives confidence before applying the entire sticker. Adjust your wall preparation if needed based on the test results.
Cutting And Printing Techniques
Cutting and printing are key steps in creating wall stickers that look professional. Choosing the right technique impacts the design’s sharpness and durability. These steps help bring your ideas to life with clear shapes and vibrant colors.
Using Cutting Machines
Cutting machines offer precise and clean cuts for complex shapes. They use blades or lasers to slice through sticker material smoothly. These machines work well for large projects or detailed designs.
Popular options include vinyl cutters and plotters. You can connect them to software to control the cutting path. This automation saves time and reduces mistakes.
Hand-cutting Tips
Hand-cutting works best for simple designs or small batches. Use a sharp craft knife or scissors for clean edges. Cut slowly and follow the design outline carefully.
To avoid mistakes, practice on scrap material first. Use a cutting mat to protect surfaces and improve precision. Keep your tools sharp to prevent jagged cuts.
Printing Custom Graphics
Printing adds color and detail to your wall stickers. Use inkjet or laser printers depending on the material. Choose high-quality, water-resistant inks for lasting prints.
Print on special sticker paper for easy peeling and sticking. Adjust print settings to match your design colors accurately. Test prints help ensure the best results before final production.
Applying Wall Stickers
Applying wall stickers is a simple way to transform any room quickly. Correct application makes your design look smooth and professional. Preparing the surface and handling the sticker carefully helps avoid common issues. Follow the steps below for the best results.
Step-by-step Application Process
- Clean the wall with a damp cloth to remove dust and dirt.
- Let the wall dry completely before applying the sticker.
- Peel the backing paper off gently, exposing the adhesive side.
- Position the sticker on the wall lightly without pressing it down fully.
- Use a flat tool or credit card to smooth the sticker from the center outward.
- Press firmly to ensure full contact with the wall surface.
- Carefully remove the transfer tape, if your sticker has one, pulling it slowly at an angle.
Avoiding Bubbles And Wrinkles
Bubbles and wrinkles happen when air gets trapped under the sticker. Smooth the sticker gradually as you apply it. Use a squeegee or a credit card to press out any air pockets.
Work from the middle to the edges to push out trapped air. If small bubbles remain, gently lift the sticker and reapply. For stubborn bubbles, prick them with a pin and smooth again.
Removing And Repositioning Tips
Wall stickers can be removed and repositioned carefully without damage. Peel the sticker off slowly at a sharp angle. Avoid pulling it straight away from the wall.
Reapply the sticker by cleaning the surface again. Use low heat from a hairdryer to soften the adhesive for easier removal. This method works well on fresh stickers but may not work on older ones.
Maintaining Your Wall Art
Maintaining your wall stickers is key to keeping your space fresh and stylish. Proper care not only protects your design but also extends the life of your wall art. By paying attention to simple maintenance tips, you can enjoy your personalized stickers for a long time without worry.
Cleaning Without Damage
Cleaning your wall stickers requires a gentle touch. Avoid harsh chemicals that can break down the adhesive or fade the colors.
- Use a soft, damp cloth to wipe away dust and light dirt.
- For stubborn spots, try a mild soap diluted in water, then gently dab the area.
- Never scrub vigorously; this can peel or distort the sticker.
Have you noticed how a quick wipe can instantly refresh your wall art? It’s a small action that makes a big difference.
Repairing Minor Peels
Small edges peeling off can happen over time, especially in humid areas. Don’t ignore these; fixing them quickly prevents bigger damage.
- Use a tiny amount of clear-drying craft glue under the lifted edge.
- Press down firmly and hold for about 30 seconds to secure the bond.
- If the peel is larger, gently lift and reposition the sticker after applying fresh adhesive.
Have you ever patched up a tiny peel and felt proud of keeping your art intact? It’s a satisfying way to protect your work.
Longevity And Removal Tips
Want your wall stickers to look great for years? Keep them away from direct sunlight and excessive moisture, which can cause fading and loosening.
- Choose a spot with stable room temperature and low humidity.
- When it’s time to remove, peel slowly at a low angle to avoid leaving residue.
- If residue remains, gently rub with a mixture of warm water and mild soap or use adhesive remover suited for painted walls.
Have you tried removing a sticker only to struggle with sticky bits? Taking your time and prepping the surface helps prevent that hassle.
Creative Ideas For Unique Decor
Creative wall stickers bring personality to any room. They transform plain walls into lively spaces. Unique decor ideas make your home feel special and inviting.
Try mixing different styles to create a fresh look. Play with colors, shapes, and materials. Let your imagination guide your design choices.
Mixing Patterns And Textures
Combine stickers with various patterns for a bold effect. Use stripes, polka dots, or florals together. Add texture by choosing stickers with matte and glossy finishes. Layering these elements creates depth and interest.
Combining Stickers With Paint
Paint a base color and place stickers over it for contrast. Use stencils or brush strokes around stickers to highlight them. This mix adds a custom touch to your walls. It also creates a dynamic and artistic vibe.
Seasonal And Themed Decor
Change stickers to match seasons or celebrations. Use autumn leaves in fall or snowflakes in winter. Create themes like nature, travel, or vintage styles. This keeps your decor fresh and exciting all year.

Credit: www.e-arc.in
Frequently Asked Questions
What Materials Do I Need To Design Wall Stickers?
You need vinyl sheets, a cutting machine, design software, transfer tape, and a scraper tool. These materials ensure easy cutting and smooth application.
How Can I Create Custom Designs For Wall Stickers?
Use design software like Adobe Illustrator or Canva. Create simple, bold graphics that suit your wall space and style preferences.
What Is The Best Way To Apply Wall Stickers?
Clean the wall surface thoroughly. Use transfer tape to position the sticker. Apply slowly and smooth out air bubbles with a scraper.
Can I Remove Wall Stickers Without Damaging Walls?
Yes, peel stickers slowly from one corner. Use heat from a hairdryer to soften adhesive for easier removal without paint damage.
Conclusion
Designing your own wall stickers can be a fun and creative project. Start with simple ideas and choose colors you like. Use easy tools to draw or create your design. Cut carefully and test your sticker on the wall first.
This way, you can see how it looks and make changes if needed. Personal wall stickers add a special touch to any room. They show your style and make spaces feel unique. Keep practicing, and soon you will enjoy making many different designs.
Give it a try and enjoy decorating your home your way.


