
Are your 3D wall panels looking damaged or loose? You don’t have to replace the entire wall to fix them.
With the right steps, you can restore your panels quickly and easily. Imagine how much better your room will look once those imperfections disappear. You’ll discover simple, effective ways to repair your 3D wall panels so they look as good as new.
Keep reading—your walls deserve it.
Credit: www.thepanelhub.com
Tools And Materials Needed
Fixing 3D wall panels requires the right tools and materials for a smooth job. Using proper equipment makes the process easier and ensures panels stick firmly. Safety is important to protect yourself during installation. Gather everything before starting to avoid delays and mistakes.
Essential Tools
- Measuring tape – for accurate panel placement
- Level – to keep panels straight
- Utility knife – to cut panels as needed
- Caulking gun – for applying adhesive evenly
- Rubber mallet – to gently tap panels into place
- Sandpaper – to smooth edges after cutting
- Cleaning cloth – to wipe dust or debris
Recommended Adhesives
- Construction adhesive – strong bond for most surfaces
- Panel adhesive – specially made for 3D wall panels
- Double-sided mounting tape – for lightweight panels
- Silicone sealant – to fill gaps and prevent moisture
Safety Gear
- Safety goggles – protect eyes from dust and debris
- Work gloves – prevent cuts and skin irritation
- Dust mask – avoid breathing in fine particles
- Knee pads – for comfort during floor work

Credit: www.delledecor.co.uk
Preparing The Wall Surface
Preparing the wall surface is a vital part of fixing 3D wall panels. A clean and smooth base helps panels stick better. It also prevents cracks or bubbles later. Take time to prepare well for a lasting result.
Cleaning And Smoothing
Remove dust, dirt, and grease from the wall. Use a mild detergent with water and a sponge. Rinse and let the wall dry completely. Sand rough or uneven spots gently to make the surface smooth. A clean, flat wall helps the panels fit perfectly.
Removing Old Panels
Carefully take off any old or damaged panels. Use a putty knife or scraper to lift edges. Pull slowly to avoid damaging the wall underneath. Dispose of old panels properly. Make sure the wall is free of nails, glue, or residue after removal.
Repairing Wall Imperfections
Fill holes, cracks, or dents with spackling compound or filler. Use a putty knife to spread the filler evenly. Let it dry as per instructions. Sand the repaired areas smooth to blend with the wall. A flawless wall surface ensures strong adhesion and a neat finish.
Inspecting The 3d Panels
Carefully examine 3D wall panels for cracks, loose edges, or damage before fixing. Check panel alignment and surface cleanliness to ensure proper repair. Addressing issues early helps maintain a smooth, strong wall finish.
Inspecting the 3D Panels is crucial for a smooth installation. Before starting, take time to examine each panel. This ensures they are ready for use and prevents future issues.Checking For Damage
Look over each panel for cracks or chips. Even small damages can affect the final look. Use good lighting to spot any flaws. Set aside damaged panels to repair or replace.Aligning Panels Properly
Ensure each panel aligns correctly with others. This maintains a seamless appearance. Use a level to check alignment. Misaligned panels can disrupt the visual flow of the wall.Handling Warped Panels
Warped panels need special attention. Lay them flat to check for warping. Gently adjust them back into shape if possible. Sometimes, applying gentle heat can help. If the warping is severe, consider replacing the panel.Fixing Loose Or Detached Panels
Loose or detached 3D wall panels can spoil the look of any room. Fixing them quickly restores the wall’s beauty and prevents further damage. The right tools and materials make the repair simple and effective.
Reapplying Adhesive
Remove the panel carefully to avoid damage. Clean the back of the panel and the wall surface. Use a strong adhesive designed for 3D wall panels. Apply the adhesive evenly to the panel’s back. Press the panel firmly against the wall. Hold it in place for a few minutes. Allow the adhesive to dry fully before touching the panel.
Using Nails Or Screws
Choose nails or screws that suit the panel’s material. Pre-drill small holes in the panel to avoid cracking. Align the panel on the wall. Use a hammer or screwdriver to secure the panel gently. Avoid over-tightening, which can damage the panel. Cover nail or screw heads with paint or fillers for a clean look.
Securing Edges And Seams
Check all edges and seams for gaps or looseness. Apply a flexible sealant or caulk to fill small gaps. Press edges firmly together to create a smooth surface. Use painter’s tape to hold seams until the sealant dries. Sand any rough areas lightly for a neat finish. This step prevents dust and moisture from damaging the panels.
Filling Gaps And Cracks
Filling gaps and cracks in 3D wall panels is essential for a flawless look. These imperfections can spoil the design and cause dirt buildup. Proper filling ensures a smooth surface and longer-lasting panels. Use the right materials and techniques for the best results.
Choosing The Right Filler
Select a filler that matches the panel material. For foam or PVC panels, use a flexible filler. For wood or MDF panels, choose wood filler or putty. Check if the filler is paintable to match your wall color later. Avoid fillers that shrink or crack after drying.
Applying And Smoothing Filler
Use a putty knife or spatula to apply the filler. Press it firmly into the gaps and cracks. Spread the filler evenly to avoid lumps. Overfill slightly to allow for sanding later. Smooth the surface as much as possible while still wet.
Sanding For A Smooth Finish
Wait until the filler dries completely. Use fine-grit sandpaper to sand the filled areas gently. Sand in circular motions to blend the filler with the panel surface. Remove dust with a soft brush or cloth. The surface should feel smooth and even before painting or sealing.
Painting And Finishing Touches
Painting and finishing your 3D wall panels can completely transform their look and make your space stand out. It’s more than just slapping on some paint; it’s about preparing the surface properly, choosing the right materials, and applying the paint evenly to highlight the textures and depth of the panels. Let’s break down these crucial steps to help you achieve a flawless finish.
Priming The Panels
Priming is essential to ensure the paint sticks well and lasts longer on your 3D wall panels. Most panels are made from materials like MDF, plastic, or gypsum, which can absorb paint unevenly without a primer.
Use a primer suited to the panel material—an acrylic primer works well for most surfaces. Apply it with a brush or roller, covering all the crevices carefully to avoid patchy spots later on.
Have you noticed how skipping primer sometimes leads to peeling paint? That’s why this step can’t be rushed or skipped.
Selecting Paint Types
Choosing the right paint impacts both the look and durability of your wall panels. Water-based acrylic paints are a popular choice because they dry quickly and offer vibrant colors.
If your panels are in a high-moisture area like a bathroom, consider semi-gloss or satin finishes that resist humidity and are easier to clean.
Matte paints can hide imperfections but might show dirt more easily. Think about where your panels are and how much wear they’ll get before picking your finish.
Applying Paint Evenly
Applying paint evenly on 3D panels can be tricky due to the grooves and raised patterns. Using a small brush helps you get into tight spaces without overloading the surface with paint.
For larger flat areas, a roller with a short nap can speed up the process while keeping the finish smooth. Avoid thick coats; thin layers dry better and reduce drips.
Try painting in multiple light coats rather than one heavy coat. This technique enhances the texture and prevents pooling of paint in the recesses.
Have you ever seen paint clump up in corners? Taking your time with thin layers and proper tools will save you from that frustration.
Maintaining 3d Wall Panels
Maintaining your 3D wall panels is key to preserving their stunning appearance and durability over time. These panels can transform a space, but they need proper care to stay looking fresh and vibrant. Simple upkeep routines not only protect your investment but also make sure your walls continue to impress visitors.
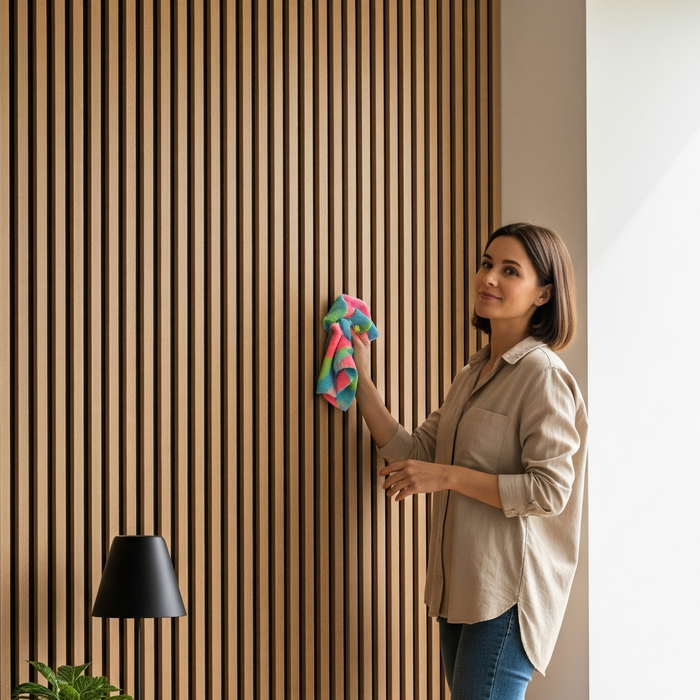
Regular Cleaning Tips
Dust and dirt can settle into the grooves of 3D wall panels, dulling their texture. Use a soft cloth or a microfiber duster regularly to keep surfaces clean without scratching them. For deeper cleaning, a mild soap solution with a damp sponge works well; avoid soaking the panels as excess moisture can cause damage.
Have you tried a handheld vacuum with a brush attachment? It’s perfect for reaching tight corners without harming the panels. Avoid harsh chemicals or abrasive cleaners—these can discolor or erode the panel material over time.
Preventing Damage
Think about the placement of your 3D panels to reduce risks of dents or scratches. Keep furniture and sharp objects away from the walls to prevent accidental knocks. If you have pets or children, consider barriers or protective coatings designed for high-traffic areas.
Temperature and humidity can also affect panels, especially if they’re made from natural materials. Use a dehumidifier in damp rooms to avoid warping or mold growth. Small actions like these save you from costly repairs down the line.
When To Call A Professional
Sometimes, damage goes beyond what regular cleaning can fix. If you notice cracks, peeling, or significant discoloration, it’s time to seek expert help. Professionals have the right tools and materials to repair or replace panels without compromising your wall’s look.
Unsure if an issue is serious? A quick consultation can save you from making mistakes that worsen the problem. Maintaining your 3D wall panels isn’t just about cleaning—it’s about knowing when to bring in help to keep your walls flawless.

Credit: www.temu.com
Frequently Asked Questions
How Do I Repair Cracks In 3d Wall Panels?
To fix cracks, clean the surface first. Use a strong adhesive or filler designed for the panel material. After drying, sand lightly and repaint if needed. This restores the panel’s look and prevents further damage.
What Tools Are Needed To Fix 3d Wall Panels?
You’ll need adhesive, a putty knife, sandpaper, and possibly paint. Clean cloths and a utility knife may help. These tools make repairing and refinishing panels easy and effective.
Can Damaged 3d Wall Panels Be Replaced Easily?
Yes, damaged panels can be replaced. Remove the old panel carefully, clean the area, and attach the new panel with adhesive. Ensure alignment for a seamless finish.
How To Prevent Damage To 3d Wall Panels?
Avoid impact and moisture exposure. Clean panels gently with a soft cloth and mild cleaner. Regular maintenance helps keep panels intact and looking fresh.
Conclusion
Fixing 3D wall panels is easier than it seems. Start by cleaning the surface well. Use strong adhesive and press the panels firmly. Small gaps or cracks? Fill them carefully with putty. Let everything dry fully before touching. Check your work for any loose edges.
This simple process helps your walls look neat and fresh. Keep your tools handy and take your time. Soon, your room will have a stylish new look. A small effort brings big changes. Give your walls the care they need today.


