
Is your light fixture with a pull string not working right? You’re not alone, and fixing it might be easier than you think.
Imagine turning on your light without struggling or flickering bulbs. In this guide, you’ll discover simple steps to get your pull string light fixture shining bright again. Whether the string won’t pull, the light won’t turn on, or the bulb keeps flickering, you’ll find clear solutions that save you time and frustration.
Keep reading, and by the end, you’ll feel confident handling this common household fix all by yourself.

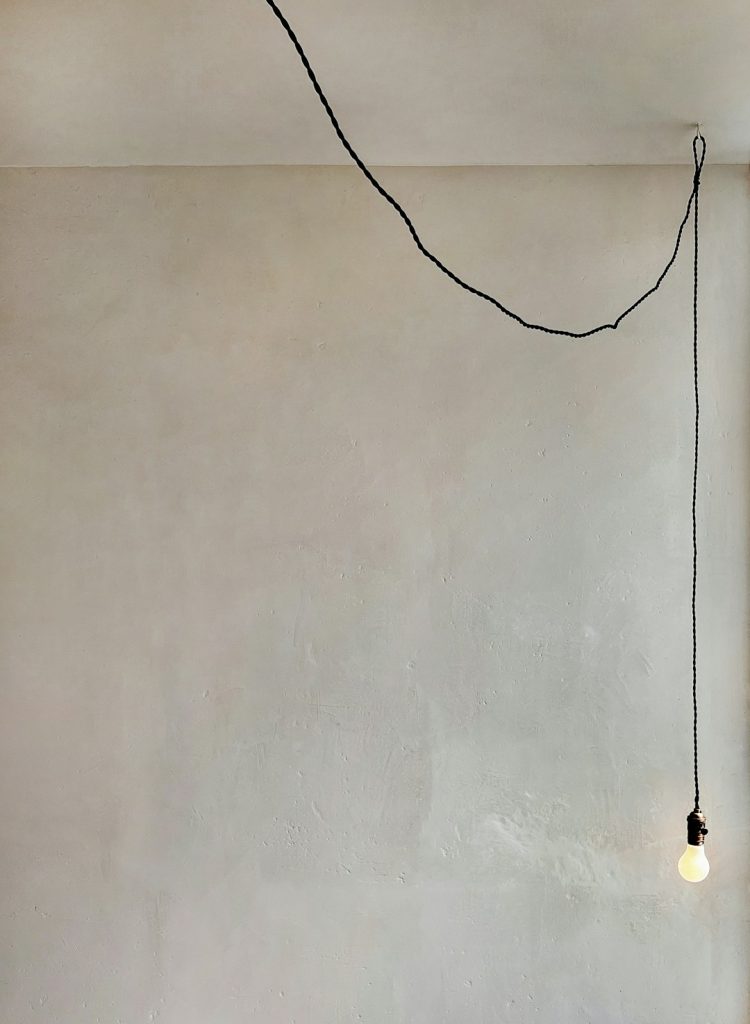
Credit: www.reddit.com
Tools And Materials Needed
Fixing a light fixture with a pull string requires some basic tools and materials. Having everything ready makes the job easier and safer. Gather the right items before starting to avoid interruptions.
Use tools designed for electrical work to ensure safety and precision. Keep materials handy to replace worn or broken parts quickly. This section lists all necessary tools and supplies for the task.
Essential Tools For Repair
- Screwdriver set (flathead and Phillips)
- Wire strippers
- Voltage tester
- Needle-nose pliers
- Electrical tape
- Step ladder
Materials Needed
- Replacement pull string or cord
- Light fixture pull chain switch (if needed)
- Wire connectors
- Light bulbs (check type and wattage)
- Mounting hardware (screws, anchors)
Safety Equipment
- Insulated gloves
- Safety goggles
- Dust mask (for cleaning)
Safety Precautions
Working on a light fixture with a pull string requires careful attention to safety. Electrical repairs can be risky without proper precautions. Taking simple steps can prevent accidents and injuries.
Always prepare your workspace before starting. A safe environment helps you focus and work efficiently. Follow these safety tips to protect yourself.
Turn Off The Power
Cut the electricity supply to the fixture. Use the circuit breaker or fuse box to switch off power. Confirm the power is off by testing the fixture with a voltage tester.
Use Proper Tools
Choose tools designed for electrical work. Insulated screwdrivers and pliers reduce the chance of electric shock. Avoid using damaged or worn tools during repairs.
Wear Safety Gear
Put on safety glasses to protect your eyes from dust and debris. Wear gloves to avoid cuts and electrical shocks. Use non-slip shoes to keep steady on ladders or stools.
Check The Fixture And Wiring
Inspect the light fixture and wires before working. Look for signs of damage, such as frayed wires or cracks. Replace any damaged parts to ensure safety.
Work In A Well-lit Area
Good lighting helps you see clearly and avoid mistakes. Use a flashlight or portable light if the room is dark. Avoid working in dim or shadowy spaces.
Keep The Area Dry
Water and electricity do not mix. Ensure the work area is dry and free from moisture. Avoid touching electrical parts with wet hands.
Identifying Common Issues
Identifying common issues with a light fixture’s pull string can save time and effort. Understanding these problems helps in fixing them effectively. Let’s explore some frequent issues.
Broken Pull String
A broken pull string is a common problem. This usually happens due to wear and tear. The string may snap, leaving the light unusable. Check for any visible damage. Replacing the string is often a simple fix.
Loose Wiring
Loose wiring can cause the light to flicker or not work. This issue may arise from improper connections. Inspect the wires inside the fixture carefully. Tighten any loose connections to ensure safety and functionality.
Faulty Switch Mechanism
A faulty switch mechanism is another frequent issue. The pull mechanism might jam or stop working. Examine the switch for any blockages. Sometimes, cleaning or replacing the switch is necessary to restore function.
Removing The Light Fixture
Removing the light fixture with a pull string requires careful steps to avoid damage. Start by turning off the power to ensure safety. Handling the fixture gently prevents breaking any parts.
Make sure you have a sturdy ladder or step stool. This will help you reach the fixture comfortably. Clear the area beneath to avoid accidents.
Turning Off The Power
Locate the circuit breaker for the room. Switch it off to cut the electricity supply. Test the light switch to confirm power is off.
Removing The Bulb And Cover
Unscrew the light bulb carefully. Set it aside in a safe place. Remove the cover or globe by twisting or unscrewing it gently.
Unscrewing The Fixture Base
Find the screws or clips holding the fixture base. Use a screwdriver to loosen them slowly. Keep screws in a small container to avoid loss.
Disconnecting The Wiring
Look for wire nuts connecting the fixture wires to house wires. Twist off the wire nuts with your hand or pliers. Separate each wire carefully, noting their position.
Taking Down The Fixture
Hold the fixture firmly as you remove the last screws or clips. Lower it slowly to avoid straining wires. Place the fixture on a soft surface to prevent scratches.
Replacing The Pull String
Replacing the pull string on a light fixture is a simple fix that restores easy control. The pull string often wears out or breaks over time. Changing it ensures the light works smoothly again. This task needs only a few tools and careful steps.
Choosing The Right String
Select a string that fits the fixture’s pull mechanism. The string should be strong but easy to pull. Cotton strings or nylon cords work well. Avoid thick or rough strings that may jam the switch.
Measure the length needed before cutting the new string. It should be long enough to reach comfortably but not too long to tangle. Picking the right color can also match the fixture’s look.
Attaching The New String
Start by threading the new string through the pull hole. Tie a secure knot at the end to hold it inside the switch. The knot must be tight to prevent slipping.
Pull the string gently to test if it moves the switch properly. Trim any extra string to keep it neat. Make sure the string pulls smoothly and does not catch on any part.
Fixing Wiring Problems
Fixing wiring problems in a light fixture with a pull string can seem tricky at first, but with careful attention, you can handle it safely and effectively. Wiring issues often cause the pull string to stop working or the fixture to flicker. Understanding how to inspect and reconnect wires correctly will save you time and frustration.
Inspecting Connections
Start by turning off the power to the light fixture at the circuit breaker. Never work on wiring while electricity is flowing—it’s dangerous. Remove the fixture cover to get a clear look at the wiring inside.
Look closely at all wire connections. Are any wires loose, frayed, or disconnected? Sometimes a wire simply pulls away from its connector. Pay special attention to the wires connected to the pull string switch, as these can wear out from repeated use.
Ask yourself: Could a loose wire be the reason the light won’t turn on? If you spot any damage or poor connections, mark them for repair before moving on.
Reconnecting Wires Safely
After identifying problem wires, use wire strippers to remove about half an inch of insulation from the ends if needed. This ensures clean, solid contact. Twist the copper ends together firmly before securing them with wire nuts.
Make sure the wire nuts fit snugly and no bare wire is exposed. Tug gently on each wire to confirm they are tightly connected. If your fixture has ground wires, don’t forget to reconnect those securely to avoid safety hazards.
Once everything is reconnected, carefully tuck the wires back into the fixture box, avoiding sharp bends or pinches. Restore power and test the pull string switch. Does the light turn on smoothly now? If not, double-check your connections or consider consulting a professional for complex issues.
Repairing The Switch Mechanism
Repairing the switch mechanism in a light fixture with a pull string is often simpler than you expect. The switch is the heart of the fixture’s operation, controlling the flow of electricity to the bulb. When it stops working, the pull string won’t turn the light on or off, which can be frustrating.
Before you begin, ask yourself: Have you checked if the issue is the switch or something else like the bulb or wiring? Focusing on the switch itself can save you time and money. Let’s look at how to identify problems and fix them efficiently.
Identifying The Faulty Switch
First, turn off the power at the circuit breaker to stay safe. Remove the fixture cover and locate the switch connected to the pull string. Check if the pull string moves freely or feels stuck.
If the string moves but the light doesn’t respond, the switch inside is likely faulty. You can test the switch with a multimeter to see if it allows electrical flow when pulled. This step is crucial—don’t guess when you can measure.
Disassembling The Switch For Inspection
Unscrew the switch casing carefully to avoid damaging wires. Observe the internal contacts for signs of wear or corrosion. Dirt and rust can block the electrical connection and stop the switch from working.
Sometimes, a gentle clean with a cotton swab dipped in rubbing alcohol restores functionality. If parts look broken or burnt, replacement is the better option. You don’t want a temporary fix that might cause bigger issues later.
Replacing The Switch Mechanism
Match the replacement switch to your fixture’s specifications; pull string switches come in various sizes and configurations. Disconnect the old switch by loosening terminal screws and note wire positions. Reconnect the wires to the new switch the same way to avoid confusion.
After installing, test the switch by pulling the string before reassembling everything. Does the light turn on and off smoothly? If yes, reattach the fixture cover and restore power.
Preventive Tips To Keep Your Pull String Switch Working
- Pull the string gently to avoid stress on the switch.
- Regularly clean the switch area to prevent dust buildup.
- Check wiring connections if the switch feels loose or inconsistent.
How often do you check your light fixtures for simple fixes? A little attention can extend the life of your pull string switch and keep your home brightly lit without surprise outages.
Reinstalling The Fixture
Reinstalling the fixture is the final step in fixing a light fixture with a pull string. This process requires care to ensure the fixture is safe and secure. Proper reinstallation restores the fixture’s function and appearance quickly.
Start by checking that all wires connect correctly. Loose wires can cause the fixture to fail or create a safety hazard. Confirm that the pull string mechanism operates smoothly before mounting the fixture back on the ceiling or wall.
Preparing The Mounting Area
Clean the mounting surface to remove dust and debris. This helps the fixture sit flat and prevents damage. Inspect the electrical box for any signs of wear or damage. Replace the box if it looks cracked or loose.
Securing The Fixture To The Ceiling Or Wall
Align the fixture’s mounting bracket with the electrical box. Use the correct screws to attach the bracket firmly. Avoid overtightening screws to prevent cracking the fixture or ceiling. Make sure the fixture is level and stable before proceeding.
Connecting The Electrical Wires
- Match the black (hot) wire from the fixture to the black wire in the box.
- Connect the white (neutral) wires together.
- Attach the green or bare copper wire to the grounding screw.
- Use wire nuts to secure all connections tightly.
Double-check each connection to avoid shorts or loose contacts.
Testing The Pull String Mechanism
Gently pull the string several times to test the switch. The light should turn on and off smoothly. If it sticks or fails, check the internal switch connections again. Adjust or replace the pull string switch if necessary.
Finishing Touches
Attach any decorative covers or shades. Make sure all parts fit snugly without gaps. Clean the fixture surface to remove fingerprints or dust. Turn on the power and enjoy your fixed light fixture.
Testing The Light
Testing the light fixture after fixing the pull string is crucial to make sure everything works safely and properly. It’s not just about seeing if the bulb lights up; it’s about confirming the entire setup functions without any electrical issues or hazards. Taking the time to test thoroughly can save you from surprises later on.
Checking The Power Source
Before testing the fixture itself, verify that the power source is active. Use a circuit tester or a simple voltage tester at the switch or junction box to confirm power is flowing. This step helps avoid confusion about whether the problem lies in the fixture or the power supply.
Using The Pull String To Activate The Light
After confirming power, pull the string gently to turn the light on and off. Notice if the fixture responds smoothly or if there’s any delay or flickering. Flickering might indicate a loose connection or a faulty bulb, so don’t ignore these signs.
Inspecting The Pull String Mechanism
Test the pull string multiple times to see if it consistently activates the switch inside the fixture. If the string feels loose or doesn’t return properly, the internal switch might need adjustment or replacement. A functioning pull string should feel firm and responsive each time you use it.
Ensuring Safety During Testing
Always stand on a stable surface and avoid touching any bare wires when testing the light. If you experience any sparks or smell burning, turn off the power immediately and reassess the wiring connections. Safety should never be compromised during this step.
What To Do If The Light Doesn’t Turn On
If the light fails to activate, double-check the bulb first—it might simply be burned out. If the bulb is fine, inspect the wiring connections to ensure they are secure and correctly attached. Sometimes, the issue lies in a faulty pull switch or wiring, which may require replacement or professional help.

Credit: www.youtube.com
Preventive Maintenance Tips
Regular maintenance of your light fixture with a pull string ensures its longevity. Simple checks and adjustments can prevent common issues. Let’s explore some practical maintenance tips.
Check The Pull String Regularly
Inspect the pull string for any fraying or wear. A damaged string can break unexpectedly. Replace it promptly if you notice any issues. This prevents sudden failure.
Clean The Fixture
Dust and dirt can accumulate on the fixture. Use a soft cloth to clean it regularly. This helps maintain its appearance and functionality. A clean fixture operates more efficiently.
Tighten Loose Parts
Check for any loose screws or parts. Tighten them to ensure the fixture remains stable. A secure fixture reduces the risk of electrical problems.
Lubricate The Mechanism
If the pull mechanism feels stiff, apply a small amount of lubricant. This keeps the pull string operating smoothly. Avoid using excessive amounts to prevent mess.
Inspect The Wiring
Look for any exposed or damaged wires. Faulty wiring can lead to serious issues. If you find any, seek professional assistance to fix them.
Replace Worn-out Bulbs
Old bulbs can flicker or fail. Replace them with new ones for consistent light. Choose bulbs that match the fixture’s specifications.

Credit: www.youtube.com
Frequently Asked Questions
How Do I Fix A Broken Pull String On A Light Fixture?
To fix a broken pull string, first turn off the power. Remove the fixture cover and replace the string by threading it through the switch mechanism. Secure the string with a knot and reassemble the fixture.
Why Is My Pull String Light Not Turning On?
A pull string light might not turn on due to a faulty switch, loose wiring, or a burnt-out bulb. Check the bulb first, then inspect the wiring and switch for damage or disconnection.
Can I Replace A Pull String Switch Myself?
Yes, you can replace a pull string switch yourself. Turn off the power, remove the fixture cover, disconnect the old switch, and install a new one following the wiring instructions.
What Tools Do I Need To Repair A Pull String Light?
You’ll need a screwdriver, wire stripper, replacement pull string or switch, electrical tape, and a voltage tester to safely repair a pull string light fixture.
Conclusion
Fixing a light fixture with a pull string is simple and quick. Follow each step carefully to avoid mistakes. Always turn off the power before starting work. Use basic tools you already have at home. A working pull string makes using the light easier.
Small repairs save money and time. Take your time and work safely. Now, you can fix your light fixture confidently. Keep these tips for future repairs. Your home will feel brighter and safer.


