
Is your wall clock not ticking like it used to? You rely on it every day to keep your schedule on track, so a broken clock can be frustrating.
The good news is, fixing it might be easier than you think. In this guide, you’ll discover simple steps to bring your wall clock back to life. By the end, you’ll have the confidence to tackle common problems yourself and save time and money.
Ready to get your clock working perfectly again? Let’s dive in.

Credit: m.youtube.com
Common Wall Clock Issues
Wall clocks often face small problems that stop them from working right. These issues are common and easy to fix. Knowing what causes them helps you solve the problem fast. Fixing these issues can make your clock run smoothly again.
Stopped Clock
A clock that stops may have dead batteries or a loose battery connection. Dust or dirt inside the clock can also block the gears. Sometimes, the clock needs a gentle shake to restart the movement. Check the battery first and replace it if needed.
Wrong Time
When a clock shows the wrong time, the hands might be out of sync. The clock’s mechanism could be slipping or stuck. Reset the time by moving the hands slowly. Tighten any loose parts to keep the clock accurate.
Noisy Movement
A loud ticking or grinding sound means the clock parts may be dirty or worn out. Dust can build up on gears and cause noise. Use a soft brush to clean inside the clock. Avoid oiling unless you know the right way.
Loose Hands
Hands that wobble or fall off need tightening. The small nut holding the hands might be loose. Gently press the hands back onto the center pin. Make sure they do not touch each other or the clock face.
Credit: tictocclockrepairs.co.uk
Tools And Materials Needed
Fixing a wall clock requires certain tools and materials. Having the right items makes the process easier and faster. Prepare these essentials before starting your repair.
Basic Repair Tools
- Screwdrivers (flathead and Phillips)
- Pliers
- Small hammer
- Tweezers
- Magnifying glass
- Battery tester
- Soft cloth or microfiber towel
Replacement Parts
- Clock hands (hour, minute, second)
- Quartz movement mechanism
- Batteries (usually AA or AAA)
- Small screws and pins
- Glass cover (if broken)
Cleaning Supplies
- Soft brush for dust removal
- Isopropyl alcohol
- Cotton swabs
- Compressed air can
- Lint-free cloth
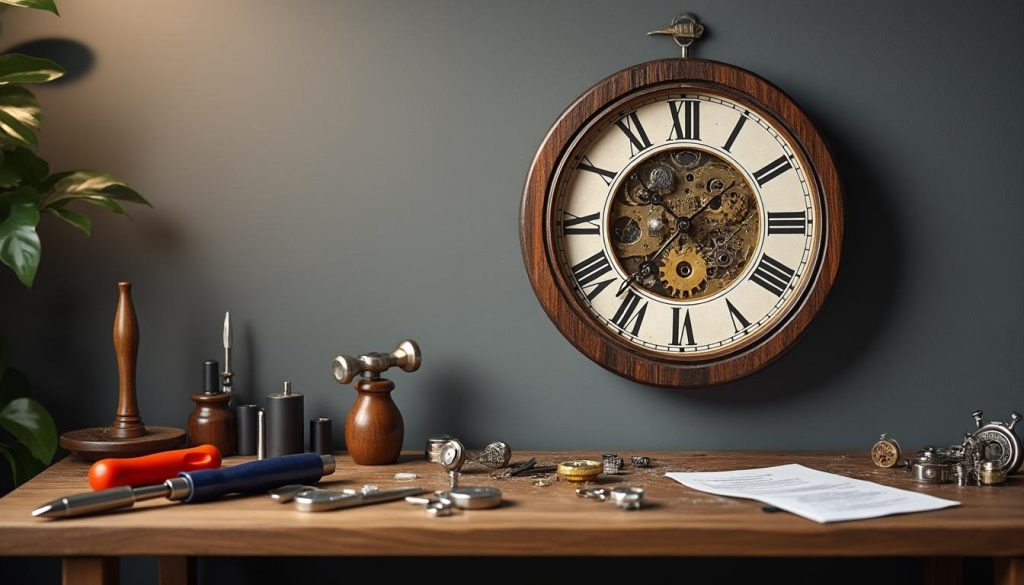
Preparing The Clock For Repair
Begin by carefully removing the clock from the wall and placing it on a flat surface. Clear the area around you and gather basic tools like a screwdriver and soft cloth. Check the clock for dust or loose parts before starting any repairs.
Before diving into the intricate world of clock mechanisms, it’s essential to prepare your wall clock for repair. This step not only ensures your safety but also prevents any further damage to the clock. With a bit of patience and attention to detail, you can set the stage for a successful repair.Removing The Clock From The Wall
Start by carefully taking the clock off the wall. Ensure you have a sturdy ladder or step stool if needed. It’s a good idea to have a friend assist you, especially if the clock is heavy or awkwardly positioned. Once you’re at eye level with the clock, gently unhook it from the wall. Keep a firm grip to prevent it from slipping. Place it on a stable, flat surface to avoid any accidental knocks or drops.Opening The Clock Case
With the clock safely on the table, it’s time to open the clock case. Most wall clocks have a back panel or a front glass cover that can be removed. Look for small screws or latches that hold the case together. Use a screwdriver that fits the screws perfectly to avoid stripping them. If your clock has a glass cover, handle it with care to prevent any cracks or chips. As you remove the components, lay them out in the order you removed them for easy reassembly.Handling Delicate Components
Inside the clock, you’ll find various delicate components such as gears, hands, and perhaps even a pendulum. Handle these with care. Avoid applying excessive force as some parts can be fragile and easily damaged. Consider wearing cotton gloves to prevent oils from your skin from affecting the metal parts. If any parts seem stuck, take a moment to assess before proceeding. Sometimes, a gentle wiggle can free them without causing harm. Have you ever thought about how many tiny pieces work together to tell the time? As you prepare the clock for repair, keep in mind that patience and precision are your best tools.Fixing The Clock Mechanism
Fixing the clock mechanism is essential to restore the wall clock’s function. The mechanism controls the clock’s hands and keeps time accurate. Small issues like dead batteries or stuck hands often cause the clock to stop. Other problems may involve dirt or lack of lubrication inside the movement. These issues can be fixed with simple tools and some care.
Replacing The Battery
Check the battery first. A dead battery is the most common cause of clock failure. Open the back cover carefully. Remove the old battery and dispose of it properly. Insert a new battery, matching the correct size and type. Ensure the battery fits tightly and the contacts are clean. Close the back cover and watch the clock start ticking again.
Adjusting The Hands
Clock hands may get stuck or misaligned. Gently move the hands to check for any obstructions. If they touch each other, carefully bend them apart. Use your fingers or a small tool for precise adjustment. Avoid forcing the hands, as this could damage the mechanism. Test the clock by moving the minute hand slowly to see if it runs smoothly.
Cleaning The Movement
Dust and dirt can stop the clock mechanism. Use a soft brush or compressed air to remove debris. Avoid using water or harsh chemicals inside the clock. Focus on cleaning gears and pivots gently. Remove old dirt without disturbing the parts. Keep the mechanism dry and free of residue to maintain good function.
Lubricating Moving Parts
Clock movements need occasional lubrication for smooth operation. Use a small amount of clock oil or light machine oil. Apply oil sparingly to the pivot points and gears. Avoid over-oiling, as excess oil attracts dust. Use a fine applicator or toothpick for precise oiling. Run the clock after lubrication to check for improved movement.
Dealing With Loose Or Broken Hands
Loose or broken clock hands can stop your wall clock from telling time correctly. These issues are common and easy to fix. Handling the hands carefully can bring your clock back to life. Follow simple steps to tighten or replace the hands and enjoy a working clock again.
Tightening Loose Hands
Loose hands cause the clock to show wrong time. To fix this, gently remove the clock glass if possible. Hold the clock face steady. Check the center where hands attach. Use a small screwdriver or your fingers to tighten the nut or screw holding the hands. Turn it just enough to hold the hands firmly. Avoid over-tightening, which can stop the hands from moving. After tightening, test the clock by moving the minute hand slowly. Ensure it moves smoothly without slipping.
Replacing Damaged Hands
Broken or bent hands need replacement to work properly. Find new hands that match your clock’s size and style. Remove the clock’s glass and carefully pull off the damaged hands. Use pliers if needed, but be gentle to avoid damage. Attach the new hands by pressing them onto the shaft one by one. Start with the hour hand, then the minute hand, and finally the second hand if there is one. Make sure the hands do not touch each other or the clock face. Test the clock to ensure the hands move freely and keep accurate time.
Testing And Reassembling
Testing and reassembling your wall clock is a crucial phase. It confirms that the repair worked well. Careful steps will help avoid damage during reassembly.
Ensure the clock runs smoothly before sealing it back up. Checking time accuracy is the first task. Then secure the case properly. Finally, rehang the clock safely on the wall.
Checking Time Accuracy
Set the clock hands to the correct time. Observe the clock for at least one hour. Note if the hands move steadily and keep accurate time.
Look for any lag or sudden jumps. Adjust the hands gently if needed. Replace the battery if the clock runs slow or stops.
Securing The Case
Align the clock’s front and back covers carefully. Check for any loose parts inside. Use small screws or clips to fasten the case firmly.
Make sure the glass or plastic cover is clean. Avoid pressing too hard to prevent cracks. Confirm the case fits snugly around the clock.
Rehanging The Clock
Choose a sturdy nail or hook on the wall. Check the wall surface to avoid damage. Hang the clock securely so it won’t fall.
Adjust the clock so it hangs straight. Step back and see if the clock is level. Now, your wall clock is ready to keep time again.
Preventive Maintenance Tips
Preventive maintenance helps keep your wall clock working smoothly. Small care habits stop common problems before they start. This saves time and money on repairs. Regular attention makes your clock last longer and stay accurate.
Regular Cleaning
Dust and dirt can slow down a clock’s movement. Clean the clock face and hands gently with a soft cloth. Avoid using water or strong cleaners on the mechanism. Use a small brush to remove dirt from tight spaces. Clean once every few weeks to keep it dust-free.
Battery Replacement Schedule
Old batteries cause your clock to stop or lose time. Replace batteries every 6 to 12 months, depending on use. Use fresh, high-quality batteries for better performance. Remove batteries if you won’t use the clock for a long time. Check the battery compartment for corrosion and clean if needed.
Proper Placement
Place your clock away from direct sunlight to avoid damage. Avoid areas with high humidity like bathrooms or kitchens. Keep the clock on a stable wall to prevent shaking. Choose a spot with moderate temperature to protect the mechanism. Good placement helps your clock run accurately and last longer.

Credit: www.clockworks.com
Frequently Asked Questions
How Do I Stop My Wall Clock From Ticking Loudly?
To reduce ticking noise, place the clock on a soft surface or use rubber pads. Ensure the clock mechanism is clean and lubricated. Consider switching to a silent or quartz movement for quieter operation.
Why Is My Wall Clock Running Slow Or Fast?
A wall clock runs slow or fast due to battery issues or mechanical faults. Replace old batteries and check if the pendulum or gears are obstructed. Adjust the timekeeping mechanism if the clock has one.
How Can I Fix A Stopped Wall Clock?
First, replace the battery with a fresh one. Clean the clock hands and mechanism to remove dust. Check if the hands are stuck or misaligned and gently adjust them.
What Tools Are Needed To Fix A Wall Clock?
Basic tools include a screwdriver, soft cloth, tweezers, and a small brush. You may also need replacement batteries, clock oil, and a magnifying glass to inspect small parts.
Conclusion
Fixing a wall clock does not have to be hard. Simple steps can bring it back to life. Check the batteries first and clean the parts carefully. Tighten loose hands and make sure the clock is level. Small problems often cause big issues.
Take your time and work patiently. A working clock adds charm to any room. Keep your clock ticking smoothly with regular care. Enjoy the satisfaction of fixing something yourself.


