
Are you looking to transform your space with a unique and cozy touch? Hanging a tapestry on your ceiling can instantly change the vibe of any room, making it feel more inviting and stylish.
But you might be wondering, how do you do it without damaging your ceiling or making a mess? Don’t worry—this guide will show you simple, effective ways to hang your tapestry safely and beautifully. Keep reading, and soon you’ll know exactly how to turn your ceiling into a stunning focal point.
Choosing The Right Tapestry
Choosing the right tapestry for your ceiling can transform your space in surprising ways. Not all tapestries work well overhead, so it’s important to think about the details before you hang it up. The right choice will ensure your ceiling looks inviting without overwhelming the room.
Material And Size Considerations
Lightweight fabrics like cotton or polyester blends work best on ceilings because they’re easier to secure and less likely to sag. Heavy tapestries made from thick wool or heavy weaves can pull down and cause damage or require more support.
Size matters here—too small, and the tapestry won’t make an impact; too large, and it might crowd the space or hang awkwardly. Measure your ceiling area carefully and pick a tapestry that leaves some margin around the edges for a neat finish.
- Choose fabrics that resist dust and are easy to clean.
- Consider tapestries with some stretch or flexibility to avoid wrinkles.
- Use lightweight backing or lining if your tapestry feels too thin or translucent.
Designs That Suit Ceilings
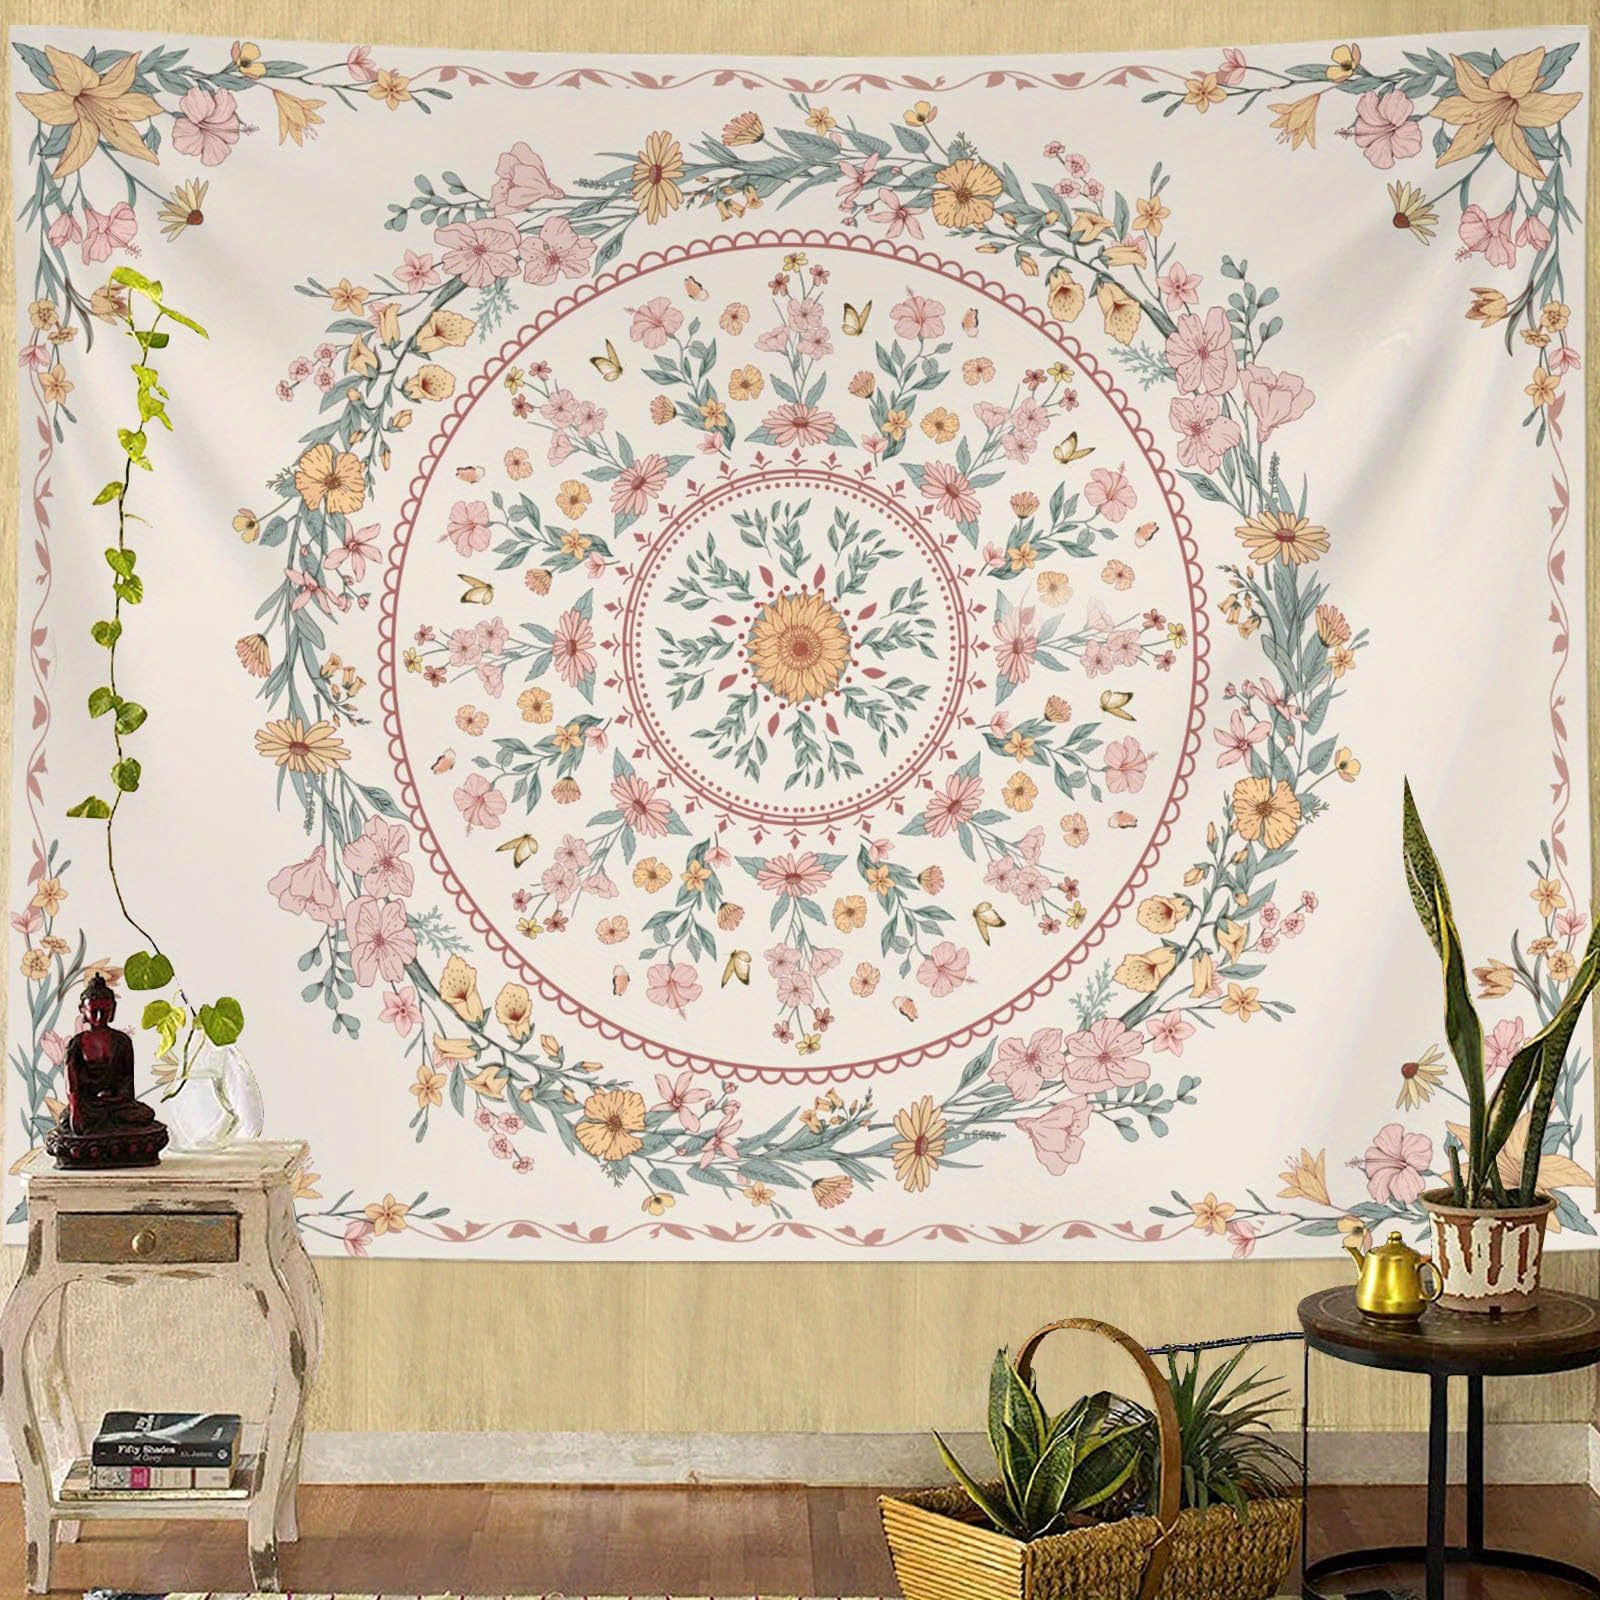
Ceiling tapestries work best with symmetrical or repeating patterns that draw the eye upward. Designs like mandalas, geometric shapes, or stars create a sense of balance and depth when viewed from below.
Bright or dark colors can change the room’s mood dramatically. Ask yourself: do you want the ceiling to feel cozy and intimate, or open and airy? Soft pastels or light shades can open up the space, while bold colors add drama.
- Avoid busy, chaotic prints that can overwhelm your view and cause visual clutter.
- Think about how your tapestry’s design complements your room’s decor and lighting.
- Try draping a tapestry temporarily before hanging to see how the pattern feels in your space.
Preparing Your Ceiling
Preparing your ceiling for a tapestry ensures a secure and neat display. It sets the foundation for a smooth hanging process. Taking time to prepare avoids damage and keeps the tapestry looking great.
Measuring And Marking
Start by measuring the ceiling space where the tapestry will hang. Use a tape measure to find the center point and edges. Mark spots lightly with a pencil or painter’s tape. This helps place hooks or nails accurately and keeps the tapestry balanced.
Checking Ceiling Material
Identify the type of ceiling before hanging. Different materials need different fasteners. For drywall, use anchors or toggle bolts for support. Wood ceilings allow direct nailing or screwing. Avoid fragile or crumbly surfaces to prevent damage. Knowing the material keeps the tapestry secure and the ceiling intact.
Selecting Hanging Tools
Choosing the right tools to hang a tapestry on your ceiling can make all the difference between a secure display and a frustrating experience. The key is matching the tool to your ceiling type and the weight of your tapestry. Getting this right not only protects your ceiling but also keeps your tapestry looking stunning.
Hooks And Anchors
Hooks and anchors are a reliable choice for heavier tapestries or ceilings made of drywall. Anchors provide extra grip, preventing hooks from loosening over time. If you’ve ever had something fall because the hook pulled out, you know how important this is.
Use screw-in hooks combined with plastic or metal anchors for a firm hold. Before drilling, check your ceiling material—anchors work best in drywall, while toggle bolts suit plaster ceilings better. Have you checked the weight limit on your hooks? Always pick one that can handle more than your tapestry’s weight.
Adhesive Options
Adhesive hooks or strips work well for lightweight tapestries and rented spaces where drilling isn’t an option. They leave minimal marks and are easy to remove. However, they might not hold up well in humid rooms or with heavier fabrics.
Test a small area first to see how your ceiling reacts to the adhesive. If you want a clean look without holes, this could be your best bet. Are you ready to trade off permanence for convenience?
Using A Rod Or Frame
Hanging a tapestry on a rod or frame adds elegance and protects the fabric from damage. This method spreads the weight evenly and makes it easy to remove or switch tapestries. You can mount a curtain rod directly to the ceiling using brackets and hooks.
If your tapestry has a pocket or loop at the top, slipping it over a rod is simple and stylish. Think about how often you want to change your décor—this method is perfect for those who like to refresh their space regularly. Could a rod setup be the easiest way to showcase your tapestry?
Step-by-step Hanging Process
Hanging a tapestry on a ceiling can instantly transform a room’s vibe, making it cozy and visually interesting. The process might seem tricky at first, but breaking it down into clear steps makes it manageable and even fun. Let’s walk through the practical actions you need to take to get your tapestry perfectly in place above you.
Installing Hooks Or Anchors
Start by choosing the right hooks or anchors based on your ceiling type. Drywall ceilings usually require toggle bolts or anchors that can hold weight securely, while wooden ceilings let you use screw-in hooks directly.
Mark the spots where your tapestry will hang, ensuring they align with the tapestry’s edges or attachment points. Double-check these measurements by holding the tapestry up to the ceiling before drilling or screwing anything in.
Attaching The Tapestry
Once your hooks or anchors are ready, it’s time to attach the tapestry. If your tapestry has loops or a built-in rod pocket, thread a thin, strong rope or wire through these to distribute weight evenly.
Then, gently hang the tapestry on the hooks. Avoid pulling too hard, as this could stretch or damage the fabric. Think about how you want the tapestry to drape—flat and smooth, or with soft folds for a relaxed look.
Securing And Adjusting
After hanging, step back and inspect the tapestry from different angles. Does it hang straight? Are there any sagging areas? Adjust the ropes or reposition the hooks slightly if needed to achieve a balanced look.
To keep your tapestry secure over time, consider adding small, discreet weights to the bottom corners. This prevents unwanted movement caused by air drafts or ceiling fans. How might your room’s lighting change once your tapestry is up? Experiment with this to add extra ambiance.
Safety Tips And Precautions
Hanging a tapestry on your ceiling can instantly transform your space, but safety must come first. Ignoring precautions can lead to accidents or damage to your walls and ceiling. Let’s look at simple yet crucial safety tips to keep your project secure and worry-free.
Check The Ceiling Material
Not all ceilings can hold the weight of a tapestry safely. Drywall may need special anchors, while wooden beams offer a sturdier hold. Before you start, inspect your ceiling to find the best spots for hanging.
I once tried to hang a tapestry on a plain drywall without proper anchors, and it fell within a day. That taught me the value of knowing what your ceiling is made of before drilling or nailing anything.
Use The Right Tools And Hardware
Choosing the correct hooks, anchors, or adhesive strips can make all the difference. Lightweight tapestries can use strong adhesive hooks, but heavier ones need anchors or ceiling hooks designed for weight. Avoid using nails alone on drywall—they won’t hold well over time.
Think about the tapestry’s size and weight. Can your chosen hardware support it without risk? If unsure, ask at your local hardware store—they often provide weight ratings and advice.
Protect Your Ceiling And Tapestry
Ensure your hanging method doesn’t damage your ceiling or the tapestry fabric. Use protective pads or felt between hooks and the tapestry to prevent tearing. Also, avoid methods that leave permanent marks if you rent or plan to change your decor.
Work Safely At Height
Using a sturdy ladder is essential when working on your ceiling. Place it on a flat surface and never overreach. Ask someone to assist you for better balance and safety.
Have you ever experienced the frustration of trying to hold your tapestry and hammer at the same time? Getting help can save you from accidents and make the process smoother.
Test The Stability Before Finishing
After hanging, gently pull on the tapestry to test its hold. If it moves or feels loose, reinforce your hardware immediately. A secure tapestry avoids unexpected falls and keeps your ceiling intact.

Credit: www.temu.com
Creative Decorating Ideas
Hanging a tapestry on the ceiling creates a cozy, artistic vibe in any room. Use lightweight hooks or clips to secure it without damage. This simple touch transforms your space with color and texture overhead.
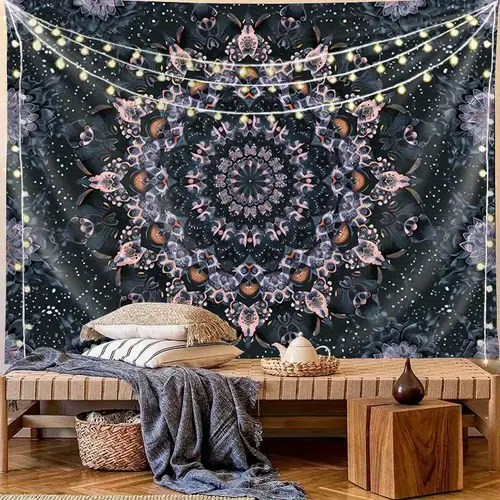
Decorating your ceiling with a tapestry can transform your space into a cozy, artistic haven. But why stop at just hanging it? With a sprinkle of creativity, you can elevate the visual appeal and make your space truly unique. Let’s explore some innovative ideas to take your ceiling tapestry decor to the next level.Layering With Lights
Imagine lying beneath a tapestry that glows softly, casting a warm ambiance in your room. By integrating string lights or LED strips behind your tapestry, you can create a captivating atmosphere. Secure the lights on the ceiling before draping the tapestry over them. Ensure the lights are lightweight and cool to the touch to avoid any heat damage. Battery-operated fairy lights work wonderfully for this setup. They’re easy to manage and won’t overload your power sockets.Combining Multiple Tapestries
Why settle for one tapestry when you can create a mosaic of colors and patterns? Mix and match tapestries to cover a larger area or create a layered look. This approach can add depth and texture, turning your ceiling into a stunning focal point. Choose tapestries that share a common color theme or style to maintain visual harmony. Experiment with different arrangements until you find the perfect combination. By layering or overlapping them slightly, you add an extra dimension to your decor. Does your room have a theme, or are you going for a bohemian vibe? Multiple tapestries can help you express that style effortlessly. Remember, your ceiling is a canvas—let it reflect your personality.Maintaining Your Ceiling Tapestry
Keeping your ceiling tapestry looking fresh and vibrant requires regular care. Unlike wall hangings, tapestries overhead can gather dust and face wear from air circulation and light exposure. You’ll want to maintain it properly to enjoy its beauty for years without damage or fading.
Cleaning Tips
Dust builds up quickly on ceiling tapestries, so use a soft brush or a handheld vacuum with a brush attachment to gently clean it. Avoid harsh chemicals; instead, spot clean with a mild detergent diluted in water if you notice stains.
Try to clean your tapestry every few months to prevent dirt from settling deep into the fabric. If you have allergies, this becomes even more important to keep your room comfortable and healthy.
Repairing Minor Damage
Small tears or loose threads can worsen if ignored. Keep a sewing kit handy to fix these issues quickly with matching thread and tiny stitches.
If you see any fading, consider rotating the tapestry or shifting its position to minimize sun exposure on one section. This simple step can extend the life of your tapestry’s colors.
Credit: www.temu.com

Credit: www.amazon.ca
Frequently Asked Questions
How Do I Prepare The Ceiling For Hanging A Tapestry?
Clean the ceiling surface and check for studs or beams. Use a stud finder for secure anchoring. Avoid hanging on weak drywall without proper anchors to prevent damage or falling.
What Tools Do I Need To Hang A Tapestry On The Ceiling?
You need a drill, screws or hooks, a measuring tape, a ladder, and wall anchors. These tools help ensure the tapestry is securely fixed and evenly positioned on the ceiling.
Can I Use Adhesive Hooks To Hang A Tapestry On The Ceiling?
Adhesive hooks may work for lightweight tapestries but are not reliable for heavier ones. For safety and durability, use screws or ceiling anchors to secure the tapestry properly.
How Do I Avoid Damaging The Tapestry When Hanging It?
Handle the tapestry gently and avoid sharp tools near the fabric. Use clips or rods designed for tapestries to distribute weight evenly and prevent tearing or stretching.
Conclusion
Hanging a tapestry on a ceiling adds style and warmth to any room. It changes plain spaces into cozy, unique spots. Use the right tools to keep it safe and neat. Take your time to measure and place it well.
This small project can make a big difference. Enjoy the new look and feel of your room. Try different tapestries to match your mood or season. Simple steps lead to great results. Give your ceiling a fresh, creative touch today.


