
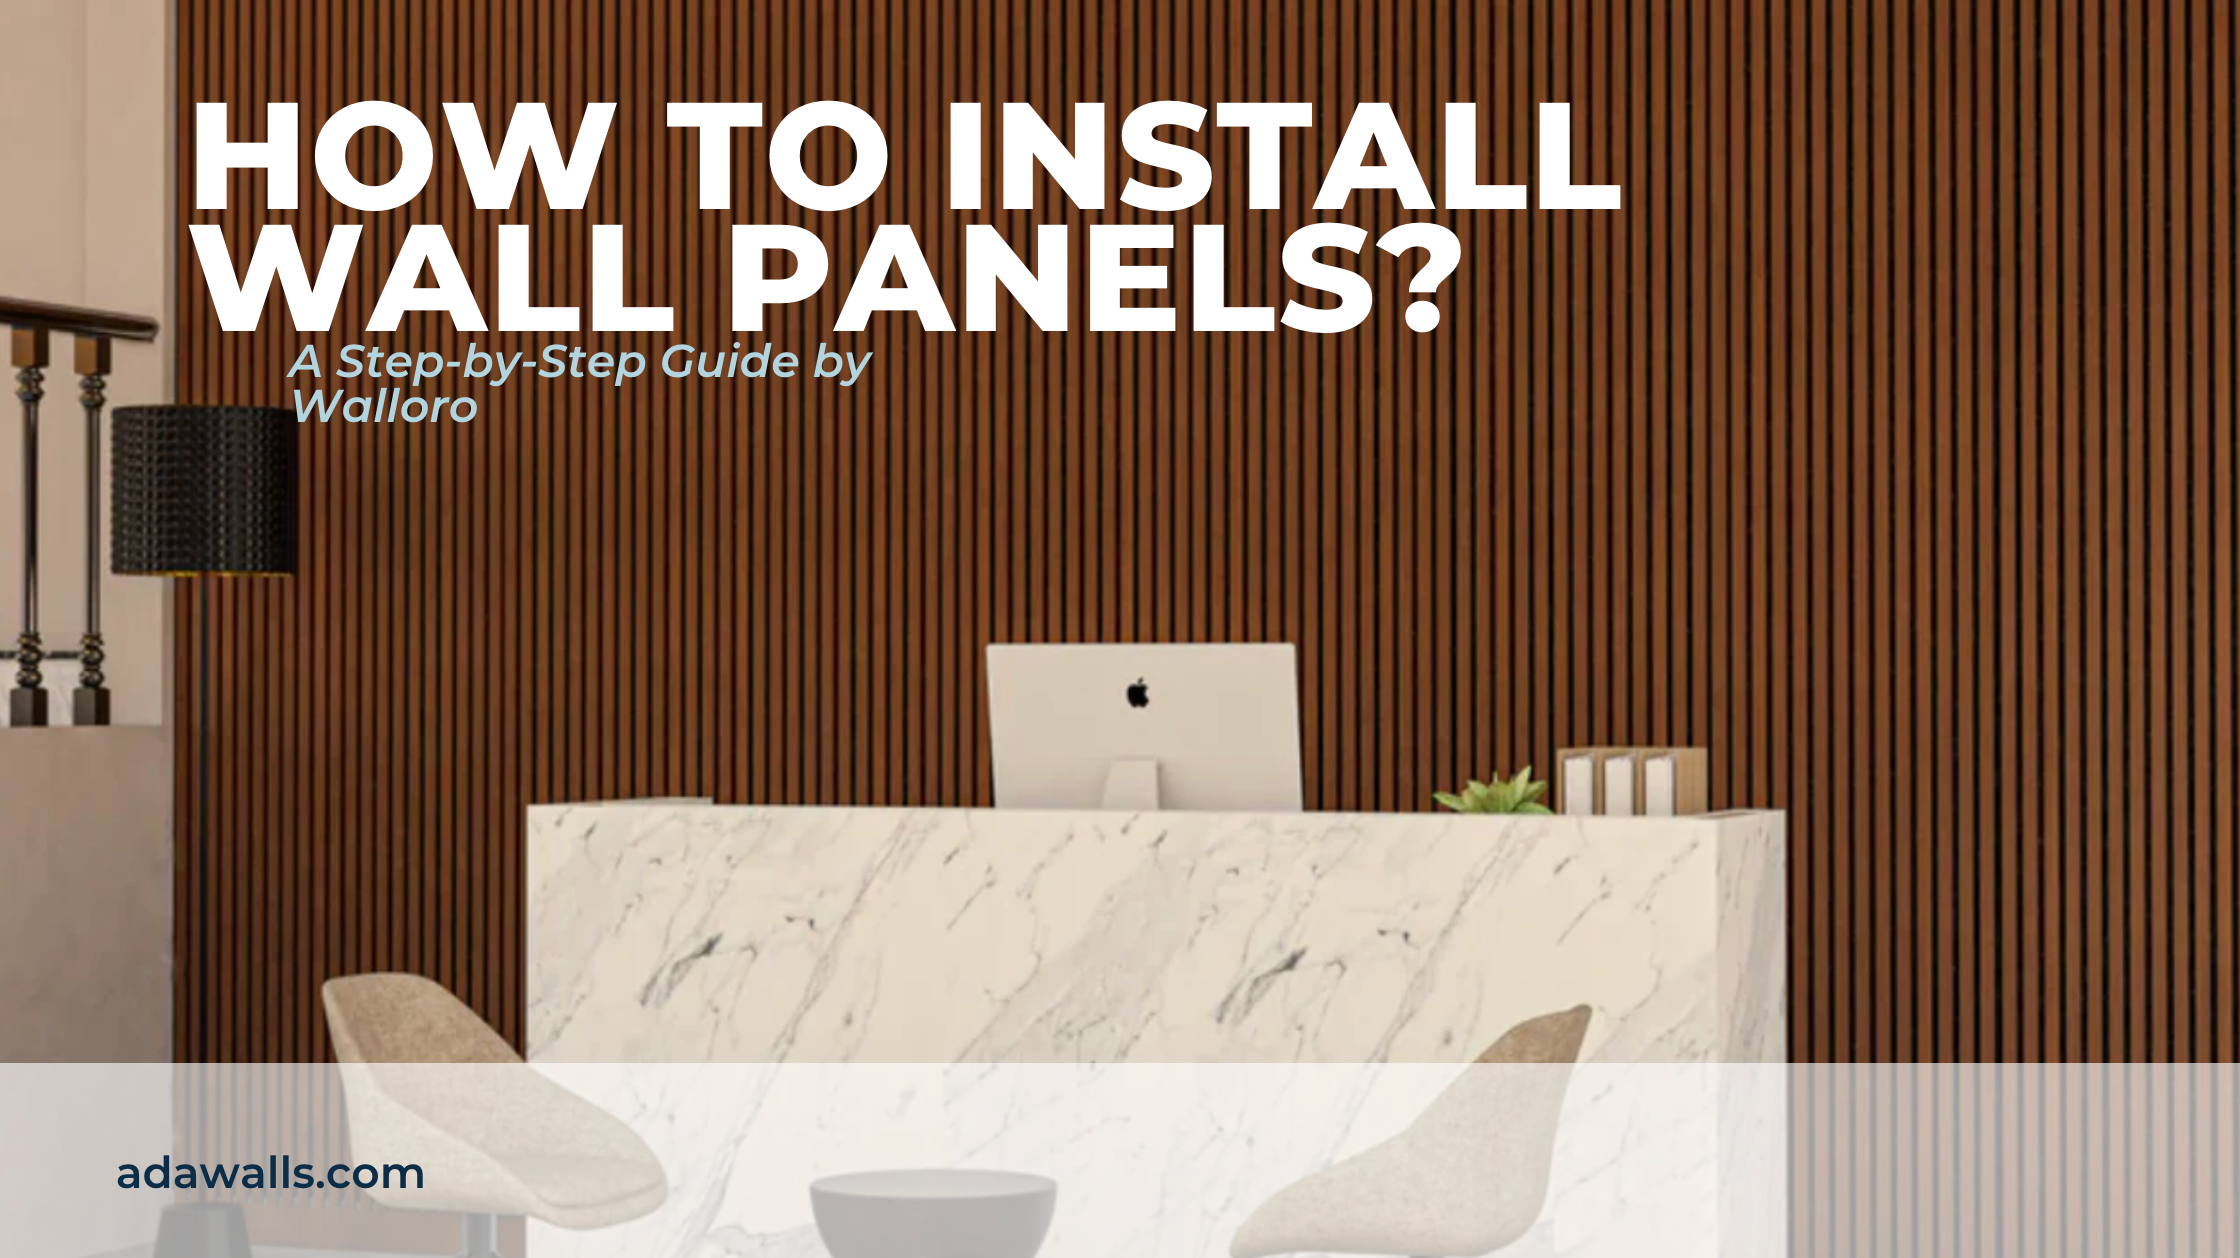
Are you looking to transform your space quickly and affordably? Installing 3D MDF wall panels could be the perfect solution for you.
These panels add depth, texture, and style to any room without the hassle of complicated renovations. Imagine turning a plain wall into a stunning feature that catches everyone’s eye. In this guide, you’ll discover simple, step-by-step instructions to install 3D MDF wall panels yourself—no special skills required.
Keep reading, and you’ll be amazed at how easy it is to give your walls a fresh, modern look that truly stands out.
Credit: adawalls.com
Choosing The Right 3d Mdf Panels
Choosing the right 3D MDF wall panels is key to a stunning room makeover. The choice affects the room’s style, mood, and feel. Consider size, design, and color carefully. This helps create a space that feels both fresh and inviting.
Types Of 3d Mdf Panels
3D MDF panels come in many designs and textures. Some have geometric shapes, while others mimic natural materials like wood or stone. Popular options include:
- Wave patterns for a modern look
- Brick-style for rustic charm
- Floral or leaf designs for elegance
- Abstract shapes for artistic flair
Choose a style that matches your room’s theme and furniture.
Measuring Your Wall Space
Accurate measurements ensure a perfect fit and less waste. Measure the height and width of the wall in inches or centimeters. Write down the dimensions before buying panels. Consider any doors, windows, or outlets that may affect placement. Plan how many panels will cover the space fully.
Selecting Colors And Patterns
Colors set the room’s tone and atmosphere. Light colors make rooms look bigger and brighter. Darker shades add depth and coziness. Patterns add texture and interest but should not overwhelm the space. Match colors with your furniture and décor. Matte finishes hide wall flaws better. Glossy finishes reflect light and add shine.

Credit: dundeedeco.com
Preparing The Wall Surface
Preparing the wall surface is a vital step before installing 3D MDF wall panels. A clean, smooth, and primed wall ensures the panels stick well and look flawless. Taking time for proper preparation saves effort later and improves the final appearance.
Cleaning And Smoothing The Wall
Remove dust, dirt, and grease from the wall using a damp cloth. Dirt can stop the adhesive from sticking properly. Check for loose paint or wallpaper and scrape it off carefully.
Use sandpaper to smooth rough spots and create an even surface. A smooth wall helps the panels fit tightly and prevents bumps.
Repairing Imperfections
Fill holes, cracks, or dents with spackle or wall filler. Use a putty knife to apply and smooth it out. Let it dry completely before sanding the patched areas.
Remove any peeling paint or loose material around these spots. A solid, even surface supports the panels and avoids future damage.
Priming For Better Adhesion
Apply a coat of primer to the entire wall. Primer seals the surface and improves the glue bond with the panels. Choose a primer suitable for MDF and your wall type.
Allow the primer to dry fully as per the instructions. A well-primed wall ensures the panels stay secure and last longer.
Gathering Tools And Materials
Before you start installing 3D MDF wall panels, gathering the right tools and materials is crucial. Having everything ready saves time and prevents interruptions during your project. It also helps you avoid costly mistakes and ensures a smoother installation process.
Essential Tools List
To install 3D MDF wall panels efficiently, you need a few basic tools. A measuring tape is vital for accurate panel placement. A level helps you keep panels straight and aligned perfectly.
A utility knife or fine-tooth saw will allow you to trim panels to fit corners and edges. Sandpaper or a sanding block smooths any rough edges after cutting. Don’t forget a pencil for marking measurements on the panels and walls.
Adhesives And Fasteners
Choosing the right adhesive is key to a long-lasting installation. Construction adhesive specifically made for MDF or wood works best. It provides a strong bond and holds panels firmly against the wall.
In some cases, you may need finishing nails or small screws to add extra support. These fasteners ensure the panels stay in place, especially on uneven surfaces. Consider the wall type before selecting your adhesives and fasteners to avoid damage.
Safety Gear
Safety should never be overlooked during installation. MDF dust can irritate your lungs and eyes, so wear a dust mask and safety goggles. Gloves protect your hands from splinters and sharp tools.
Good ventilation in your workspace reduces dust buildup and makes breathing easier. Taking these precautions keeps you safe and comfortable while working on your wall panels.
Cutting And Layout Planning
Cutting and layout planning are essential steps to ensure your 3D MDF wall panels fit perfectly and look professional. Taking your time here saves you from costly mistakes and wasted materials. Careful preparation can transform a tricky installation into a smooth and satisfying project.
Measuring Panels Accurately
Start by measuring the wall surface precisely, noting any irregularities like corners, outlets, or switches. Use a tape measure and mark dimensions clearly on your panels before cutting.
Remember, even a small miscalculation can cause gaps or misaligned patterns. Double-check your measurements, especially for panels that need trimming around obstacles.
Ask yourself: Have I accounted for expansion gaps or overlaps? This can make a big difference in the final appearance.
Cutting Techniques
Choose the right tools for clean, straight cuts—usually a fine-toothed saw or an electric jigsaw works well with MDF. Work slowly to avoid chipping the delicate surface.
Support the panel fully while cutting to prevent bending or breaking. Using painter’s tape along the cut line can help reduce splintering.
Try cutting a scrap piece first to get comfortable with your tool and the material’s behavior. This small step can save you from ruining a main panel.
Dry Fitting Panels
Before fixing panels permanently, place them on the wall to check alignment and fit. This step allows you to spot any adjustments needed without committing.
Walk around and view your layout from different angles. Are the 3D patterns flowing naturally? Is there an awkward gap that needs trimming?
Taking the time to dry fit helps you avoid surprises and ensures your final installation looks seamless and professional.
Installing The Panels
Installing 3D MDF wall panels transforms any plain wall into a stunning feature. This process demands attention to detail and the right technique to ensure panels stay secure and aligned. Let’s walk through how to apply adhesive, position the panels, and add support effectively.
Applying Adhesive Correctly
Choose a strong, construction-grade adhesive designed for MDF and wall surfaces. Apply the adhesive in a zigzag pattern across the back of each panel to cover the surface evenly.
Don’t overload the adhesive; too much can cause mess and uneven mounting. A moderate amount ensures a solid hold without squeezing out excessively when pressed.
Positioning Panels On Wall
Start from a corner or a straight edge for the cleanest alignment. Press the panel firmly against the wall, making sure it sits flush and flat to avoid gaps or bulges.
Check your level before fixing each panel to keep lines straight. How do you handle slight wall imperfections? Sometimes gently adjusting the panel or filling small gaps afterward can make a big difference.
Using Nails Or Screws For Support
Adhesive alone might not be enough, especially on uneven surfaces or heavier panels. Use finishing nails or screws to secure each panel at the edges.
- Choose nails or screws with heads that can be countersunk and filled later.
- Space fasteners evenly, about every 12 to 16 inches.
- Pre-drill holes to prevent MDF from splitting.
Adding mechanical fasteners gives you peace of mind that panels will hold up over time. Have you ever installed wall panels that started to peel off? This extra step prevents that issue entirely.

Credit: dundeedeco.com
Finishing Touches
Finishing touches give your 3D MDF wall panels a polished and professional look. These final steps help hide imperfections and prepare the panels for a lasting finish. Taking time here ensures your walls look smooth and seamless.
Filling Gaps And Seams
Use wood filler or caulk to fill any gaps between panels. Press the filler into seams and cracks with a putty knife. Smooth it out so it blends with the panel surface. Let it dry completely before the next step. This step hides joints and creates a uniform look.
Sanding Edges Smoothly
Sand all filled areas and panel edges lightly with fine-grit sandpaper. Sand in a circular motion to avoid scratches. This smooths rough spots and blends filler with the panel. Wipe away dust with a clean cloth. Proper sanding helps paint or sealant adhere better.
Painting Or Sealing Panels
Choose paint or a clear sealant based on your desired look. Use a brush or roller for even coverage. Apply thin coats and let each dry fully before adding more. Painting adds color and protection. Sealing preserves the natural MDF texture and prevents moisture damage.
Maintaining Your 3d Mdf Wall
3D MDF wall panels add elegance and texture to any space. To keep them looking fresh, regular maintenance is essential. Proper care ensures their longevity and visual appeal. Simple steps can help you maintain their beauty.
Cleaning Tips
Dust your panels weekly with a soft cloth. For deeper cleaning, use a damp cloth. Avoid soaking the panels, as excess moisture can cause damage. Use mild soap if needed, then wipe with a dry cloth. Ensure all soap residues are removed.
Repairing Damages
Minor scratches can occur over time. Use a wood filler to repair small damages. Apply the filler with a putty knife, then smooth it out. Once dry, sand the area gently. Paint over the repaired spot to match the panel color.
Long-term Care Advice
Avoid exposing the panels to direct sunlight. Prolonged exposure can cause fading. Maintain stable indoor humidity to prevent warping. Regularly check for signs of wear or damage. Address issues promptly to prevent further problems. Routine inspections ensure the panels remain in top condition.
Frequently Asked Questions
What Tools Are Needed To Install 3d Mdf Wall Panels?
You need a measuring tape, level, adhesive, saw, and a nail gun. These tools ensure precise cutting and secure installation of the panels. Proper tools help achieve a smooth, professional finish on your walls.
How Do I Prepare The Wall For Mdf Panel Installation?
Clean and smooth the wall surface before installation. Remove any dust, dirt, or loose paint. A clean wall ensures better adhesion and long-lasting durability of the MDF panels.
Can I Install 3d Mdf Panels In A Bathroom?
Yes, but ensure the panels are sealed or painted with waterproof coatings. Moisture-resistant treatments prevent warping and damage in humid environments like bathrooms.
How Long Does It Take To Install 3d Mdf Wall Panels?
Installation time depends on wall size and experience. Typically, a small room takes 3-5 hours. Proper planning and preparation can speed up the process.
Conclusion
Installing 3D MDF wall panels can change any room’s look. Follow the steps carefully to get the best results. Use the right tools and take your time. Panels fit together easily and create a stylish wall. Clean the surface well before you start.
Remember, patience makes the job easier. Enjoy your new wall and the fresh feel it brings. This project adds depth and style without much effort. Try it yourself and see the difference it makes.


