

Are you looking to add a stylish touch to your living space? Installing a decorative mirror wall clock is a simple way to brighten up any room while keeping track of time.
You might think it’s complicated, but with the right steps, you can do it yourself quickly and easily. In this guide, you’ll discover clear, step-by-step instructions that make the process smooth and stress-free. Ready to transform your wall and impress your guests?
Keep reading to find out how you can install your decorative mirror wall clock like a pro.

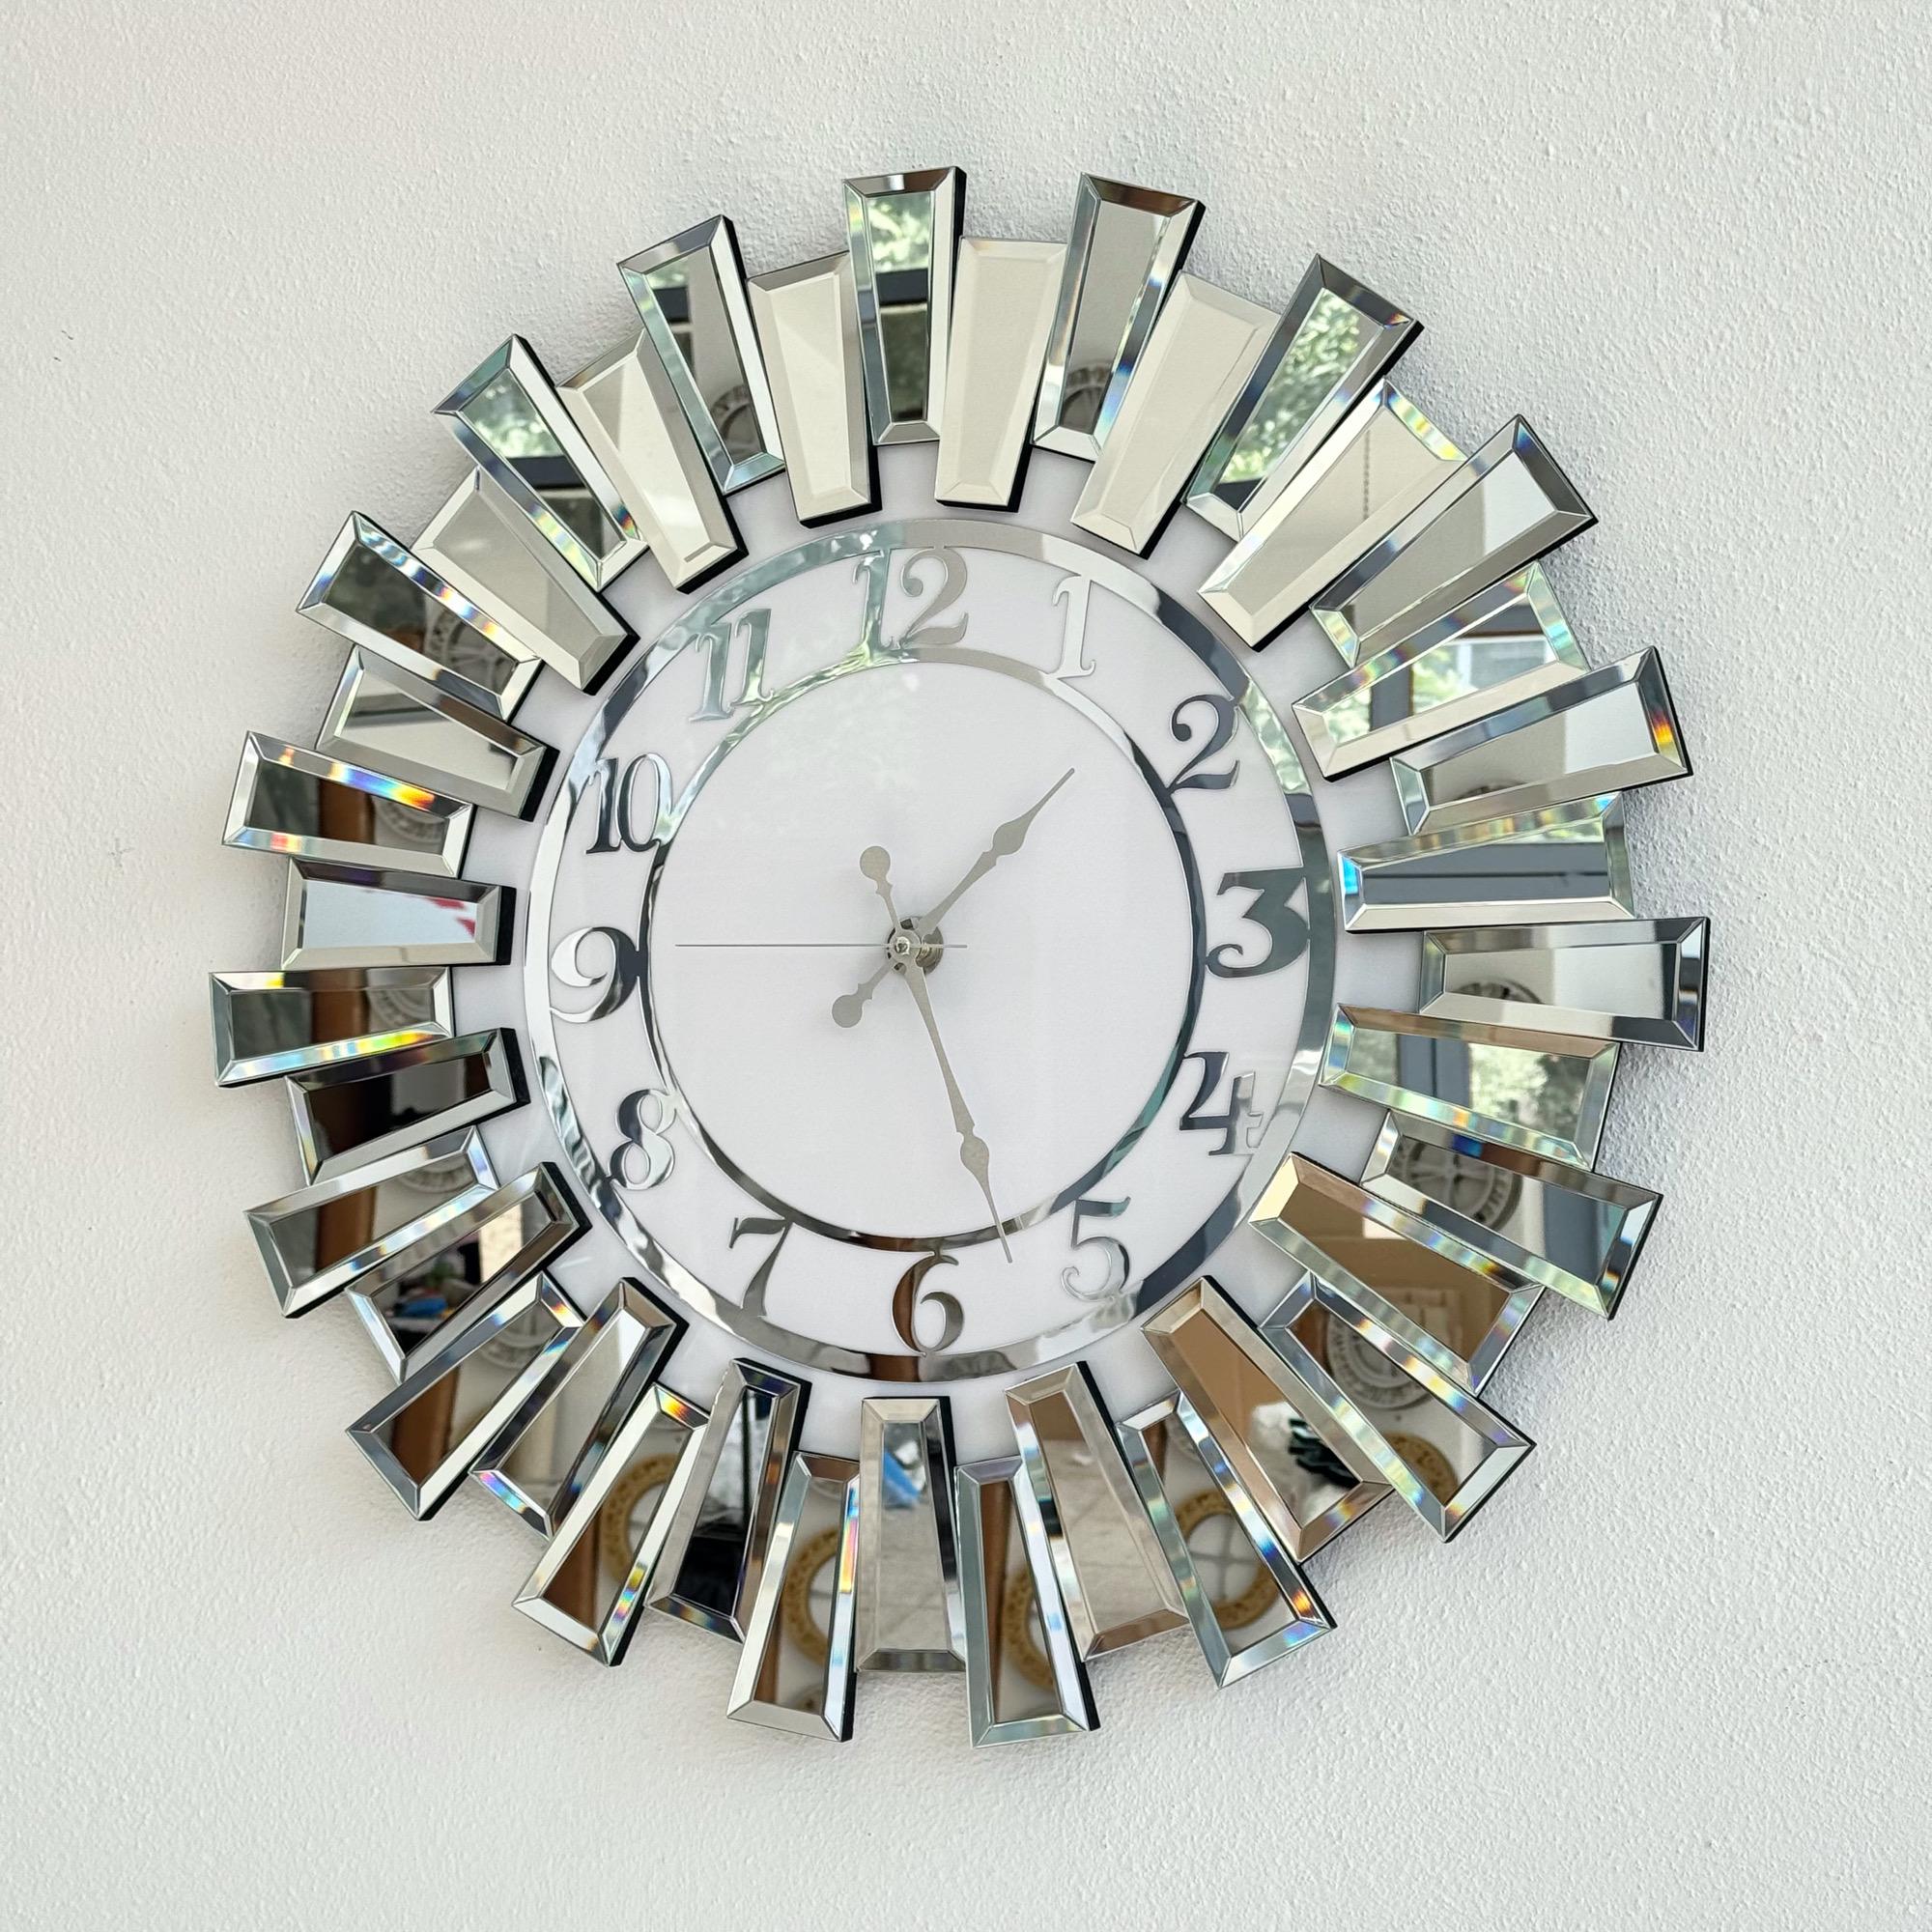
Credit: www.amazon.com
Choosing The Right Mirror Clock
Choosing the right mirror clock is key to enhancing your room’s style and function. A good mirror clock reflects your personality and fits the room’s purpose. Consider the style, size, and placement before making your choice. This helps create a balanced and attractive wall display. Think about how the clock’s design matches your existing decor for a unified look.
Types Of Decorative Mirror Clocks
- Modern designs with clean lines and simple shapes.
- Vintage styles featuring ornate frames and classic numbers.
- Abstract forms that blend art and function.
- Sunburst and geometric patterns for a bold statement.
- Minimalist clocks focusing on subtle elegance.
Size And Placement Tips
Choose a clock size that fits your wall space well. A large clock works best on empty walls or above furniture. Small clocks suit narrow spaces or grouped arrangements. Keep the clock at eye level for easy reading. Avoid placing it where direct light causes glare on the mirror surface.
Matching With Room Decor
Pick colors and materials that blend with your room’s palette. Wood frames match rustic or traditional interiors. Metal or chrome suits modern and industrial spaces. Mirror clocks with neutral tones fit almost any decor. Balance the clock’s style with other wall art or furniture for harmony.
Tools And Materials Needed
Installing a decorative mirror wall clock requires the right tools and materials. Having everything ready makes the process smooth and accurate. This section lists the essentials needed for a safe and successful installation.
Essential Installation Tools
- Measuring tape – for precise placement on the wall
- Level – to ensure the clock hangs straight
- Drill with appropriate bits – for making holes in the wall
- Screwdriver – to tighten screws securely
- Hammer – for tapping in wall anchors or nails
- Pencil – to mark spots for drilling or hanging
Safety Equipment
- Safety glasses – to protect eyes from dust and debris
- Gloves – to avoid cuts from sharp edges on the clock or tools
- Dust mask – especially when drilling into walls
- Work apron or old clothes – to keep your outfit clean
Additional Accessories
- Wall anchors – for secure mounting on drywall or plaster
- Screws – matching the anchors and clock’s hanging hardware
- Double-sided tape or adhesive pads – for extra support or small parts
- Cleaning cloth – to wipe the mirror surface after installation
Preparing The Wall Surface
Clean the wall thoroughly to remove dust and dirt for better clock adhesion. Ensure the surface is dry and smooth to avoid bumps or uneven placement. A well-prepared wall helps the mirror clock stick firmly and look great.
Preparing your wall surface is a crucial step when installing a decorative mirror wall clock. A well-prepared wall not only ensures that the clock adheres properly but also enhances its aesthetic appeal. Let’s dive into the essential steps you need to take to get your wall ready.Cleaning And Smoothing
Start by cleaning the wall thoroughly. Dust, grease, and grime can prevent the adhesive from sticking properly. Use a damp cloth or a mild detergent solution to wipe the surface. Once the wall is clean, inspect it for any uneven areas. A smooth surface is vital for a seamless fit. Use sandpaper to even out any rough patches.Checking For Wall Strength
Before proceeding, you need to check the wall’s strength. This is particularly important if you’re installing the clock on drywall or plaster. Tap on different areas of the wall to identify hollow spots which might not hold the clock securely. If you’re unsure, consider using a stud finder to locate the studs in the wall. Mounting the clock on a stud ensures it will stay put. It’s always better to be safe than to have your clock come crashing down unexpectedly.Marking The Placement
Decide exactly where you want your clock to be. This is your chance to get creative and think about the room’s layout and how the clock will complement it. Use a measuring tape to find the center point of your desired location. Mark it lightly with a pencil. Double-check the levelness with a spirit level to ensure your clock isn’t installed askew. Have you ever faced the frustration of a crooked wall hanging? A few extra minutes spent here can save you that headache. Now, you’re ready to proceed with confidence and precision. By following these straightforward steps, you’re well on your way to installing a decorative mirror wall clock that not only looks stunning but is securely mounted.Step-by-step Installation Guide
Installing a decorative mirror wall clock can transform your living space instantly. The key to a flawless setup lies in precise steps and attention to detail. Let’s break down the process to make your installation smooth and enjoyable.
Measuring And Marking
Start by deciding the exact spot where your clock will hang. Use a tape measure to find the center point on your wall and mark it lightly with a pencil. Ensure the height aligns well with your room’s layout, so the clock is easily visible and balanced.
Consider the room’s lighting—will it cause glare on the mirrors? Mark spots for mirror pieces carefully around the clock face. Taking your time here prevents uneven placement later.
Mounting The Clock Mechanism
Check if your clock mechanism includes a mounting hook or bracket. Secure it firmly onto the wall at the marked center point. If your wall is drywall, use anchors to support the clock’s weight safely.
Double-check that the mechanism is level before tightening screws. A crooked clock mechanism can throw off the entire look and affect time accuracy.
Attaching Mirror Elements
Lay out the mirror pieces on a flat surface first to visualize their arrangement. Many mirror wall clocks come with adhesive pads or double-sided tape—use these for easy attachment. Press each mirror piece firmly onto the wall following your pencil marks.
Be cautious not to damage the reflective surface. If your mirror elements are heavier, consider small wall hooks or brackets for extra security.
Securing The Clock To The Wall
Once the mirror pieces and clock mechanism are in place, check stability. Gently press around the clock and mirrors to ensure everything sticks well. If needed, add extra adhesive or wall anchors.
Ask yourself: does the clock feel sturdy? If yes, insert batteries and set the time. Enjoy the blend of functionality and style your new mirror wall clock brings.
Adjusting And Setting The Clock
Adjusting and setting your decorative mirror wall clock properly ensures it not only looks stunning but keeps accurate time. This process involves a few simple yet essential steps that guarantee your clock functions smoothly and complements your space perfectly. Let’s walk through the key actions to get your clock ready to impress.
Inserting Batteries
Start by locating the battery compartment on the back of the clock. Open it carefully to avoid damaging any parts. Insert fresh batteries, making sure the positive and negative ends align with the markings inside the compartment.
Using high-quality alkaline batteries often results in longer-lasting power. Have you noticed how some clocks slow down or stop with old or low-quality batteries? This small step can save you frustration later.
Setting The Time
Next, find the time-setting dial or knob, typically near the battery compartment. Turn it gently to move the hands to the correct time.
A tip: Always move the hands forward rather than backward to avoid damaging the clock mechanism. If you need to adjust for AM or PM, make sure the clock reflects the right half of the day to keep alarms or chimes accurate.
Fine-tuning The Position
After setting the time, step back and assess your clock’s placement on the wall. Is it perfectly level? Use a small spirit level or your phone’s leveling app to check.
If the clock isn’t straight, it can look off and may even affect the movement of the hands. Adjust the hanging hook or nails slightly until the clock hangs true. Sometimes, a minor tilt can throw off your entire room’s balance—are you ready to fine-tune that?
Credit: www.etsy.com
Maintenance And Care Tips
Maintaining your decorative mirror wall clock ensures it stays beautiful and works well. Proper care keeps the mirror clear and the clock ticking accurately. Simple habits protect it from damage and extend its life.
Cleaning The Mirror Surface
Use a soft, lint-free cloth for cleaning. Spray a small amount of glass cleaner on the cloth, not directly on the mirror. Wipe gently in circular motions to avoid streaks. Avoid abrasive materials that can scratch the surface. Clean regularly to keep the mirror shiny and clear.
Replacing Batteries
Check the clock battery every few months. Use the correct type of battery as per the clock’s instructions. Open the battery compartment carefully to avoid damage. Remove old batteries and insert new ones with the right polarity. Dispose of used batteries properly to protect the environment.
Preventing Damage
- Place the clock away from direct sunlight to avoid fading.
- Keep it in a dry area to prevent moisture damage.
- Avoid hanging in spots with heavy vibration or impact risk.
- Handle the clock gently when cleaning or moving.
- Check the wall hooks or screws regularly for secure mounting.
Creative Placement Ideas
Creative placement transforms a decorative mirror wall clock into a stunning decor piece. It blends function with style, making your space lively and unique. Choosing the right spot highlights both the clock and your room’s character.
Focal Points In Living Rooms
Place the mirror clock above the fireplace or main sofa. It draws eyes and anchors the room’s design. Use it to break empty wall space and add shine.
Group it with framed art or shelves for a balanced look. The reflective surface brightens the area, making the living room feel larger. Choose a size that fits well without crowding.
Enhancing Entryways
Mount the clock near the front door or hallway table. It creates a welcoming vibe for guests. The mirror’s reflection adds light to usually darker corners.
Pair it with a small console table and a bowl for keys. This setup combines beauty with practical use. Keep the style consistent with other entryway accessories.
Complementing Bedroom Decor
Position the clock above the dresser or opposite the bed. It gives the room a stylish touch and helps with timekeeping.
Choose a design matching your bedroom’s colors and theme. The mirror surface adds depth, making the room feel cozy yet spacious. Avoid placing it where it reflects clutter or distractions.
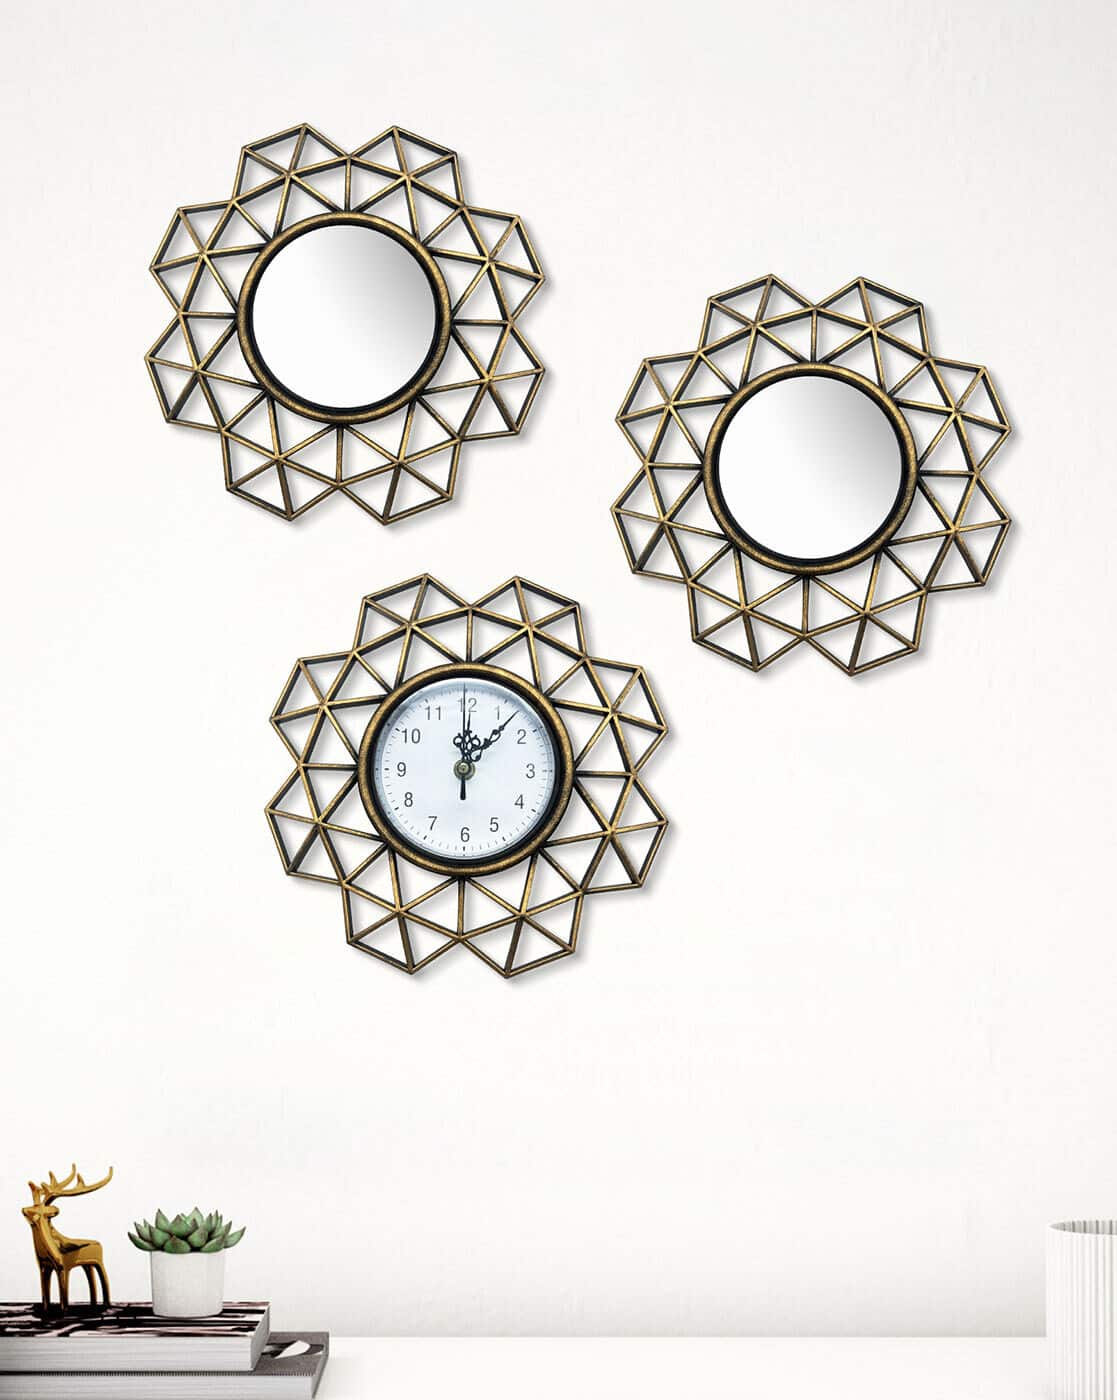
Credit: www.ajio.com
Frequently Asked Questions
How Do I Choose The Right Spot For A Mirror Wall Clock?
Pick a visible, well-lit wall that complements your room’s décor. Avoid damp or uneven surfaces for better adhesion and durability.
What Tools Are Needed To Install A Decorative Mirror Clock?
You’ll typically need a drill, screws, a level, measuring tape, and a pencil for marking the wall accurately.
Can I Install The Mirror Clock Without Professional Help?
Yes, most decorative mirror clocks come with easy-to-follow instructions. Basic tools and patience are usually enough for a DIY installation.
How Do I Ensure The Clock Is Level On The Wall?
Use a bubble level or smartphone level app to check alignment. Mark the drill points carefully for precise placement.
Conclusion
Installing a decorative mirror wall clock can brighten any room quickly. Choose the right spot on your wall for the best view. Use simple tools and follow the steps carefully for a secure fit. Take your time to align the pieces evenly.
A well-installed clock adds style and function to your space. Enjoy the new look and the easy way to tell time. Small changes like this can refresh your home’s feel. Try it yourself and see how it changes your room.


