
Are your wall stickers starting to peel off, ruining the look you worked so hard to create? It’s frustrating when those colorful designs and fun shapes don’t stick around as long as you want.
But what if you could make them stay put, looking fresh and vibrant for months or even years? You’ll discover simple, effective ways to keep your wall stickers firmly in place. Keep reading to learn the secrets that will save your walls from peeling and keep your space looking perfect.
Credit: stickerprintingchina.com
Choosing The Right Wall Stickers
Choosing the right wall stickers plays a big role in how long they last. Picking stickers that suit your space avoids peeling and keeps walls looking fresh. Understanding sticker materials and their match with wall surfaces helps you make smart choices.
Materials That Last
Quality matters. Vinyl stickers offer strong hold and resist moisture well. They work best in kitchens and bathrooms. Paper-based stickers may look nice but peel easily over time. Look for stickers with a matte or satin finish to reduce glare and hide small flaws. Avoid cheap materials that lose stickiness quickly. Durable materials save money and time by staying put longer.
Surface Compatibility
Not all stickers stick well everywhere. Smooth, clean surfaces like painted drywall or glass give the best grip. Textured walls or rough surfaces cause edges to lift. Avoid placing stickers on wallpaper or walls with dust and grease. Before applying, clean the wall with a mild cleaner and let it dry. Test a small sticker piece first to check adhesion. Matching stickers to the right surface prevents peeling and keeps your design intact.
Preparing The Wall Surface
Preparing the wall surface is a crucial step to ensure your wall stickers stick well and last long. A clean and smooth surface allows the adhesive to grip firmly, preventing peeling and curling over time. Neglecting this stage can turn your beautiful stickers into a frustrating mess.
Cleaning Techniques
Start by removing any dust, grease, or dirt from the wall. Use a damp cloth with mild soap to wipe the area gently. Avoid harsh cleaners that might leave residues or damage the paint.
After wiping, rinse the wall with clean water and let it dry completely. Moisture can weaken the sticker’s adhesive, so patience here pays off. Have you ever stuck something on a damp wall only to see it peel off the next day? That’s exactly what you want to avoid.
Repairing Imperfections
Check the wall for holes, cracks, or bumps that can disrupt your sticker’s smooth application. Use a lightweight spackle or filler to repair small imperfections.
Once the filler dries, sand the area lightly to create an even surface. A flat wall helps your stickers stay put without wrinkles or air bubbles. Imagine the difference between sticking a sticker on a flat glass surface versus a rough, cracked wall—how well do you think it would hold?
Proper Application Methods
Clean the wall surface thoroughly and let it dry completely before applying the sticker. Press firmly from the center outward to avoid air bubbles and ensure strong adhesion.
Proper application methods are key to keeping wall stickers from peeling. A successful application ensures your stickers remain intact and vibrant. Follow these tips for a long-lasting display.Temperature And Humidity
Ensure the room is at a stable temperature. Extreme heat or cold affects adhesion. Ideal temperatures range between 60-75°F. Avoid high humidity levels. Humidity can weaken the adhesive. Check the forecast. Choose a dry day for application.Smoothing Out Bubbles
Start at one corner of the sticker. Slowly peel off the backing. Use a squeegee or credit card. Press down firmly as you go. Work from the center outward. This pushes out any air bubbles. Recheck for bubbles after applying. Smooth out any remaining with gentle pressure.
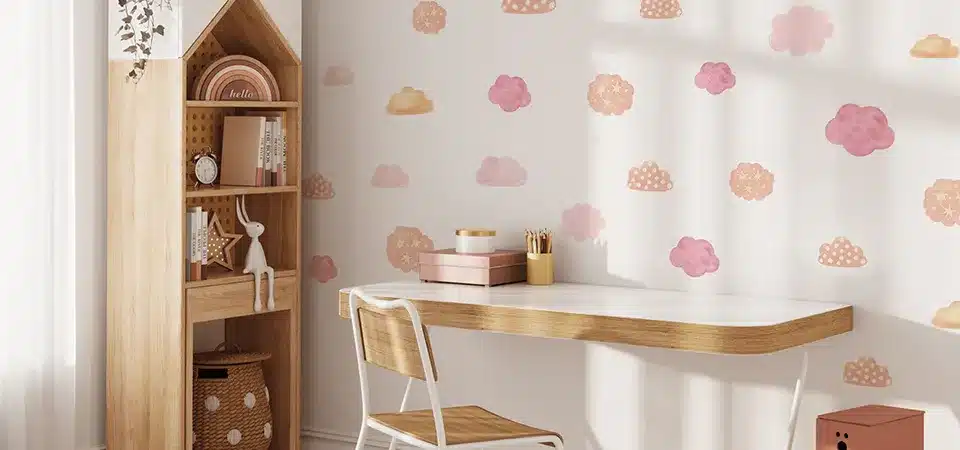
Credit: commomy.com
Enhancing Adhesion
Enhancing adhesion is key to keeping your wall stickers firmly in place. Without a strong bond, stickers can start to peel off quickly, ruining your decor and wasting your effort. Paying attention to how you prepare the surface and the products you use can make a big difference in how long your stickers last.
Using Primer Or Adhesive Boosters
Applying a primer before sticking your decals helps create a smooth, clean surface that improves adhesion. Primers fill in tiny gaps and rough textures, allowing the sticker’s adhesive to grip better. You can find primers specifically designed for wall applications at most hardware stores.
Adhesive boosters are another great option. These products strengthen the sticky side of your decal, especially useful for older or lower-quality stickers. If you’ve ever had a sticker start to curl at the edges, a quick brush with an adhesive booster can often save it.
Think about the last time you applied a sticker on a textured wall without prepping it first—did it stay put? Using primer or boosters can prevent that frustration and keep your stickers looking fresh for months.
Avoiding Common Mistakes
Many people peel and stick without cleaning the wall properly. Dust, grease, and moisture stop the adhesive from bonding well. Always wipe your surface with a mild cleaner and let it dry completely before applying your sticker.
Another mistake is applying stickers on freshly painted walls. Paint needs time to cure—usually at least two weeks—to avoid pulling off when you stick decals. Patience here pays off in the long run.
Also, avoid touching the adhesive side with your fingers. Oils from your skin reduce stickiness and cause peeling. Use tweezers or gloves if you need to handle the sticky part directly.
Have you ever wondered why some stickers peel within days while others last for years? Often, it’s these small but important steps you skip. Taking care with your surface and handling can turn a temporary decoration into a lasting feature.
Maintaining Wall Stickers
Maintaining wall stickers extends their life and keeps them looking fresh. Proper care stops edges from lifting and colors from fading. Simple habits make a big difference in sticker durability.
Cleaning Without Damage
Use a soft, dry cloth to dust stickers regularly. Avoid wet or abrasive materials that can peel the edges. For stubborn spots, lightly dampen the cloth with water only. Gently wipe without rubbing hard. Do not use cleaning sprays or chemicals on stickers. These can weaken the adhesive and ruin the design.
Protecting From Moisture And Heat
Keep stickers away from direct water contact. Bathrooms and kitchens need extra care. Avoid placing stickers near heaters or vents. High heat can dry out the glue, causing peeling. Use exhaust fans to reduce moisture in humid rooms. Check stickers often and press down any loose edges to keep them stuck tight.
Troubleshooting Peeling Issues
Peeling wall stickers can spoil the look of any room. It often happens due to humidity, poor surface preparation, or low-quality adhesive. Troubleshooting these peeling issues early helps keep your walls looking fresh and attractive. Here are some simple tips to fix peeling problems and decide when it is time to replace the stickers.
Fixing Lifted Edges
Lifted edges are the first sign of peeling. Gently press the edges back on the wall using your fingers or a flat tool. Clean the area beneath with a soft cloth to remove dust or dirt. Apply a small amount of clear craft glue or double-sided tape under the lifted edge. Press firmly and hold for a few minutes. Avoid using too much glue to prevent damage to the sticker or wall. Allow the adhesive to dry completely before touching the sticker again.
When To Replace Stickers
Some stickers peel beyond repair. Look for large tears, missing parts, or faded colors. If edges keep lifting despite fixing attempts, replacement is best. Also, stickers lose stickiness after long use or exposure to moisture. Replacing old stickers ensures your walls stay neat and vibrant. Remove old stickers carefully by heating the adhesive with a hairdryer. Peel slowly to avoid wall damage. Clean the surface before applying new stickers for better adhesion.

Credit: commomy.com
Frequently Asked Questions
How Can I Prevent Wall Stickers From Peeling Off?
Clean the wall surface thoroughly before applying stickers. Ensure the surface is dry and smooth. Avoid applying stickers on textured or damp walls for better adhesion.
What Surface Is Best For Wall Sticker Application?
Smooth, clean, and dry surfaces like painted walls or glass work best. Avoid rough, dusty, or oily surfaces to prevent peeling.
How Do Temperature And Humidity Affect Wall Stickers?
High humidity and extreme temperatures weaken adhesive strength. Keep stickers away from moisture and heat to prolong their sticking power.
Can I Reuse Wall Stickers After Peeling?
Most wall stickers lose adhesiveness after removal. Gently peeling may allow brief reuse, but fresh stickers stick better for long-lasting results.
Conclusion
Keeping wall stickers from peeling takes simple care and attention. Clean the surface well before applying stickers. Avoid placing them on rough or wet walls. Press stickers firmly and smooth out air bubbles. Control the room’s humidity and temperature to help stickers stay put.
Regularly check edges and press them down if lifting starts. Small steps make a big difference. Enjoy long-lasting, beautiful wall decorations without worry. Easy to do and worth the effort. Your walls will look great for a long time.


