
Are you looking to add a personal touch to your home décor? Making your own decorative wall clock is easier than you think.
Imagine creating a unique piece that not only tells time but also reflects your style and creativity. In this guide, you’ll discover simple steps to craft a stunning wall clock that will catch everyone’s eye. Ready to turn a plain wall into a statement?
Let’s dive in and make your space truly yours.

Credit: medium.com
Choosing The Right Materials
Choosing the right materials for your decorative wall clock sets the foundation for both its look and durability. The materials you pick will influence the style, weight, and ease of assembly. Think about where you want to hang your clock and how it should complement your space.
Wood And Metal Options
Wood offers warmth and versatility. You can use plywood, reclaimed barn wood, or even bamboo. Each type has a unique grain and color, so pick one that matches your room’s vibe.
Metal adds a modern, sleek touch. Aluminum and brass are popular choices because they’re lightweight yet sturdy. You might also find metal sheets or rods to create an industrial or minimalist style.
Mixing wood and metal can produce a striking contrast. Imagine a wooden clock face with metal hands or accents. Have you considered how combining these materials might highlight your clock’s design?
Creative Use Of Recycled Items
Recycling materials not only saves money but also creates a clock with character. Old vinyl records, bicycle gears, or vintage kitchen utensils can become the centerpiece of your clock.
Look around your home or local thrift shops for items with interesting shapes or textures. A worn-out cutting board or a broken picture frame can be repurposed into a unique clock face.
Using recycled materials challenges you to think creatively about form and function. What unexpected objects do you have that could tell a story on your wall?
Selecting Clock Mechanisms
The clock mechanism is the heart of your project. Quartz movements are affordable and easy to install, making them ideal for beginners.
If you want something quieter, look for silent sweep mechanisms. These eliminate the ticking sound, perfect for bedrooms or study areas.
Consider the size of your clock hands and the thickness of your material when choosing the mechanism. Will your clock hands fit through your chosen materials smoothly? Testing this early can save frustration later.
Design Inspiration
Finding the right design inspiration can turn your decorative wall clock from a simple timepiece into a statement piece that reflects your personality and style. Whether you prefer sleek, clean lines or something with a nostalgic touch, there’s a design that can fit perfectly into your space. Let’s dive into some popular styles that can spark your creativity and help you make a clock that truly stands out.
Modern Minimalist Styles
Minimalism is all about simplicity and function. A modern minimalist wall clock often features clean lines, neutral colors, and an uncluttered face. Think about using materials like metal or glass and keeping numbers or markers to a minimum.
Have you noticed how a simple black and white clock can instantly brighten a room without overwhelming it? Try a clock with just hour and minute hands, no numbers, and a sleek frame. This style works well if you want a stylish piece that blends seamlessly with your décor.
Rustic And Vintage Looks
Rustic and vintage clocks bring warmth and character. Using wood, distressed paint, or antique finishes can give your clock a cozy, timeless feel. These styles work great in farmhouse kitchens or any space needing a touch of nostalgia.
Consider adding old-fashioned Roman numerals or weathered metal elements. Maybe reuse an old wooden pallet or barn wood for the clock face. This approach not only looks charming but makes your project eco-friendly and unique.
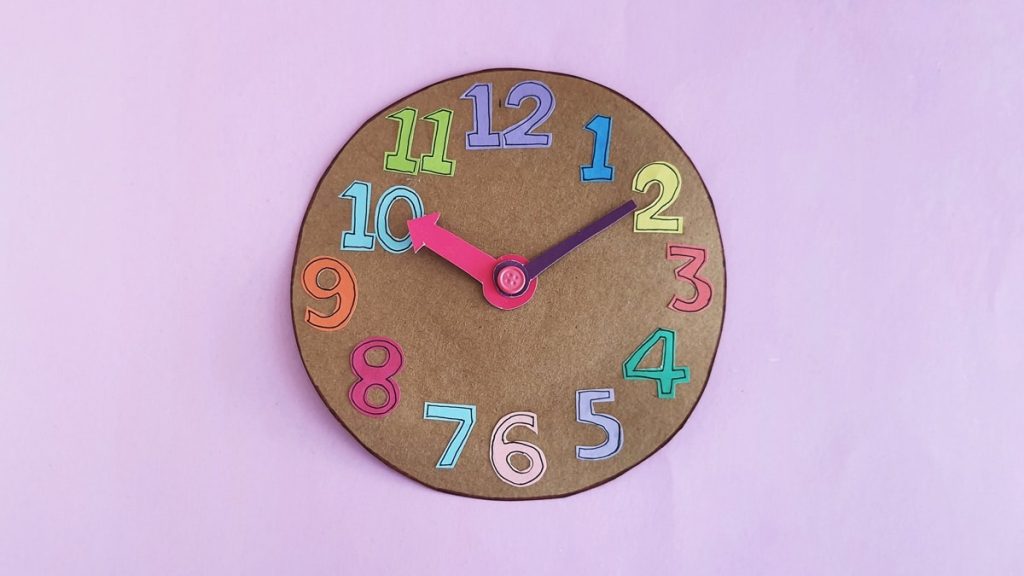
Artistic And Abstract Designs
Artistic clocks break the rules with bold colors, unusual shapes, and creative layouts. You can paint your clock face with geometric patterns, splash bright colors, or even use mixed materials like fabric and metal. The goal is to create something visually exciting that draws attention.
Think about how your clock can be a conversation starter. What if the numbers were replaced by colorful dots or abstract shapes? Let your imagination run wild and make a clock that feels like a piece of art on your wall.
Essential Tools For Crafting
Basic supplies like a clock mechanism, hands, and a sturdy base are needed. Simple tools such as glue, paint, and brushes help add decoration. Crafting materials create a unique and functional wall clock.
Creating a decorative wall clock is a fun and rewarding DIY project that allows your creativity to shine. To bring your vision to life, you’ll need the right tools. These tools will help you cut, shape, paint, and assemble your clock with precision and ease.Cutting And Shaping Tools
Start with a good pair of scissors for paper designs. A craft knife is invaluable for intricate cuts and details. If you’re working with wood, a small handsaw or a jigsaw can help you shape your clock base.Painting And Finishing Supplies
Quality paintbrushes are essential for adding color and detail. Acrylic paints offer vibrant colors and dry quickly. Don’t forget a clear sealant to protect your design and give it a glossy finish.Assembly Equipment
A reliable clock movement kit is a must. Ensure it matches the size of your clock face. You’ll also need a screwdriver set for assembling the clock hands and fixing the movement in place. Adhesive like super glue can secure decorative elements. Are you ready to transform your wall into an artistic statement?Step-by-step Assembly Guide
Building your own decorative wall clock can be a fun and rewarding project. The key is to take your time with each part of the assembly to ensure everything fits perfectly and looks great. Here’s a detailed guide to help you bring your clock to life, step by step.
Preparing The Base
Start by choosing a sturdy base that suits your style—wood, metal, or even acrylic work well. Make sure it’s clean and smooth; sanding rough edges can make a big difference in the final look.
Next, decide where the clock mechanism will sit. Mark the center clearly, as this spot will hold the clock hands and motor. If you’re using a wooden base, drilling a hole here is essential to fit the clock movement snugly.
Attaching Clock Components
Attach the clock mechanism from the back of the base. It should fit securely through the hole you made, with the spindle sticking out on the front side.
Place the clock hands carefully onto the spindle. Start with the hour hand, then the minute hand, and finally the second hand if your mechanism includes one. Check that each hand moves freely without touching the others.
Adding Decorative Elements
Now, personalize your clock with decorations that reflect your taste. Consider adding numbers, patterns, or even small objects like buttons or beads around the face.
- Use strong glue or double-sided tape for lightweight items.
- For heavier decorations, small nails or screws might be necessary.
- Try painting designs directly on the base for a clean look.
How will you make your clock stand out on your wall? Think about colors, textures, and shapes that complement your space while showing off your creativity.
Painting And Finishing Touches
Painting and finishing touches bring your decorative wall clock to life. This stage allows you to express your style and ensure the clock not only looks great but lasts long. How you handle colors, coatings, and details can make a huge difference in the final outcome.
Color Choices And Techniques
Choosing the right color sets the mood for your clock. Bold colors like red or navy make a statement, while pastels offer a softer, calming effect. Think about where the clock will hang and pick shades that complement the room.
Try different painting techniques to add texture and depth. Sponging creates a mottled look, while dry brushing adds subtle highlights. Have you ever tried layering two colors to get a unique, blended effect? It can be surprisingly simple and rewarding.
Protective Coatings
Applying a protective coating is essential to keep your paint job looking fresh. A clear varnish or polyurethane shields against dust, scratches, and fading. Choose between matte, satin, or glossy finishes depending on the style you want.
Don’t rush this step. Let each coat dry completely before adding the next. This patience pays off with a smooth, durable surface that can handle the test of time.
Embellishments And Details
Adding small details turns your clock into a true piece of art. Consider attaching decorative numbers, metal accents, or even tiny gems. These elements can highlight the clock’s personality and catch the eye.
You can also use stencils or stickers for intricate designs without needing advanced skills. What detail will make your clock uniquely yours? Sometimes, the smallest touch creates the biggest impact.
Mounting And Display Tips
Mounting your decorative wall clock properly is key to showcasing its beauty and ensuring it functions well over time. The right placement not only highlights your clock but also complements the room’s style. Let’s dive into smart ways to pick the spot, choose the best hardware, and keep your clock looking great.
Choosing The Perfect Spot
Think about where your clock will get the most attention without competing with other decor. A wall above a fireplace or a blank wall in the living room often works well. Avoid placing it in direct sunlight, as this can fade colors and damage the clock’s materials.
Consider the height too—eye level is usually ideal for easy reading and visual appeal. Is there a wall that feels empty or could use a focal point? Your clock can fill that space beautifully.
Hanging Hardware Options
Choosing the right hardware depends on your wall type and clock weight. For drywall, use anchors or toggle bolts to ensure a secure hold. Brick or concrete walls require masonry screws or nails specifically designed for those surfaces.
- D-Ringsare great for heavier clocks and provide stability.
- Keyhole slotsoffer a clean, flush mount look.
- Adhesive hookscan work for lightweight clocks but may not last long.
Think about the possibility of needing to move the clock later. Hardware that’s easy to remove without damaging the wall will save you hassle.
Maintaining Your Clock
Regular dusting keeps your clock looking fresh and prevents buildup that can affect the mechanics. Use a soft cloth or a small brush to clean delicate parts like hands and numbers.
Check the battery compartment periodically to avoid leaks and replace batteries as needed. If your clock has wooden or metal parts, a gentle polish can help preserve its finish.
Have you noticed how a well-maintained clock adds charm and functionality to your space? Taking a few minutes each month can keep your creation ticking perfectly for years.
Creative Variations To Try
Exploring creative variations can make your decorative wall clock truly unique. Different styles and ideas let you match your clock to any room or mood. Experimenting with themes, functions, and layouts adds personality and charm to your project.
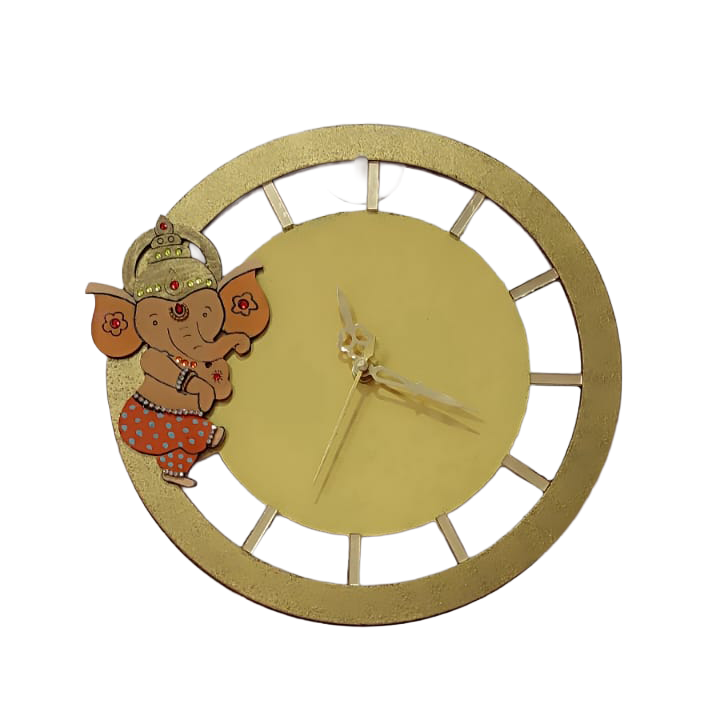
Themed Wall Clocks
Themed clocks bring a specific style or story to your wall. Choose a theme that fits your space or interests. For example:
- Nature-inspired clocks with leaf or flower shapes
- Vintage or retro designs using old materials
- Kids’ room clocks with cartoon or animal characters
- Travel-themed clocks featuring maps or famous landmarks
Themed clocks make telling time more fun and meaningful.
Interactive And Functional Designs
Adding interactive features turns your clock into a conversation piece. Try designs that invite touch or movement. Ideas include:
- Chalkboard surfaces for writing notes or reminders
- Magnetic clocks where numbers or hands can be rearranged
- Clocks with built-in photo frames or display spaces
- Clocks incorporating small shelves or hooks for keys
Functional elements enhance usability and style simultaneously.
Combining Multiple Clocks
Using several clocks together creates dynamic wall art. This works well for large or empty walls. Some ways to combine clocks:
- Cluster clocks of different sizes and styles
- Show times from different cities or time zones
- Arrange clocks in shapes like circles or grids
- Use matching clock faces with varied frames
Multiple clocks add depth and interest to your decor.

Credit: www.amazon.ca
Credit: itsybitsy.in
Frequently Asked Questions
What Materials Are Needed To Make A Decorative Wall Clock?
You need a clock mechanism, clock hands, a base (wood or canvas), paint, and decorative items. Optional tools include glue and brushes. Choose materials matching your desired style and size. These basics ensure your clock functions well and looks attractive.
How Do I Choose The Right Clock Mechanism?
Select a silent, battery-operated quartz mechanism for accuracy and quiet operation. Ensure the mechanism fits your clock base thickness. Check hand compatibility and shaft length. Reliable mechanisms improve your clock’s performance and longevity.
What Design Styles Work Best For Wall Clocks?
Popular styles include vintage, modern, rustic, and minimalist. Choose based on your room décor and personal taste. Experiment with colors and textures to create a unique look. The style enhances your space and complements your interior design.
Can I Personalize My Wall Clock Design?
Yes, personalize by adding photos, patterns, or unique numbers. Use stencils or hand-paint designs for originality. Adding meaningful elements makes your clock a special décor piece. Personalization reflects your creativity and style.
Conclusion
Creating a decorative wall clock adds charm to any room. It lets you show your style and creativity. The steps are simple and fun to follow. You can choose colors and designs you like best. Making your own clock saves money and feels rewarding.
Try making one today and enjoy the result. A unique clock can brighten your space instantly. Give your walls a fresh, personal touch now.


