
Looking for a simple way to brighten up your workspace? Making your own desk lamp stand is easier than you might think.
Imagine having a lamp that fits perfectly on your desk, matches your style, and saves you money. In this guide, you’ll discover step-by-step how to create a sturdy, stylish lamp stand using materials you probably already have. Ready to transform your desk and light up your work or study space?
Keep reading—you’re just a few easy steps away from crafting your very own desk lamp stand.
Materials Needed
Gathering the right materials is the first key to building a desk lamp stand that’s both sturdy and stylish. You’ll want to choose items that match the look you’re going for and can support the lamp safely. Skipping on quality or suitability here can lead to frustration or even a lamp that doesn’t stand up properly.
Think about the space where your lamp will live. Will it be on a wooden desk, a metal table, or a glass surface? This will affect your choice of base and fasteners. Have you checked your toolbox lately? Some items might already be waiting for you.
Base Material
The base is the foundation of your lamp stand, so pick a material that’s heavy enough to keep it from tipping over. Wood, metal, or even thick acrylic are popular choices. I once tried using a lightweight plastic base, and the lamp kept wobbling—definitely not ideal.
Support Rod Or Arm
This part holds the lamp head and connects to the base. You can use metal rods, wooden dowels, or PVC pipes depending on your design and strength needs. Consider how flexible or adjustable you want the arm to be; some materials are easier to bend or modify.
Fasteners And Adhesives
Screws, bolts, or strong glue help hold your lamp stand together. Make sure you have the right size and type for your chosen materials. I recommend using screws for added durability, especially if you want to disassemble or adjust the stand later.
Electrical Components
Don’t forget the lamp socket, wiring, and switch. These parts ensure your lamp functions safely. If you’re new to electrical work, buy a pre-wired lamp kit to simplify the process and avoid hazards.
Finishing Supplies
Paint, varnish, or sandpaper can give your lamp stand a polished look. These items help protect the materials and match your décor. Even a quick sanding can make a big difference in the final appearance.
Choosing The Right Lamp Base
Choosing the right lamp base is key to making a desk lamp stand that is not only stable but also complements your workspace style. The base provides support and balance, so it must suit the weight and height of your lamp. Think about the material and design carefully because it affects both function and look.
Wooden Bases
Wooden bases add warmth and a natural feel to your desk lamp. They are easy to shape and customize with simple tools, which makes them perfect if you want a unique or rustic touch. You can use hardwood like oak or walnut for durability, or softer woods like pine if you plan to paint or decorate.
One time, I used a leftover wooden block from a shelf project as a lamp base. It worked well because the weight was just right, and I could easily drill holes for the wiring. Would you consider using wood scraps to save money and add character to your lamp?
Metal Options
Metal bases offer strong support and a sleek, modern look. Materials like steel, aluminum, or brass can handle heavier lamp heads without tipping over. They also last longer and resist damage better than wood or plastic.
Metal bases can be made from repurposed items like old pipes or flat plates, giving your lamp an industrial vibe. However, keep in mind that metal can be heavier and colder to the touch, so think about where you will place your lamp and how it fits your space.
Recycled Materials
Using recycled materials for your lamp base is a creative and eco-friendly choice. Old books, concrete blocks, or even stacked stones can serve as interesting and stable bases. This approach helps reduce waste while giving your lamp a story.
Have you ever tried turning something unexpected into a lamp base? I once used a vintage camera as a base, which sparked conversations every time someone noticed it. What unique item could you transform into a functional lamp base?
Selecting The Lamp Shade
Choose a lamp shade that fits your desk lamp’s size and style. A simple, lightweight shade helps balance the lamp stand and lets light shine clearly. Select materials that match your workspace for a neat, comfortable look.
Selecting the right lamp shade can transform your desk lamp. It affects light distribution and complements your room’s decor. A well-chosen lamp shade elevates the lamp’s aesthetic appeal. Consider several factors when picking the perfect shade.Size And Shape
The shade’s size impacts light coverage. A larger shade spreads light over a wider area. Measure your lamp’s base to find a compatible size. Ensure the shape matches the lamp’s design. Popular shapes include drum, empire, and bell. Drum shades suit modern styles. Empire shades fit traditional looks. Bell shades offer a classic touch.Material Choices
The material influences the lamp’s light diffusion. Fabric shades give a soft glow. Linen or cotton are common fabric choices. Paper shades provide a warm, diffused light. Metal shades direct light downward, ideal for task lighting. Choose a material that complements your lamp’s purpose and style.Color And Style
Shade color affects the room’s ambiance. Light colors brighten the space. Dark shades create a cozy atmosphere. Match the shade’s style with your room’s decor. Consider patterns or textures for added interest. A well-chosen color and style enhance the lamp’s overall look.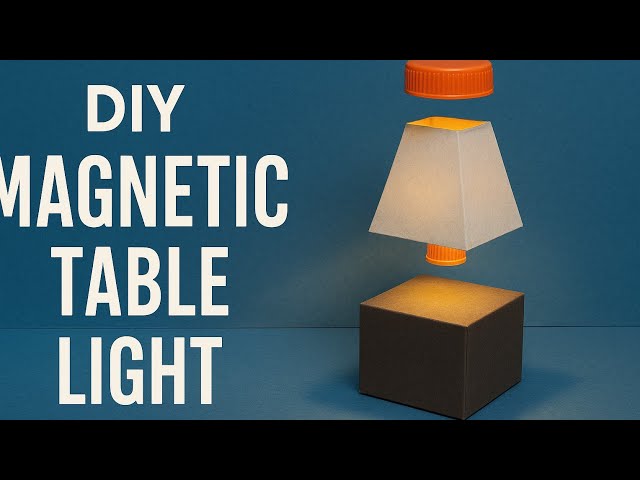
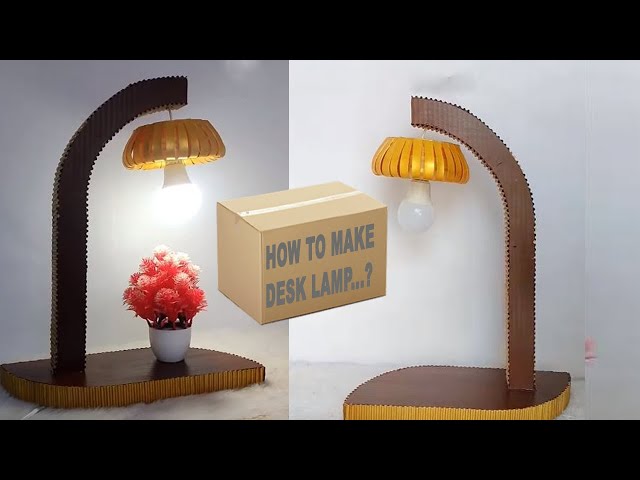
Credit: www.youtube.com
Wiring The Lamp Safely
Wiring the lamp safely is a key part of making a desk lamp stand. It ensures the lamp works well and prevents electrical hazards. Careful wiring helps protect you and your home from shocks or fires. Follow the instructions below to wire your lamp with confidence and care.
Required Tools
- Wire stripper
- Screwdriver
- Electrical tape
- Wire nuts
- Voltage tester
- Replacement cord or wire
- Light socket
Step-by-step Wiring
Start by unplugging the lamp cord from any power source. Use the wire stripper to remove about 1/2 inch of insulation from the ends of the wires. Connect the black (hot) wire to the brass screw on the socket. Attach the white (neutral) wire to the silver screw. Secure the green or bare copper wire to the grounding screw if available. Twist the wire ends together tightly and cover them with wire nuts. Wrap electrical tape around the wire nuts for extra safety. Test the wiring with a voltage tester before final assembly. Place the socket inside the lamp head and secure it with screws.
Safety Tips
- Always unplug the lamp before starting any wiring work.
- Check wires for damage or fraying before use.
- Use tools with insulated handles to avoid shocks.
- Do not overload the lamp with high-wattage bulbs.
- Keep the work area dry to prevent accidents.
- Test the lamp after wiring and before use.
Assembling The Lamp Stand
Assembling the lamp stand is where your desk lamp starts to take shape. This part needs your attention to detail because a sturdy stand ensures your lamp stays balanced and looks great. Let’s break down the process into manageable parts that anyone can follow.
Attaching The Base
The base is the foundation of your lamp stand. Make sure it’s flat and stable before you begin. Align the base with the bottom part of the stand and secure it using the screws or bolts provided.
Don’t overtighten screws; this could crack the base, especially if it’s made of wood or plastic. Instead, tighten them just enough so the base feels solid and won’t wobble. Have you checked if your workspace is level? A tilted surface can make your lamp unstable even if the base is perfectly attached.
Fixing The Lamp Holder
The lamp holder is where the bulb will sit, so it needs to be firmly fixed. Slide it onto the top of the stand or connect it according to your lamp’s design. Use the screws or clips to lock it in place securely.
Take a moment to test the holder’s stability by gently shaking it. If it moves, recheck the fittings. An unstable lamp holder can cause the bulb to flicker or even fall out, which is not safe.
Connecting The Shade
Attaching the shade is the final step in assembling the stand. Most shades either clip onto the holder or screw into position. Ensure the shade fits snugly without forcing it, as forcing can damage the threads or clips.
Think about your lighting needs here. Does the shade direct light where you want it? You might want to adjust the angle or replace the shade if it blocks too much light. How does your lamp look now? A well-connected shade not only finishes the look but also improves your workspace lighting.

Credit: www.youtube.com
Finishing Touches
Finishing touches bring your desk lamp stand to life. This stage enhances both style and function. Small details make a big difference. Focus on painting, decorating, adding features, and testing. These steps ensure your lamp looks great and works well.
Painting And Decorating
Choose paint that suits your room’s style. Use spray paint for a smooth finish. Allow each coat to dry fully. Add patterns or designs with stencils for a creative touch. Consider using washi tape for easy decoration. Protect the paint with a clear sealant to prevent chips.
Adding Adjustable Features
Adjustable parts improve lamp usability. Attach a swivel joint to change the light direction. Use a flexible arm for height adjustment. Secure joints with screws or bolts for stability. Add a dimmer switch for light control. These features make your lamp practical and user-friendly.
Testing The Lamp
Test all electrical parts before final use. Check the bulb fits properly and lights up. Ensure the switch works smoothly. Confirm the lamp stand is stable and does not wobble. Test adjustable features for ease of movement. Safety first: avoid loose wires or sparks.
Troubleshooting Common Issues
Troubleshooting common issues helps keep your desk lamp stand working well. Small problems can stop the lamp from lighting or make the stand unstable. Fixing these issues quickly saves time and effort.
Lamp Not Lighting
Check the bulb first. A burnt-out bulb is a common cause. Replace it with a new one that fits your lamp.
Look at the power source. Make sure the lamp is plugged in securely. Try a different outlet if needed.
Inspect the switch. Sometimes dirt or damage stops it from working. Clean or replace the switch if it feels loose or stuck.
Loose Connections
Loose wires cause flickering or no light. Unplug the lamp before checking wires.
Check the wires inside the stand and near the bulb holder. Tighten any loose screws or connectors.
Look for damaged or frayed wires. Replace them to avoid electrical hazards.
Wobbling Stand
A shaky stand makes the lamp unsafe. Tighten all screws and bolts holding the stand parts together.
Make sure the base is flat and stable. Add a non-slip pad under the base for extra grip.
Check for bent or broken parts. Straighten or replace them to restore balance.
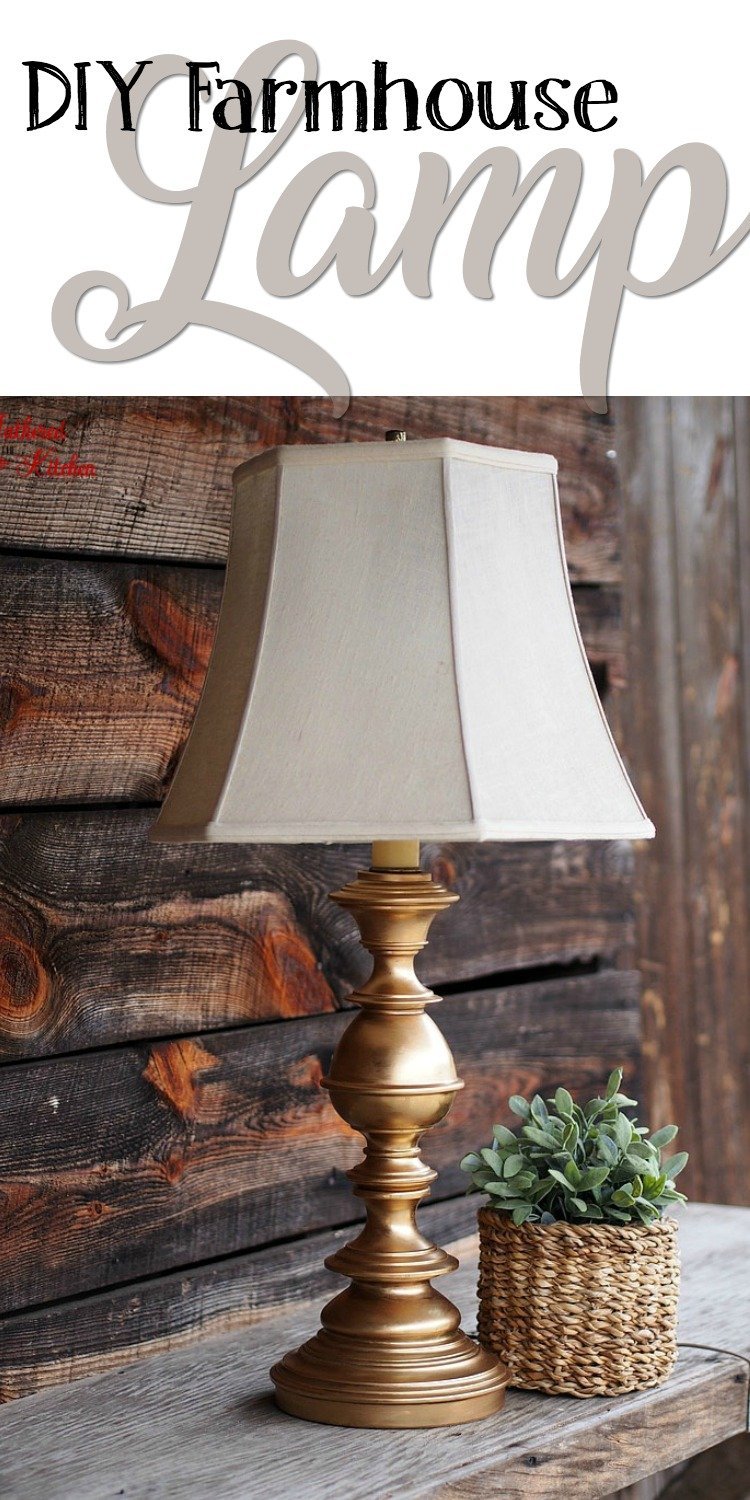
Credit: gatheredinthekitchen.com
Frequently Asked Questions
What Materials Are Needed To Make A Desk Lamp Stand?
You need wood or metal for the base, a lamp holder, wiring, screws, and a light bulb. Choose sturdy materials for stability and safety. Additional tools include a drill, screwdriver, and glue for assembly.
How Do I Ensure The Desk Lamp Stand Is Stable?
Use a heavy, flat base to prevent tipping. Secure all parts tightly. Balance the lamp’s weight evenly and test stability before use. Adding rubber pads underneath can enhance grip and prevent slipping.
Can I Customize The Design Of My Desk Lamp Stand?
Yes, customize by choosing colors, shapes, and materials. You can paint the base or add decorative elements. Personalizing the design makes your lamp unique and fits your room’s decor perfectly.
How Do I Safely Wire A Desk Lamp Stand?
Turn off power before wiring. Connect wires correctly using insulated connectors. Follow manufacturer instructions for the lamp holder and switch. Test the wiring with a multimeter before plugging in the lamp.
Conclusion
Creating your own desk lamp stand is simple and fun. You only need a few materials and basic tools. Step-by-step, you can build a lamp that fits your style and space. This project saves money and adds a personal touch to your desk.
Try different designs to match your room’s look. Enjoy the light and the satisfaction of making it yourself. Start today and brighten your workspace with a handmade lamp stand.


