
Looking to add a cozy, stylish touch to your living space? A giant crochet pouf is the perfect project for you.
Not only does it look amazing, but it’s also incredibly practical—serving as extra seating, a footrest, or even a small table. Imagine sinking into your own handmade pouf after a long day, knowing you created it yourself. In this guide, you’ll discover simple steps that make this fun craft easy, even if you’re new to crocheting.
Ready to transform your home and impress your friends? Keep reading, because your new favorite DIY project starts here.

Credit: yarnandchai.com
Materials Needed
Gathering the right materials is essential for making a giant crochet pouf. The choice of yarn, hook, stuffing, and tools affects the final look and feel. Selecting quality supplies ensures durability and comfort. Prepare all items before starting your project to keep the process smooth and enjoyable.
Yarn Selection
Choose thick, sturdy yarn for a pouf that holds shape well. Cotton or chunky acrylic yarn works best. Avoid thin or delicate yarns that may stretch or break easily. Color matters too. Pick a shade that matches your room décor or adds a fun pop of color.
Choosing The Right Crochet Hook
Select a large crochet hook to match your chunky yarn size. A hook between 10mm and 12mm usually fits well. Using a proper hook size helps maintain even stitches and speeds up your work. Check the yarn label for recommended hook sizes.
Stuffing Options
Stuff your pouf with materials that keep it firm and soft. Polyester fiberfill is lightweight and easy to work with. Foam pieces or old cushions also provide good support. You can combine stuffing types to get the perfect balance of comfort and shape.
Additional Tools
- Scissors for cutting yarn cleanly
- Yarn needle for weaving in ends
- Measuring tape to check size
- Stitch markers to keep track of rounds

Credit: www.etsy.com
Basic Crochet Stitches
Mastering the basic crochet stitches is essential before you dive into making your giant crochet pouf. These stitches form the foundation of your project, and getting comfortable with them will make your work look neat and professional. Understanding how to use each stitch effectively can save you frustration and improve your overall crochet experience.
Single Crochet Stitch
The single crochet stitch is the most fundamental stitch you’ll use. It creates a tight, dense fabric that’s perfect for a sturdy pouf. When you work single crochet, you insert your hook into the stitch, yarn over, pull through, yarn over again, and pull through both loops on the hook.
Think of single crochet as the backbone of your pouf—it holds everything together. If your stitches feel loose or uneven, try to keep consistent tension on your yarn. Have you noticed how your project changes when your tension varies?
Slip Stitch
The slip stitch is great for joining rounds or moving your yarn without adding height. It’s a quick stitch that you simply insert your hook into a stitch, yarn over, and pull the loop through both the stitch and the loop on your hook.
Using slip stitches can help you keep your edges clean and your rounds seamless. When I first started, I underestimated this stitch’s power—it really helps prevent gaps in your pouf’s shape. Do you find your rounds look messy without slip stitches?
Increasing And Decreasing
To shape your giant pouf, you’ll need to increase and decrease stitches. Increasing means adding extra stitches in one spot to make your piece wider. You do this by working two single crochet stitches into the same stitch.
Decreasing is the opposite—you combine two stitches into one to make your work narrower. This involves inserting your hook into two stitches, yarn over, pull through both stitches, and finish the stitch normally. These techniques help your pouf expand or taper smoothly.
Have you tried increasing or decreasing before? It can feel tricky, but practicing these will let you control the pouf’s size and shape perfectly.
Starting The Pouf Base
Begin by creating a sturdy foundation using thick yarn and a large crochet hook. This base supports the pouf’s shape and size as you work. Focus on tight, even stitches to ensure durability and a neat look.
Starting the Pouf Base Embarking on the journey to create a giant crochet pouf begins with crafting a sturdy base. A solid foundation ensures that your pouf will hold its shape and provide the comfort and style you’re aiming for. Before you dive into the creative process, gather your yarn and hook, and clear a space where you can comfortably work. You’ll first create a magic ring, a versatile technique that allows for a tightly closed starting point. This is crucial for a seamless pouf base.Creating A Magic Ring
Start by holding the yarn in your hand, forming a loop with the tail end on top. Insert your crochet hook into the loop, pulling the working yarn through. Pull on the tail end to tighten the loop around the hook, creating a slip knot. This method is excellent for projects where you want to avoid a hole in the center. It’s perfect for a pouf that needs to be robust and visually appealing. Have you ever tried this technique before?Crocheting In The Round
Once your magic ring is ready, it’s time to work in the round. Crochet a series of single crochets into the ring, usually six to start. Join the last stitch to the first with a slip stitch to complete your first round. Working in the round allows your pouf to expand evenly, ensuring a symmetrical shape. This is where your creativity starts to shine. Which yarn color will you choose to make a statement?Expanding The Circle
To expand the circle, you’ll need to increase the number of stitches in each round. In the second round, double the stitches by crocheting two single crochets into each stitch of the previous round. Continue increasing in each round by adding additional single crochets between each set of increases. This gradual expansion forms the base of your pouf, providing both stability and aesthetic appeal. Aim for a diameter that suits your desired pouf size. How large do you envision your pouf to be?Building The Sides
Building the sides of a giant crochet pouf shapes the entire project. This step forms the vertical walls that give the pouf its structure. Careful crafting ensures the pouf stays sturdy and comfortable. Pay attention to stitch tension and height for best results.
Maintaining Shape
Keep your stitches firm but not too tight. Loose stitches can cause the sides to sag. Too tight stitches make the fabric stiff and hard to shape. Use a consistent tension throughout to maintain a smooth, round form. Check the pouf’s shape often as you crochet the sides.
Consistent Stitching
Use the same stitch type for all rows on the sides. This keeps the texture even and neat. Count your stitches regularly to avoid accidental increases or decreases. Consistency helps the pouf look professional and balanced. Keep your hook size steady to match the yarn thickness.
Adjusting Height
Decide the pouf’s height before starting the sides. Add or reduce rows to make it taller or shorter. Measure your work frequently to reach the desired height. Remember, a taller pouf needs more stuffing for support. Adjust carefully to keep the shape stable and the sides straight.
Closing The Top
Closing the top of your giant crochet pouf is where your project truly takes shape. It’s the final step that transforms a flat circle into a sturdy, three-dimensional piece. This part requires patience and care to ensure your pouf looks neat and holds its form.
Decreasing Stitches
To close the top, you’ll need to gradually decrease your stitches. This means crocheting two stitches together to reduce the size of your rounds. It’s crucial to keep the decreases evenly spaced; uneven decreases can cause your pouf to pucker or bulge oddly.
Keep track of your stitch count after each round. Are your decreases creating a smooth curve? Adjust if you notice gaps or tight spots. This step can feel tricky, but slowing down and counting carefully helps avoid mistakes.
Stuffing As You Go
Stuffing during the closing process is essential. Instead of waiting until the very end, add stuffing little by little. This approach lets you control the shape and firmness of your pouf more accurately.
Use soft polyester fiberfill or even recycled fabric scraps for stuffing. Feel free to press the stuffing down firmly to prevent lumps. Ask yourself: does the pouf feel balanced, or does it sag in places? Adding stuffing gradually helps you fix these issues immediately.
Securing The Final Stitch
The last stitch is the most important for durability. After your final decrease, pull the yarn tail tightly to close the hole completely. Don’t just knot it once—tie a secure knot and weave the tail back through several stitches.
Using a yarn needle makes weaving easier and hides the tail inside the pouf. This prevents unraveling and gives your pouf a polished finish. Have you ever seen a pouf fall apart at the seams? Taking your time here saves you from that frustration.

Credit: yarnandchai.com
Stuffing Techniques
Stuffing your giant crochet pouf properly is key to achieving a comfortable and durable piece. The right techniques can make the difference between a pouf that feels flat and one that holds its shape beautifully over time. Let’s break down how to stuff your pouf effectively, so every sit feels just right.
Choosing The Right Filling
The filling you pick affects the pouf’s weight, firmness, and bounce. Polyfill is lightweight and soft, making it easy to adjust as you go. However, if you want a sturdier pouf, consider using foam beads or shredded memory foam, which provide better support.
Think about where you’ll place your pouf. For outdoor use, quick-drying fillings like foam beads work best. Indoor poufs can use softer fillings for extra coziness. What kind of feel do you prefer—soft and squishy, or firm and supportive?
Even Distribution
Distributing the stuffing evenly prevents your pouf from looking lumpy or sagging on one side. Add small amounts of filling at a time and press it down with your hands. Rotate the pouf as you stuff to make sure every corner gets filled properly.
Try sitting on your pouf lightly during the process. This helps you feel where more filling is needed. It’s a simple trick that keeps the shape balanced and comfy.
Avoiding Lumps
Lumps can ruin the smooth look and feel of your pouf. To avoid them, break up any clumps in your filling before adding it. For polyfill, pull it apart into smaller pieces to keep it fluffy.
If lumps form, use a stick or the back of a crochet hook to tease them apart inside the pouf. Remember, patience is key—taking your time to smooth out the filling will pay off in comfort and style.
Finishing Touches
Finishing touches bring your giant crochet pouf to life. They ensure your project is both sturdy and beautiful. Paying attention to these final steps can make a big difference in how your pouf looks and lasts.
Weaving In Ends
Weaving in ends is essential for a clean and durable finish. Use a yarn needle to carefully tuck loose strands back through the stitches. This keeps your pouf from unraveling and gives it a polished look.
Take your time with this step. If you rush, the ends might poke out later, ruining your hard work. Think of it as securing your creation so it stays intact for years.
Adding Decorative Elements
Adding decorative elements lets you personalize your pouf. Try sewing on buttons, tassels, or fabric patches for extra flair. These details can make your pouf stand out in any room.
Consider the style of your space. Do you want something bold or subtle? Even a simple fringe around the edge can add charm without overwhelming the design.
Cleaning And Care Tips
Proper care keeps your pouf looking fresh and cozy. Spot clean with a mild detergent to avoid water damage. Avoid harsh chemicals that can break down the yarn fibers.
Think about where you place your pouf. High traffic areas may require more frequent cleaning. Could a removable cover be a good option for you? It makes maintenance easier and extends your pouf’s life.
Customization Ideas
Customization makes your giant crochet pouf truly unique. It lets you match your décor and style perfectly. You can explore many creative ways to personalize your pouf. This section covers ideas for colors, textures, and sizes to inspire your project.
Color Combinations
Choose colors that brighten or calm your space. Mixing bold and neutral tones creates balance. Try these ideas:
- Monochrome shades for a sleek look
- Bright colors to add energy
- Pastel hues for a soft, cozy feel
- Contrasting colors to make patterns stand out
Pick yarns that blend well with your room’s theme. Your pouf becomes a statement piece or a subtle accent.
Adding Texture
Texture gives your pouf depth and interest. Use different crochet stitches or yarn types. Some options include:
- Chunky yarn for a thick, cushy surface
- Ribbed or bobble stitches for raised patterns
- Mixing smooth and fuzzy yarns for contrast
- Incorporating fringe or tassels for playful detail
Texture invites touch and makes your pouf cozy and stylish.
Size Variations
Adjust the size to fit your space and needs. A larger pouf works well as extra seating. Smaller ones serve as footrests or side tables.
- Mini poufs for kids’ rooms or corners
- Medium size for flexible living room use
- Extra-large poufs as a bold centerpiece
Consider the filling to keep the shape firm or soft. Size changes let you customize function and look easily.
Troubleshooting Common Issues
Creating a giant crochet pouf can bring a cozy touch to any room. Yet, some challenges may arise during the process. Troubleshooting common issues helps keep your project on track. It saves time and ensures a polished final look.
Fixing Uneven Shapes
An uneven pouf shape is usually due to inconsistent stitch counts. Count your stitches regularly to keep track. Adjust the number of increases or decreases to balance the shape. Gently reshape the pouf by stuffing it evenly. Use a stitch marker to mark rounds and maintain symmetry.
Managing Yarn Tension
Yarn tension affects the size and firmness of your pouf. Tight stitches make the pouf stiff and small. Loose stitches cause gaps and a floppy shape. Practice keeping even tension by holding the yarn consistently. Take breaks to relax your hands and avoid fatigue. Adjust hook size if tension problems persist.
Repairing Mistakes
Mistakes happen, but fixing them is simple. Use a crochet hook to unravel stitches carefully. Remove only the incorrect rows to avoid extra work. Re-crochet the section with correct stitch counts and tension. Keep scissors nearby for neat snips of loose ends. Check your work often to catch errors early.
Using Your Pouf
A giant crochet pouf offers a cozy spot to sit or rest your feet. It can also serve as a stylish accent in any room. Using it adds comfort and charm to your living space.
After successfully crafting your giant crochet pouf, it’s time to integrate this cozy creation into your living space. A crochet pouf is not just a decorative piece; it also serves as a functional addition to your home. Let’s explore how you can make the most of your pouf with some creative ideas and practical advice.Decor Placement
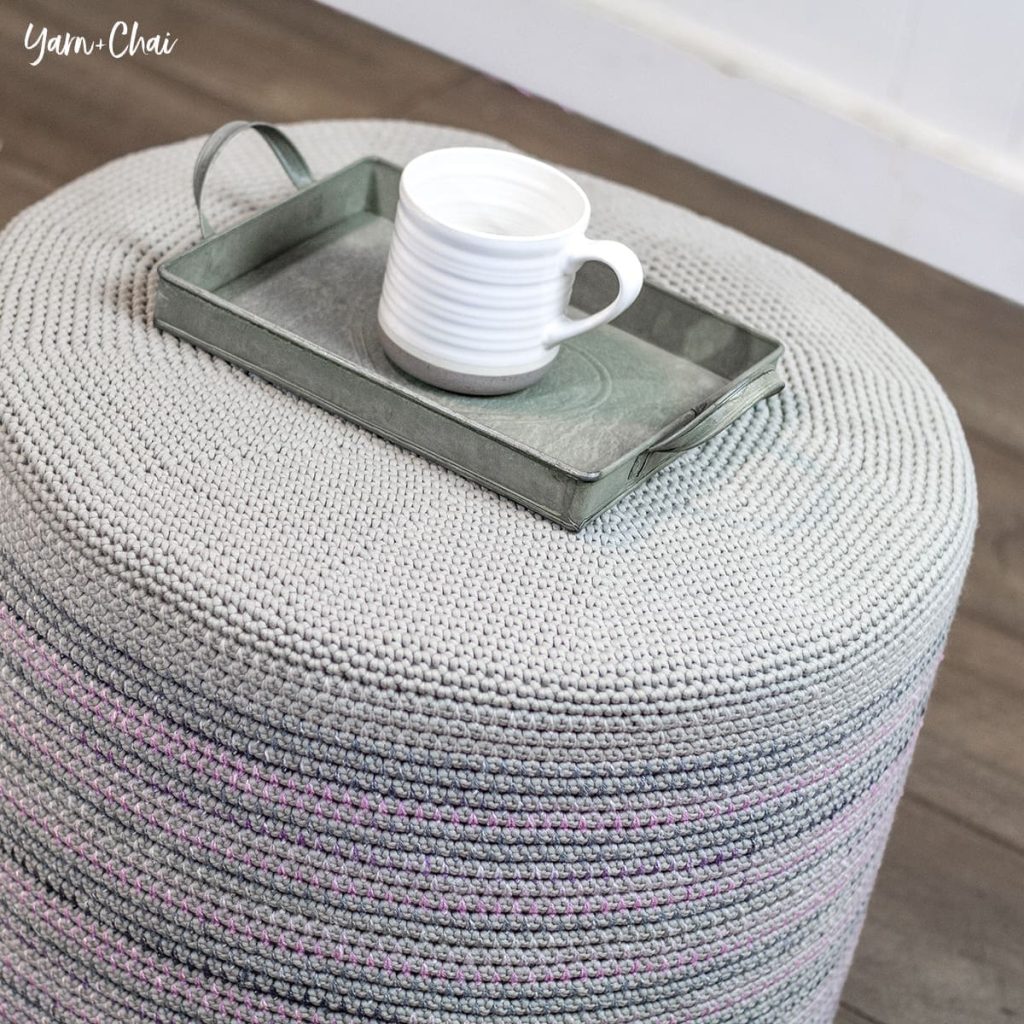
Your pouf can transform a room with its texture and color. Consider placing it in your living room as a stylish centerpiece or next to your favorite reading chair for an inviting touch. You might even experiment with placing it in unexpected spots, like under a console table or beside your bed, for an element of surprise. Think about using complementary colors to enhance your room’s palette. A neutral-colored pouf can bring harmony, while a vibrant one can add a playful pop. Where will your pouf make the most impact in your home?Practical Uses
A crochet pouf is more than just eye candy; it’s a versatile piece with many uses. Use it as a footrest after a long day, or as a casual seating option during gatherings. It’s perfect for low-seating arrangements or as a makeshift table when topped with a tray. If you have kids, they’ll love using the pouf as a cozy spot for storytime or a playful fort building block. How can your pouf adapt to the needs of your household?Maintenance Advice
Keeping your crochet pouf in top shape doesn’t have to be a chore. Regularly fluff it to maintain its shape and comfort. If your pouf’s cover is removable, follow the washing instructions to keep it clean and fresh. Consider spot cleaning for small stains to avoid damaging the crochet work. Don’t forget to rotate its position occasionally to ensure even wear. What simple steps will you take to preserve the beauty of your pouf?Frequently Asked Questions
What Materials Are Needed For A Giant Crochet Pouf?
You need bulky yarn, a large crochet hook, stuffing material, and a stitch marker. Choose durable yarn to ensure the pouf holds shape and lasts long.
How Long Does It Take To Crochet A Giant Pouf?
Crocheting a giant pouf can take 6-12 hours depending on your speed and experience. Consistent stitching helps finish the project faster.
Can Beginners Make A Giant Crochet Pouf?
Yes, beginners can make it by following simple crochet patterns and tutorials. Start with basic stitches and use chunky yarn for easier handling.
How Do You Stuff A Crochet Pouf Properly?
Use lightweight polyester fiberfill or recycled fabric scraps for stuffing. Fill evenly to maintain the pouf’s shape and comfort.
Conclusion
Creating a giant crochet pouf is fun and rewarding. You can add a cozy touch to any room. It takes some time, but the steps are simple. Use soft yarn and a big hook for best results. You will enjoy sitting on your handmade pouf.
Try different colors to match your style. Keep practicing to improve your crochet skills. This project brings comfort and creativity together. Start today and see how nice your home feels.


