
Looking to brighten up your workspace with a unique touch? Making a homemade desk lamp is easier than you think, and it lets you add a personal style to your room.
Imagine having a lamp that not only lights your desk but also shows off your creativity. In this guide, you’ll discover simple steps to create your own desk lamp using materials you might already have. By the end, you’ll have a custom light source that fits perfectly with your vibe—and the satisfaction of making it yourself.
Ready to transform your desk into a cozy, well-lit haven? Let’s get started!
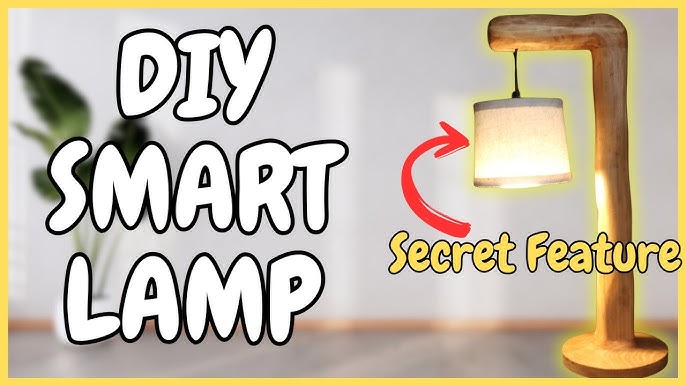
Credit: www.youtube.com
Materials Needed
Gathering the right materials is the first step to build a homemade desk lamp. Choosing simple and easy-to-find items makes the project smooth and fun. Use materials that suit your style and space.
Focus on safety and quality to ensure the lamp works well and lasts long. Prepare all components before starting to avoid interruptions.
Basic Components
- Light bulb (LED recommended for safety and energy saving)
- Lamp holder or socket
- Power cord with plug
- Switch (inline or base-mounted)
- Lamp base (wood, metal, or plastic)
- Arm or stand (adjustable or fixed)
- Shade or cover (optional, for softer light)
- Wire connectors or electrical tape
Tools Required
- Screwdriver (flathead and Phillips)
- Wire stripper or cutter
- Drill with bits (for making holes)
- Measuring tape or ruler
- Pliers
- Hot glue gun or strong adhesive
- Sandpaper (if working with wood)
- Safety gloves and glasses

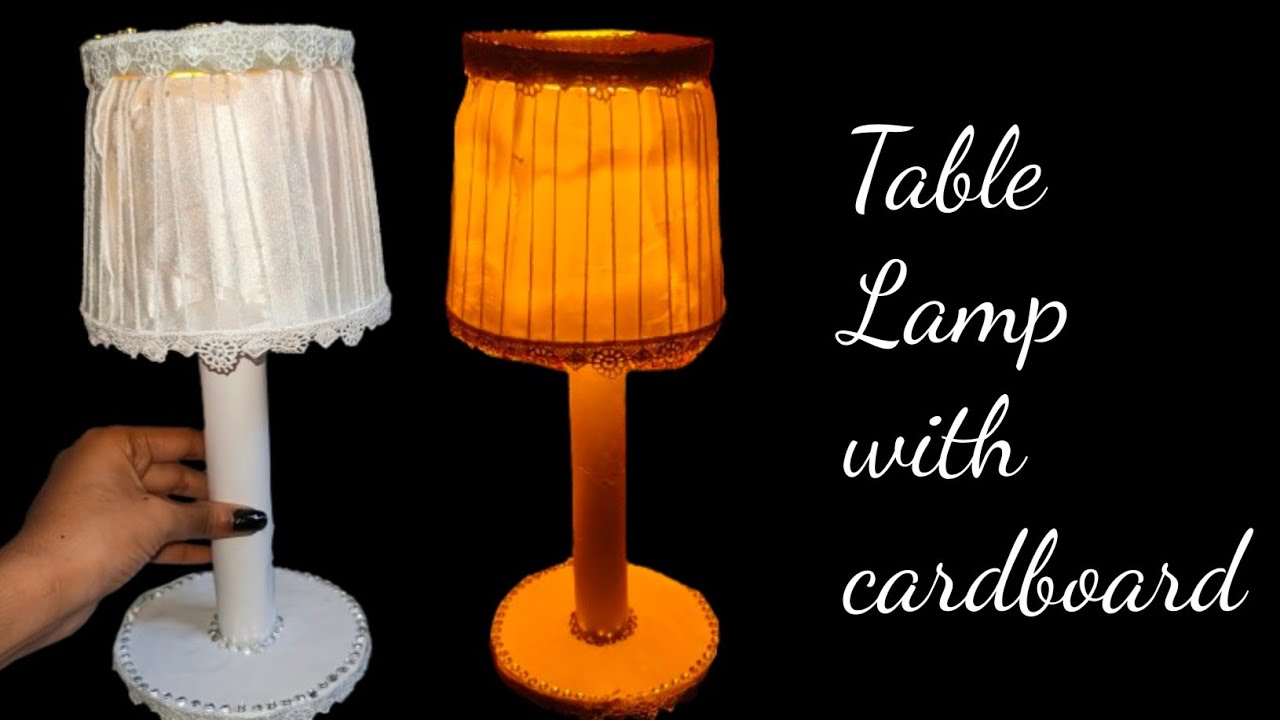
Credit: www.youtube.com
Choosing The Right Bulb
Choosing the right bulb for your homemade desk lamp can change how your workspace feels and functions. The bulb affects not just the light quality but also your energy use and eye comfort. Picking the perfect bulb means balancing brightness, color, and efficiency to fit your needs.
Types Of Bulbs
There are several types of bulbs you can choose from, each with its own benefits and drawbacks. LED bulbs are popular because they last long and use less energy. Incandescent bulbs give off a warm light but use more electricity and don’t last as long.
CFL bulbs offer a middle ground with good brightness and energy savings, but they contain small amounts of mercury, so you need to handle them carefully. Halogen bulbs provide bright, white light but tend to get hot and consume more power. Think about what kind of light you want and how often you’ll use your lamp when choosing.
Brightness And Energy Efficiency
Brightness is measured in lumens. The higher the lumens, the brighter the light. For a desk lamp, 450 to 800 lumens usually works well depending on your tasks.
Energy efficiency helps you save money over time and reduces environmental impact. LED bulbs shine here because they use up to 80% less energy than traditional bulbs. Have you ever noticed how a dimmer, energy-saving bulb can reduce eye strain during long work hours? That’s because the right brightness can make a big difference in comfort.
Consider bulbs with adjustable brightness or color temperature if you want flexibility. This way, you can switch from warm light for relaxation to cool light for focused work. What lighting setup helps you stay productive and comfortable the most?
Designing Your Lamp
Creating a homemade desk lamp lets you choose shapes and colors that match your space. Using simple materials, you can build a lamp that fits your style and needs perfectly. This project is fun, practical, and adds a personal touch to your desk.
Designing your lamp is an exciting step in creating a unique piece. It allows you to express your personal style and creativity. A well-designed lamp can be both functional and decorative. Let’s explore the key elements in designing your own homemade desk lamp.Selecting A Style
Choosing a style is the first step in your lamp design. Consider where the lamp will be placed. Is it for a modern office or a cozy reading nook? Match the lamp style to the room’s decor. Think about colors and materials that appeal to you. Wood, metal, and glass each offer different aesthetics. Browse design magazines or websites for inspiration. This will help you visualize your ideal lamp.Measuring And Planning
Accurate measurements are crucial for a functional lamp. Measure the space where the lamp will sit. Determine the ideal height for its purpose. A desk lamp should provide enough light without glare. Sketch a simple plan of your lamp design. Include the base, stand, and shade in your drawing. This plan will guide you through the building process. Use a ruler or measuring tape for precision. Planning helps prevent mistakes and ensures a successful project.Building The Lamp Base
Building the lamp base is a crucial step in making your homemade desk lamp sturdy and stylish. It holds everything together and sets the tone for your lamp’s overall look. Choosing the right materials and assembling them carefully will ensure your lamp not only functions well but also adds charm to your workspace.
Material Options
You have plenty of choices when it comes to materials for the lamp base. Wood is a popular pick because it’s easy to work with and gives a warm, natural feel. Metals like aluminum or brass add a sleek, modern touch but may need more tools to shape.
Consider using heavy materials like stone or concrete if stability is your priority. These materials can be messy to handle but make your lamp less likely to tip over. Alternatively, recycled items such as old books or blocks can create a unique base with character.
- Wood:Easy to cut and drill, offers natural beauty
- Metal:Durable and modern, requires special tools
- Concrete/Stone:Heavy and stable, requires drying time
- Recycled items:Eco-friendly and creative
Assembly Tips
Start by making sure your base is level and heavy enough to support the lamp arm and shade. Test its balance before securing any parts permanently. If your base is wooden, sanding edges smooth makes your lamp safer and more polished.
Drill holes carefully where the lamp rod or wiring will go. Keep your workspace clean to avoid losing small screws or parts. Use clamps or a helping hand tool to hold pieces steady while you fasten them.
Ask yourself: does the base feel solid when you move it around? If not, add weight or adjust your materials. Remember, a shaky base can ruin the whole project no matter how nice the shade looks.
Wiring The Lamp
Wiring the lamp is the heart of your homemade desk lamp project. It brings your creation to life by connecting the electrical components safely and correctly. This part requires focus and care, but with the right guidance, you can do it confidently.
Safety Precautions
Before you touch any wires, make sure your workspace is dry and clean to prevent accidents. Always unplug your lamp from any power source while working on wiring.
Use insulated tools to avoid electric shocks. Double-check that you have the correct materials, including wires rated for the lamp’s voltage and a reliable switch.
Wear safety goggles to protect your eyes from small sparks or wire strands. If you’re unsure about any step, ask for help or consult an expert—it’s not worth risking your safety.
Step-by-step Wiring
Start by preparing your wires: strip about half an inch of insulation from each end using a wire stripper. This will expose the copper for connection.
Attach one end of the wire to the lamp socket’s terminals. Typically, the neutral wire connects to the silver screw, and the live wire to the brass screw.
Secure the connections tightly to avoid loose contacts, which can cause flickering or short circuits. Next, connect the other end of the wires to your switch following the same color coding.
Make sure the switch interrupts the live wire; this ensures the lamp can be turned off safely. Finally, connect the wires from the switch to the power cord, maintaining consistent wire colors throughout.
Once all connections are made, tuck the wires neatly inside the lamp base to avoid pinching. Test your wiring by plugging in the lamp and flipping the switch—does the light turn on smoothly?
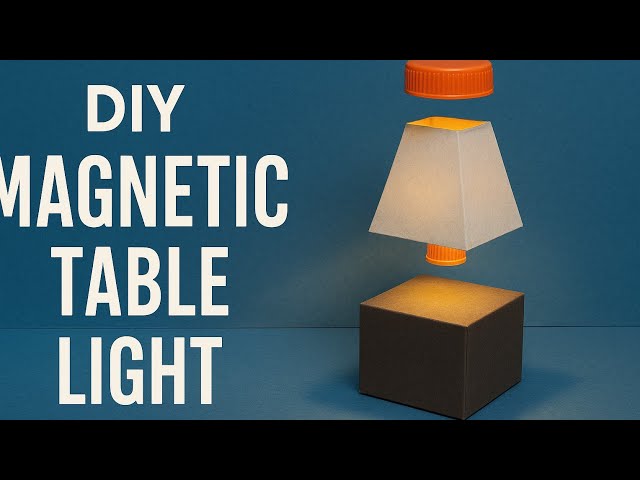
Credit: www.youtube.com
Adding The Lampshade
Adding the lampshade is a crucial step in making your homemade desk lamp both functional and stylish. The shade controls how light spreads across your workspace, reducing glare and creating a comfortable atmosphere. Choosing and attaching the right shade can transform a simple lamp into a personalized piece that fits your style and needs.
Diy Shade Ideas
Think about materials you already have at home. Paper, fabric, and even recycled plastic can become unique lampshades with a little creativity.
- Fabric Shade:Stretch colorful fabric over a wire frame. You can sew or glue the edges for a neat finish.
- Paper Shade:Use thick craft paper or parchment. Fold it into geometric shapes or cut out patterns for interesting light effects.
- Plastic Shade:Repurpose a clear plastic container by cutting it down and decorating with paint or markers.
Have you ever tried turning an everyday object into something useful? That’s the fun part—you can experiment until you find what fits your desk perfectly.
Attaching The Shade
Securing your lampshade properly is key to safety and durability. The attachment method depends on the lamp base and the type of shade you choose.
- Clamp or Clip:Many desk lamps have a clip-on mechanism. If yours does, simply attach the shade to the clip.
- Wire Frame:For DIY wire frames, twist the ends around the lamp holder carefully to keep the shade stable.
- Adhesive:Use strong, heat-resistant glue for lightweight shades, but ensure it doesn’t come into contact with the bulb.
Ask yourself: Is the shade firmly attached without wobbling? If not, try adding extra support or adjusting the fit until it feels secure.
Testing And Troubleshooting
Testing and troubleshooting your homemade desk lamp is a crucial step to ensure it works safely and efficiently. It’s common to encounter minor hiccups, but with careful checks, you can quickly identify and fix them. Let’s dive into practical ways to verify your lamp’s setup and resolve common issues.
Checking Connections
Start by inspecting every connection point in your lamp. Loose wires or poor contacts are often the main culprits behind a non-working lamp.
- Make sure the wires are firmly twisted together or securely fastened with wire nuts.
- Check the socket connections—sometimes the bulb doesn’t light simply because it’s not making good contact.
- Look at the plug and switch for any signs of damage or loose parts.
Use a multimeter if you have one. It can help you verify continuity and confirm electricity flows properly. Have you ever found a single loose wire causing hours of frustration? Taking the time to check connections thoroughly can save you that headache.
Common Issues And Fixes
If your lamp doesn’t light up or flickers, several common issues might be at play.
| Issue | Possible Cause | Simple Fix |
|---|---|---|
| Lamp won’t turn on | Faulty bulb or loose bulb | Replace bulb and ensure it’s tightly screwed in |
| Flickering light | Loose wiring or bad switch | Tighten wires and test switch; replace if needed |
| Warm or burning smell | Overheating socket or wrong bulb wattage | Use correct wattage bulb; check socket for damage |
Have you noticed your lamp flickering only when you move the cord? This usually signals a loose wire inside the cord or plug. Don’t ignore unusual smells or heat—these signs mean you should stop using the lamp until you fix the problem.
Taking time to test and troubleshoot your desk lamp ensures it’s safe to use and gives you confidence in your DIY skills. What’s the most surprising issue you’ve encountered in a DIY project? Let your curiosity guide you to investigate fully before calling it done.
Customizing Your Lamp
Customizing your homemade desk lamp adds personality and function. It transforms a simple lamp into a unique piece. Personal touches make your workspace more inspiring and pleasant. Explore ways to decorate and add useful features easily.
Painting And Decorating
Choose colors that match your room or mood. Use acrylic paint for a smooth finish. Try patterns like stripes, dots, or geometric shapes. Add texture with washi tape or fabric wraps. Stick on small decals or stickers for a fun look. Seal your design with a clear coat to protect it.
Use simple brushes or sponges for different effects. Let each layer dry before adding the next. Customize the lamp base, shade, or both. Bright colors brighten your space. Soft pastels create a calm feel.
Adding Functional Features
Make your lamp more useful with extra features. Attach a small clip to hold notes or reminders. Add a USB port for charging devices nearby. Install a dimmer switch for adjustable light levels. Place a small shelf or tray to hold pens or glasses.
Use flexible necks or arms to direct light easily. Add a touch sensor for easy on/off control. Include a timer to save energy. These small changes improve daily use and comfort.
Frequently Asked Questions
What Materials Do I Need To Make A Homemade Desk Lamp?
You need a lamp base, light bulb, socket, wire, switch, and power plug. Optional items include paint and decorative materials for customization.
How Do I Safely Wire A Homemade Desk Lamp?
Turn off power before wiring. Connect wires to the socket and switch correctly. Use electrical tape and check connections for safety.
What Type Of Bulb Works Best For Desk Lamps?
LED bulbs are energy-efficient and long-lasting. Choose a bulb with appropriate brightness and color temperature for your workspace.
Can I Customize The Design Of My Homemade Desk Lamp?
Yes, you can use different materials and paint to match your style. Personalizing your lamp makes it unique and functional.
Conclusion
Making a homemade desk lamp is simple and fun. You can use easy materials found at home. This project saves money and lets you create a unique lamp. It also helps improve your skills and creativity. Light your workspace with your own handmade lamp.
Give it a try today and enjoy the warm glow. Small steps lead to great results. Your desk will look bright and stylish. Keep experimenting and make more cool projects.


