
Are you tired of spending money on bath poufs that fall apart quickly or don’t feel quite right on your skin? Imagine having a soft, fluffy mesh bath pouf made by your own hands, designed exactly how you like it.
Not only will you save money, but you’ll also enjoy a bath time experience that feels personalized and luxurious. In this guide, you’ll discover easy steps to create your very own mesh bath pouf using simple materials. Ready to upgrade your shower routine and add a fun, creative project to your day?
Let’s get started!

Credit: mhtwobirds.en.made-in-china.com
Materials Needed
Getting your materials ready is the first step to making a mesh bath pouf that feels great and lasts long. Choosing the right supplies affects not only the look but also the usability of your bath pouf. Let’s break down exactly what you’ll need to gather before you start.
Choosing The Right Mesh
The mesh you pick is the heart of your bath pouf. Look for a nylon mesh that is soft yet durable. Too coarse, and it might irritate your skin; too flimsy, and it won’t hold its shape well.
Many craft stores sell nylon mesh fabric in rolls—pick a color you like to add a personal touch. You might find mesh labeled as “tulle” or “netting,” but nylon mesh specifically designed for scrubbing works best. Think about the size of your pouf too; wider mesh strips create a fuller pouf, while narrower strips offer a more delicate texture.
Additional Supplies
- Scissors:Sharp scissors are essential to cut clean edges on the mesh without fraying.
- Elastic band or ribbon:This will hold your mesh layers together tightly. Choose a sturdy elastic or a thick ribbon to secure your pouf firmly.
- Needle and thread (optional):If you want extra security, sewing the ends together can help the pouf last longer.
- Measuring tape:To cut your mesh strips evenly for a balanced pouf.
Have you ever tried using a bath pouf that fell apart after just a few uses? Securing your mesh properly with good elastic or ribbon can save you from that disappointment. The right combination of materials ensures your homemade pouf feels just as sturdy as store-bought ones, if not better.
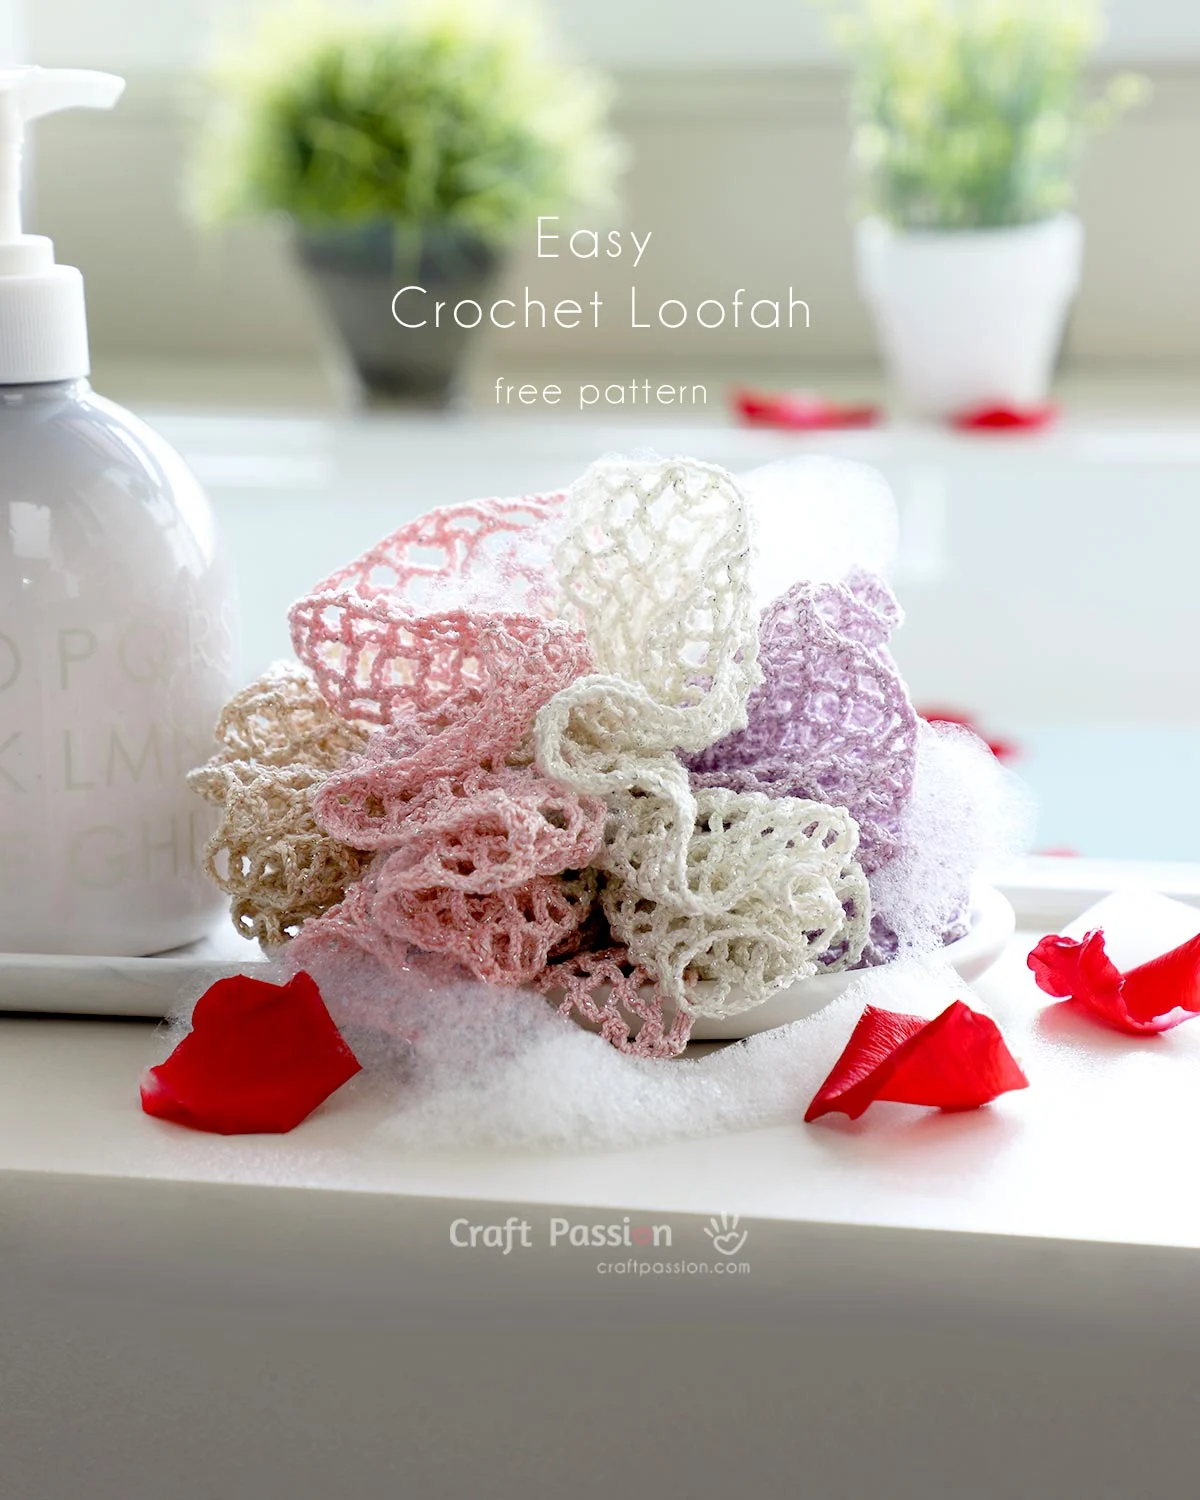
Credit: www.craftpassion.com
Preparing The Mesh
Preparing the mesh is a crucial part of making a bath pouf that is both fluffy and durable. The quality of your mesh strips and how you cut them will directly affect the final look and feel of your pouf. Taking the time to measure and cut carefully sets you up for success and saves frustration later on.
Cutting The Mesh Strips
Start with a roll of nylon mesh, often found in colors and textures designed for bath poufs. Use sharp scissors to cut the mesh into strips. Aim for clean, even edges to avoid fraying.
Cutting strips that are too narrow can make your pouf less full, while strips that are too wide may be harder to handle. A width of about 4 to 5 inches works well for most poufs.
Have you noticed how uneven edges can make your pouf look sloppy? Taking a few extra minutes to cut precise strips will make your pouf stand out as neat and professional.
Measuring The Length
Once you have your strips, measure each one to ensure uniform length. Most bath poufs require strips around 20 to 30 inches long, depending on how big and fluffy you want your final product.
Use a ruler or measuring tape to get consistent lengths. If your strips vary too much, your pouf might have lopsided sections, affecting both its appearance and function.
Think about how much volume you want. Longer strips create more loops and fluff, while shorter ones keep the pouf compact. What kind of bath pouf experience do you prefer?
Creating The Pouf Base
Cut a piece of mesh fabric into a long strip. Fold and gather the strip to form a soft, puffy base. Secure it tightly with a rubber band or string to hold its shape.
Creating the base of a mesh bath pouf is simple. This foundation ensures your pouf is sturdy and functional. Follow these steps to begin crafting your own bath accessory.Folding Techniques
Start with a long strip of mesh material. Fold it lengthwise several times to create layers. Aim for a thickness that feels comfortable in your hand. Each fold adds volume to your pouf. Keep the folds even and neat to maintain balance.Securing The Center
With the mesh folded, find the center point. Use a strong string or cord to tie it tightly. Wrap it around a few times to ensure it holds. Knot securely to prevent unraveling. This step is crucial for maintaining the shape of the pouf. Trim any excess string for a clean finish.Shaping The Pouf
Shaping your mesh bath pouf is where it starts to take on that fluffy, inviting look. This step is crucial because the way you shape it affects not only its appearance but also how well it works to create rich lather. Getting the perfect shape might take a bit of patience, but the results are worth it.
Fluffing The Layers
Begin by gently pulling apart the layers of mesh. Use your fingers to separate and lift each section, allowing air to flow through. This step adds volume and prevents the pouf from looking flat or squished.
Don’t rush this part. Spend a few minutes fluffing to ensure every layer feels light and airy. You’ll notice the pouf start to look more rounded and soft—almost like a small cloud.
Adjusting The Volume
Once the layers are fluffed, it’s time to adjust the overall size. Pinch the center tightly if you want a more compact pouf, or loosen your grip to create a bigger, puffier ball. The volume you choose depends on your preference for how much lather you want.
Try squeezing the pouf in your hand to test its firmness and size. If it feels too dense, fluff more. If it’s too loose, tighten the center knot or add an extra layer of mesh before tying it off. This hands-on adjustment ensures the pouf fits your style perfectly.
Adding A Hanging Loop
Adding a hanging loop to your mesh bath pouf makes it easy to store and dry. The loop keeps the pouf off wet surfaces, preventing mold and bacteria. It also helps the pouf dry faster, extending its life. Creating a strong and neat loop is simple and adds a nice touch to your pouf.
Selecting The Loop Material
Choose a material that can hold water and dry quickly. Nylon or polyester cords work well. These materials resist mildew and break less easily. Avoid materials that absorb water or stretch a lot.
Look for a cord or ribbon about 6 inches long. It should be thin enough to thread through your pouf but strong enough to hold weight. Pick a color that matches or contrasts nicely with your pouf for a clean look.
Attaching The Loop
Fold the chosen material in half to form a loop. Insert the ends through the center of the pouf. Pull the loop through enough to hold firmly but leave room to adjust.
Use a strong knot or a zip tie to secure the ends tightly. Make sure the knot will not come undone with use. Trim any extra length for a neat finish.
Test the loop by gently pulling on it. It should hold well without slipping. Hang the pouf to check if the loop is the right size and position. Adjust if needed for balance and convenience.
Tips For Longevity
Making your mesh bath pouf last longer means paying attention to how you clean and store it. Small habits can keep it fresh and prevent wear and tear. Let’s look at simple tips that keep your pouf in great shape, so you get more use out of it.
Cleaning And Maintenance
Rinse your mesh pouf thoroughly after each use to remove soap and dead skin. Leaving soap residue can cause buildup and make the mesh break down faster.
Once a week, give it a deep clean. Soak your pouf in warm water mixed with a little baking soda or white vinegar for 15 minutes. This helps kill bacteria and reduce odors.
After soaking, squeeze out excess water gently instead of twisting or wringing it, which can damage the mesh. Then, hang it up to dry in a well-ventilated area. Avoid leaving it in a damp spot where mold can grow.
Storage Suggestions
Where you keep your pouf matters just as much as how you clean it. Store it in a dry, airy place to prevent mildew. Avoid keeping it inside the shower when not in use, since constant moisture weakens the material.
Try using a hook or suction cup outside the shower area. This keeps your pouf off wet surfaces and allows air to circulate freely, speeding up drying.
Have you noticed how some poufs lose their puffiness quickly? Storing your pouf loosely rather than squished in a drawer helps it maintain its shape. It also reduces the risk of tearing from pressure.
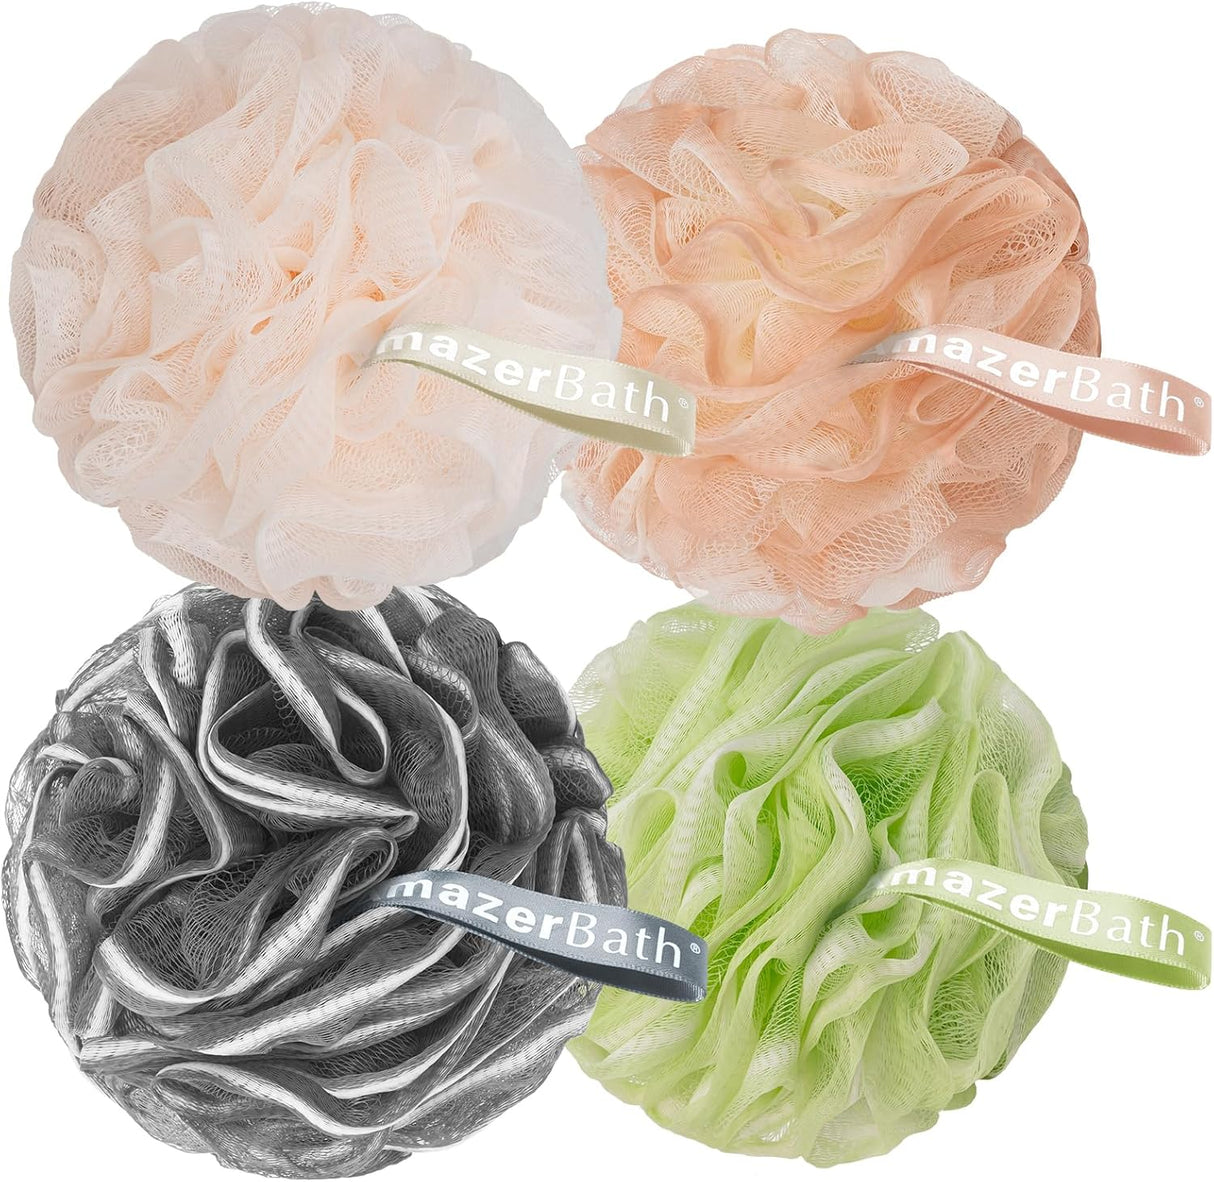
Credit: amazerbath.com
Frequently Asked Questions
What Materials Are Needed To Make A Mesh Bath Pouf?
You need nylon mesh fabric, scissors, a rubber band, and a ribbon or string. These items are easy to find and inexpensive.
How Long Does It Take To Make A Mesh Bath Pouf?
Making a mesh bath pouf usually takes 10 to 15 minutes. It’s a quick and simple DIY project for beginners.
Can I Customize The Color Of My Bath Pouf?
Yes, you can choose any color of nylon mesh fabric. Custom colors make your bath pouf unique and match your bathroom decor.
Is A Homemade Mesh Bath Pouf Durable?
Yes, a homemade mesh bath pouf lasts several months with proper care. Nylon mesh is strong and dries quickly, preventing mildew.
Conclusion
Making a mesh bath pouf is simple and fun. You only need a few materials and steps. This pouf helps you clean your skin gently every day. It also saves money compared to store-bought ones. Try making one yourself to enjoy a soft, bubbly shower experience.
Keep practicing, and you will get better each time. Enjoy your homemade bath pouf and fresh, clean skin!


