
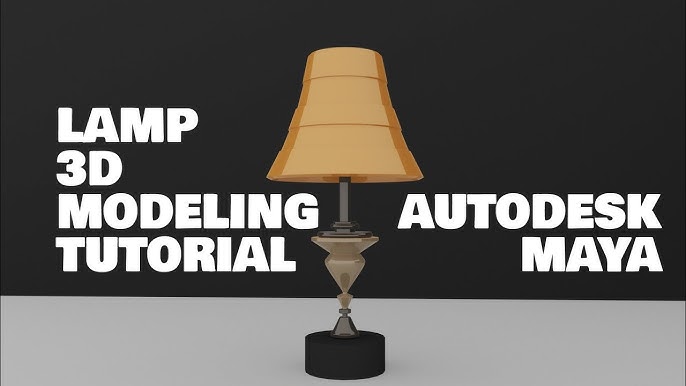
Are you ready to bring your creative ideas to life by designing a desk lamp in Maya? Whether you’re new to 3D modeling or looking to sharpen your skills, this guide will walk you through each step clearly and simply.
Imagine turning a blank screen into a stylish, realistic lamp you can be proud of. By the end, you’ll have the confidence to create your own unique designs and add a professional touch to your projects. Let’s dive in and start crafting your perfect desk lamp!
Setting Up Your Workspace
Setting up your workspace properly in Maya is crucial before you start modeling your desk lamp. It helps you stay organized and work efficiently. A clean, well-arranged workspace reduces distractions and speeds up your creative process.
Configuring Maya Interface
Start by customizing the Maya interface to fit your workflow. You can rearrange panels and toolbars so that the tools you use most are easily accessible.
For example, keep the Channel Box and Attribute Editor visible to quickly tweak object properties. Use the Hotbox and marking menus to speed up navigation without cluttering your screen.
Don’t forget to save your custom workspace layout. This way, you won’t waste time setting it up every time you open Maya.
Importing Reference Images
Reference images are your blueprint for modeling. Import clear images of your desk lamp from different angles to guide your modeling process.
You can add images as image planes in the viewport or attach them to planes inside the scene. Position them carefully to align with the modeling grid.
Ask yourself: What details stand out in the design? Focus on those while setting up your reference images to ensure accuracy.
Creating The Lamp Base
Creating the lamp base is a key part of your desk lamp model in Maya. This section covers how to build a strong, simple base. A good base supports the lamp and gives it a solid look. Focus on clean shapes and smooth surfaces for the best result.
Modeling The Base Shape
Start by making a basic shape for the lamp base. Use simple tools like the Cubeor Cylinderin Maya. These shapes form the foundation of the base. Adjust the size and proportions to fit your lamp design.
Use the Scaletool to change the width and height. Move vertices to create curves or flat surfaces. Keep the shape balanced and stable. Use Edge Loopcuts to add more geometry for shaping. This helps to make smooth edges and corners.
Adding Details And Refinements
After the base shape is ready, add small details to improve realism. Create grooves or ridges using the Extrudetool on selected faces. These details make the base look more interesting.
Refine the edges by beveling them. This softens sharp corners and adds realism. Use the Smoothfunction to create rounded surfaces. Check the model from different angles to fix any rough spots.
Finally, organize your base model into layers. This keeps your scene clean and easy to edit. Naming parts clearly helps in later steps like texturing and animation.
Modeling The Lamp Arm
Create the lamp arm by shaping simple cylinders and adjusting their length and angles. Connect each part smoothly for a realistic look. Focus on clean edges to keep the model neat and easy to edit.
Modeling a desk lamp in Maya is a rewarding experience. The lamp arm is a crucial part of the design. It requires attention to detail and precision. This section will guide you through creating the lamp arm. We’ll focus on building the arm structure and connecting the segments. Let’s dive into the process.Building The Arm Structure
Begin by selecting the right primitive shape. A cylinder is a great choice for the arm. Adjust the height and radius to match your design. Use the scale tool to refine the shape. Ensure the arm’s proportions look realistic. Add edge loops for more detail. This allows for smoother bends and joints. Consider the arm’s flexibility. Think about how it will move. Use the extrude tool to extend the arm. This helps in creating a longer structure. Duplicate the segments for uniformity. Keep the design simple yet functional.Connecting Arm Segments
Position the arm segments carefully. Use the move tool to align them. Ensure they connect seamlessly. Rotate segments for the right angles. This gives the lamp a natural look. Create joints between segments. Use the bridge tool for smooth connections. This ensures the arm bends properly. Check for any gaps between segments. Close them to avoid rendering issues. Focus on the pivot points. They determine the arm’s movement. Adjust them for better flexibility. Test the arm’s movement. Make sure it aligns with your design vision.
Credit: www.youtube.com
Designing The Lamp Shade
Designing the lamp shade is a crucial part of creating a realistic desk lamp in Maya. It sets the tone for the entire model and affects how light interacts with the scene. Focusing on the shape and structure of the shade can help you achieve a professional look without overcomplicating the process.
Shaping The Shade
Start by creating a simple primitive like a cone or cylinder to form the basic shape of your lamp shade. Use the scale and rotate tools to adjust the proportions so it looks balanced and fits well with the lamp base. Don’t be afraid to experiment with asymmetry or subtle curves; these small tweaks can make your model stand out.
Try using the edge loop tool to add more geometry where you want to create smooth transitions or sharp corners. This approach gives you control over the silhouette without adding unnecessary polygons. Ask yourself: does the shape reflect the style you’re aiming for, whether modern, vintage, or minimalist?
Adding Thickness And Edges
A lamp shade without thickness looks flat and unrealistic. Use the extrude tool on the faces of your shape to add depth. This step not only improves the visual appeal but also allows light to interact with the surface in a believable way.
After extruding, bevel the edges slightly to avoid sharp, unnatural lines. Beveling softens the edges and catches light in a more natural manner. Remember, even small details like edge softness can change how convincing your model appears in a render.
Think about the material you plan to use on the shade. Thicker edges might work well for metal, while thinner ones suit fabric shades better. Adjust the thickness accordingly to match your design intent and lighting setup.
Adding Materials And Textures
Adding materials and textures brings your desk lamp model to life. This step adds color, shine, and surface details. It helps your lamp look more real and interesting. You can make metal parts shiny and plastic parts smooth. Textures add fine details like scratches or fabric patterns. Both materials and textures help create a realistic 3D model.
Applying Basic Materials
Start by selecting the lamp parts in Maya. Open the Hypershade window to create new materials. Choose simple materials like Lambert, Blinn, or Phong. Assign colors to different lamp sections. Adjust settings like specular and reflectivity for shine. Use these controls to make metal parts glossy. Plastic parts can have less reflection for a soft look. Preview the materials on your model to see changes.
Creating Realistic Textures
Use image files to add textures on the lamp surface. Import textures such as metal scratches or fabric weave. Apply these textures in the Hypershade’s material attributes. Use UV mapping to fit textures correctly on the model. Adjust texture scale and position for a natural look. Combine color, bump, and specular maps for depth. These maps create shadows and highlights on textures. Test render your model often to check texture effects.
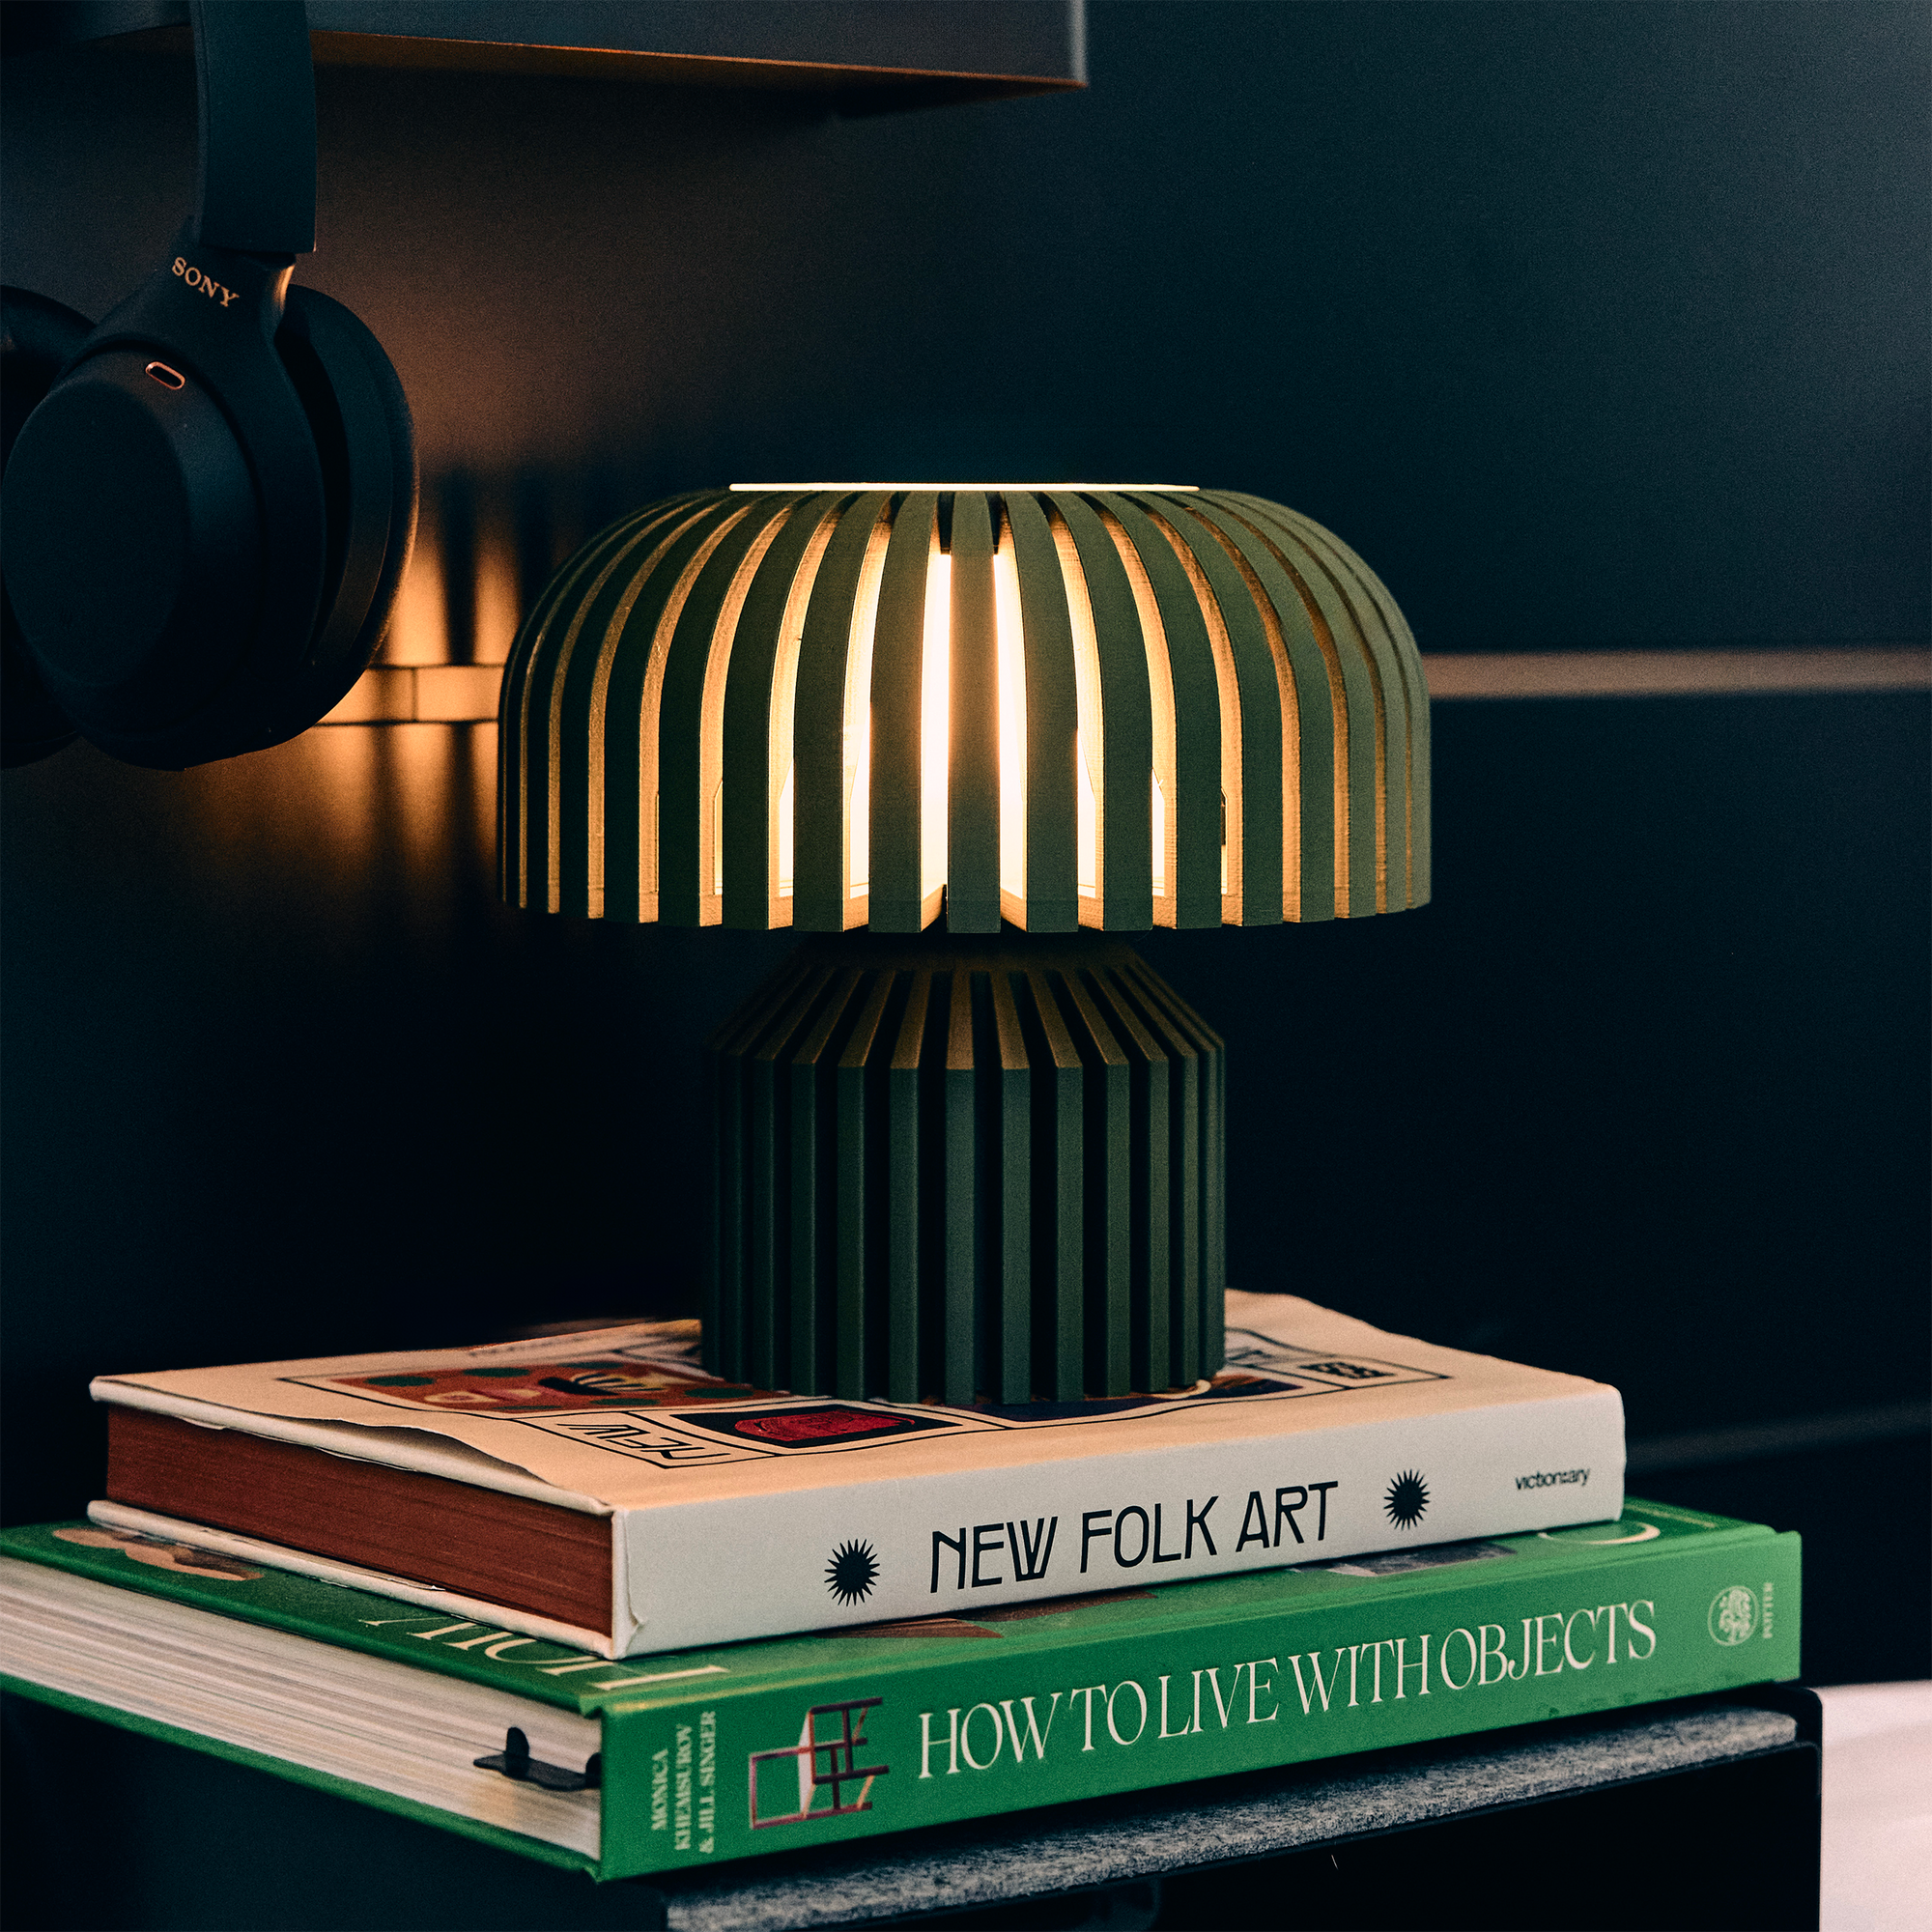
Credit: walmen.co
Setting Up Lighting And Rendering
Setting up lighting and rendering is crucial for creating a realistic desk lamp in Maya. Proper lighting brings out details and sets the mood of your scene. Rendering transforms your 3D model into a polished image.
Focus on placing lights to mimic real-world conditions. Adjust render settings to balance quality and speed. These steps ensure your desk lamp looks both natural and appealing.
Placing Scene Lights
Start by adding key lights to highlight the lamp’s shape. Use a main directional light to simulate the primary light source. Add fill lights to soften shadows and reveal details.
Position a subtle rim light behind the lamp. This creates separation from the background and adds depth. Adjust light intensity and color to match the lamp’s design.
- Use spotlights to mimic lamp light emission.
- Set light decay for realistic brightness drop-off.
- Place area lights for soft, even illumination.
Adjusting Render Settings
Open the Render Settings window to start. Choose a renderer like Arnold for good quality output. Set the image resolution to match your display needs.
Increase sampling rates for cleaner, noise-free images. Enable global illumination for realistic light bounce effects. Adjust ray depth to control reflections and refractions.
| Setting | Recommended Value | Purpose |
|---|---|---|
| Image Resolution | 1920 x 1080 | High-definition render output |
| Sampling | 4-8 | Reduces noise and improves quality |
| Global Illumination | Enabled | Simulates realistic light behavior |
Test render small sections to save time. Tweak settings until the lamp looks natural and clear.
Final Touches And Exporting
After you’ve modeled your desk lamp in Maya, the final touches can make a huge difference in how professional and polished your project looks. Paying attention to small details and preparing your model correctly will ensure it’s ready for any platform or presentation. Let’s dive into how you can polish your lamp and export it without losing quality or detail.
Polishing The Model
Start by examining your lamp from all angles. Look for any rough edges or uneven surfaces that may need smoothing. Use Maya’s soft selection tools to refine shapes subtly without losing the original design.
Check the lamp’s proportions closely. Sometimes, a slight tweak in scale can improve realism. Adjust the thickness of the lamp arm or the size of the lampshade if something feels off.
Don’t forget to clean up your scene. Delete unused nodes and history to keep the file size small and avoid glitches later. This simple step saved me hours once when a client’s rendering crashed unexpectedly.
Exporting Your Project
Choosing the right export format depends on where you plan to use your model. For game engines, formats like FBX or OBJ usually work best. For animations or rendering within Maya, keep the native .mb or .ma files.
Before exporting, verify your model’s scale and orientation. Different software handle these differently, so double-check to prevent your lamp from appearing upside down or too large. Export settings often include options to adjust these automatically.
Make use of Maya’s export presets if available. They can save you time and avoid common mistakes like missing textures or broken UV maps. Have you ever lost hours fixing export errors? Taking a few extra minutes here can save you that headache.
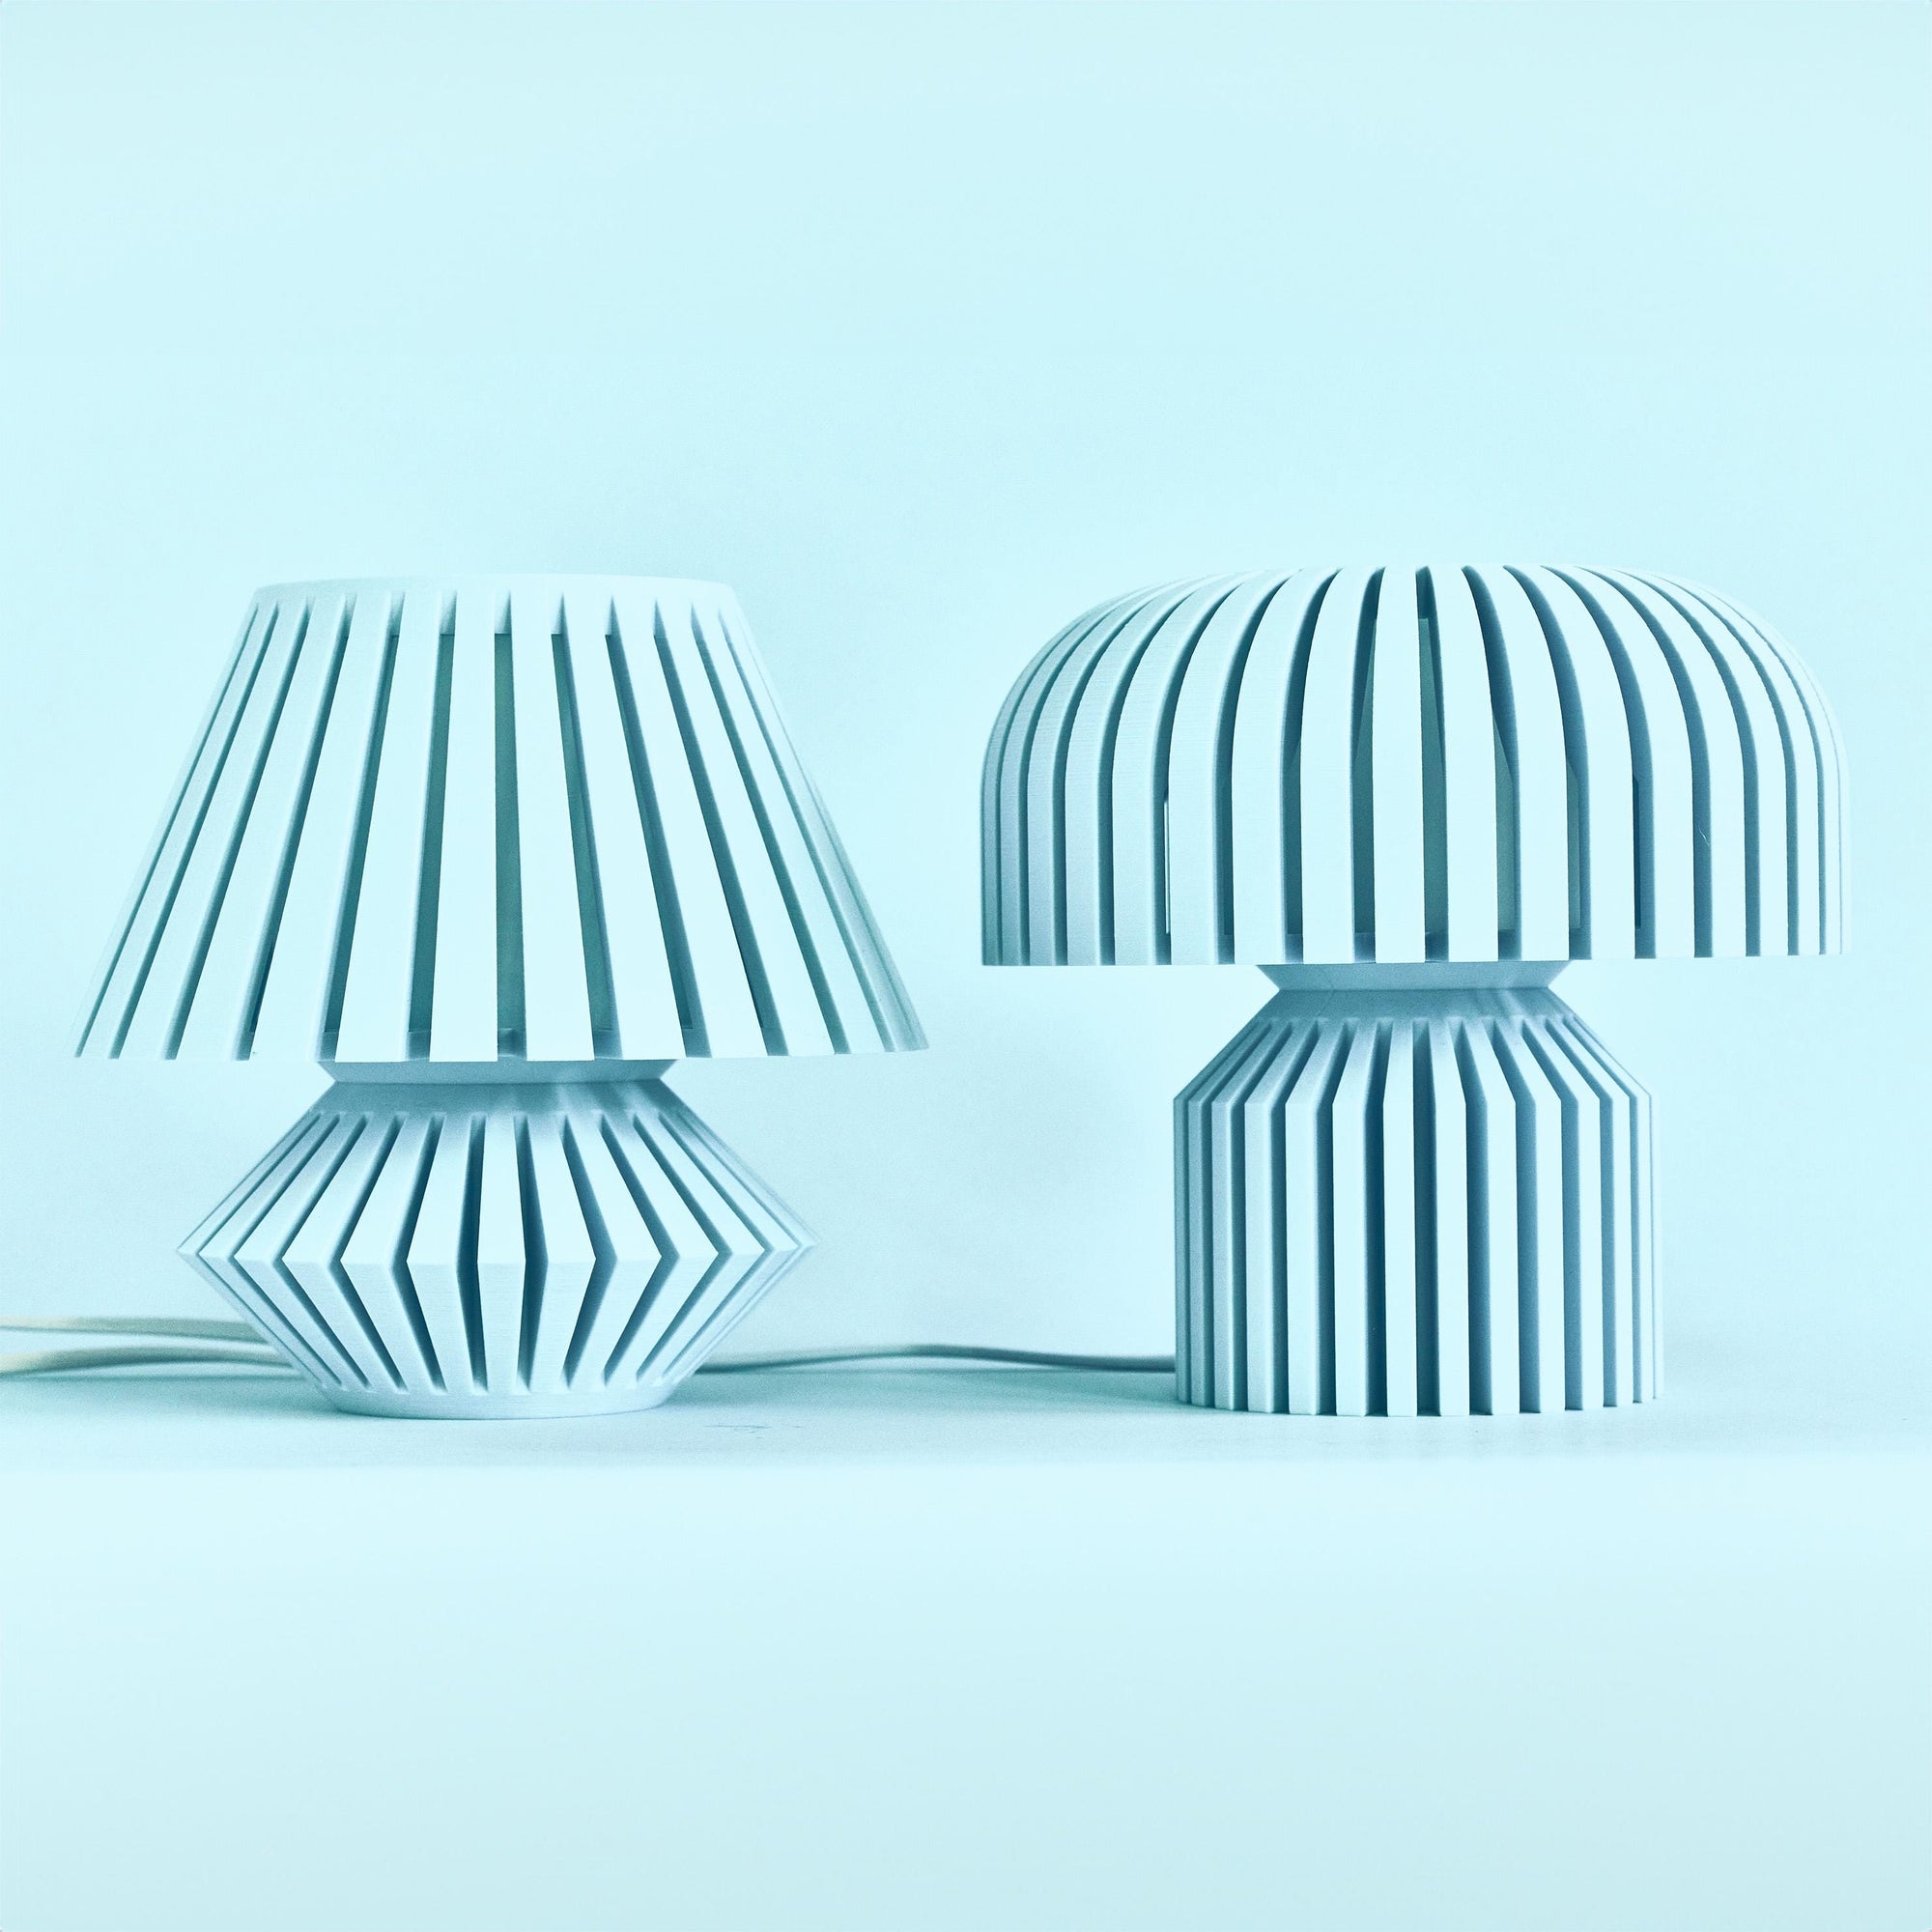
Credit: walmen.co
Frequently Asked Questions
What Are The Basic Steps To Model A Desk Lamp In Maya?
Start by creating the lamp’s base using primitive shapes. Add the lamp arm with cylinders. Use joints for articulation. Model the lamp shade with a cone. Apply materials and textures. Finally, adjust lighting and render for realism.
How Do I Add Realistic Lighting To A Maya Desk Lamp?
Use area lights or spotlights to mimic the lamp’s light source. Position lights inside the lamp shade. Adjust intensity and color temperature for realism. Enable shadows for depth. Use ray tracing for accurate light behavior.
What Materials Work Best For A Desk Lamp In Maya?
Metallic shaders work well for the lamp body. Use reflective materials for a polished look. Matte shaders suit plastic parts. Apply texture maps for realism. Experiment with specularity and roughness settings for the best effect.
How Can I Animate The Desk Lamp In Maya?
Create joints at the lamp’s movable parts. Use keyframes to animate rotation and bending. Adjust pivot points for natural movement. Preview animation and refine timing. Export the animation for presentations or videos.
Conclusion
Creating a desk lamp in Maya is easier than you think. Follow each step with care and patience. Use simple shapes and tools to build your lamp. Keep practicing to improve your 3D modeling skills. Soon, you will make more detailed and creative designs.
Enjoy the process and have fun learning Maya. Your new lamp model will look great in any scene. Try adding colors and lights next time. This guide helps you start your 3D journey with confidence. Keep exploring and designing!


