
Are you tired of your stickers peeling off walls just days after you put them up? You’re not alone.
Getting stickers to stick well can be surprisingly tricky. But imagine your favorite designs staying put, brightening up your space exactly how you want. You’ll discover simple, effective tips to make your stickers stick like magic. Keep reading, and your walls will never lose their charm again.
Choose The Right Sticker Material
Choosing the right sticker material plays a big role in how well your stickers stick to walls. Different materials react differently to wall surfaces. Some last longer, while others peel off fast. Understanding these materials helps pick the best sticker for your space. This choice affects durability, appearance, and ease of removal.
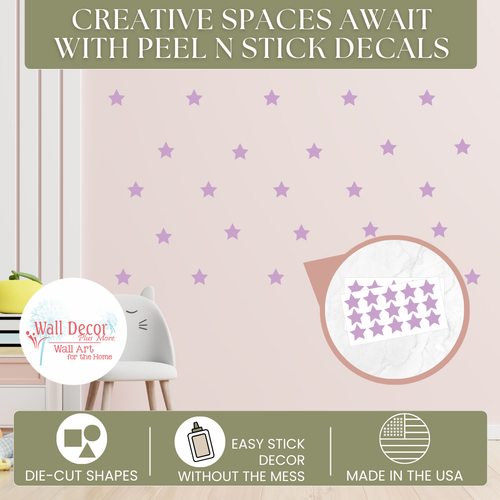
Vinyl Vs Paper Stickers
Vinyl stickers are waterproof and strong. They stick well on most surfaces, including walls. Vinyl resists fading and tearing. They work great for indoor and outdoor use. Paper stickers are cheaper but less durable. They absorb moisture and tear easily. Paper stickers might peel off sooner on walls. Vinyl is best for lasting wall stickers. Paper suits temporary or indoor use only.
Adhesive Types Explained
Adhesives make stickers stick, but not all are the same. Permanent adhesives hold tight and last long. They can damage paint when removed. Removable adhesives stick well but peel off clean. They are good for renters and temporary decor. Repositionable adhesives allow moving the sticker after placing. Ideal for trial and error placements. Choose adhesive based on wall type and how long you want the sticker to stay.
Credit: mejmej.com
Prepare The Wall Surface
Preparing the wall surface is a crucial step if you want your stickers to stick well and last long. Even the best stickers can peel off quickly if the wall isn’t ready. Taking time to prepare ensures a smooth application and keeps your stickers looking great.
Clean And Dry The Wall
Start by cleaning the wall thoroughly. Use a mild detergent mixed with water to remove dust, grease, and dirt. A clean surface helps the adhesive bond better.
After cleaning, dry the wall completely. Moisture can weaken the sticker’s grip and cause it to peel prematurely. Have you ever noticed your stickers falling off in humid areas? That’s often due to moisture left on the surface.
Smooth Out Imperfections
Check the wall for bumps, cracks, or rough spots. These imperfections create gaps that prevent stickers from sticking evenly. Sand down rough areas gently with fine-grit sandpaper.
If you find cracks or holes, fill them with spackle or wall filler. Wait for it to dry, then sand it smooth. A flat, even wall gives your stickers the best chance to stay put and look flawless.
Optimal Temperature And Humidity
Walls that are dry and at room temperature help stickers stick better. Avoid high humidity or extreme cold to keep the adhesive strong. Maintaining a balanced environment ensures stickers stay put longer.
Ensuring that your stickers stick to walls effectively involves more than just peeling and pressing. Understanding the optimal temperature and humidity can make a significant difference in how well your stickers adhere. The right conditions can help prevent peeling or bubbling, ensuring your stickers look great for the long haul.Best Conditions For Application
Applying stickers in the right temperature and humidity is crucial. Aim for a temperature range between 60°F and 77°F (15°C and 25°C). This range helps the adhesive bond properly to the wall surface. Humidity levels also play a role. Keep it around 40-60% for best results. Too much humidity can cause the adhesive to weaken, leading to peeling.Avoiding Common Environmental Issues
Extreme conditions can sabotage your sticker application. Avoid applying stickers in direct sunlight or near heaters, as high temperatures can make the adhesive too tacky. Cold environments are equally troublesome. Stickers might become rigid and fail to adhere properly. Ensure the room is at a comfortable room temperature before starting. Have you ever noticed bubbles under your stickers? These often occur when humidity is too high. Using a squeegee or a credit card during application can help smooth out these bubbles. Monitoring the room’s conditions before applying your stickers can save you time and frustration. Consider using a simple thermometer and hygrometer to check the environment. Your stickers deserve to shine without the hassle of constant reapplication. By paying attention to the temperature and humidity, you can ensure your walls look vibrant and well-decorated.
Credit: www.stickeryou.com
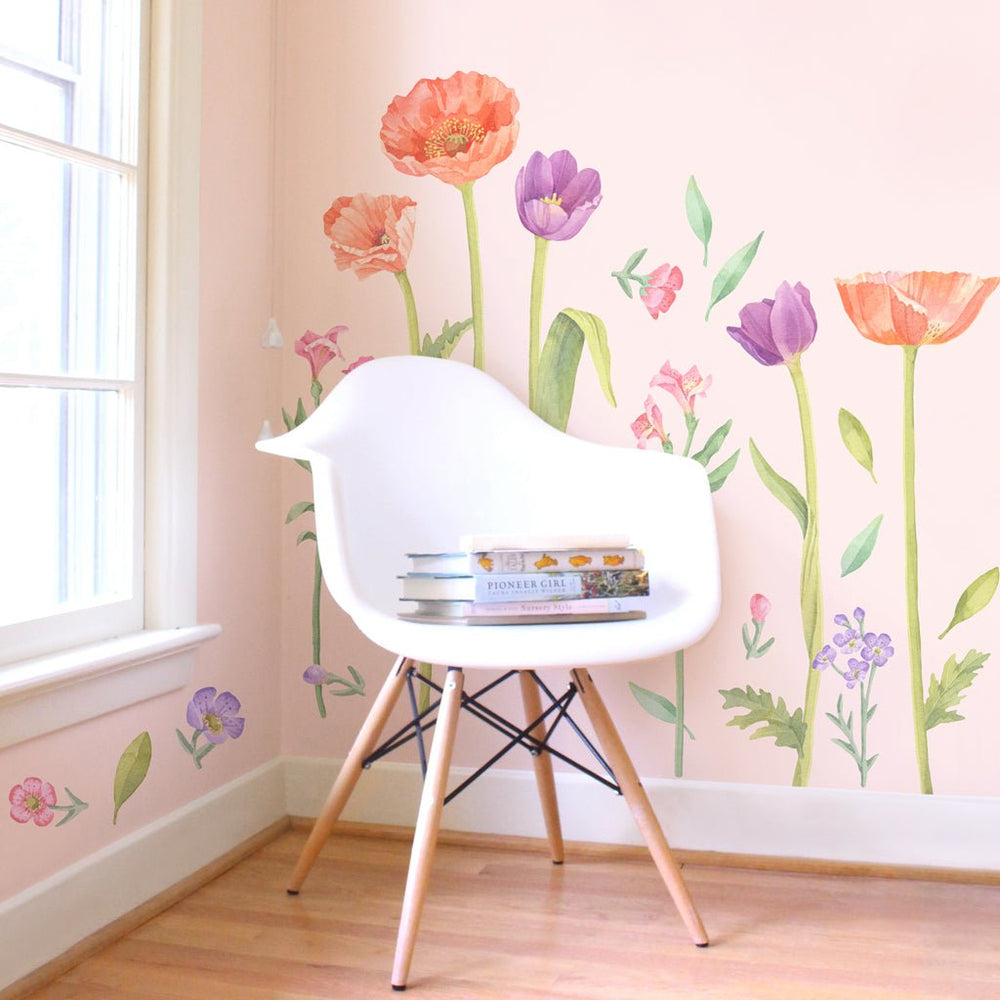
Applying Stickers Correctly
Applying stickers correctly makes all the difference between a flawless finish and a frustrating peel-off. It’s not just about sticking something on the wall; it’s about preparing, positioning, and pressing with care. Getting this right can save you time and keep your walls looking great.
Peeling The Backing Properly
Peeling the backing off a sticker might seem simple, but rushing it can cause the sticker to fold or tear. Start by lifting a corner gently—don’t pull the whole backing off at once. This helps maintain control and keeps the sticker intact.
Try peeling the backing at a low angle, almost parallel to the wall. This reduces the risk of the adhesive sticking to the wrong surface. If the sticker is large, peeling halfway and aligning it before removing the rest helps prevent bubbles.
Using Tools For Smooth Application
Using a tool can make your sticker application much smoother. A plastic squeegee or a credit card wrapped in a soft cloth works perfectly to press the sticker evenly onto the wall. This technique pushes out air bubbles and helps the adhesive bond well.
Have you ever noticed tiny air pockets after applying a sticker? These can weaken the hold over time. Using these tools with firm, even strokes from the center outward reduces the chance of bubbles and wrinkles. It’s a small step that makes a big difference.
Enhancing Sticker Adhesion
Getting your stickers to stick well on walls can be tricky, especially if the surface isn’t perfectly smooth or clean. Enhancing sticker adhesion goes beyond just peeling and sticking—it often requires a bit of extra effort. By using some simple tricks, you can make sure your stickers stay put for longer without peeling off unexpectedly.
Using Additional Adhesives
If your sticker’s original adhesive feels weak, adding a little extra glue can help. You can use glue sticks, double-sided tape, or spray adhesives designed for craft projects. These options provide stronger hold, especially on textured or painted walls.
Try applying a thin layer of glue on the back of the sticker before pressing it to the wall. This creates a better bond. Just be careful not to use too much glue, or it might wrinkle your sticker or leave marks on the wall.
Have you noticed some stickers peel off faster than others? This is often due to the adhesive quality and the wall surface. Testing different adhesives on a small patch can save you frustration later.
Heat Application Techniques
Heat can improve sticker adhesion by softening the adhesive and helping it bond better to the wall. Using a hairdryer on medium heat, gently warm the sticker after placing it on the surface. This technique works well for vinyl stickers and decals.
Hold the hairdryer a few inches away and move it around evenly to avoid overheating or damaging the sticker. Once warmed, press the sticker firmly with a soft cloth to smooth out any bubbles and ensure full contact.
Have you tried this before? You might be surprised how much heat can extend the life of your wall stickers. It’s a quick step that makes a big difference, especially in cooler or less sticky environments.
Tips For Removing Stickers Without Damage
Removing stickers from walls can be tricky. The goal is to keep the wall surface safe and undamaged. Using the right techniques helps avoid peeling paint or leaving sticky residue. Patience and gentle care make a big difference during removal.
Safe Peeling Methods
Start by loosening the edges carefully. Use your fingernail or a plastic card to lift a corner slowly. Pull the sticker back at a low angle, not straight up. Stretching the sticker gently helps reduce wall damage.
If the sticker resists, pause and try softening the adhesive first. Avoid sharp tools that can scratch or gouge the wall. Work slowly to prevent tearing the sticker and leaving bits behind.
Using Solvents And Heat
Warmth softens adhesive, making removal easier. Use a hairdryer on low heat to warm the sticker for 30 seconds. Keep the dryer moving to avoid overheating the paint.
Apply a small amount of rubbing alcohol or a mild adhesive remover to a cloth. Dab the sticker edges gently to break down the glue. Test a small spot first to ensure no paint damage.
After softening, peel the sticker slowly. Clean the wall with warm soapy water to remove leftover residue. Dry the surface well to prevent moisture damage.
Credit: shopcherrypick.com
Frequently Asked Questions
How Do I Prepare Walls For Sticker Application?
Clean the wall with mild soap and water to remove dust and grease. Let it dry completely before applying stickers. Smooth, dry surfaces ensure better adhesion and longer-lasting results.
What Wall Types Work Best For Stickers?
Stickers stick best on smooth, non-porous surfaces like painted drywall, glass, or metal. Textured or rough walls can reduce adhesion and cause stickers to peel off faster.
Can I Use Spray Adhesive To Improve Sticker Sticking?
Yes, spray adhesive can enhance stickiness, especially on rough surfaces. Apply a light, even coat on the wall or sticker back, then press firmly for a stronger bond.
How Do Temperature And Humidity Affect Sticker Adhesion?
High humidity or extreme temperatures weaken sticker glue, causing peeling. Apply stickers in moderate, dry conditions for optimal sticking and durability.
Conclusion
Stickers stick best on clean, smooth walls. Make sure the surface is dry and dust-free. Press the sticker firmly to avoid bubbles. Avoid rough or wet areas for better hold. Take your time to place stickers just right. This simple care helps your stickers stay longer.
Enjoy decorating your space with ease and style. Stickers can brighten any room quickly and affordably. Keep these tips handy for future projects too.


