

Imagine walking into a room and seeing a beautiful chandelier that you made yourself. It’s not just a light fixture—it’s a statement, a piece of art that reflects your style and creativity.
You might think making your own chandelier is too hard or expensive, but it’s easier than you expect. In this guide, you’ll discover simple steps and insider tips to create a stunning chandelier that will impress everyone. Ready to transform your space and add a personal touch that shines bright?
Let’s get started!

Credit: www.youtube.com
Choosing The Right Materials
Choosing the right materials is a crucial step when making your own chandelier. The materials you pick affect not only the look but also the durability and safety of your fixture. It’s important to balance style with functionality to create a chandelier that shines both in design and performance.
Selecting Suitable Lighting Fixtures
Start by deciding on the type of lighting you want. LED bulbs are energy-efficient and last longer, making them a practical choice. Consider the size and brightness of the bulbs to ensure they fit your space and provide enough light.
Think about the socket type and voltage compatibility. If your chandelier will hang in a room with dimmer switches, choose bulbs that work well with dimmers. Also, check if you want a single bulb or multiple bulbs to create the desired lighting effect.
Picking Frame And Base Options
The frame is the skeleton of your chandelier, so it needs to be sturdy. Metal frames like wrought iron, brass, or aluminum offer strength and a classic look. Wood frames can add warmth and a rustic feel but require proper treatment to avoid damage over time.
Size matters here—make sure the frame fits the room scale and ceiling height. A lightweight frame is easier to hang but might need reinforcement for larger designs. Don’t forget to consider how you will attach the frame to the ceiling safely.
Choosing Decorative Elements
Decorative elements give your chandelier personality and style. Crystals are popular for adding sparkle, but glass beads, shells, or even recycled materials can create unique effects. Choose decorations that complement your room’s decor and your personal taste.
Balance is key—too many decorations can make the chandelier heavy and hard to maintain. Sometimes, less is more when it comes to achieving an elegant look. Ask yourself: do the decorative pieces enhance the light or block it?
Tools You’ll Need
Before you begin crafting your own chandelier, gathering the right tools is crucial. Having everything at hand not only speeds up the process but also ensures your creation is safe and sturdy. Let’s break down the essential tools you’ll need for the electrical work, assembly, and safety.
Basic Electrical Tools
Working with electricity can be tricky if you’re not prepared. You’ll need a reliable wire stripperto remove insulation without damaging wires, and a voltage testerto check if the power is off before you start.
A good screwdriver setwith both flathead and Phillips heads will help you connect wires and secure mounting brackets. Don’t forget insulated tools designed specifically for electrical tasks—they keep you safe from shocks.
- Wire stripper
- Voltage tester
- Insulated screwdrivers
- Electrical tape
- Wire nuts/connectors
Crafting And Assembly Tools
Beyond electrical gear, you’ll need tools for shaping and assembling your chandelier parts. Pliers, both needle-nose and regular, help in bending wires and holding small components firmly.
A cordless drill with drill bits is indispensable for making holes in metal or wood pieces. Additionally, a measuring tape and a level ensure your chandelier hangs perfectly balanced and aligned.
- Needle-nose pliers
- Regular pliers
- Cordless drill with bits
- Measuring tape
- Level
- Small wrench or adjustable spanner
Safety Equipment
Safety should never be an afterthought. Protective goggles shield your eyes from sparks or debris when drilling or cutting materials.
Gloves protect your hands from sharp edges and electrical hazards. Also, consider a dust mask if you’re sanding or working with materials that create fine particles.
- Protective goggles
- Work gloves
- Dust mask
- Non-slip shoes
Have you checked your tool kit lately? Missing one small item can delay your project or cause frustration. Taking a moment to prepare thoroughly will make your chandelier-building experience smoother and more enjoyable.
Designing Your Chandelier
Creating your own chandelier lets you add a personal touch to any room. Choose simple materials and follow easy steps to build a unique light fixture. Experiment with shapes and colors to match your style and space.
Designing your own chandelier is a creative and rewarding process. It allows you to express your personal style. This guide will walk you through the key steps. From sketching your concept to planning the electrical layout, every detail matters. Let’s dive into the essential elements of designing your chandelier.Sketching Your Idea
Start with a rough sketch of your chandelier. Use simple lines and shapes. Consider the overall theme and style. Is it modern, vintage, or rustic? A sketch helps visualize your design. It sets the foundation for the next steps.Determining Size And Scale
Size and scale are crucial. Measure your room’s height and width. Your chandelier should complement the space. Not too big, nor too small. Use this simple guide: For rooms under 10×10 feet, aim for 17-20 inches in diameter. For larger rooms, scale up accordingly. Balance is key.Planning Electrical Layout
Safety first. Plan your chandelier’s electrical layout carefully. Decide on the number of bulbs. Consider energy-efficient options. Choose a central point for hanging. Ensure wiring can support the chandelier’s weight. Consult a professional if needed. Proper planning avoids future issues.Step-by-step Assembly
Creating your own chandelier is a rewarding project that brightens any room. The assembly involves three main tasks. First, you build a sturdy frame. Next, you wire the lights safely. Finally, you attach decorative pieces to add charm. Each step is important for a beautiful, functional chandelier.
Building The Frame
The frame supports the entire chandelier. Use metal or wood for strength. Cut the materials to your desired shape and size. Join pieces securely with screws or welding. Check that the frame is balanced and stable. This step sets the foundation for your chandelier’s design.
Wiring The Lights
Safety is key when wiring lights. Use electrical wire that matches your bulbs’ voltage. Connect wires carefully to the socket holders. Secure all connections with wire nuts or tape. Test the wiring before attaching it to the frame. Proper wiring ensures your chandelier glows safely and brightly.
Attaching Decorative Pieces
Decorative pieces give your chandelier its style. Choose crystals, beads, or metal accents. Attach these with hooks, clips, or glue. Arrange decorations evenly for a balanced look. Take your time to secure each piece firmly. The final touch makes your chandelier unique and eye-catching.
Installing Your Chandelier
Installing your chandelier is the moment when your creativity truly lights up the room—literally. This process requires careful attention to detail and safety to ensure your beautiful fixture hangs perfectly and functions well. Let’s break down the key steps you need to follow to install your chandelier confidently and securely.
Preparing The Installation Site
Start by turning off the power to the room at your circuit breaker. This step is crucial for your safety and prevents any electrical mishaps.
Next, remove any existing light fixture carefully. Check the ceiling box to make sure it can support the weight of your new chandelier. If the box seems flimsy or too small, consider replacing it with a sturdier, properly rated box designed for chandeliers.
Measure the height from the ceiling to where you want the chandelier to hang. This is especially important if you have low ceilings or want the fixture to be a focal point without obstructing views.
Mounting The Fixture Securely
Your chandelier’s mounting bracket must be attached firmly to the ceiling box. Use the screws provided with your fixture, and tighten them securely to prevent any wobbling.
If your chandelier is heavy, you might need extra support like a ceiling joist or a brace bar. A friend helped me hold the fixture steady while I secured it, which made the process much easier and safer.
Once the bracket is secure, hang the chandelier according to the manufacturer’s instructions. Double-check that it’s level before moving on to the wiring.
Connecting To Power Safely
Strip the ends of the wires carefully without damaging the copper inside. Connect the chandelier wires to the corresponding wires in the ceiling—usually black to black (live), white to white (neutral), and green or copper to ground.
Use wire nuts to twist the wires together tightly, then wrap electrical tape around the nuts for extra security. This prevents any loose connections that could cause flickering or shorts.
After connecting the wires, gently tuck them back into the ceiling box. Secure the chandelier’s canopy to cover the wiring and mounting hardware.
Before turning the power back on, double-check all connections and ensure the fixture is firmly mounted. What are you most excited to see glowing from your new chandelier?
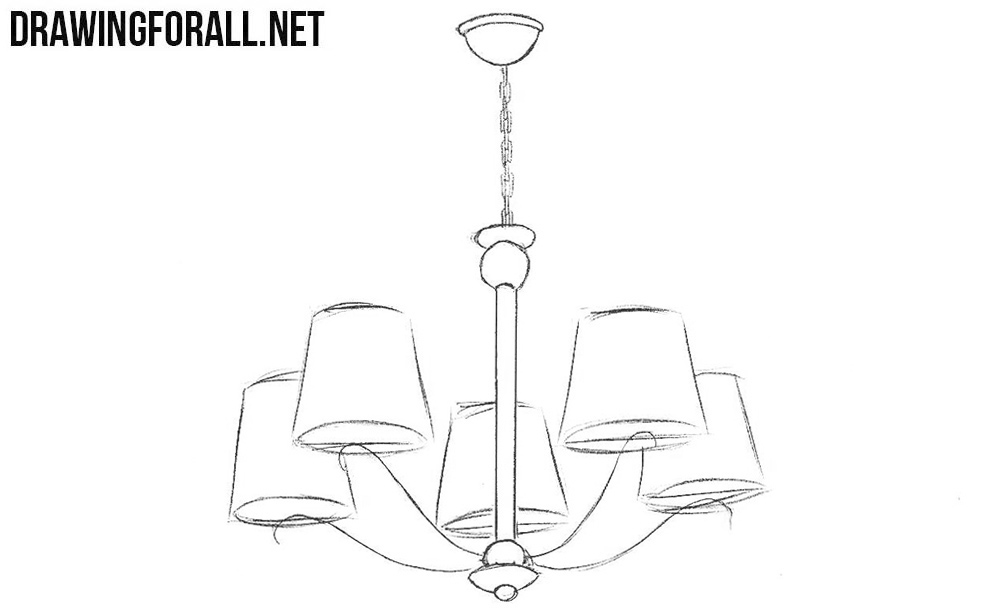
Credit: www.drawingforall.net
Creative Lighting Ideas
Creative lighting ideas can transform a simple chandelier into a stunning centerpiece. Crafting your own chandelier allows you to explore unique styles and personal touches. Experimenting with different materials and designs adds charm and character to your space.
Using Recycled Materials
Recycled items give your chandelier a fresh, eco-friendly look. Old glass bottles, metal scraps, or wooden pieces can be repurposed. These materials create an interesting mix of textures and shapes. Using recycled materials saves money and helps the environment.
Incorporating Natural Elements
Natural elements bring warmth and organic beauty to your chandelier. Twigs, branches, or seashells add a rustic or coastal feel. Dried flowers or pinecones can enhance the design with soft, natural touches. These elements make your chandelier feel cozy and inviting.
Adding Color And Texture
Color and texture make your chandelier stand out. Paint wooden parts in vibrant hues or use colored glass pieces. Wrapping cords in fabric or yarn adds tactile interest. Combining smooth and rough textures creates depth and visual appeal. These simple changes make your chandelier lively and unique.
Maintenance Tips
Keeping your chandelier in good shape takes simple care. Regular maintenance keeps it bright and safe. It also helps your chandelier last longer and look beautiful. Follow these tips to keep your chandelier clean and working well.
Cleaning And Dusting
Dust can dull your chandelier’s shine. Use a soft cloth or feather duster to remove dust. Clean gently to avoid breaking delicate parts. For thorough cleaning, use a mild soap mixed with water. Wipe each piece carefully and dry with a soft cloth. Avoid harsh chemicals that can damage the finish.
Replacing Bulbs
Check bulbs often to keep the light bright. Use the right type and size of bulbs. Turn off the power before changing bulbs for safety. Handle bulbs with a cloth or gloves to avoid fingerprints. Replace all bulbs at the same time for even light.
Checking Electrical Safety
Inspect wires and connections regularly for damage. Look for loose or frayed wires and fix them quickly. Make sure the chandelier is firmly attached to the ceiling. Turn off power before any electrical checks. Call a professional electrician if unsure about safety issues.

Credit: www.hangoutlighting.com
Frequently Asked Questions
What Materials Do I Need To Make A Chandelier?
To make a chandelier, gather materials like a sturdy frame, light bulbs, wiring, chain, and decorative elements. Choose materials that match your style and ensure safety. Quality components help create a durable, beautiful chandelier for your home or space.
How Do I Safely Wire A Diy Chandelier?
Turn off power before wiring. Use proper connectors and follow wiring diagrams carefully. Ensure wires are insulated and secure. If unsure, consult an electrician to avoid hazards. Safe wiring prevents electrical issues and ensures your chandelier works reliably.
Can I Customize The Chandelier Design Easily?
Yes, customizing is simple by choosing different frames, bulbs, and decorations. Use unique materials like crystals, beads, or recycled items for a personal touch. Custom designs reflect your style and make your chandelier one-of-a-kind.
How Much Time Does Making A Chandelier Take?
Making a chandelier typically takes 3 to 6 hours. Time varies with design complexity and skill level. Planning and preparation speed up the process. Taking your time ensures quality and safety in your finished piece.
Conclusion
Making your own chandelier brings style and charm to any room. It saves money and lets you add a personal touch. You can choose colors, shapes, and lights that fit your space. The process is fun and gives a sense of pride.
Start with simple steps and enjoy the creative journey. Your handmade chandelier will shine bright and impress guests. Give it a try and brighten your home uniquely.


