
Are you looking for a cozy, stylish addition to your living space that you can create yourself? Making your own pouf floor cushion is easier than you think, and it’s a perfect way to add comfort and personality to any room.
Imagine sinking into a soft, custom-made pouf that fits your style and size perfectly. In this guide, you’ll discover simple steps and helpful tips to craft your own pouf from scratch. By the end, you’ll have a unique, handmade piece that invites relaxation and impresses your guests.
Ready to transform your home with a project you’ll love? Let’s get started!
Materials Needed
Gathering the right materials sets the foundation for creating a pouf floor cushion that’s both comfy and stylish. Choosing the best fabric, filling, and tools will make your sewing experience smoother and your pouf more durable. Let’s break down what you’ll need to get started.
Fabric Choices
Your fabric determines the look and feel of your pouf. Durable options like canvas, denim, or upholstery fabric work well because they handle wear and tear. Soft cotton or linen can be cozy but might need a lining for extra strength.
Think about where you’ll use your pouf. Will it sit in a high-traffic area or a quiet reading nook? This helps you decide between sturdier or softer materials. Also, consider patterns and colors that match your room’s style.
Filling Options
The filling affects how your pouf feels when you sit on it. Common fillers include polyester stuffing, foam beads, or recycled fabric scraps. Polyester stuffing is easy to work with and provides good support.
If you want a firmer pouf, foam beads are a solid choice because they mold to your shape but keep their form. Do you prefer eco-friendly options? Old clothes or fabric scraps can be an excellent sustainable filler.
Tools Required
Having the right tools makes your project more enjoyable and efficient. You’ll need a sewing machine for quick stitching, but hand sewing needles work if you prefer a slower pace.
Other essentials include sharp fabric scissors, pins or clips to hold pieces together, a measuring tape for accuracy, and a fabric marker or chalk to mark your cutting lines. Don’t forget a zipper or buttons if you want your pouf cover to be removable.

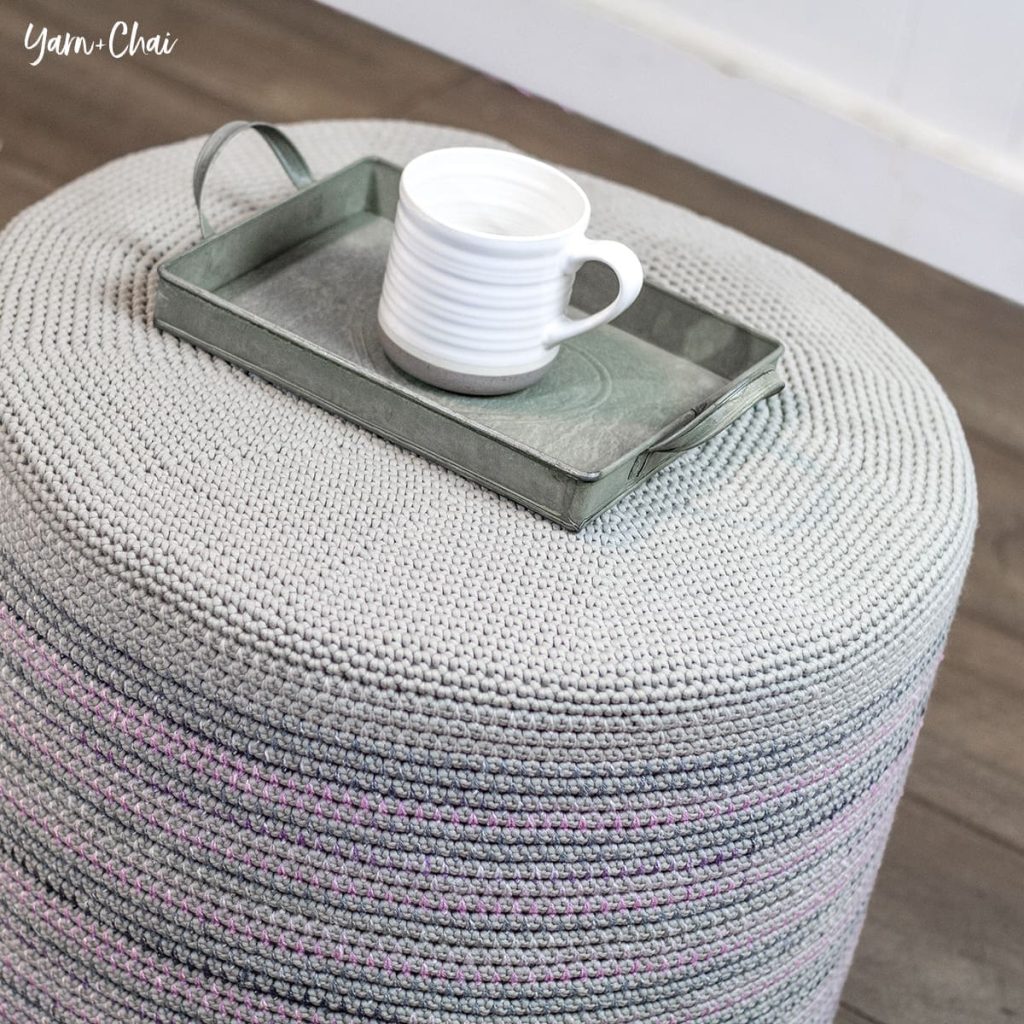
Credit: makezine.com
Measuring And Cutting Fabric
Measuring and cutting fabric is a key step in making your own pouf floor cushion. Accurate measurements ensure the fabric fits perfectly. Cutting neatly helps create a clean, professional look. Taking time here saves effort later.
Determining Size
Decide how big your pouf will be. Common sizes range from 16 to 24 inches in diameter. Consider the height too; 12 to 18 inches works well. Write down your chosen measurements clearly. Remember to add extra fabric for seams, about 1 inch on all sides.
Marking Fabric
Lay the fabric flat on a smooth surface. Use a ruler and fabric chalk or a washable marker. Draw the shape according to your measurements. For round poufs, use a string tied to a pencil to draw a perfect circle. Mark seam allowances carefully to avoid mistakes.
Cutting Tips
- Use sharp fabric scissors for clean cuts.
- Cut slowly along the marked lines to stay accurate.
- Keep the fabric flat and avoid shifting while cutting.
- Cut one piece at a time unless fabric is folded evenly.
Sewing The Pouf Panels
Cut fabric panels carefully, aligning edges for a neat finish. Sew panels together using a strong stitch to form the pouf shape. Ensure seams are tight to hold stuffing securely inside.
Sewing the panels of your pouf floor cushion is where your project truly starts to take shape. This stage is both exciting and crucial to ensure your pouf looks and feels just right. Whether you’re a sewing novice or a seasoned pro, focusing on precise panel construction will make all the difference.Stitching Techniques
Choosing the right stitching technique can enhance both the durability and aesthetics of your pouf. A simple straight stitch is often recommended for beginners. It’s easy to manage and works well for most fabric types. For those who are more experienced, a zigzag stitch can add a decorative element and provide extra strength. Remember to test your stitch on a small fabric piece first. This ensures your tension is set correctly and your stitches are even.Creating Seams
Creating sturdy seams is essential to maintain the shape and longevity of your pouf. Align your fabric panels carefully before sewing to prevent any misalignment. Use pins or fabric clips to hold the panels in place as you sew. Seam allowances are key. Typically, a ½ inch seam allowance is sufficient, but adjust according to your fabric’s thickness. Pressing the seams open with an iron afterward will give your pouf a polished look.Leaving An Opening
An often overlooked but critical step is leaving an opening for stuffing. Decide on an unobtrusive spot, usually on the bottom panel. Leave about a 6-inch gap for easy stuffing access. Make sure the opening is securely stitched on either side to prevent tearing. Once the pouf is stuffed to your desired firmness, you’ll need to hand sew this gap closed. A slip stitch works well for an invisible finish. Creating your own pouf is not just about sewing—it’s about crafting something personal and unique. What will your pouf say about you?Assembling The Pouf
Assembling your pouf is where all your careful cutting and sewing come together. This stage requires attention to detail and patience, but it’s also the most rewarding part of the process. You’ll see the shape begin to take form, turning your fabric panels into a cozy floor cushion ready to enhance your living space.
Attaching Panels
Start by aligning the fabric panels with their edges matching perfectly. Use pins or clips to hold them in place—this prevents shifting while you sew. Sewing panels together slowly ensures straight seams and reduces puckering.
Think about the direction of the fabric pattern or nap before sewing. Have you ever noticed how fabric can look different depending on how it’s sewn? Aligning patterns carefully gives your pouf a polished, professional look.
Use a sturdy stitch, like a straight stitch, and sew with a slightly longer stitch length for durability. Don’t forget to backstitch at the beginning and end to lock the seams securely.
Reinforcing Edges
Edges take the most stress, especially on a floor cushion that will get a lot of use. Reinforce them by sewing a second seam parallel to the first one. This double stitching strengthens the joints and prevents fraying over time.
Adding fabric binding or bias tape on the edges can also boost durability. It creates a clean finish and protects the seams from wear and tear. Have you tried this on other projects? It’s a simple step that makes a big difference.
Take your time here—it’s worth the effort. A well-reinforced pouf will hold its shape and last much longer, saving you from repairs down the road.
Filling The Pouf
Filling the pouf is a key step in making a comfortable floor cushion. The filling affects how soft or firm the pouf feels. It also influences the shape and durability. Choosing the right material and stuffing it well can make your pouf last longer and look great.
Choosing The Right Filling
Many materials work well for pouf filling. Consider these popular options:
- Polyester fiberfill – soft and lightweight
- Foam pieces – firm and supportive
- Old clothes or fabric scraps – eco-friendly and cheap
- Bean bag pellets – flexible and moldable
- Natural fillers like wool or cotton – breathable and sustainable
Soft fillings create a plush pouf but may lose shape quickly. Firmer fillings hold shape but feel less cushy. Choose based on your comfort and style needs.
Stuffing Tips
Fill the pouf evenly for a smooth look. Stuff small amounts at a time and press down. This avoids lumps and gaps inside.
Leave some space so the pouf stays flexible. Overstuffing makes it hard and less cozy.
Check the shape often. Adjust filling to keep sides even and balanced. Use your hands to smooth out bumps.
For a firmer pouf, compress the filling tightly. For softer, pack loosely but fully.
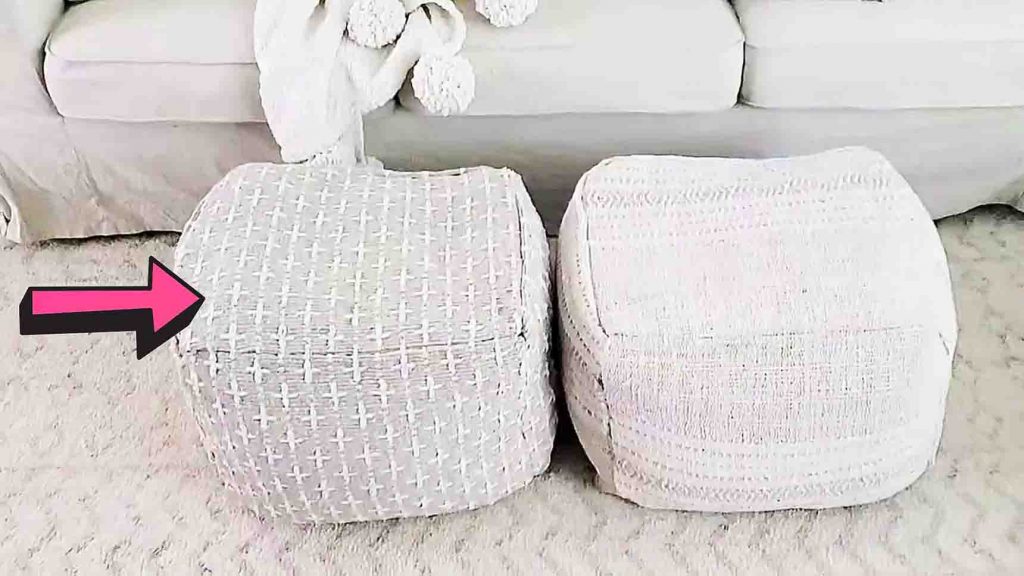
Credit: www.reasonstoskipthehousework.com
Closing The Pouf
Closing the pouf is the final step in making your floor cushion. It holds the stuffing inside and gives the pouf its shape. A neat finish ensures the pouf looks good and lasts long. Take your time to sew the opening carefully. This step adds durability and style to your handmade pouf.
Hand Sewing The Opening
Use a strong needle and thread that matches your fabric color. Thread the needle and tie a knot at the end. Hold the edges of the opening together with your fingers. Use small, even stitches to sew the opening shut. A ladder stitch works well for an invisible seam.
- Start from one corner of the opening.
- Insert the needle into the fabric edge and pull through.
- Pick up a small bit of fabric on the opposite side.
- Keep stitching back and forth along the opening.
- Pull the thread gently to close the seam without puckering.
- Finish by tying a secure knot inside the seam.
Finishing Touches
Trim any loose threads carefully to keep the pouf tidy. Check the seam for gaps or weak spots. Add extra stitches if needed for strength. Fluff the pouf by pressing and shaping it with your hands. Place it in your favorite room and enjoy your cozy, handmade pouf floor cushion.
Customizing Your Pouf
Customizing your pouf makes it truly yours. It lets you match your room’s style perfectly. Personal touches turn a simple pouf into a unique piece. You can choose colors, shapes, and designs that fit your taste. This part is fun and lets your creativity shine. Explore ways to add patterns and decorative elements below.
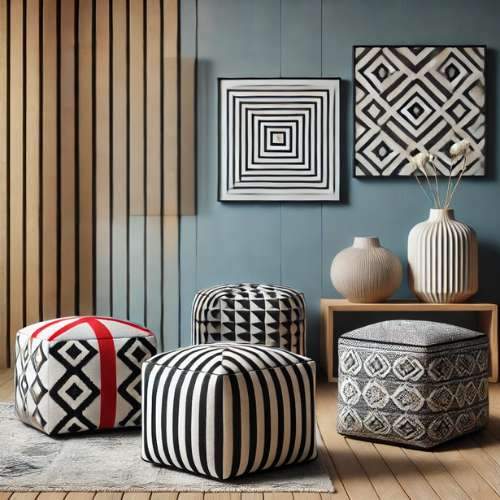
Adding Patterns
Patterns bring life and texture to your pouf. You can use fabric paint or stamps to create shapes and designs. Simple dots, stripes, or geometric shapes work well. Try stenciling for clean and sharp lines. Use contrasting colors for a bold look or soft tones for a gentle feel.
Another idea is to sew patchwork pieces together. Mix different fabrics to get a playful or cozy style. Patterns do not have to be perfect. Handmade touches give charm and character. Let your imagination guide you.
Using Decorative Elements
Decorative elements add charm and detail to your pouf. Consider sewing on buttons or beads for texture. Tassels or pom-poms on the edges create a fun look. Use ribbons or lace for a delicate touch. You can also attach fabric flowers or patches.
Try mixing elements to make your pouf stand out. Keep decorations secure to avoid wear and tear. Small details make your pouf special and inviting. Enjoy the process and create a cozy spot for your space.
Credit: diyjoy.com
Care And Maintenance
Taking good care of your pouf floor cushion keeps it comfortable and fresh. Regular cleaning and quick repairs help it last longer. Simple maintenance saves money and effort in the long run.
Cleaning Tips
Vacuum the pouf regularly to remove dust and dirt. Use a soft brush attachment to protect the fabric. For small spills, blot the area gently with a clean cloth. Avoid rubbing to prevent stains from spreading.
Use mild soap and water for spot cleaning. Test any cleaner on a hidden area first. Let the pouf air dry completely before using it again. Keep the pouf out of direct sunlight to avoid fading.
Repairing Small Damages
Fix small tears or holes quickly to stop them from growing. Use fabric glue or a needle and thread for minor repairs. Match the thread color to keep the fix discreet.
For loose seams, sew them back carefully. Check the stuffing inside and add more if the pouf feels flat. Regular checks help keep your pouf looking neat and comfortable.
Frequently Asked Questions
What Materials Do I Need For A Pouf Floor Cushion?
You need fabric, stuffing like polyester or foam, thread, scissors, and a sewing machine. Optional tools include a zipper and measuring tape. Choose durable fabric for longevity and comfort.
How Long Does It Take To Make A Pouf Cushion?
Making a pouf cushion typically takes 2 to 4 hours. Time varies based on sewing skills and design complexity. Beginners may take longer, while experienced crafters finish faster.
Can I Customize The Size And Shape Of My Pouf?
Yes, you can customize both size and shape. Measure your space and cut fabric accordingly. Popular shapes include round, square, and cylindrical poufs.
How Do I Stuff The Pouf Evenly?
Stuff the pouf gradually and distribute stuffing evenly. Use small amounts at a time, pressing firmly to avoid lumps. Adjust stuffing for desired firmness and shape retention.
Conclusion
Creating your own pouf floor cushion adds comfort and style to any room. It saves money and lets you choose colors and fabrics you like. The steps are simple and fun to follow. A handmade pouf can fit small spaces perfectly.
It also makes a great gift for friends or family. Try making one today and enjoy a cozy, personal touch in your home.


