
Are you ready to transform your blank tapestry into a stunning work of art? Painting a large tapestry might seem overwhelming at first, but with the right approach, you can create something truly unique that reflects your style.
This guide will walk you through simple, clear steps to help you paint your tapestry with confidence. By the end, you’ll have the skills to bring your creative vision to life on a grand scale. Keep reading—your masterpiece is just a few brushstrokes away.
Choosing The Right Materials
Choosing the right materials is key to painting a large tapestry successfully. The fabric, paint, and tools must work well together. This ensures your artwork looks vibrant and lasts long.
Selecting Fabric For Tapestry
Choose a fabric that holds paint well and is easy to handle. Cotton and linen are popular choices. They absorb paint evenly and have a smooth texture. Avoid fabrics that are too thin or too stretchy. A sturdy canvas or heavy cotton blend works best for large tapestries.
Picking Suitable Paints
Use paints designed for fabric to avoid cracking or fading. Acrylic fabric paint is a common choice. It dries fast and stays flexible. Fabric dyes also work but require more skill. Test paint samples on your fabric before starting. This helps check color brightness and absorption.
Essential Tools And Supplies
- Wide brushes for covering large areas quickly
- Smaller brushes for details and fine lines
- Paint palettes to mix colors smoothly
- Water containers for cleaning brushes
- Protective gloves to keep hands clean
- Drop cloth or plastic sheet to protect surfaces
Having the right tools makes the painting process easier and more enjoyable. Prepare your workspace well to avoid mess and damage.
Preparing The Canvas
Preparing your canvas is the foundation of a successful tapestry painting. Without a properly prepared surface, your paint won’t adhere well, and the final artwork may lose its vibrancy and durability. Taking time to clean, stretch, and prime the fabric ensures your tapestry will look stunning for years to come.
Cleaning And Stretching Fabric
Start by cleaning your fabric to remove any dust, oils, or sizing that might block the paint. A gentle wash with mild soap and cold water usually does the trick. After washing, let the fabric dry flat to avoid wrinkles that can distort your design.
Stretching the fabric tightly on a frame is crucial. This prevents sagging and gives you a smooth surface to work on. Use canvas pliers or strong clips to pull the fabric evenly on all sides, and staple it securely to a wooden stretcher frame.
Applying A Base Coat
Applying a base coat, or primer, prepares the surface to hold paint better and prevents colors from soaking in unevenly. Acrylic gesso is a popular choice that provides a slightly textured, absorbent surface.
Apply the base coat in thin, even layers with a wide brush or roller. Let each layer dry completely before adding the next. This step can transform your tapestry by enhancing color brightness and paint adhesion.
Setting Up A Workspace
Your workspace should be spacious enough to handle the large size of the tapestry without crowding. Clear the area to avoid accidental damage and ensure you can move freely around the fabric.
Good lighting is essential. Natural daylight works best to see true colors, but adjustable LED lamps also help during evening sessions. Keep your paints, brushes, and water close by to maintain focus and momentum.
Design Planning
Design planning sets the foundation for your large tapestry painting. Without a clear plan, you risk wasting time and materials. Taking time to organize your ideas can make the entire process smoother and more enjoyable.
Sketching Your Concept
Start by sketching your ideas on paper or digitally. These rough drafts don’t need to be perfect; they help you visualize the composition and layout. Try different angles and arrangements until something feels right.
Sketching allows you to spot potential problems early. If a section looks too crowded or empty, you can adjust before you start painting. Have you ever jumped into a project without a plan and wished you had a roadmap?
Transferring The Design
Once your sketch is ready, transfer it onto the tapestry fabric. You can use light pencil marks, a grid system, or tracing paper to keep proportions accurate. Make sure the lines are faint enough to blend with your paint.
Take your time here—mistakes in transfer can be frustrating later. Using chalk or washable markers works well if you want an easy way to correct errors. What tools do you find easiest to work with when moving a design to a large surface?
Choosing A Color Palette
Pick a color palette that fits your theme and the room where the tapestry will hang. Limit your colors to create harmony, but don’t be afraid to add one or two bold shades for contrast. You can test colors on a small fabric piece before committing.
Consider how colors change under different lighting. Natural light and artificial light can alter the look of your tapestry. What colors excite you but also feel manageable to work with on a large scale?
Credit: www.cheriekay.com
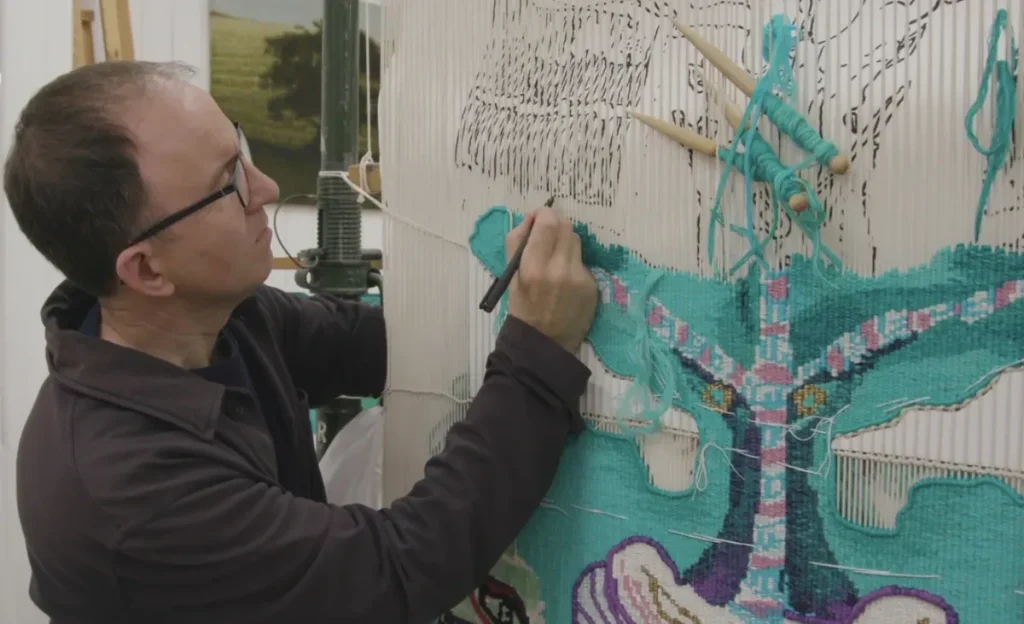
Painting Techniques
Painting a large tapestry requires more than just slapping on colors. The right techniques can bring your fabric to life and make your artwork stand out. Let’s dive into some essential painting methods that help you achieve depth, richness, and detail on such a grand scale.
Layering Paints
Start with thin layers of paint instead of one thick coat. This approach helps the fabric absorb paint evenly and prevents cracking as it dries. You’ll notice that layering builds a more vibrant and complex color than a single heavy application.
Allow each layer to dry before adding the next. This pause lets you control the intensity and avoid muddy colors. Have you tried waiting between layers? It can transform your tapestry’s look entirely.
Blending And Shading
Blending colors smoothly on a large surface can be tricky but rewarding. Use a soft brush or a sponge to merge shades gently while the paint is still wet. This technique adds dimension and makes your artwork feel more dynamic.
Shading is key to creating depth. Think about where your light source is and darken the opposite areas. You’ll find your tapestry gains a three-dimensional effect that draws viewers in.
Adding Details And Textures
Details make your tapestry unique. Use smaller brushes or even tools like palette knives to add intricate patterns or highlights. Textures can be built by dabbing or stippling paint in certain areas.
Experiment with different strokes and materials to create tactile interest. Have you tried mixing mediums or layering different paint consistencies? These small touches can make your tapestry truly one of a kind.
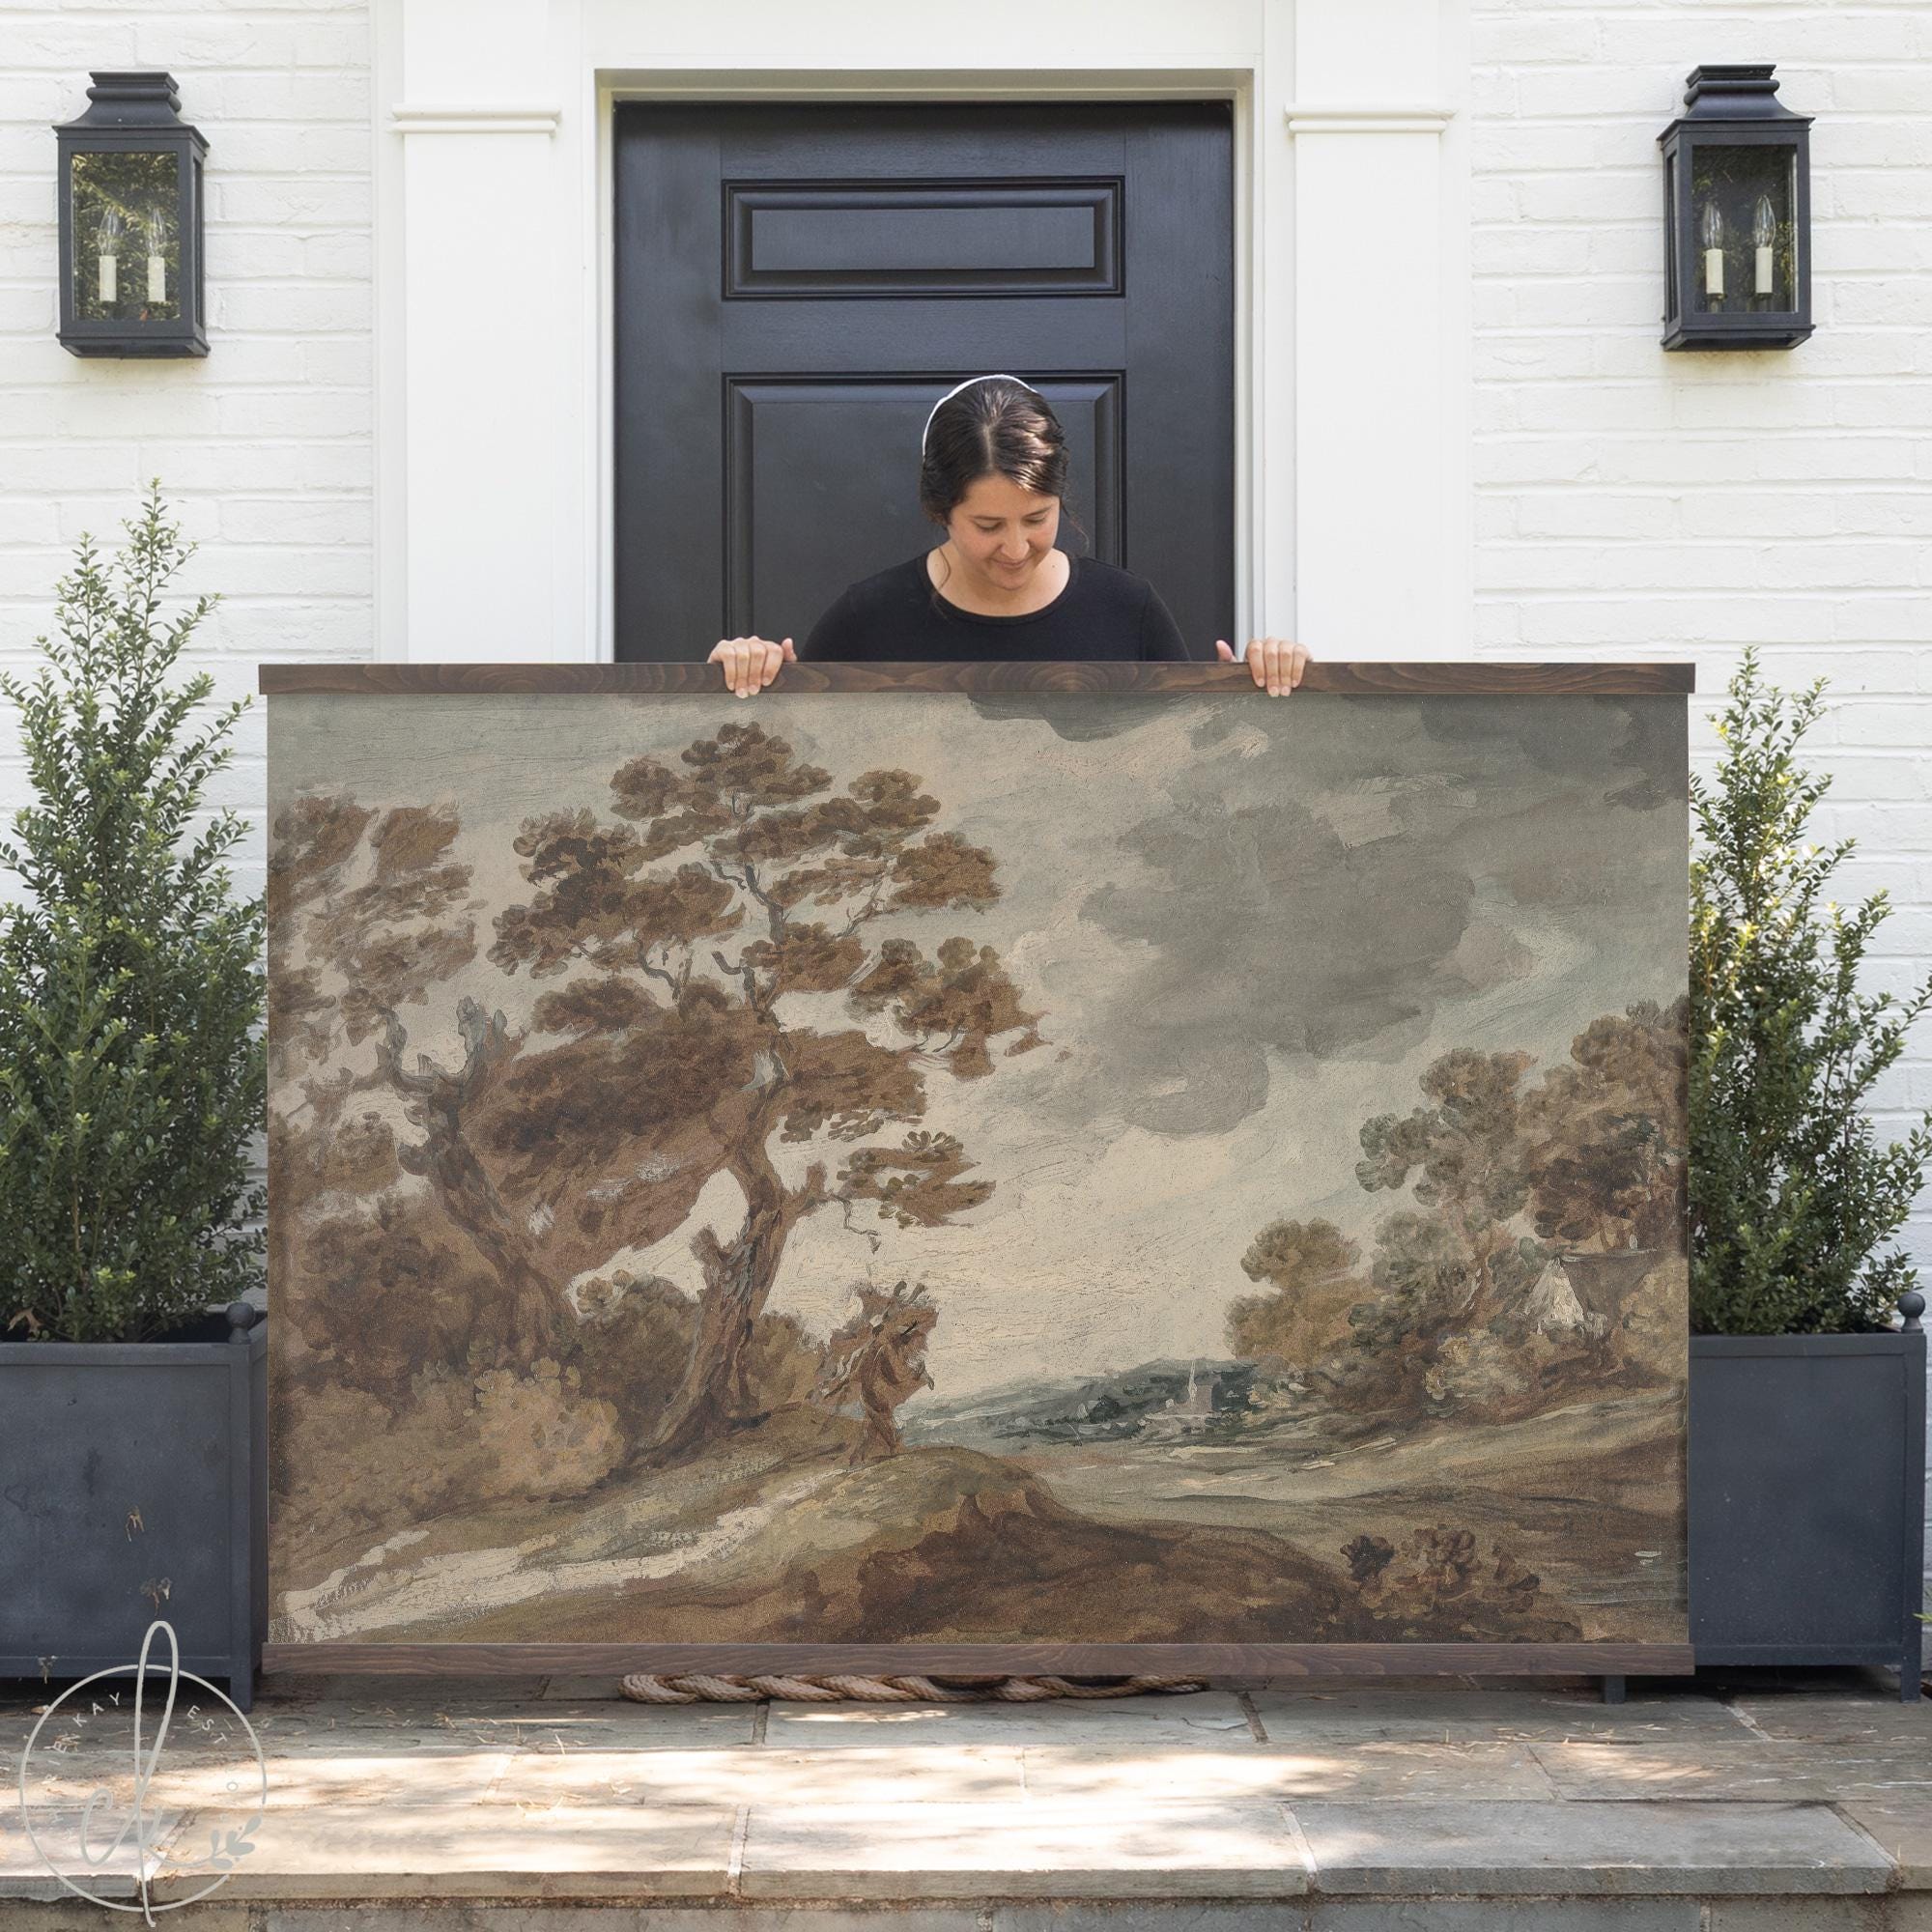
Drying And Finishing
Allow the tapestry to dry flat to avoid wrinkles or paint cracks. Use a light touch to apply a protective finish that seals the paint and enhances colors. Proper drying and finishing extend the life of your artwork.
Transforming your creative vision into a large tapestry is an exhilarating journey, but the final steps of drying and finishing are crucial to preserve your masterpiece. These stages not only ensure the longevity of your artwork but also enhance its visual appeal. Let’s dive into the essential methods for drying, sealing, and displaying your tapestry effectively.Proper Drying Methods
After the final brushstroke, the drying phase begins. Ensure your tapestry is laid flat in a well-ventilated area. This prevents unwanted folds or creases from forming while the paint cures. If space is an issue, consider hanging it vertically. Use clothespins or clips that won’t damage the fabric. A gentle breeze from a fan can speed up the drying process, but avoid direct heat sources that might warp or fade the colors.Sealing The Artwork
Sealing your tapestry is like applying a protective shield. It guards against dust, UV rays, and moisture. Choose a sealant that’s compatible with your paint type—acrylic or fabric-specific spray sealers are popular options. Test the sealant on a small, inconspicuous area first. This ensures it won’t alter the color or texture of your art. Apply the sealant in thin, even layers, allowing each to dry fully before applying the next.Mounting And Display Tips
Mounting your tapestry can transform it from a simple art piece into a striking focal point. Consider stretching it over a wooden frame for a clean, gallery-style look. Alternatively, fabric tapestries can be hung using a rod and sleeve method, which allows for easy changes and adjustments. Think about the space where you’ll display your tapestry. Does it have ample natural light without direct sun exposure? The right lighting can elevate the artwork, highlighting the textures and colors beautifully. By following these practical steps, you can ensure your tapestry not only captivates but also stands the test of time. What unique touches will you add to your display to make your art truly shine?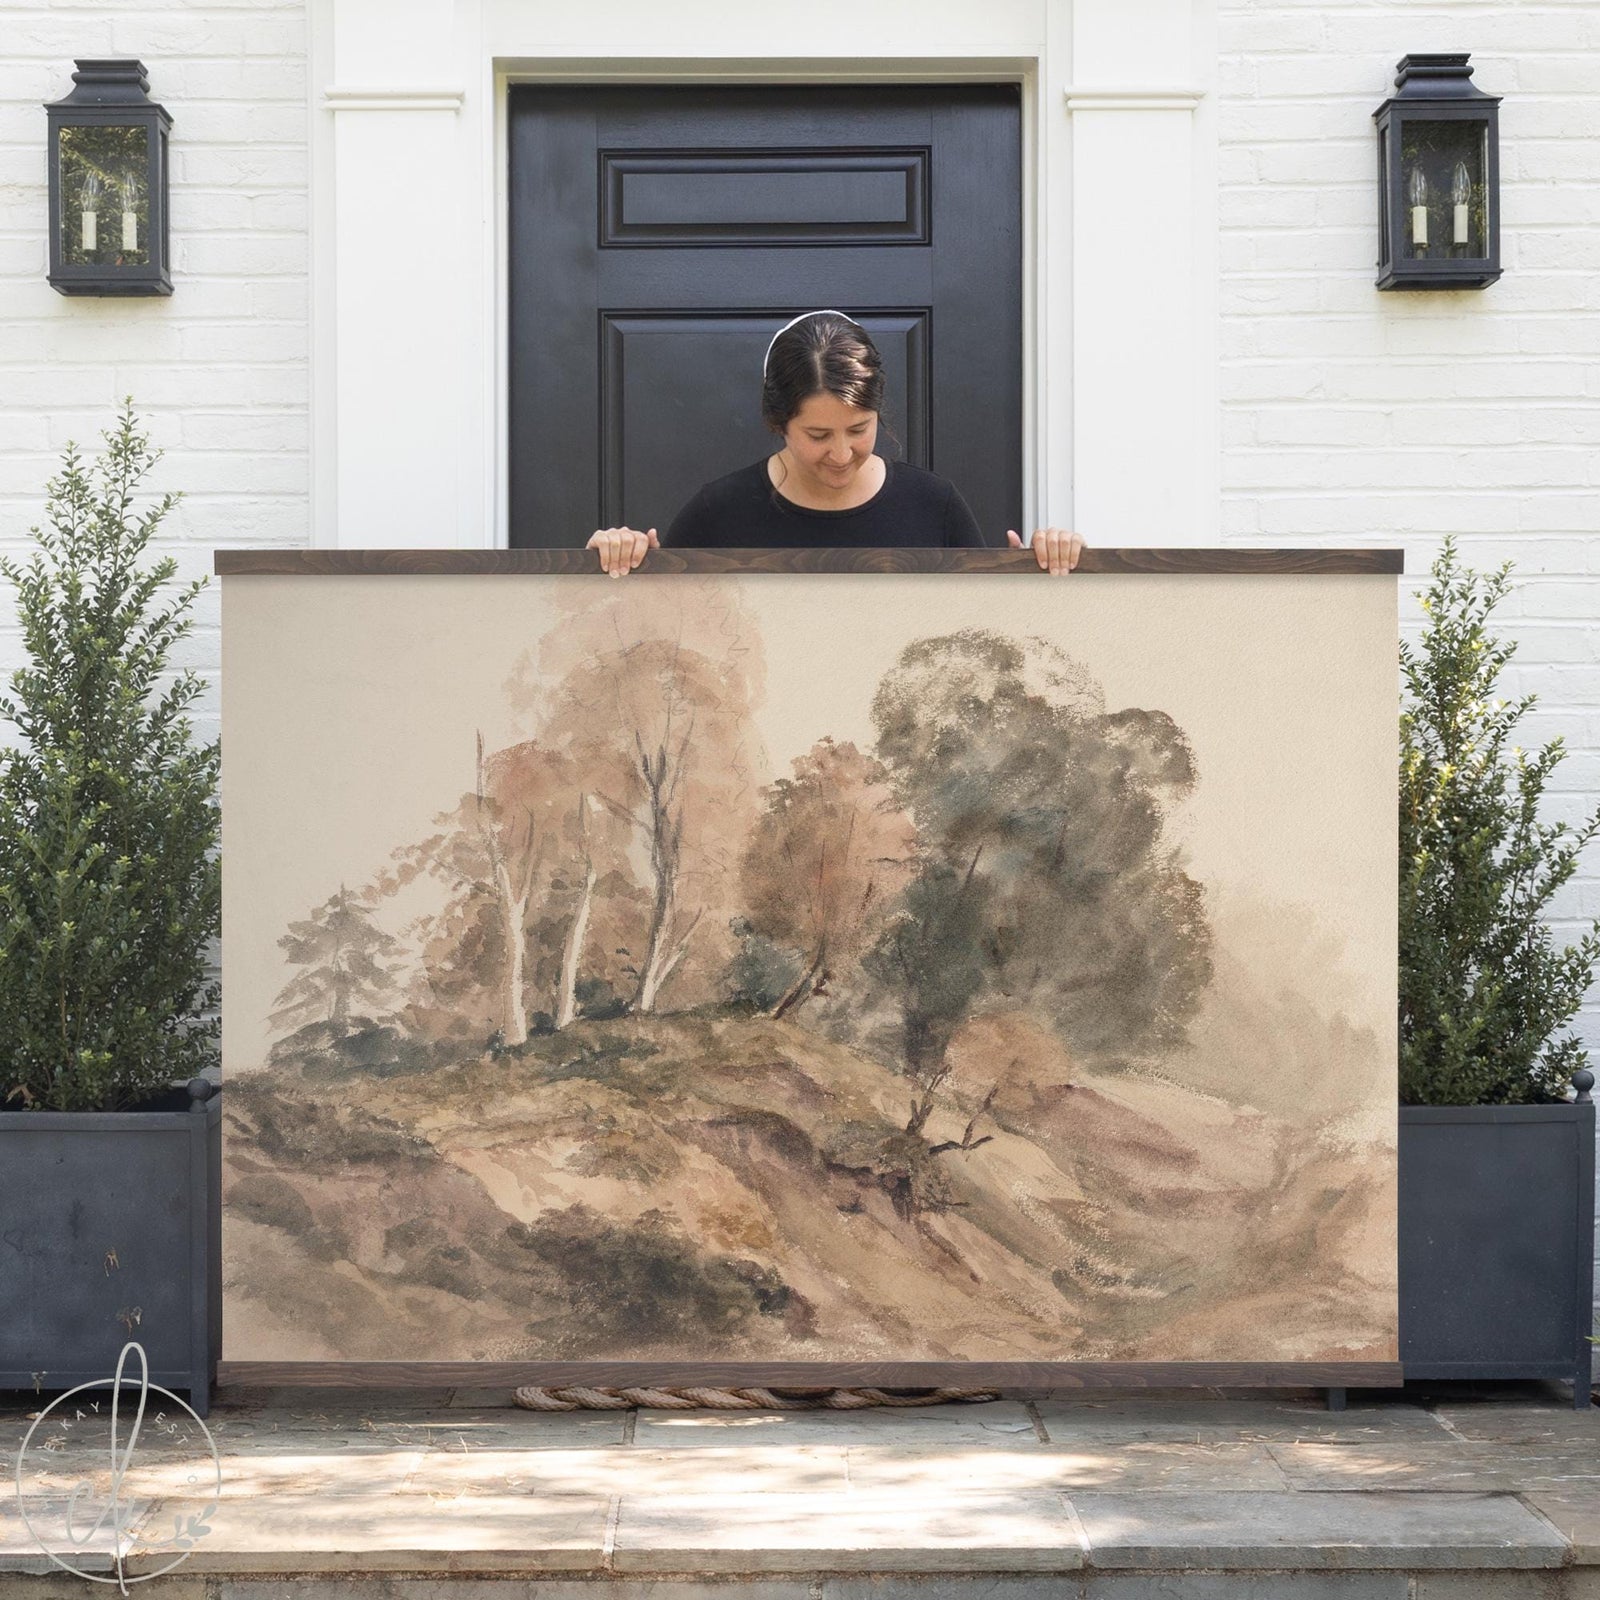
Credit: www.cheriekay.com
Troubleshooting Common Issues
Painting a large tapestry can present several challenges. Small mistakes may seem big on such a large surface. Fixing issues quickly helps keep your project on track. Address common problems with easy solutions. This saves time and avoids frustration.
Fixing Paint Smudges
Paint smudges can spoil your design. Act fast to prevent the paint from drying. Dab gently with a clean, damp cloth to lift the smudge. Avoid rubbing to stop spreading the paint.
If the paint is dry, use a small brush with matching color. Carefully paint over the smudge to blend it. Let it dry fully before continuing your work.
Dealing With Fabric Wrinkles
Wrinkles disrupt your painting surface and design flow. Stretch the tapestry tightly on a frame or flat surface. Use fabric weights or clips to hold it in place.
Iron the fabric on low heat before painting. Place a cloth between iron and tapestry to avoid damage. Smooth fabric ensures even paint application and sharp details.
Correcting Color Mistakes
Color errors can happen even with careful planning. Wait for the paint to dry before fixing colors. Use a damp cloth to remove wet paint gently.
For dry paint, paint over the mistake with a base color or white. Let it dry, then repaint the correct color on top. Multiple layers may be needed for full coverage.

Credit: kspoeringtapestries.blogspot.com
Frequently Asked Questions
What Materials Are Needed To Paint A Large Tapestry?
You need fabric paint, brushes, a large workspace, and a clean tapestry. Prepare the surface by washing and drying it first. Use fabric-friendly paints to ensure durability and vibrant colors.
How Do I Prepare A Large Tapestry For Painting?
Start by washing the tapestry to remove dirt and sizing. Let it dry completely. Secure it on a flat surface or frame to avoid movement while painting. This ensures smooth and even application.
What Painting Techniques Work Best On Large Tapestries?
Use broad strokes for base layers and fine brushes for details. Layer colors gradually to avoid paint bleeding. Experiment with sponges or stencils for texture and patterns to enhance the design.
How Can I Prevent Paint From Cracking On Tapestries?
Choose flexible fabric paints and apply thin layers. Allow each layer to dry completely before adding the next. Avoid overloading the fabric with paint to maintain flexibility and prevent cracking.
Conclusion
Painting a large tapestry can be a fun and creative task. Start with a clear plan and choose the right materials. Work in small sections to keep your design neat. Take breaks to avoid mistakes and stay fresh. Don’t rush; patience brings better results.
Enjoy the process and watch your tapestry come alive with color. With practice, your skills will improve. Keep experimenting and learning with each new project. Your unique artwork will brighten any space.


