
Have you ever wanted to add a personal touch to your walls without spending a fortune? Printing your own wall stickers is easier than you think, and it gives you full control over the design, size, and style.
Imagine creating unique decorations that match your taste perfectly, all from the comfort of your home. In this guide, you’ll discover simple steps and insider tips to help you print wall stickers that look professional and last long. Keep reading, and you’ll be ready to transform your space with your own custom designs.
Choosing The Right Design
Choosing the right design for your wall stickers is key to making your space truly yours. The design sets the mood and reflects your personality, so it’s important to pick something that feels right. Think about what you want your walls to say about you before you start printing.
Finding Inspiration
Look around your home, favorite places, or even online galleries to spark ideas. You might find inspiration in nature, abstract art, or patterns that catch your eye during a walk. Don’t hesitate to mix styles or colors that you love—your wall sticker should be a reflection of your unique taste.
Ask yourself: What kind of vibe do I want to create? Cozy and warm, bold and energetic, or calm and minimal? Your answer will guide your design choices and help narrow down options.
Selecting Image Resolution
High-quality images make a huge difference in the final look of your stickers. Always choose images with a resolution of at least 300 DPI (dots per inch) to avoid blurry or pixelated prints. Low-resolution images might seem fine on screen but will lose sharpness when enlarged.
If you’re using photos or artwork from the web, check the image size and quality before printing. You can also use free tools online to check or increase image resolution if needed. Remember, crisp and clear images will make your stickers pop off the wall.
Considering Sticker Size
Think about the space where you’ll place the sticker before deciding its size. A large sticker can become a striking focal point, while smaller ones might work better as accents or in groups. Measure your wall area and visualize how the sticker will fit to avoid surprises.
Also, consider the details in your design—a very intricate design might lose impact if shrunk too small. Balancing size and detail ensures your sticker looks great from a distance and up close.
Gathering Materials
Before you start printing your own wall stickers, gathering the right materials is crucial. Having everything ready ensures your design comes out crisp and sticks well to your walls. Let’s look at what you need to get started and how to choose the best options for your project.
Types Of Printable Sticker Paper
Sticker paper comes in several types, each suited for different looks and surfaces. Matte sticker paper offers a smooth, non-glossy finish that works well for a subtle, modern vibe. Glossy sticker paper gives a shiny, vibrant look that can make colors pop, perfect for playful or colorful designs.
There’s also clear sticker paper, which lets your wall color show through parts of your design. If you want your stickers to last outside or in humid areas, waterproof or vinyl sticker paper is the way to go. Think about where you’ll place your stickers and how durable they need to be.
Essential Tools And Supplies
Besides sticker paper, you’ll need a few basic tools to print and cut your stickers neatly. Sharp scissors or a craft knife help you get clean edges. A cutting mat protects your surfaces and makes trimming safer.
Consider having a ruler for straight cuts and a squeegee or credit card to smooth out air bubbles when applying the stickers. Don’t forget some paper towels and rubbing alcohol to clean the wall surface before sticking your designs. These small steps can make a big difference in the final look.
Printer Compatibility
Your printer choice affects the quality and durability of your wall stickers. Inkjet printers are great for vibrant colors and detailed images, but their prints may smudge if not waterproofed. Laser printers offer sharper text and better durability, but they might not handle some types of sticker paper well.
Check your printer’s manual to see which sticker papers are compatible. Some papers specify if they work only with inkjet or laser printers. Have you tested your printer with different papers before? This quick experiment can save you from wasted materials and frustration.
Preparing Your Design
Choose a clear design that fits your wall space well. Use simple shapes and bright colors for better printing results. Check the size and resolution to ensure sharp, clean images before printing.
Preparing Your Design Creating your own wall stickers is an exciting way to personalize your space. A key step in this creative journey is preparing your design. This ensures that the final product not only looks great but fits perfectly on your wall. Before diving into the design process, consider what theme or style you want. Do you want something modern, vintage, or playful? Once you have a theme in mind, it’s time to jump into the technical aspects of designing.Editing And Resizing Images
Editing and resizing images are crucial steps in the preparation process. Start by selecting high-resolution images to ensure clarity when printed. If your images are too small, they might look pixelated when enlarged. Use simple online tools or apps to crop and resize your images to the desired dimensions. A personal trick I use is testing different sizes on the wall with paper cutouts. It helps visualize the final outcome and ensures your design fits perfectly.Using Design Software
Design software can be your best friend in creating stunning wall stickers. Tools like Adobe Illustrator, Canva, or even free alternatives like GIMP offer powerful features for customization. They allow you to layer images, add text, and experiment with colors. These platforms often have templates, making it easier for beginners to start. Remember, even if you’re not tech-savvy, many online tutorials can guide you step-by-step.Setting Print Margins
Setting the right print margins is essential to avoid any unexpected cut-offs. Check your printer settings to adjust the margins according to your design’s size. Print a test page first to see how the design fits on paper. This simple step can save you from wasting resources and ensure that every detail of your design is captured beautifully.Printing Wall Stickers
Printing wall stickers at home lets you create custom designs easily. It saves money and gives full control over style and size. Quality printing is key to make stickers look sharp and last long.
Choose the right printer and settings for clear images and vibrant colors. Use proper paper and protect prints after printing. Small details make big differences in final results.
Printer Settings For Best Quality
Select the highest print resolution available on your printer. Set the paper type to “photo” or “glossy” for better ink absorption. Choose color mode as “photo” for richer colors. Disable any draft or economy modes to keep prints sharp. Use the printer’s manual feed tray for sticker paper.
Test Printing Tips
Always print a small test page before the full design. Check color accuracy and sharpness carefully. Adjust brightness or contrast if needed. Test on the same sticker paper you plan to use. This helps avoid wasting expensive materials.
Handling Printouts
Let the print dry completely before touching. Avoid smudging by handling edges only. Use a clear laminate or spray to protect the print. Cut carefully with a sharp blade or scissors. Store unused sheets flat in a dry place.
Cutting And Finishing
Cutting and finishing your wall stickers are crucial steps that determine the final look and durability of your creation. Precision in cutting ensures your design stands out sharply on the wall, while the right finishing touches protect the sticker and keep it looking fresh for longer. Let’s dive into practical ways to get these steps just right.
Cutting Techniques
Choosing the right cutting technique depends on your tools and the complexity of your design. For simple shapes, a sharp craft knife or scissors can do the job well. Take your time to cut slowly and steadily to avoid jagged edges.
If your design has intricate details, consider using a cutting mat underneath to protect surfaces and improve accuracy. Always test your blade on a small piece of material before cutting the final sticker to avoid mistakes. Have you noticed how even a tiny slip can affect the whole sticker’s look?
Using Cutting Machines
Cutting machines like Cricut or Silhouette offer precision and speed, especially for complex designs. These machines use digital files to cut your sticker material perfectly along your design lines. If you print a batch of stickers, this tool can save you hours.
Make sure to set the correct blade depth and cutting pressure based on your sticker material to prevent tearing or incomplete cuts. You can also use registration marks with these machines to align your cuts precisely over printed designs. Do you want to create professional-looking stickers at home? These machines might be your best bet.
Applying Protective Coatings
After cutting, adding a protective coating extends the life of your wall stickers. A clear laminate sheet or spray sealant can shield your stickers from scratches, moisture, and fading. This step is especially important if your stickers will be placed in high-traffic or humid areas.
Apply the coating evenly and allow it to dry completely before handling the stickers. If you prefer a glossy or matte finish, choose a coating that matches your aesthetic preference. Have you ever had a sticker peel or fade quickly? Protective coatings can prevent that frustration.

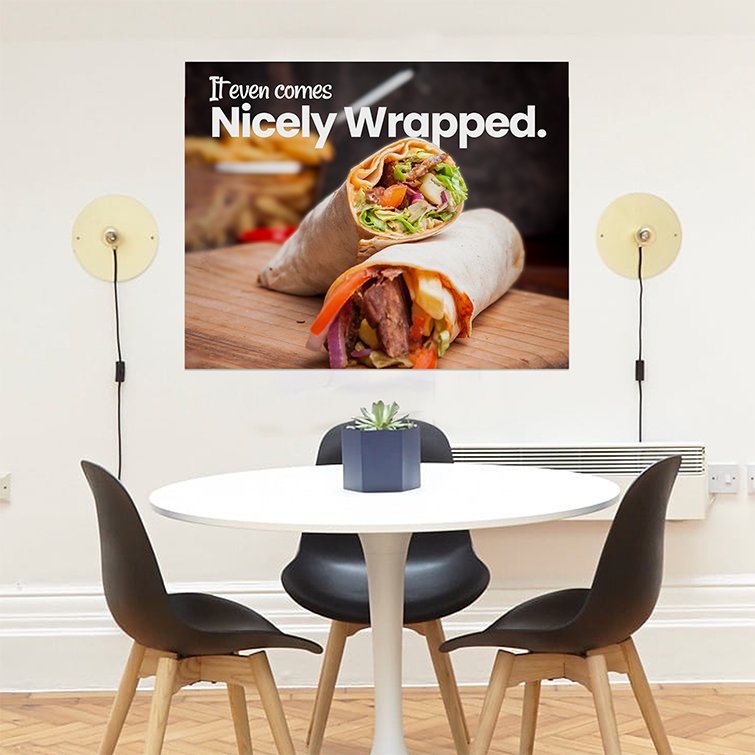
Credit: www.printmagic.com
Applying Wall Stickers
Applying wall stickers might seem straightforward, but the quality of the final look depends heavily on how well you prepare and place them. Taking a little extra time ensures your stickers stay put and look flawless. Let’s dive into how you can get the best results on your walls.
Preparing Wall Surfaces
Start by cleaning your wall thoroughly. Dirt, dust, and grease can prevent stickers from sticking properly. Use a mild detergent or rubbing alcohol on a clean cloth to wipe the surface, then let it dry completely before applying any sticker.
Consider the texture of your wall. Stickers adhere best to smooth surfaces. If your wall is rough or uneven, sanding it lightly can help create a better bond. Have you checked your wall’s finish lately?
Positioning Stickers
Before peeling the backing, hold the sticker up to the wall and decide exactly where you want it. Use painter’s tape to temporarily hold it in place and step back to see if it looks right. This way, you avoid repositioning and damaging the sticker later.
Marking light pencil lines around the edges can guide you during application. It’s a small step, but it saves you from crooked stickers. Don’t rush this part—it’s your chance to get it perfect.
Avoiding Air Bubbles
Air bubbles are the most common issue and also the easiest to fix if you apply the sticker correctly. Start by peeling a small portion of the backing and stick that to the wall. Gradually peel more backing while smoothing the sticker down with a squeegee or a credit card.
Work from the center outwards to push any trapped air towards the edges. If a bubble appears, gently lift the sticker and reapply while smoothing again. Have you ever noticed how a little patience here makes a big difference?
Maintaining Your Stickers
Keeping your wall stickers looking fresh and vibrant takes a bit of care, but it’s easier than you might think. Proper maintenance not only extends their life but also keeps your walls damage-free. Let’s dive into some simple ways to care for your stickers so they stay a standout feature in your space.
Cleaning Tips
Dust and dirt can dull your stickers, so gentle cleaning is key. Use a soft, damp cloth to wipe the surface—avoid scrubbing hard, which can peel or scratch the sticker. Mild soap mixed with water works well if there’s stubborn grime.
Never use harsh chemicals or abrasive sponges. These can eat away at the sticker’s print and adhesive, ruining your design. Instead, test your cleaning solution on a small corner first to make sure it doesn’t cause any discoloration.
Removing Stickers Without Damage
Have you ever peeled off a sticker only to find paint stripped from your wall? That’s frustrating but avoidable. Warm your sticker gently with a hairdryer to soften the adhesive before slowly lifting it from one corner.
If any sticky residue remains, rub it off with a little vegetable oil or adhesive remover designed for walls. Always go slow to protect your paint or wallpaper underneath. This approach helps keep both your wall and sticker intact.
Reapplying Or Replacing
If you want to move your sticker or replace it with a new one, handle it carefully. Some vinyl stickers can be repositioned if peeled off gently and reapplied on a clean, smooth surface.
Before reapplying, clean the wall thoroughly to remove dust and oils that prevent sticking. If the sticker loses its stickiness, it’s best to replace it rather than forcing it back, which might cause wrinkles or air bubbles.
Have you tried repositioning your wall stickers? What tricks worked best for you? Your experience might help others keep their designs flawless.
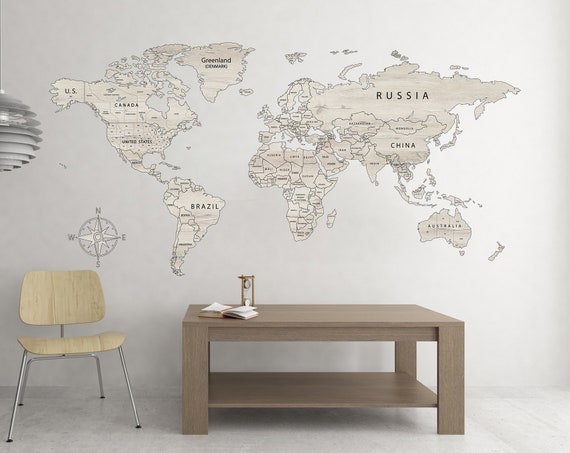
Credit: www.etsy.com
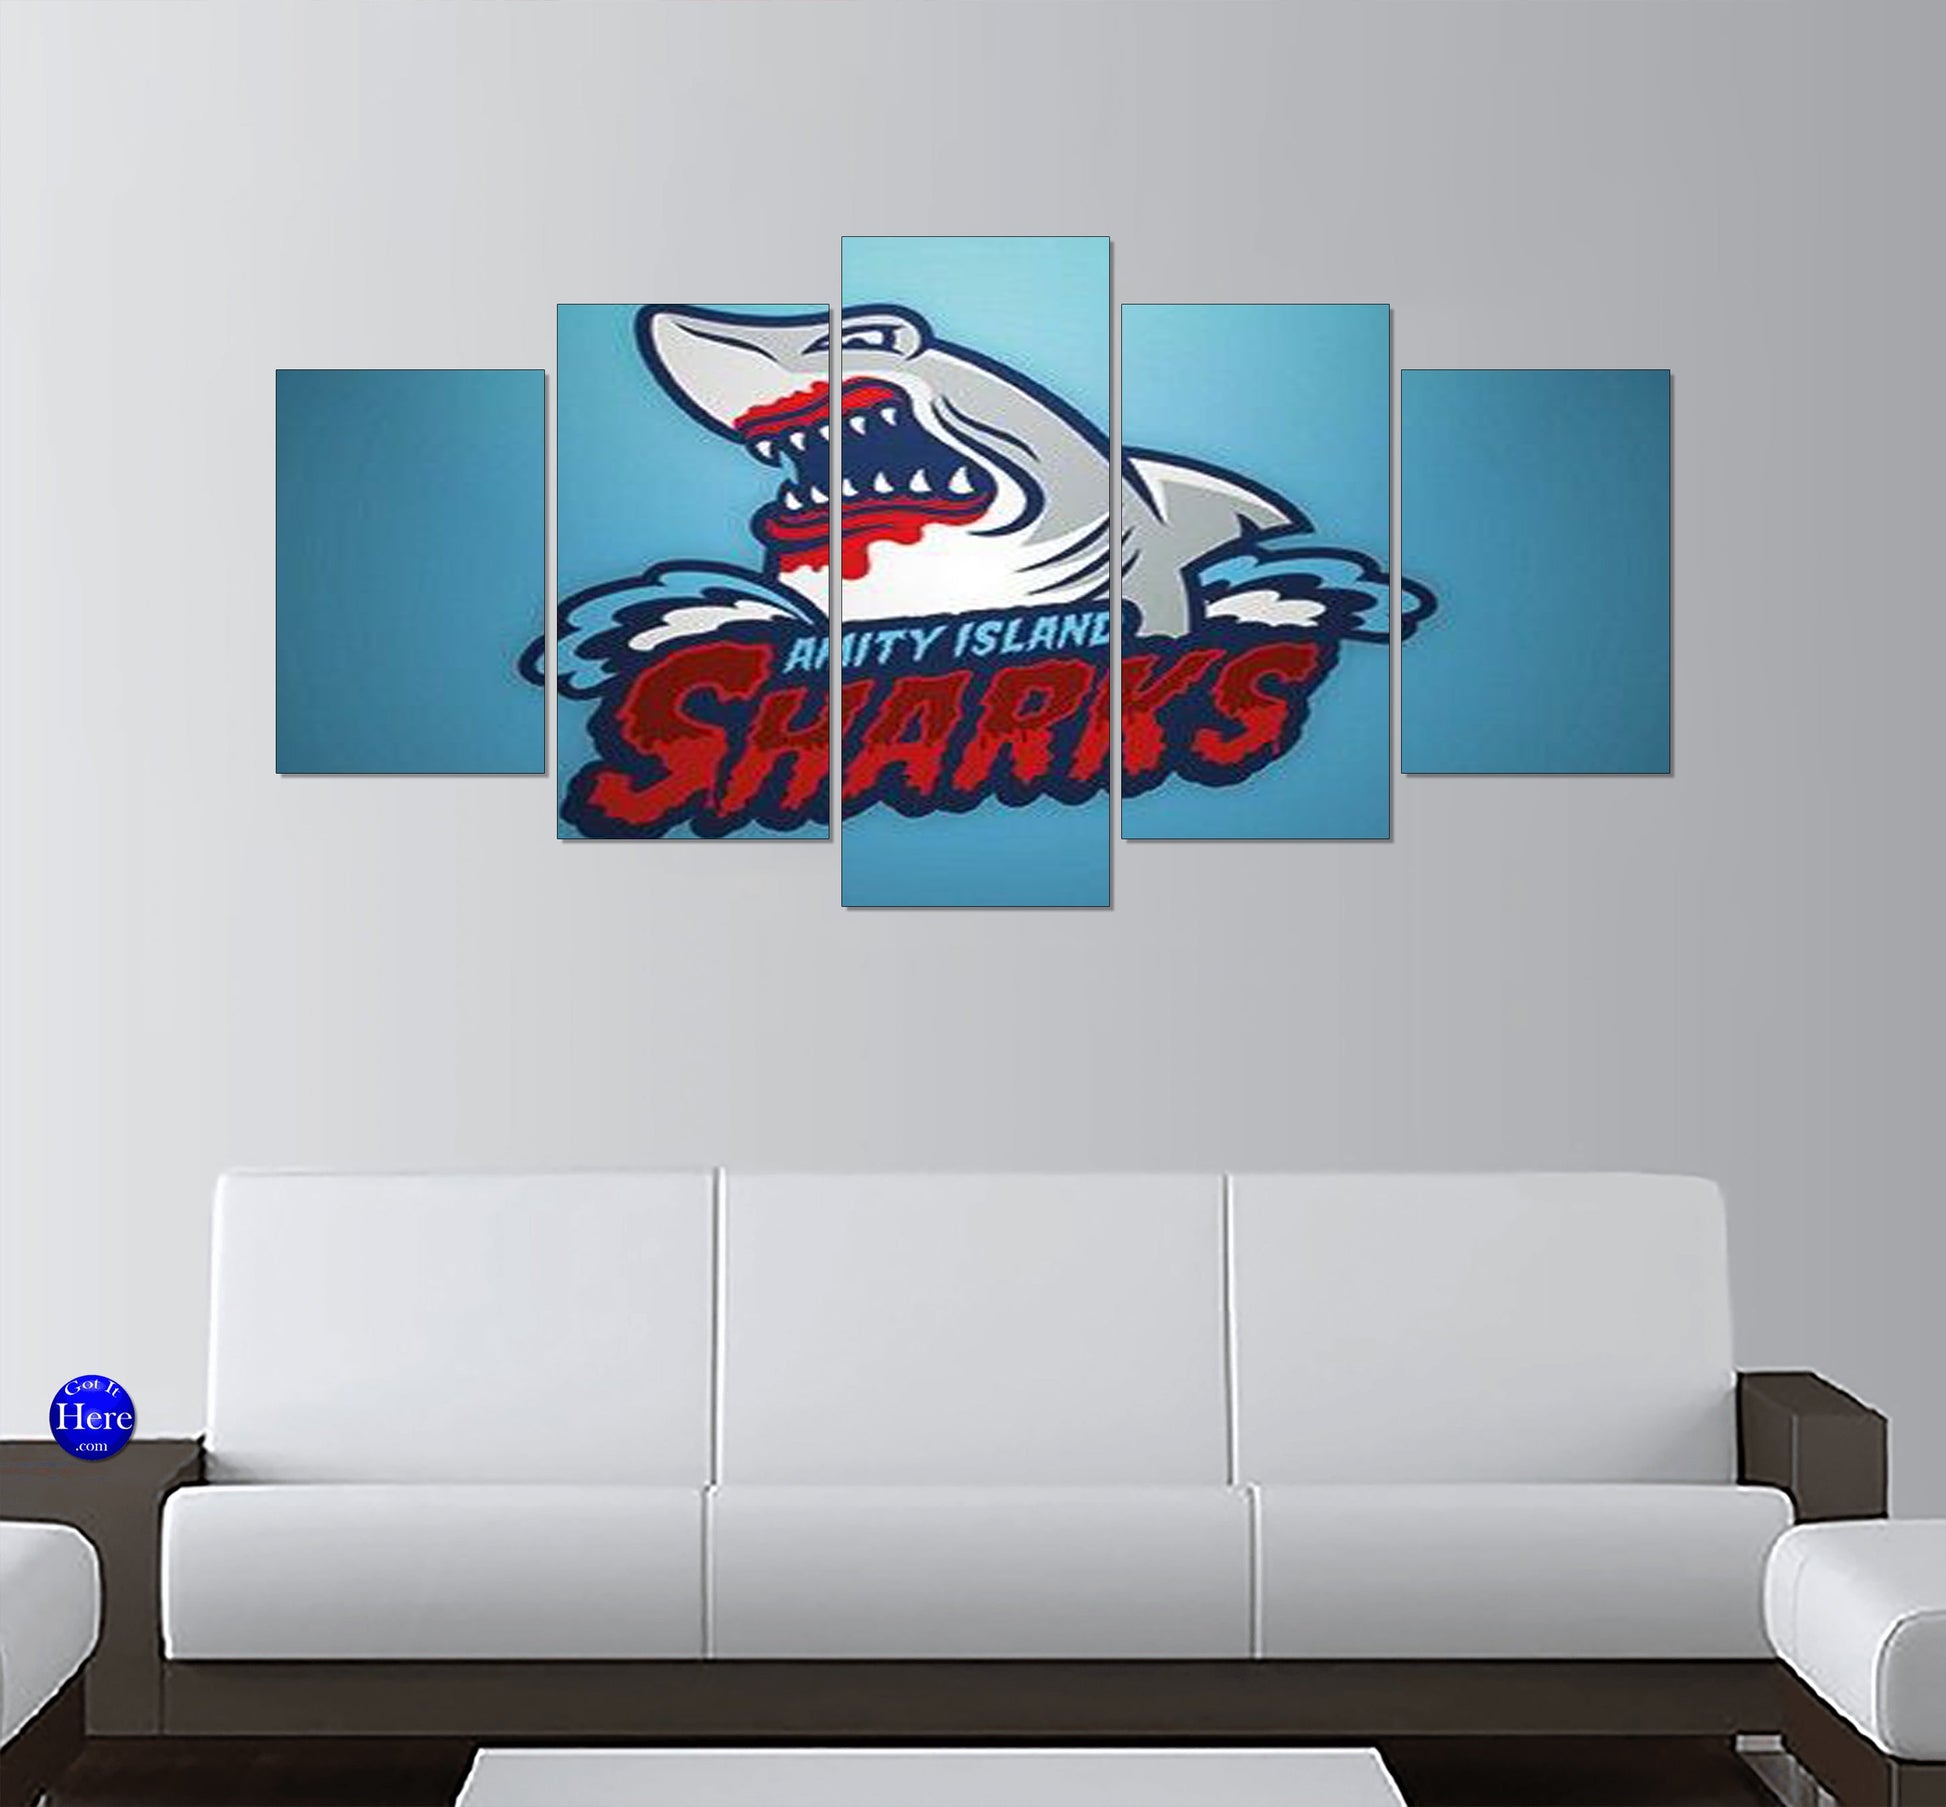
Credit: www.gotithere.com
Frequently Asked Questions
What Materials Do I Need To Print Wall Stickers At Home?
You need printable vinyl sheets, a good quality printer, and transfer paper. Also, have scissors or a cutting machine ready. These materials ensure your stickers are durable and easy to apply.
Which Printer Is Best For Printing Wall Stickers?
An inkjet printer with high resolution is ideal for vibrant, detailed stickers. Laser printers can also work but may require special vinyl sheets. Choose a printer that supports your sticker size and material.
How Do I Prepare My Design For Wall Stickers?
Use graphic design software to create or edit your design. Set the correct dimensions and resolution (at least 300 dpi). Save the file in a compatible format like PNG or PDF for printing.
Can I Reuse Wall Stickers After Removing Them?
Most wall stickers are designed for single use. Removing them carefully may preserve some stickers, but they often lose adhesion. For best results, print new stickers for each application.
Conclusion
Printing your own wall stickers is simple and fun. You choose the design, print it, and stick it on your wall. This lets you decorate any space in your style. It saves money and adds a personal touch to your home.
Try different shapes and colors to see what fits best. Enjoy the process and make your walls come alive. Start small, learn as you go, and create something unique. Your creativity has no limits!


