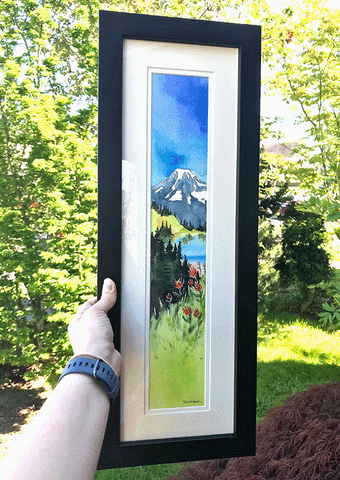
Have you ever wanted to turn your favorite photo into a beautiful canvas to hang on your wall? Doing it yourself is easier than you think, and it can add a personal touch to your home or make a thoughtful gift.
Imagine seeing your best memories displayed in a creative, eye-catching way—without spending a lot of money or waiting for a professional. You’ll learn simple, step-by-step methods to put a photo on a canvas all by yourself. Get ready to bring your photos to life and impress everyone who sees them!

Credit: canvasprints.com
Materials Needed
Gather a blank canvas, printed photo, Mod Podge or glue, a brush, and scissors. Prepare a smooth workspace for easy crafting.
Getting the right materials is the first step in transforming your photo into a stunning canvas print. This task can be an exciting DIY project that not only saves you money but also lets you personalize your artwork. Let’s dive into the materials you’ll need to get started.Selecting The Right Canvas
Choosing the right canvas is crucial for the quality of your final product. Look for a canvas that is pre-stretched and primed. This ensures that the surface is smooth and ready for your photo, eliminating the need for additional preparation. Consider the size of the canvas. Do you want your photo to be the focal point of a room or a subtle accent? A larger canvas can make a bold statement, while a smaller one might be perfect for a cozy corner.Choosing Your Photo
The quality of your photo will directly impact the result. Choose a high-resolution image to ensure clarity and detail. A photo with vibrant colors can add life to your space, while black and white images offer a classic touch. Think about the story your photo tells. Does it evoke a cherished memory or a favorite place? This personal connection will make your DIY canvas even more special.Essential Tools And Supplies
Here’s a simple checklist of tools and supplies you’ll need:- Mod Podge or a similar adhesive
- A brush or sponge applicator for spreading the adhesive
- Scissors or a craft knife for trimming the photo
- Squeegee or a credit card to smooth out bubbles
- Protective varnish for a lasting finish
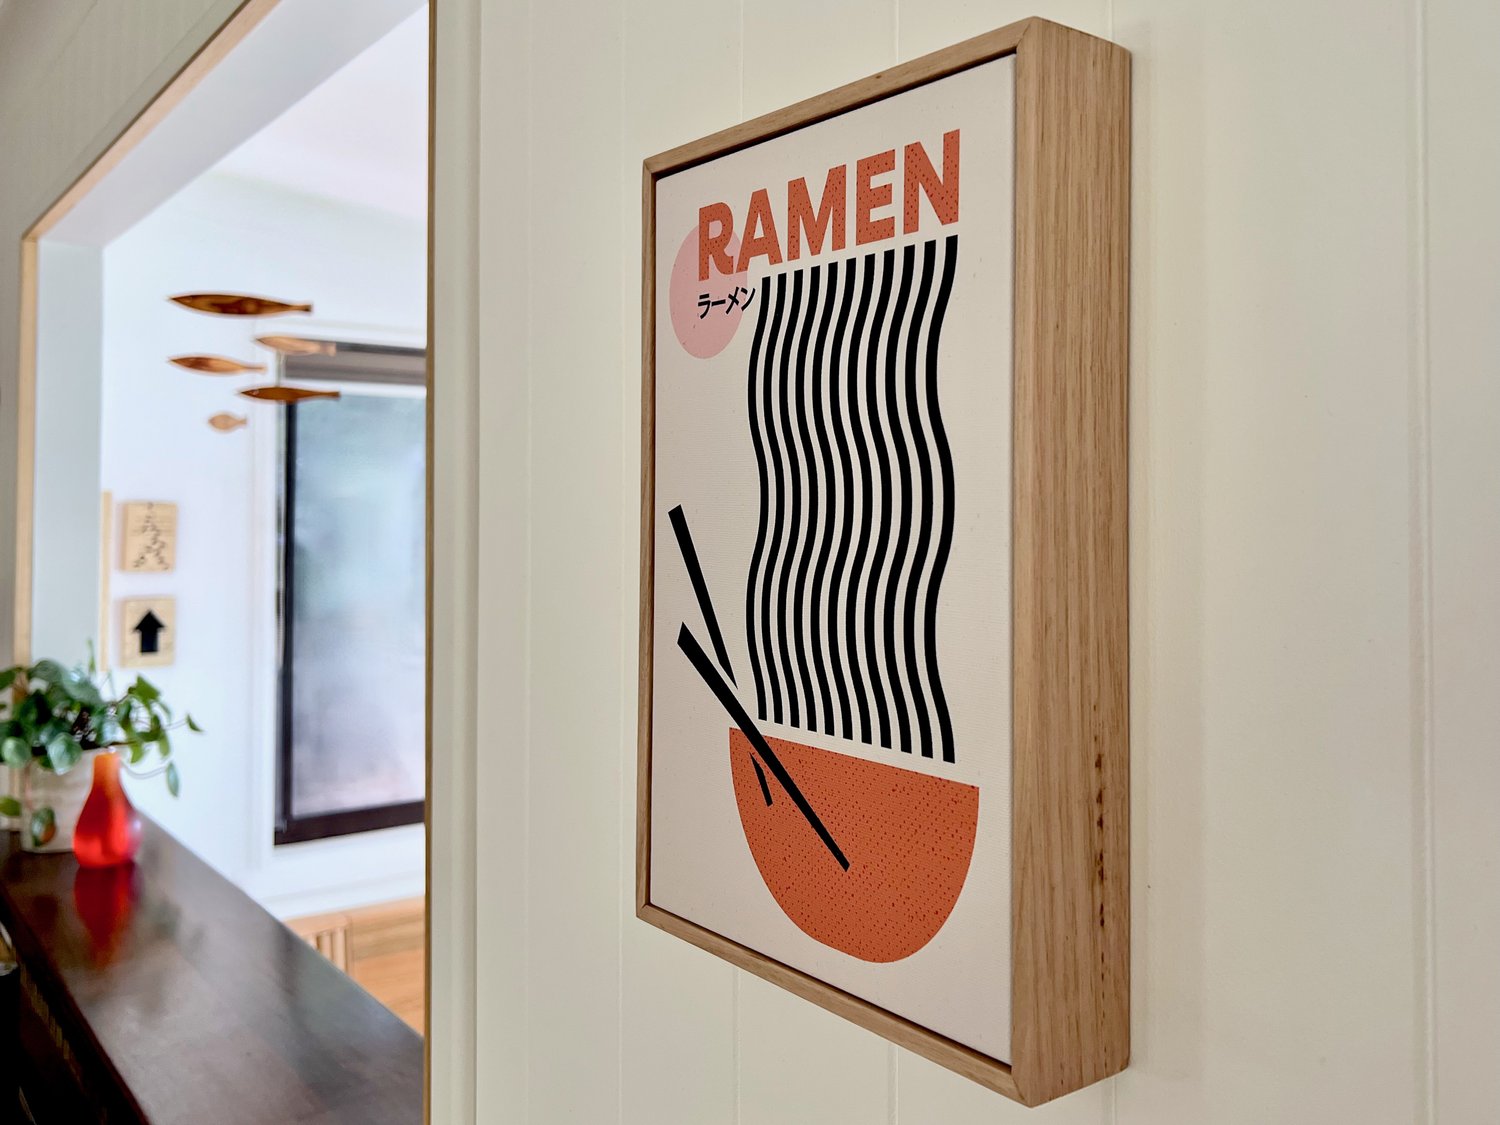
Credit: littleredindustries.com
Preparing The Photo
Preparing your photo properly is the key to making a stunning canvas print. It’s not just about picking a favorite picture but making sure it fits perfectly and looks sharp once transferred. Taking time with these steps saves you from surprises later and elevates the final outcome.
Resizing And Printing Tips
Start by checking your photo’s resolution. Images with at least 300 dpi (dots per inch) work best for canvas printing to avoid pixelation.
Use free tools like Canva or Photoshop to resize your photo to the exact dimensions of your canvas. If your canvas is 16×20 inches, set your photo to that size to ensure a perfect fit.
Consider how your image will wrap around the edges. Adding a 1-2 inch bleed area on each side prevents important parts of the photo from being cut off during stretching.
Choosing The Best Paper Type
Although you’ll mount the photo on canvas, the type of paper you print on matters. Glossy photo paper enhances color vibrancy but may cause glare under certain lights.
Matte paper offers a softer look and reduces reflections, which can be ideal for portraits or art prints. Your choice depends on the mood you want your canvas to convey.
Test small prints on different papers if you’re unsure. This hands-on approach helped me decide between shiny and flat finishes for a friend’s wedding photo canvas.
Cutting The Photo To Size
Once printed, trim your photo carefully to match your canvas dimensions. Use a ruler and a sharp craft knife or scissors to get clean, straight edges.
Double-check measurements before cutting to avoid mistakes. It’s better to cut slightly larger if you plan to stretch the photo over the canvas edges.
Keep your workspace tidy and well-lit. I’ve found that good lighting prevents uneven cuts and makes the process smoother and less frustrating.
Preparing The Canvas
Preparing the canvas is a key step before placing your photo. A clean, well-prepped surface helps the photo stick better and last longer. It also prevents bumps or wrinkles under the image. Take time to prepare the canvas carefully for the best results.
Cleaning And Priming
Start by wiping the canvas with a dry cloth. Remove dust and dirt to avoid rough spots. Use a damp cloth for stubborn dirt, then let it dry fully.
Apply a layer of gesso to prime the surface. Gesso seals the canvas and creates a smooth base. Use a brush or roller to spread it evenly. Let it dry for a few hours before moving on.
Stretching The Canvas (if Needed)
If your canvas is loose, stretching it tight helps. Pull the edges evenly while stapling or tacking it to a frame. This creates a flat, firm surface for your photo. Check for wrinkles and smooth them out as you go.
Properly stretched canvas holds the photo better and looks more professional. It also prevents sagging over time, keeping your artwork sharp and neat.
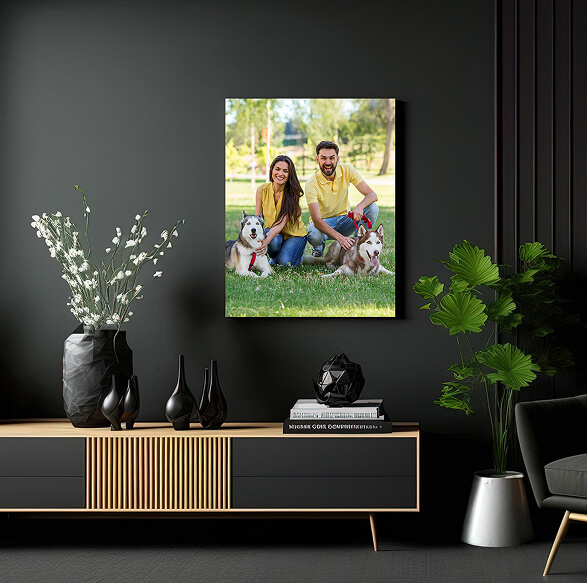
Credit: www.canvaschamp.com
Applying The Photo
Applying your photo to a canvas is where your project starts to come alive. It’s the moment when your image truly transforms into a piece of art you can display proudly. Taking your time and paying attention to the details will make a big difference in the final look.
Choosing The Right Adhesive
Not all adhesives work the same way on canvas and photo paper. You want something strong but not too thick to avoid ruining the texture. Mod Podge is a popular choice because it acts as both glue and sealant, making it perfect for this kind of project.
Another option is spray adhesive, which gives you an even layer without soaking the photo. But be careful with sprays—they dry fast, and you’ll need to work quickly. What kind of finish do you want—matte or glossy? This can influence your adhesive choice.
Step-by-step Application Process
- Start by cleaning your canvas surface to remove any dust or particles.
- Apply a thin, even layer of your chosen adhesive using a brush or spray.
- Place your photo carefully on the canvas, starting from one edge and smoothing it down gradually.
- Press gently but firmly with your hands or a flat tool to secure the photo.
- Allow the adhesive to dry fully before handling the canvas further.
Taking small, deliberate steps here saves you from having to redo the process. Have you noticed how rushing leads to wrinkles or misalignment? Patience pays off.
Avoiding Air Bubbles And Wrinkles
Air bubbles and wrinkles can ruin the smooth look you want. Use a plastic card or a squeegee to smooth out the photo as you apply it. Start from the center and push toward the edges to force air out.
If you spot a bubble, gently lift the photo at that spot and smooth again. Don’t be discouraged if it takes a couple of tries—this part demands a steady hand. Do you find that a little extra care here makes your work look professional? It absolutely does.
Sealing And Finishing
Sealing and finishing your photo canvas protects it from damage and enhances its look. This step helps keep colors bright and prevents dust or moisture from harming the image. A good finish also adds a professional touch, making your canvas ready to display or gift.
Selecting A Protective Finish
Choose a finish based on the look you want and how you will use the canvas. Glossy finishes make colors pop and shine. Matte finishes reduce glare and give a soft, elegant feel. Satin finishes offer a balance between glossy and matte. Some finishes also protect against UV rays, which helps prevent fading.
Applying Sealant For Longevity
Use a clear sealant spray or brush-on varnish to protect the canvas. Spray sealants are easy to apply and dry quickly. Brush-on varnishes give more control and can add texture. Apply thin, even layers to avoid drips. Let each layer dry before adding another. Cover all edges and the surface for full protection.
Drying And Curing Time
Allow the sealant to dry fully before handling the canvas. Drying times vary by product but usually take 1 to 2 hours. Curing, which is the full hardening process, can take up to 24 hours or more. Keep the canvas in a dust-free, dry place during this time. Avoid touching the surface to prevent marks or smudges.
Creative Variations
Adding a photo to a canvas yourself opens the door to endless creative variations. You can transform a simple print into a striking piece of art by experimenting with textures, mixed materials, and unique framing choices. These creative touches not only make your canvas stand out but also reflect your personal style and creativity.
Adding Texture With Paint
Paint can add depth and interest to your photo canvas. Use acrylic paint to highlight certain areas or create a textured background that complements your image. Try applying paint with a sponge or palette knife to create rough, tactile surfaces that invite touch.
Don’t be afraid to paint over parts of the photo itself. A thin layer of translucent paint can soften edges or add a dreamy effect. Have you considered how a bit of texture could change the mood of your photo?
Incorporating Mixed Media Elements
Adding materials like fabric, paper cutouts, or natural elements can bring your canvas to life. Glue small pieces of lace or newspaper around the edges to add interest without overwhelming the photo. You can even embed tiny objects like buttons or dried flowers for a personal touch.
Experiment with layering these elements to create contrast and dimension. Think about what materials resonate with your photo’s theme—could a piece of burlap enhance a rustic landscape? Your choices can tell a story beyond the image itself.
Customizing Edges And Borders
Edges and borders frame your photo and can be a powerful design tool. Instead of leaving the canvas edges plain, paint them in bold colors or add patterns that complement your photo. You might also wrap the photo around the sides for a seamless, modern look.
Consider using washi tape or decorative trims along the border to add a unique flair. How does the border color affect the overall feeling of your artwork? Playing with this detail can make your canvas truly one-of-a-kind.
Troubleshooting Common Issues
Putting a photo on canvas yourself can bring great satisfaction. Yet, small problems may arise during the process. These issues might affect the final look of your canvas. Understanding how to fix common problems saves time and effort. This section covers simple solutions for wrinkles, bubbles, adhesive troubles, and post-application damage.
Fixing Wrinkles And Bubbles
Wrinkles and bubbles often appear during the transfer process. Smooth out wrinkles by gently stretching the photo from the edges. Use a soft cloth or squeegee to press out bubbles. Work from the center outwards to push air pockets away. For stubborn bubbles, a fine needle can release trapped air carefully. Avoid harsh pressure to prevent tearing the photo.
Dealing With Adhesive Problems
Adhesive issues can cause peeling or uneven sticking. Check that both the canvas and photo surfaces are clean and dry before applying glue. Use a brush to spread adhesive evenly, avoiding thick spots. If glue seeps out, wipe it immediately with a damp cloth. For weak adhesion, add a thin layer of glue and press firmly. Let the canvas dry flat to keep the photo in place.
Repairing Damage After Application
Accidental scratches or tears may happen after placing the photo. Small scratches can blend in using a fine-tip marker matching the photo colors. For minor tears, apply clear-drying craft glue under the torn edges and press gently. Use a small piece of wax paper to protect the surface while drying. If the damage is severe, consider reapplying a new photo over the damaged area. Handle your canvas carefully to avoid future damage.
Displaying Your Canvas
Displaying your canvas properly can transform your space and highlight the effort you put into creating your artwork. How you present it affects not only the look but also the mood it sets in your room. Let’s explore some practical ways to show off your canvas in the best light.
Framing Options
Choosing the right frame can protect your canvas and add a polished look. You can opt for a classic wooden frame to give warmth or a sleek metal frame for a modern touch.
If you prefer a minimalist style, consider a floating frame that leaves space between the canvas edge and the frame. Some artists even skip the frame entirely to keep the focus on the artwork itself.
Think about where you’ll place the canvas and what style fits your room. Have you ever noticed how a simple frame can change the whole vibe of your art?
Hanging Techniques
How you hang your canvas affects its stability and appearance. Use sturdy hooks or picture hanging strips designed to hold the weight without damaging your walls.
For larger canvases, a French cleat system offers strong support and easy leveling. If you want to create a gallery wall, plan the layout on the floor first to balance the space.
Consider hanging your canvas at eye level—it makes the viewing experience more natural. What kind of impact do you want your art to have when someone first walks into the room?
Lighting Tips To Enhance Your Art
Proper lighting brings out colors and details in your canvas. Use adjustable track lighting or spotlights to direct light precisely where you want it.
Avoid harsh overhead lights that create glare or shadows. Natural light is great, but too much can cause fading over time, so use curtains or UV-protective window film if needed.
Experiment with warm or cool light bulbs to see which best complements your artwork. How might changing your lighting change the mood your canvas creates?
Frequently Asked Questions
How Do I Prepare A Photo For Canvas Printing?
To prepare a photo, choose a high-resolution image for clarity. Edit for brightness and contrast. Resize it to match canvas dimensions. Save in a compatible format like JPEG or PNG. This ensures your photo looks sharp and vibrant on the canvas.
What Materials Are Needed To Put A Photo On Canvas?
You need canvas fabric or a pre-stretched canvas, photo transfer medium or gel, a brush, a printer, and scissors. Optionally, a sealant helps protect the photo. These materials help you transfer and preserve your photo on the canvas effectively.
Can I Use Regular Printer Paper For Photo Transfer?
No, regular paper is not ideal. Use photo transfer paper or laser print on special transfer sheets. These materials help the image adhere well to the canvas. Regular paper may cause blurry or incomplete transfers.
How Do I Seal And Protect A Photo On Canvas?
Apply a clear acrylic spray or varnish after the photo dries. This protects against moisture, dust, and UV light. Use multiple thin coats for best results. Sealing enhances durability and keeps your photo vibrant longer.
Conclusion
Creating your own photo canvas is simple and fun. You only need a few materials and some patience. This project lets you add a personal touch to your home. Try different photos and styles to see what fits best. Enjoy the process and the unique art you make.
It’s a great way to show your creativity and keep memories alive. Give it a try today!