
Have you ever wanted to turn your favorite photo into a stunning piece of wall art? Putting a photo on canvas is easier than you think, and it can instantly brighten up any room.
Whether it’s a family portrait, a vacation snapshot, or a special memory, seeing your photo on a canvas makes it feel more personal and meaningful. You’ll discover simple steps to create your own canvas print that looks professional and lasts for years.
Ready to bring your pictures to life? Let’s dive in and make your walls truly yours.
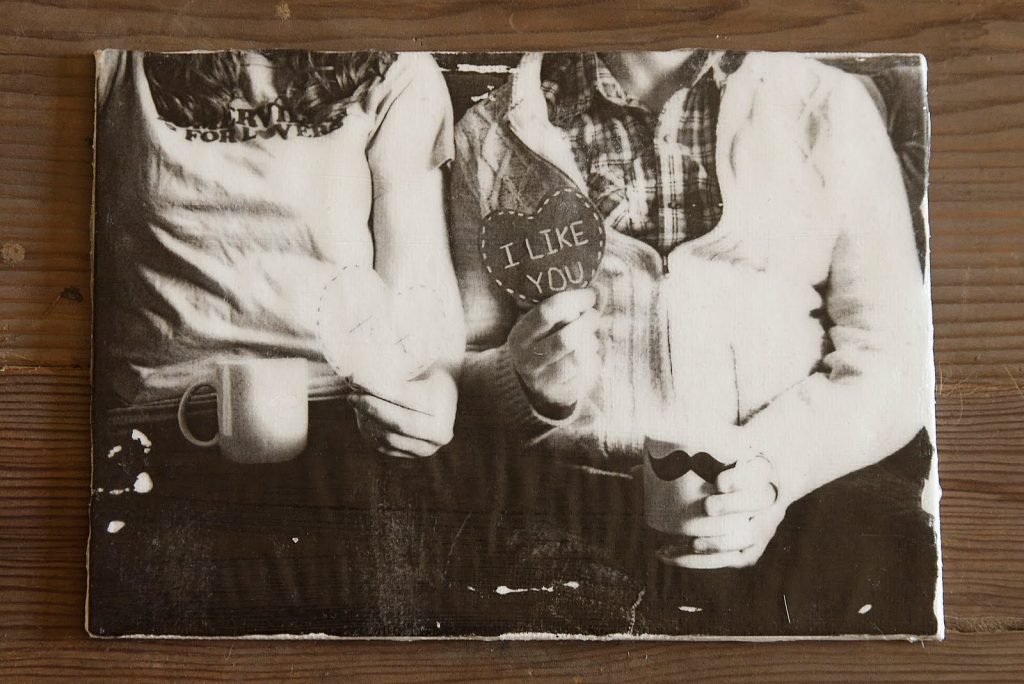
Credit: anthonypullano.ca
Choosing The Right Photo
Choosing a clear, high-quality photo ensures your canvas looks sharp and vibrant. Pick images with good lighting and simple backgrounds for the best results.
Choosing the right photo for your canvas is crucial. It sets the mood and aesthetic of your space. With the right choice, your canvas can become a stunning focal point. Let’s explore how to select the best photo for your canvas art.Selecting High-resolution Images
High-resolution images ensure clarity and detail. A blurry photo won’t look good on canvas. Choose photos with at least 300 DPI. This ensures your image stays sharp. The larger the canvas, the higher the resolution needed. Avoid images that pixelate when enlarged.Considering Photo Composition
Composition affects how a photo feels. Think about the rule of thirds. Place key elements at intersecting lines. This creates balance and interest. Look for photos with clear focal points. A well-composed photo draws the eye naturally. Symmetry can also add a pleasing effect.Matching Style With Room Decor
Your photo should complement your room’s decor. Consider the colors in your room. A colorful photo adds vibrancy. Neutral tones offer a calming effect. Ensure the style matches your furniture and accessories. A modern room suits abstract images. Traditional decor pairs well with classic photos.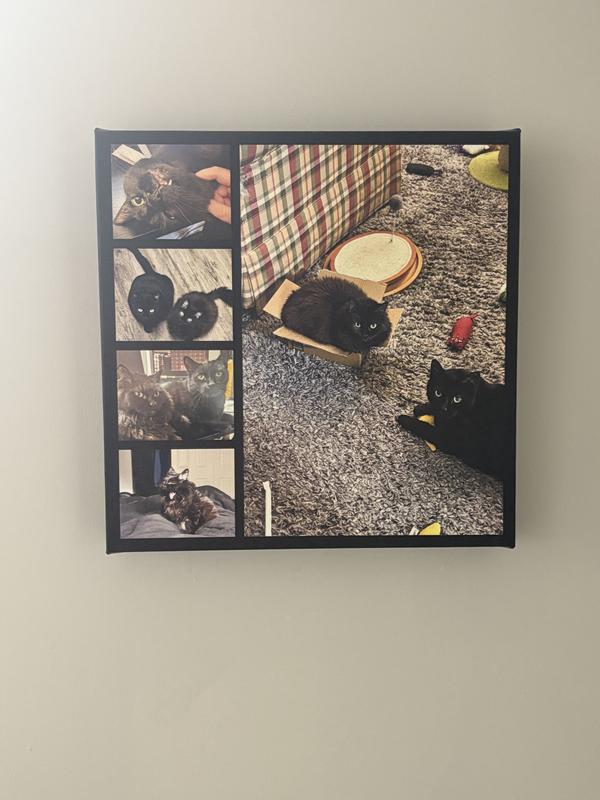
Credit: www.snapfish.com
Preparing Your Photo
Preparing your photo before printing it on canvas is essential to get the best results. Small tweaks can make a big difference in how your image looks once it’s on the textured surface. Pay close attention to details like brightness, contrast, cropping, and color enhancement to ensure your canvas print stands out.
Editing For Brightness And Contrast
Adjusting brightness and contrast helps your photo pop. If your image looks dull or washed out on screen, it will likely look the same on canvas. Increase the brightness slightly if the photo is too dark, but avoid overexposing highlights.
Boosting contrast can make details sharper and colors richer. Try to keep a balance so shadows don’t become too harsh. Have you noticed how a little contrast adjustment can turn a flat photo into something vibrant? That’s the power of this simple edit.
Cropping To Fit Canvas Dimensions
Canvas sizes vary, so cropping your photo to match the canvas dimensions is crucial. If you skip this step, important parts of your photo might get cut off during printing. Use the aspect ratio of your canvas to guide the crop.
Focus on the main subject and remove any distracting edges. Sometimes, cropping can improve the composition and make your photo more striking. What part of your photo do you want people to focus on once it’s on the wall?
Enhancing Colors And Sharpness
Enhance colors carefully to make your image more vivid without making it look unnatural. Slightly increasing saturation can make colors pop, but too much can appear fake. Adjust sharpness to bring out fine details, especially if your photo has textures or intricate patterns.
Over-sharpening can cause unwanted noise, so apply it moderately. Try zooming in to see how the details improve with sharpness tweaks. Have you ever seen a canvas print where the colors seem dull or details blurry? That usually happens when this step is overlooked.
Picking The Canvas Size And Type
Picking the right canvas size and type sets the foundation for how your photo will look once printed. It affects the overall impact, where you can place it, and how much detail the image will show. Before you start, think about the space where the canvas will hang and the mood you want to create.
Standard Vs Custom Sizes
Standard canvas sizes like 8×10, 16×20, or 24×36 inches are popular because they fit easily into ready-made frames and are cost-effective. These sizes work well for most photos, especially if you want a balanced and familiar look.
Custom sizes give you freedom to match your exact space or emphasize a specific part of your photo. If you want a panoramic view of a landscape or a tall, narrow portrait, custom sizes can make your artwork truly unique.
Have you measured your wall space yet? Knowing the dimensions helps avoid ordering a canvas that’s either too small to notice or too large to fit comfortably.
Material Options
Choosing the canvas material is crucial. Cotton canvases are soft, durable, and give a classic texture that many photographers love. Polyester canvases, on the other hand, offer a smoother surface and are more resistant to stretching and moisture.
Some canvases come with a matte or glossy finish. Matte reduces glare, making it easier to see details under bright light, while glossy enhances colors and contrast. What kind of finish would best highlight your photo’s qualities?
Choosing Frame Styles
Frames not only protect your canvas but also complement the photo and your room’s style. Floating frames add a modern touch by creating a gap between the canvas edge and the frame, giving your photo a “floating” effect.
Traditional wood frames bring warmth and can be stained or painted to match your decor. Metal frames offer a sleek, contemporary look, perfect for minimalist spaces.
Think about the vibe you want your photo to give off. Would a rustic wooden frame enhance the story behind your photo, or does a simple black frame keep the focus where it belongs—on the image itself?

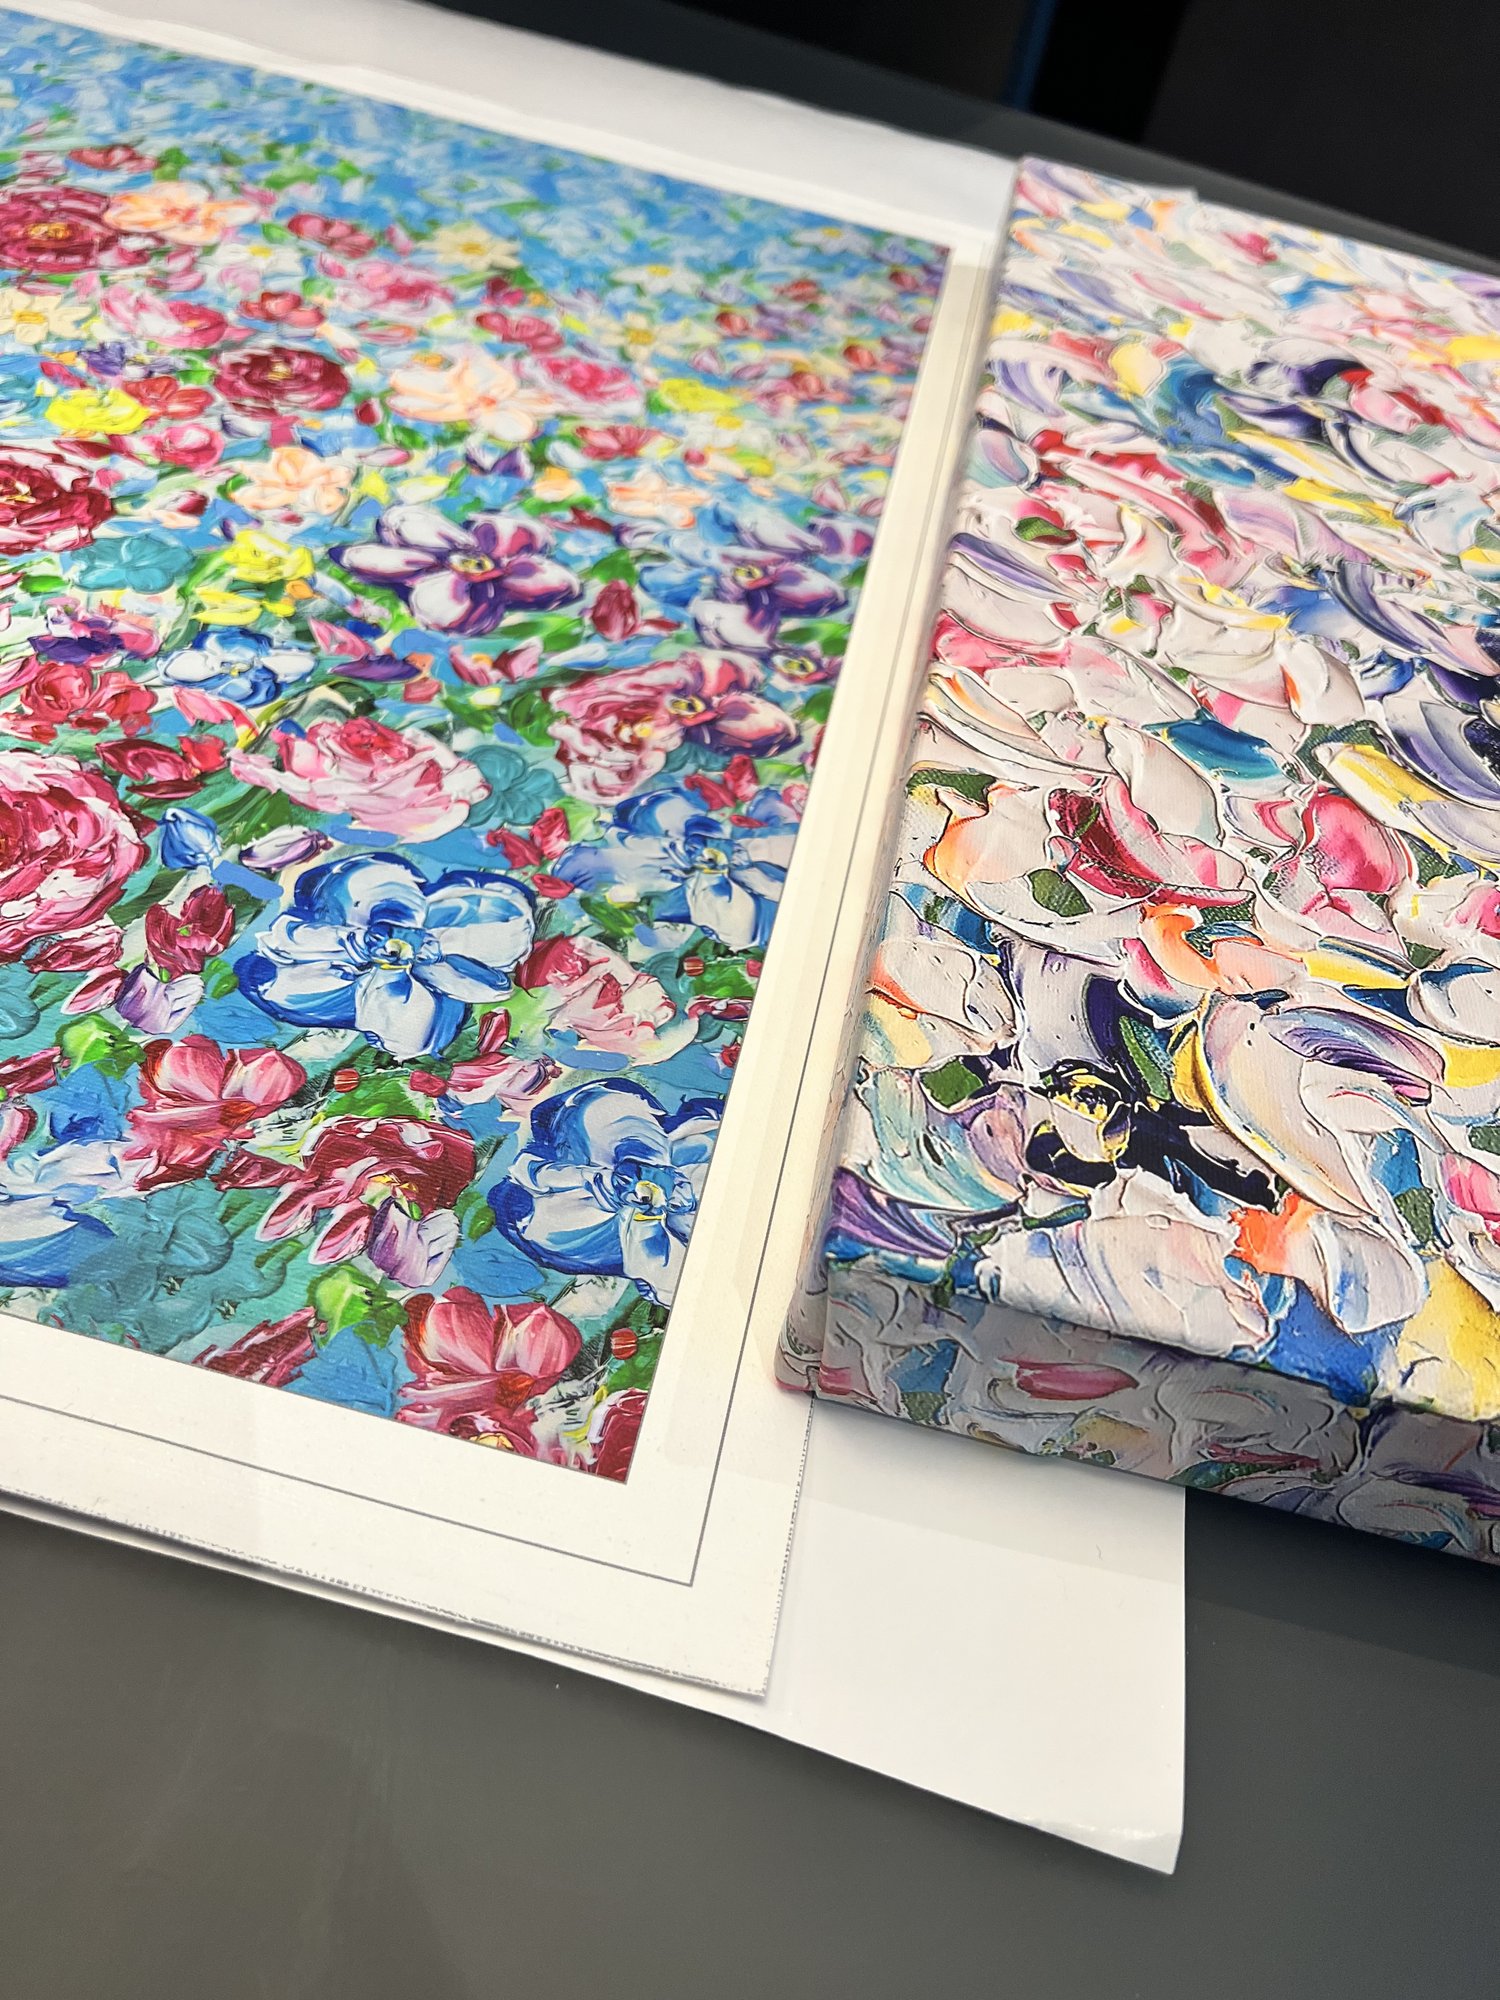
Credit: www.jenniferbrecheisen.com
Printing Options
Choosing the right printing option is key to turning your photo into a beautiful canvas. Your decision affects both the final look and the overall cost. Let’s look at the main ways you can print your photo on canvas and how they compare.
Diy Printing At Home
If you have a good quality printer and canvas paper, printing at home can be rewarding. It gives you full control over the process and lets you tweak settings to get the perfect color and brightness.
However, home printers often struggle with true canvas texture and may lack the durability of professional prints. You’ll need to be comfortable handling the setup and possible trial-and-error to get it right.
Using Professional Services
Professional printing services use advanced technology designed specifically for canvas prints. They can reproduce vibrant colors and fine details that home printers often miss.
Many services also offer options like protective coatings, custom sizing, and framing. Uploading your photo online is usually quick, and the finished product arrives ready to hang.
Comparing Costs And Quality
| Aspect | DIY Printing | Professional Services |
|---|---|---|
| Cost | Lower upfront cost if you already own equipment; supplies add up over time | Higher per-print cost but no equipment needed |
| Quality | Good for casual projects but may lack durability and texture | Superior detail, color accuracy, and longevity |
| Convenience | Requires time and effort for setup and printing | Simple upload, quick turnaround, no mess |
What matters most to you—saving money or getting the best quality? Sometimes spending a little more means your canvas lasts longer and looks more professional. Think about how you want to display your photo and how much effort you want to invest.
Mounting The Photo On Canvas
Mounting your photo on canvas transforms a simple image into a piece of art that stands out on any wall. It’s a process that requires attention to detail and some patience, but the results are worth it. You can choose from several techniques, each offering different textures and finishes that suit your style and space.
Direct Printing Techniques
Direct printing involves printing your photo straight onto the canvas material. This method keeps the colors vibrant and details sharp. Many professional printers use UV-resistant inks, ensuring your image won’t fade quickly.
This technique is great if you want a sleek, modern look without any extra steps. You simply upload your photo, and the printer does the rest. Have you considered how the texture of the canvas might add depth to your photo when printed directly?
Photo Transfer Methods
Photo transfer is a hands-on way to get your image onto canvas. It involves printing your photo on special paper, then applying it to the canvas using a gel medium or adhesive.
This method adds a unique texture and can create a vintage or artistic effect. It requires a bit more skill and time, but the personal touch can make your canvas truly one of a kind. Have you ever experimented with layering textures to bring out the story behind your photo?
Stretching And Framing
After your photo is on the canvas, stretching it over a wooden frame is key to giving it a polished, gallery-ready look. You’ll need to pull the canvas tight and secure it with staples or tacks on the back of the frame.
Framing the stretched canvas adds protection and enhances its visual appeal. You can choose from simple wooden frames or ornate styles depending on your décor. Think about how the frame’s color and style can complement the mood of your photo—what vibe are you aiming for in your space?
Caring For Your Canvas Art
Taking good care of your canvas art ensures it stays vibrant and beautiful for years. A little attention can prevent damage and keep your photo on canvas looking fresh. Let’s look at practical ways to care for your artwork.
Cleaning Tips
Dust your canvas gently with a soft, dry cloth or a feather duster. Avoid using water or cleaning sprays, as moisture can damage the print and the canvas material. If you notice a stubborn spot, try a dry microfiber cloth first before considering any other method.
Have you ever tried to clean a canvas and ended up smudging the image? Keeping it simple and dry is the safest approach to maintain the original look without risking harm.
Protecting From Sunlight
Direct sunlight can fade your canvas over time, dulling the colors and reducing contrast. Place your artwork away from windows or use UV-protective glass if framing your canvas. Curtains or blinds can also help reduce exposure during peak sunlight hours.
Think about the last time you left a photo in the sun and noticed it fading. Your canvas deserves the same protection to keep its colors sharp and true.
Handling And Storage
Always handle your canvas by the edges to avoid fingerprints or pressure marks on the image. When moving it, support the entire frame to prevent bending or warping. If you need to store the canvas, keep it in a cool, dry place, standing upright or flat without anything resting on top.
Have you ever stored artwork in a damp area and ended up with mold or warping? Avoid this by choosing a stable environment and proper handling techniques. Your canvas will thank you.
Creative Display Ideas
Turning your photo on canvas into a stunning display takes more than just hanging it on the wall. How you present your canvas can dramatically change the vibe of your room and highlight your personal style. Let’s look at some creative ways you can showcase your photo canvas to make it truly stand out.
Gallery Wall Arrangements
Creating a gallery wall is a fantastic way to showcase multiple canvases together. You can mix different sizes of photo canvases to create a balanced, eye-catching cluster. Try arranging them in a grid for a clean look or a more freeform style to add personality to your space.
Think about the story you want to tell with your photos. Group images by theme, color, or event to make the arrangement more meaningful. Have you ever noticed how a well-curated gallery wall can become the main conversation piece in a room?
Mixing Canvas With Other Art
Don’t limit yourself to just canvases. Combining your photo canvas with framed prints, mirrors, or even wall sculptures can create an interesting texture and depth. This mix keeps your wall dynamic and engaging.
Try pairing a black-and-white photo canvas with colorful abstract paintings to create contrast. Or, place your canvas near a vintage clock or wooden shelf for a cozy, layered look. This approach lets your canvas shine while blending seamlessly with other elements.
Lighting To Enhance Visual Impact
Lighting can make or break how your photo canvas looks. Use spotlights or picture lights to draw attention and highlight details in your photo. Even simple LED strips behind the canvas can add a soft glow that enhances the image.
Consider the direction of natural light during the day, and add adjustable lighting for evenings. How do you think different lighting angles could change the mood your photo canvas creates? Experimenting with light can bring out colors and textures you didn’t notice before.
Frequently Asked Questions
How Do I Prepare A Photo For Canvas Printing?
To prepare a photo for canvas printing, choose a high-resolution image. Edit brightness and contrast for clarity. Crop to fit the canvas size. Save the file in JPEG or PNG format for best quality.
What Materials Are Needed To Put A Photo On Canvas?
You need canvas fabric, photo paper or transfer paper, acrylic gel medium or Mod Podge, a brush or sponge, and a flat surface for drying. Optionally, a printer or professional printing service can be used for image transfer.
Can I Use Any Photo For Canvas Printing?
You can use any photo, but high-resolution images work best. Avoid blurry or low-quality pictures to maintain sharpness and detail on the canvas. Personal photos, artwork, or digital designs are all suitable.
How Long Does It Take To Put A Photo On Canvas?
The process usually takes a few hours. This includes printing, transferring the image, and drying time. Drying can take 1 to 4 hours depending on the medium used and environmental conditions.
Conclusion
Putting a photo on canvas can brighten any space with personal charm. Choose your favorite picture and follow simple steps carefully. Use quality materials to ensure your artwork lasts long. Enjoy creating a unique decoration that shows your style. This easy project brings memories to life and adds warmth to your home.
Try it today and see how a photo on canvas changes your room. Simple, fun, and creative.


