
Have you ever wished you could turn your favorite photo into a stunning piece of wall art? Putting a photo on canvas is a simple way to bring your memories to life and add a personal touch to any room.
Whether it’s a family portrait, a travel snapshot, or a creative design, your photo on canvas can become a unique statement piece. In this guide, you’ll discover easy steps to transform your pictures into beautiful canvas prints that capture attention and spark emotion.
Ready to see your photos in a whole new light? Keep reading to find out how.
Choosing The Right Photo
Choosing the right photo for your canvas is crucial. The image you select can transform a room. It sets the mood and enhances your space’s aesthetics. A well-chosen photo speaks to your personal style. Let’s explore how to pick the perfect image for your canvas.
Selecting High-quality Images
High-quality images make a strong impact. Choose photos with clear focus and vivid colors. Avoid blurry or pixelated pictures. Sharp images stand out and look professional. They capture attention and maintain their charm over time.
Considering Image Resolution
Resolution matters when printing on canvas. Low-resolution images appear grainy and lose detail. Aim for at least 300 DPI (dots per inch) for clarity. High-resolution photos retain their sharpness and quality. They ensure your canvas looks stunning from every angle.
Matching Photo Style To Decor
Your photo should complement your room’s decor. Consider the colors and theme of your space. A modern room suits abstract or minimalist images. Traditional spaces benefit from classic or nature-inspired photos. Ensure the photo’s style blends seamlessly with your surroundings.
Preparing The Photo For Printing
Preparing your photo for printing on canvas is an important step. It ensures the final print looks clear and vibrant. Proper preparation improves color accuracy and sharpness. This stage involves editing, cropping, resizing, and setting the right color profile.
Editing And Enhancing Images
Start by adjusting brightness, contrast, and sharpness. Remove any spots or imperfections to clean the image. Use simple editing tools to improve colors and clarity. Avoid over-editing to keep the photo natural. Enhance details that you want to stand out on the canvas.
Cropping And Resizing Tips
Crop the photo to fit the canvas size perfectly. Keep the main subject centered and avoid cutting important parts. Resize the image to match the print resolution. Use 300 dpi for sharp, high-quality prints. Check the image size to prevent pixelation on large canvases.
Choosing Color Profiles
Use the correct color profile for accurate printing. sRGB is common for most printers and screens. Adobe RGB offers a wider color range but may not suit all printers. Convert your image to the color profile recommended by your print service. This step ensures colors look true on the canvas.
Selecting Canvas Material
Selecting the right canvas material is essential for a beautiful photo print. The canvas type affects the image quality and how long it lasts. It also changes the look and feel of the final artwork. Understanding the options helps you pick the best canvas for your photo.
Types Of Canvas Fabrics
Canvas comes in several fabric types. Cotton is soft and gives a classic look. It absorbs ink well and works for most photos. Linen is stronger and has a natural texture. It shows fine details and looks more luxurious. Polyester blends are more durable and resist moisture. These are good for humid places or outdoor displays.
Matte Vs Glossy Finishes
Matte finishes reduce glare and make colors look soft. They work well in bright rooms without reflection. Glossy finishes make colors pop and appear sharper. They add shine but can reflect light. The choice depends on your room lighting and style preference.
Durability And Longevity
Durability depends on fabric type and coating quality. Linen and polyester last longer than cotton. Coatings protect against fading, moisture, and dust. Proper care also extends the canvas life. Choose materials that fit your display environment for best results.

Credit: canvasprints.com
Printing Options For Canvas
Choosing the right printing option affects the look and feel of your canvas photo. Each method offers different benefits and costs. Understanding these options helps you get the best result for your artwork or gift.
Professional Printing Services
Professional services provide high-quality prints on canvas material. They use large printers and durable inks. These printers ensure colors are vibrant and details are sharp. Experts stretch the canvas over a wooden frame for a polished look. The print lasts longer and resists fading. This option suits those wanting a ready-to-hang piece with minimal effort. Prices vary depending on size and finish.
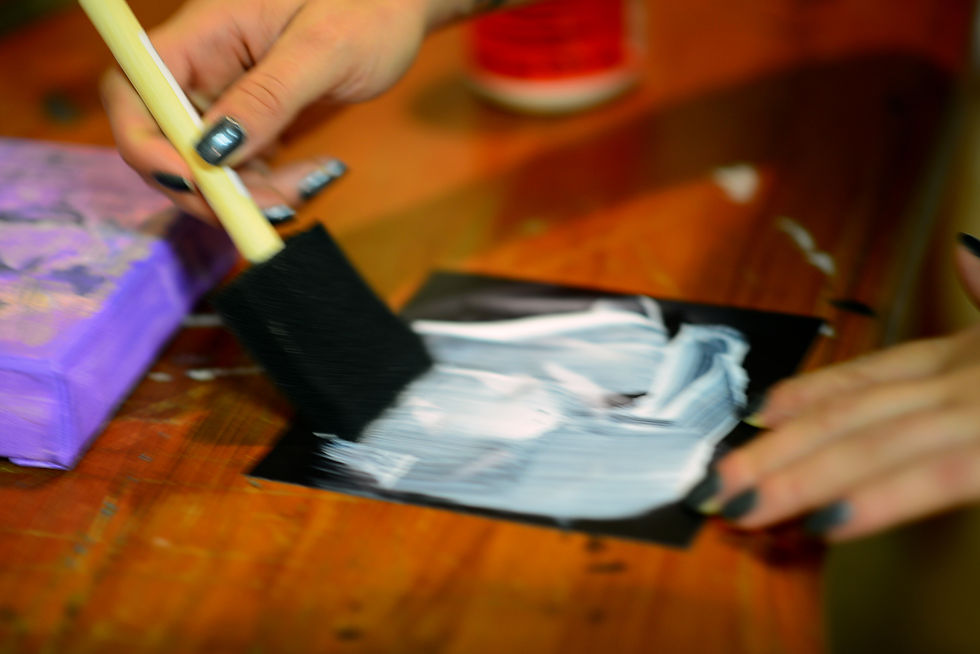
Diy Printing At Home
Printing canvas photos at home requires a special printer and canvas sheets. You need an inkjet printer that supports thick materials. Canvas sheets made for inkjet printers work best. This method allows customization and control over the process. You must stretch and frame the canvas yourself. It costs less but demands patience and skill. Good for small projects or practice before professional printing.
Comparing Ink Types
| Ink Type | Durability | Color Quality | Cost |
|---|---|---|---|
| Dye-Based Ink | Lower | Bright and vibrant | Affordable |
| Pigment-Based Ink | High | Natural and rich | More expensive |
Dye inks provide vivid colors but fade faster. Pigment inks last longer and resist water damage. Choose ink based on the print’s purpose and exposure. Professional services usually use pigment inks. Home printers often use dye inks due to cost and availability.
Stretching And Framing Canvas
Stretching and framing a canvas turn a simple photo into a stunning piece of art. Proper stretching keeps the canvas tight and smooth. Framing adds style and protects the edges. These steps make your photo display-ready and durable.
Tools Needed For Stretching
- Canvas stretcher bars or wooden frame
- Staple gun with staples
- Canvas pliers for tight grip
- Scissors to trim excess canvas
- Measuring tape or ruler
- Hammer (optional for securing staples)
Step-by-step Stretching Guide
Start by assembling the stretcher bars to form a frame. Lay the printed canvas face down on a clean surface. Place the frame on top of the canvas, centering the image. Pull one side of the canvas over the frame edge tightly. Staple the canvas to the back of the frame in the center. Move to the opposite side and repeat pulling and stapling. Stretch the other two sides similarly. Work from the center to the corners, securing staples every few inches.
Fold the corners neatly to avoid bulges. Use canvas pliers for a firm grip if needed. Trim any extra canvas hanging beyond the staples. Check for a smooth, tight surface with no wrinkles. Let the canvas rest flat before framing.
Framing Styles And Ideas
Choose frames that match your room’s style and photo mood. Simple wooden frames add warmth and classic charm. Floating frames give the canvas a modern, sleek look. Gallery wrap style hides staples and lets the image wrap around edges. Consider colored frames to highlight photo tones. Metal frames suit contemporary interiors. You can also go frameless, using clips or brackets to hang the canvas for a minimalist feel.
Credit: www.snapfish.com
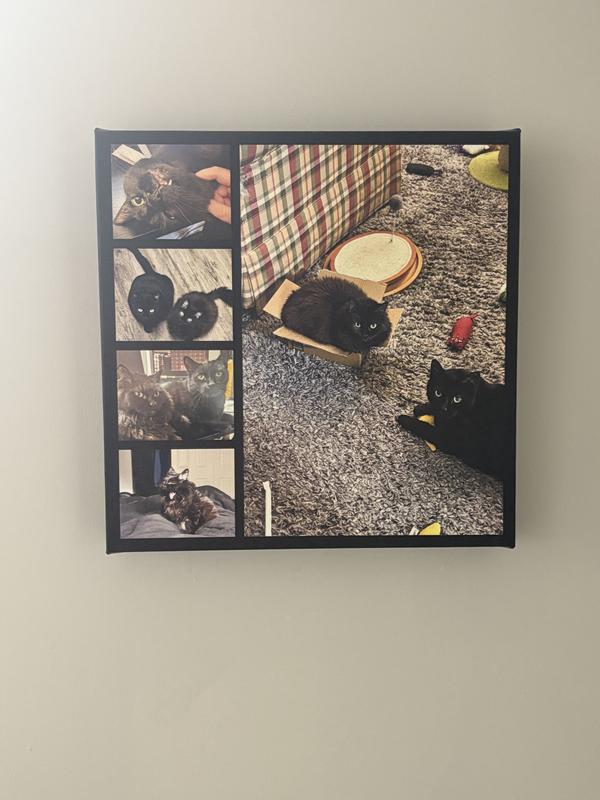
Displaying Your Canvas Art
Displaying your canvas art transforms your space and highlights your creativity. Choosing the right spot and using proper techniques make your artwork stand out. Good lighting enhances colors and textures, bringing your canvas to life.
Choosing The Perfect Wall
Select a wall that gets attention but does not overcrowd the space. Consider walls with solid colors to contrast with your canvas. Avoid walls with too many decorations or busy patterns. Think about the room’s purpose—calm spaces suit serene images, lively rooms fit vibrant art. Eye-level placement usually works best for viewing comfort.
Hanging Techniques
Use sturdy hooks or nails to support your canvas weight. Picture hanging strips offer damage-free options for lighter pieces. Make sure the canvas hangs straight by measuring twice before drilling. For large canvases, use two hooks spaced evenly. Always check the wall material—drywall needs anchors, wood requires screws.
Lighting For Canvas Art
Natural light can brighten your canvas but avoid direct sunlight to prevent fading. Use soft, warm LED lights to highlight details without glare. Adjustable spotlights allow focus on specific areas of the artwork. Consider wall washers or track lighting for even illumination. Experiment with angles to reduce shadows and reflections.
Maintaining Canvas Prints
Maintaining canvas prints ensures they stay vibrant and beautiful for years. Proper care prevents fading, dirt buildup, and damage. Simple habits keep your artwork looking fresh and new. Follow these tips to protect your canvas prints effectively.
Cleaning Tips
Use a soft, dry cloth to dust your canvas regularly. Avoid using water or cleaning sprays directly on the canvas. For stubborn spots, gently wipe with a slightly damp cloth. Never scrub or use harsh chemicals, as they can damage the print. Keep cleaning light and gentle to protect the paint.
Protecting From Damage
- Keep canvas prints away from direct sunlight to prevent fading.
- Avoid placing prints near heaters or vents to stop warping.
- Handle prints with clean hands to avoid transferring oils or dirt.
- Use proper hanging hardware to support the canvas securely on walls.
- Keep prints away from moisture and humidity to stop mold growth.
Long-term Care Advice
Store canvas prints in a cool, dry place if not displayed. Use acid-free paper or cloth to cover them during storage. Avoid stacking prints directly on top of each other. Check prints periodically for dust and signs of wear. Consider professional framing for extra protection and durability.

Credit: fixthephoto.com
Frequently Asked Questions
How Do I Choose The Best Photo For Canvas Printing?
Select a high-resolution photo with clear details and vibrant colors. Ensure the image has good lighting and sharp focus for best canvas quality. Avoid overly dark or blurry photos to maintain visual appeal when printed on canvas.
What Is The Ideal Canvas Size For Photo Printing?
Choose a canvas size that complements your photo’s resolution and room space. Common sizes range from 8×10 inches to 24×36 inches. Larger canvases need higher-resolution images to avoid pixelation and preserve image clarity.
Can I Print Any Photo On Canvas At Home?
Yes, but home printers must support canvas material and use pigment-based inks. Specialized canvas printers provide better color accuracy and durability than regular photo printers. Professional printing services often yield superior results.
How Should I Prepare My Photo Before Printing On Canvas?
Edit your photo by adjusting brightness, contrast, and sharpness. Crop or resize the image to match your chosen canvas dimensions. Save the file in a high-quality format like TIFF or PNG for best print results.
Conclusion
Putting a photo on canvas brings your memories to life. It adds warmth and style to any room. Choose a clear, high-quality image for the best results. Follow simple steps to print and stretch your photo. Personalizing your space becomes easy and fun this way.
Enjoy the process and the final beautiful artwork. Your photo on canvas will make a lasting impression. Try it today and see the difference it makes.


