
Have you ever wanted to turn your favorite photo into a beautiful canvas that brightens up your space? Imagine seeing your special memories or stunning images come to life on a textured canvas, adding a personal touch to your home or office.
You might think it’s complicated or expensive, but it’s easier than you believe. In this guide, you’ll learn simple, step-by-step ways to put a picture on canvas. By the end, you’ll be ready to create your own eye-catching art that everyone will admire.
Let’s get started and make your walls tell your story!

Credit: fixthephoto.com
Choosing The Right Image
Choosing a clear, high-quality image ensures your canvas looks sharp and vibrant. Simple pictures with strong colors work best for printing on canvas. Consider the image size to avoid blurriness when enlarged.
Choosing the right image for your canvas print can transform a simple photo into a stunning work of art. The right image will not only reflect your personal style but also complement the decor of your space. So, how do you make the perfect choice? Let’s break it down.Selecting High-quality Photos
Quality is key when it comes to choosing an image for your canvas. A high-quality photo will ensure that every detail is captured with clarity. Avoid blurry or pixelated images, as these will detract from the overall effect. Consider images with vibrant colors and sharp details. Natural lighting often brings out the best in photos, making them ideal candidates for canvas prints.Considering Image Resolution
Image resolution plays a crucial role in how your photo will look on canvas. A high-resolution image will maintain its quality even when enlarged. Aim for a minimum of 300 DPI (dots per inch) to ensure that your image remains crisp and clear. If you’re unsure about the resolution of your photo, many online tools can help you check it. Remember, the larger the canvas, the higher the resolution needed.Matching Image Style To Canvas Size
The style of your image should harmonize with the size of the canvas. A panoramic landscape might look stunning on a wide canvas, while a portrait may suit a smaller, more intimate size. Consider the wall space where the canvas will be displayed. Will a bold, colorful image work better, or would a subtle, monochromatic photo be more fitting? Think about the mood you want to create and choose an image that matches that vision. Choosing the right image is not just about technical details; it’s also about creating an emotional connection. Which photo tells your story best?
Credit: www.reddit.com
Preparing Your Image
Preparing your image is a crucial step before turning your photo into a beautiful canvas print. It ensures that your picture looks sharp, vibrant, and perfectly sized to fit the canvas. Taking time to prepare your image properly can make a big difference in the final result.
Editing And Enhancing Photos
Start by adjusting brightness, contrast, and color balance to make your photo pop. Simple tweaks can bring out hidden details and improve overall clarity. Don’t hesitate to remove distractions or blemishes that might draw attention away from your main subject.
Have you noticed how a slight increase in saturation can breathe life into dull colors? Try different filters but keep it natural—over-editing can make your canvas look artificial.
Cropping For Canvas Dimensions
Canvas prints usually come in specific sizes, so cropping your image to match those dimensions is essential. Use the exact aspect ratio of your chosen canvas size to avoid unwanted stretching or cutting off important parts.
Think about how your image will wrap around the edges if you’re using a gallery-wrapped canvas. You might need to leave extra space or extend the background slightly to maintain the composition.
Converting To Suitable File Formats
To keep your image quality high, save your photo in formats like TIFF or PNG, which don’t compress the image too much. JPEGs can work, but make sure the quality setting is at the highest level.
Have you checked your image resolution? Aim for at least 150-300 DPI to ensure your canvas doesn’t come out pixelated or blurry. This small detail can save you from disappointment after printing.
Picking Canvas Materials
Picking the right canvas materials can make a huge difference in how your picture looks once it’s transferred and displayed. The texture, durability, and finish all affect the final outcome. Choosing carefully helps your artwork stand out and last longer.
Types Of Canvas Fabrics
Not all canvases are created equal. Cotton and linen are the two main types you’ll encounter. Cotton is affordable and has a smooth surface, making it great for detailed images. Linen, on the other hand, is stronger and more durable, but it comes with a higher price tag.
Have you thought about synthetic canvases? They resist moisture better, which is useful if your canvas will hang in a humid area. Keep in mind, the fabric texture changes how the image absorbs ink or paint, so test a small area if possible.
Choosing Frame Options
Your frame not only supports the canvas but also influences its presentation. Stretched frames pull the canvas tight and provide a clean, professional look. You can choose between deep or shallow stretcher bars depending on the effect you want.
Another option is gallery wrap frames, where the canvas edges are wrapped around the sides and stapled at the back. This style means you don’t need an extra frame, saving space and money. Think about where you’ll hang your picture and what style fits best with your decor.
Surface Finishes And Textures
The surface finish impacts the look and feel of your canvas print. Matte finishes reduce glare and give a soft, classic look. Glossy finishes make colors pop but can reflect light and show fingerprints easily.
Texture also plays a role in how your picture appears. A rough texture adds character and can give a painted feel, while a smoother surface keeps details sharp. Which finish matches your style and room lighting?
Printing Techniques
Choosing the right printing technique can transform your photo on canvas into a stunning piece of art. The method you pick affects the color quality, durability, and overall look of your canvas print. Let’s explore some popular printing techniques that bring your pictures to life on canvas.
Inkjet Printing On Canvas
Inkjet printing is a common and accessible way to print images on canvas. It sprays tiny droplets of ink directly onto the fabric, capturing fine details and vibrant colors.
This method works well for personal projects or small batches. However, the quality depends heavily on the printer and inks used. You might notice some fading over time if the inks are not archival.
Have you tried inkjet printing for your photos? How did the colors hold up after a while?
Giclée Printing Benefits
Giclée printing is a high-end form of inkjet printing designed for professional art prints. It uses archival-quality inks and specialized printers to produce sharp, rich images that last for decades.
If you want museum-quality canvas prints with deep color saturation and fine gradients, giclée is worth considering. It’s popular among photographers and artists who need exceptional detail and longevity.
Think about what matters most for your canvas print: Is it longevity, color accuracy, or budget? Giclée prints often cost more but provide unmatched quality.
Using Transfer Paper
Transfer paper offers a hands-on way to put your picture on canvas without expensive printers. You print your image on special transfer paper using a regular inkjet printer, then iron it onto the canvas.
This technique is budget-friendly and great for DIY projects. However, it might not deliver the same sharpness or color depth as direct printing methods.
Have you experimented with transfer paper? It’s a fun way to customize canvas art, but keep in mind it may require sealing to protect the image.
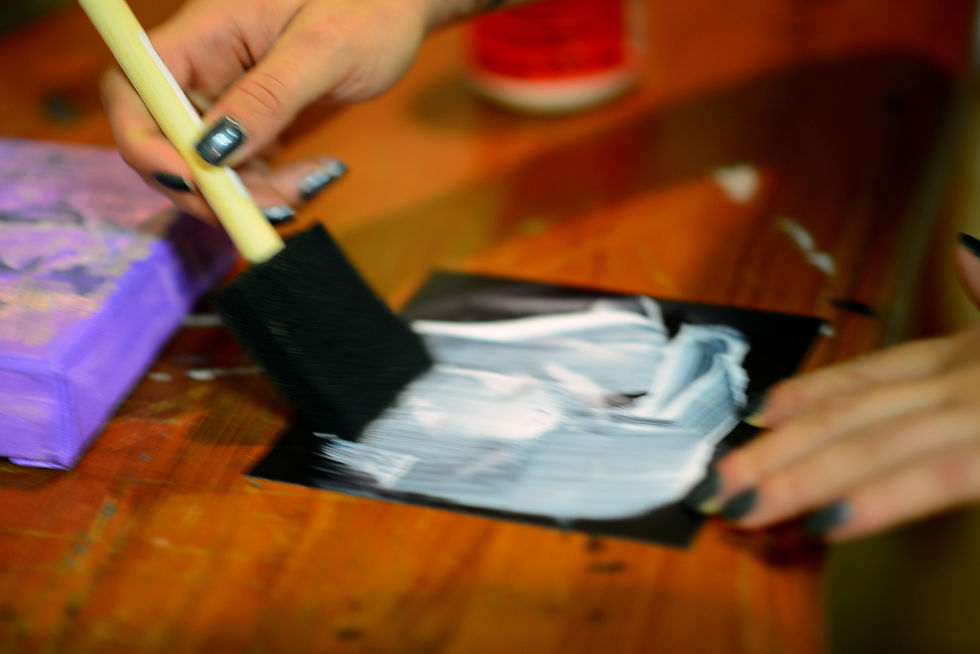
Diy Methods For Canvas Art
Creating your own canvas art from personal photos adds a unique touch to your space. DIY methods give you full control over how your image comes to life on canvas. Whether you want a sleek modern look or a textured artistic feel, these techniques offer flexibility and creative freedom.
Mod Podge Photo Transfer
Mod Podge is a popular, easy-to-use glue and sealer that lets you transfer photos onto canvas. Start by printing your photo on regular paper using a laser printer. Apply a thick layer of Mod Podge on the canvas, then place the photo face down and smooth out any bubbles.
After it dries for about 24 hours, gently rub away the paper with a damp cloth until the image appears clearly. This technique creates a slightly distressed, vintage look that many find charming. Have you tried peeling back layers in art before? This method lets you experiment with texture in a simple way.
Using Gel Mediums
Gel mediums work similarly to Mod Podge but offer different finishes like matte or gloss. Print your image with a laser printer and coat the canvas with gel medium. Press the photo face down onto the canvas, smooth it out, and let it dry completely.
Once dry, moisten the paper and carefully rub it off, revealing the transferred image beneath. Gel mediums provide a more durable finish and allow you to add paint or other elements over the image without damage. Are you interested in layering your art? This method supports complex mixed-media projects.
Hand-painting Over Prints
If you want to add a personal artistic touch, print your photo on canvas or paper and mount it. Use acrylic paints or markers to highlight details, add shadows, or introduce new colors. This approach turns a simple print into a custom piece with depth and character.
Many artists find this method rewarding because it blends photography with painting skills. Have you ever enhanced a photo with your own brushstrokes? It’s a way to make your canvas truly one-of-a-kind.
Framing And Displaying
Framing and displaying your canvas print can dramatically change how your picture is perceived. The right approach not only protects your artwork but also enhances its visual appeal in your space. Paying close attention to stretching, framing, and hanging can make your canvas stand out and draw the eye exactly where you want it.
Stretching Canvas Properly
Stretching canvas evenly is crucial to avoid wrinkles and sagging that can ruin your picture’s look. Use a sturdy wooden frame called a stretcher bar, and pull the canvas tight from the center outwards on each side. Be careful not to overstretch, which can warp the image or damage the fabric.
Many beginners overlook the importance of tension balance. If you’ve ever seen a canvas with uneven edges or bubbles, it’s usually due to improper stretching. Do you have the right tools like pliers and a staple gun to make this easier? These small investments can save you a lot of frustration.
Choosing Frames And Borders
Frames aren’t just about style; they protect your canvas from dust and damage. Decide if you want a traditional wood frame, a sleek metal one, or a simple floater frame that lets the canvas edges show. Each choice changes the vibe—wood adds warmth, metal offers modernity, and floaters keep focus on the image.
Borders or mats can also add depth and separate your picture from the wall color. If your room has busy walls, a white or neutral mat can help the canvas pop. Ask yourself, would a bold frame overpower the image, or enhance it?
Hanging Tips For Impact
How you hang your canvas affects how it interacts with your room’s lighting and layout. Eye level is generally the best height for viewing art. Use sturdy hooks or a wire system to keep it secure and level.
Consider the room’s light sources—natural light can bring out colors, but direct sunlight might fade your canvas over time. Position your piece where it can be admired without risking damage. Have you experimented with grouping smaller canvases together to create a striking gallery wall?
Caring For Canvas Prints
Taking care of your canvas prints ensures they stay vibrant and beautiful for years. Canvas material is durable but needs some attention to keep dust, light, and humidity from damaging the image. You don’t need special skills to protect your artwork—just a few simple habits.
Cleaning And Maintenance
Dust your canvas gently using a soft, dry cloth or a feather duster. Avoid using water or cleaning sprays directly on the canvas, as moisture can warp or damage the fabric. If you notice fingerprints or smudges, lightly dampen a cloth with water and gently blot the area—never rub harshly.
Regularly check for dust buildup, especially around the edges where it collects unnoticed. Have you ever seen how quickly dust settles on items near open windows? Keeping your canvas clean helps maintain its sharpness and color depth.
Avoiding Sun Damage
Direct sunlight can fade your canvas prints over time. Try to hang your artwork in places with indirect light or use UV-protective glass if framing your canvas. Even a few hours of harsh sunlight can dull the colors more than you might expect.
Consider rotating your canvases if they are displayed in rooms with varying light throughout the day. Have you ever noticed how some photos lose their vibrancy while others look fresh? This simple step helps preserve your print’s original beauty.
Storing Canvas Safely
If you need to store your canvas prints, keep them in a cool, dry place away from direct sunlight and moisture. Store them upright and avoid stacking heavy items on top to prevent warping or creasing. Use acid-free paper or cloth to cover the canvas and protect it from dust and scratches.
Think about how you store your other valuable items—would you leave them exposed to humidity or pile them carelessly? Treat your canvas prints with the same care to keep them looking their best when you’re ready to display them again.

Credit: www.walmart.com
Frequently Asked Questions
How Do I Choose The Right Picture For Canvas Printing?
Select high-resolution images with clear focus and vibrant colors. Avoid pixelated or blurry photos. Choose pictures that match your room’s theme and size.
What Materials Are Needed To Put A Picture On Canvas?
You need canvas fabric, a printer or transfer paper, adhesive, and a frame or stretcher bars. Optional tools include a squeegee and scissors.
Can I Use A Home Printer For Canvas Pictures?
Yes, use inkjet printers with special canvas paper. Ensure your printer settings match the canvas type for best results.
How Do I Transfer A Picture Onto Canvas?
Print the image on transfer paper, place it on canvas, and use heat or adhesive. Smooth out bubbles and allow it to dry.
Conclusion
Putting a picture on canvas brings your photos to life. It adds a personal touch to your space. You can create unique art without much effort. Just follow the simple steps carefully. Choose the right materials for best results. Enjoy the process and be patient.
Your finished canvas will look great and last long. Try it yourself and see the difference. This simple craft makes any photo special. Give your memories a beautiful new home.


