
Are you struggling to get your stickers to stick on a textured wall? You’re not alone.
Smooth walls make it easy, but textured surfaces can be tricky and frustrating. The good news is, with the right steps, you can make your stickers stay put and look great. You’ll discover simple, effective tips to help your stickers stick better and last longer on textured walls.
Keep reading—you’ll soon transform your space without the hassle or damage.
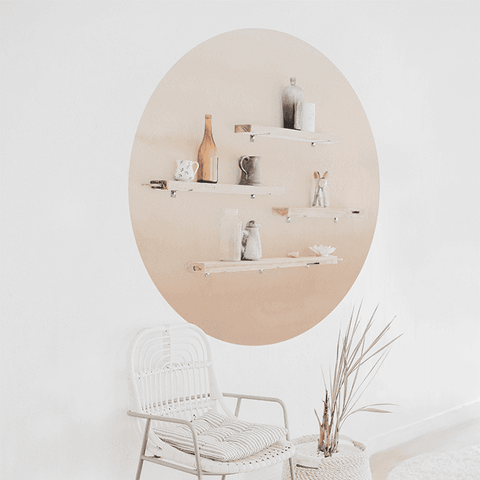
Credit: uwdecals.com
Choosing The Right Stickers
Choosing the right stickers is key to making sure they stick well and look great on your textured wall. Not all stickers behave the same way on uneven surfaces, so picking the right type can save you time and frustration. Let’s break down what you need to consider for the best results.
Materials That Stick Well
Some sticker materials hold better on textured walls than others. Vinyl stickers are a top choice because they’re flexible and have strong adhesive that can grip uneven surfaces. On the other hand, paper stickers often struggle to stick properly and may peel off quickly.
Look for stickers labeled as waterproof or weather-resistant. These tend to have adhesives designed for tough conditions and will last longer on textured paint or brick. Have you tried different materials and noticed which ones stayed put? Sharing your experience could help others avoid common mistakes.
Size And Shape Considerations
The size and shape of your stickers affect how well they adhere to a textured wall. Large stickers have more surface area to stick but can be harder to apply smoothly over bumps and grooves. Smaller stickers are easier to place, but they might not stand out as much.
Shapes with sharp edges or intricate details might peel at the corners faster than rounded or simple shapes. If you want a sticker to stay firmly in place, opt for designs without tiny cutouts or thin parts that can catch on the texture. Have you noticed certain shapes lifting more quickly on your walls?
Removable Vs Permanent Stickers
Decide if you want your stickers to be removable or permanent before buying. Removable stickers use a gentler adhesive that’s less likely to damage your wall but might struggle to stick on rough textures. Permanent stickers offer stronger adhesion but can be tricky to remove without peeling paint or leaving residue.
Think about how long you want the stickers to stay. If you’re decorating a rental or like to change your decor often, removable options are safer. For long-term decoration, permanent stickers might be worth the risk. Which option fits your needs better?
Preparing The Textured Wall
Clean the wall surface to remove dust and dirt for better sticker adhesion. Use a mild cleaner and let the wall dry completely before applying stickers. Smooth out any loose paint or bumps to create a stable surface.
Preparing the Textured Wall Applying stickers to a textured wall can be a bit challenging, but the key to success lies in thorough preparation. A well-prepared wall ensures that your stickers will adhere properly and remain intact over time. Let’s dive into the essential steps for getting your textured wall ready for stickers.Cleaning The Surface
Start by cleaning your wall to remove dust, dirt, and grease. Use a mild soap mixed with warm water and a soft cloth or sponge. Gently scrub the wall, focusing on areas that might have accumulated more grime, such as near windows or vents. Rinse the wall with clean water to remove any soap residue. Then, let it dry completely. A dry surface is crucial for the stickers to stick well.Smoothing Rough Spots
Once your wall is clean, inspect it for any rough or uneven spots. Use fine-grit sandpaper to smooth these areas. This step helps create a more even surface for the stickers to adhere to. After sanding, wipe the wall again with a damp cloth to remove any dust created by sanding. Allow the wall to dry before proceeding.Testing Adhesion
Before applying your stickers, test the adhesion on a small, inconspicuous area of the wall. Stick a small piece of similar material to see if it adheres well. Leave it for 24 hours to check if it holds up. If the test sticker peels off or curls, consider using a stronger adhesive or wall primer designed for textured surfaces. This ensures your stickers will stay in place without any issues. Are you ready to transform your textured wall with stickers? With these preparation steps, you’re set for a successful and lasting application.Applying Stickers Correctly
Applying stickers correctly on a textured wall takes some care and attention. The uneven surface can make it tricky for stickers to stick well and stay in place. Following the right steps helps the sticker look smooth and last longer.
Peeling Without Damage
Peel the sticker slowly from its backing to avoid tears. Use your fingernail or a flat tool to lift the edge gently. Avoid pulling too hard, as this can stretch or damage the sticker. If the sticker is large, peel a small section first and hold the rest in place.
Positioning And Aligning
Hold the sticker near the wall without touching the surface. Check the angle and height carefully. Use a level or a ruler to keep it straight, especially for geometric designs. Lightly place the sticker on the wall to test the position. Adjust it while it still has a weak grip.
Pressing Techniques For Better Grip
Use a soft cloth or a squeegee to press the sticker firmly. Start from the center and move outward to push out air bubbles. Apply even pressure over the entire sticker surface. Avoid pressing too hard, as this can damage delicate textures. Let the sticker set for a few minutes before touching.
Dealing With Common Challenges
Applying stickers to textured walls can be tricky. The uneven surface often causes common problems. Knowing how to handle these issues helps your stickers stick well and look great. This section covers typical challenges and easy ways to fix them.
Bubbles And Wrinkles
Bubbles and wrinkles appear when air gets trapped under the sticker. Press the sticker gently from the center outwards. Use a soft cloth or a squeegee to smooth the surface. For stubborn bubbles, try pricking them with a fine needle. Then press the air out carefully. Avoid stretching the sticker too much during application.
Peeling Edges
Peeling edges happen when the sticker does not stick well at the sides. Make sure the wall is clean and dry before applying. Press the edges firmly to secure them. Use a hairdryer on low heat to warm the sticker edges. This helps the adhesive bond better to the textured surface. Avoid touching the edges after application to keep them stuck.
Uneven Textures
Uneven textures make stickers hard to apply smoothly. Choose stickers with flexible materials that can bend easily. Cut the sticker into smaller sections for better control. Apply each piece slowly and press it down firmly. Use your fingers to push the sticker into the wall’s crevices. This ensures better contact and a neater look.
Maintaining Sticker Longevity
Maintaining sticker longevity on textured walls requires careful attention after application. Proper care helps stickers stay vibrant and firmly attached longer. Simple habits can prevent damage and peeling. Focus on gentle cleaning and controlling the environment around the stickers.
Cleaning Around Stickers
Keep the area around stickers free from dust and dirt. Use a soft, dry cloth to gently wipe the wall. Avoid scrubbing directly on the sticker surface. Do not use harsh chemicals or abrasive cleaners. Lightly dusting helps maintain the adhesive quality. Clean walls support better sticker adhesion and appearance.
Avoiding Excessive Heat And Moisture
Stick to moderate room temperature near the stickers. High heat can soften the adhesive and cause peeling. Avoid placing stickers near heaters or direct sunlight. Moisture weakens the glue and may cause bubbles or lifting. Use a dehumidifier in damp rooms to reduce moisture. Controlling heat and moisture keeps stickers secure and fresh-looking.

Credit: commomy.com
Alternative Options For Textured Walls
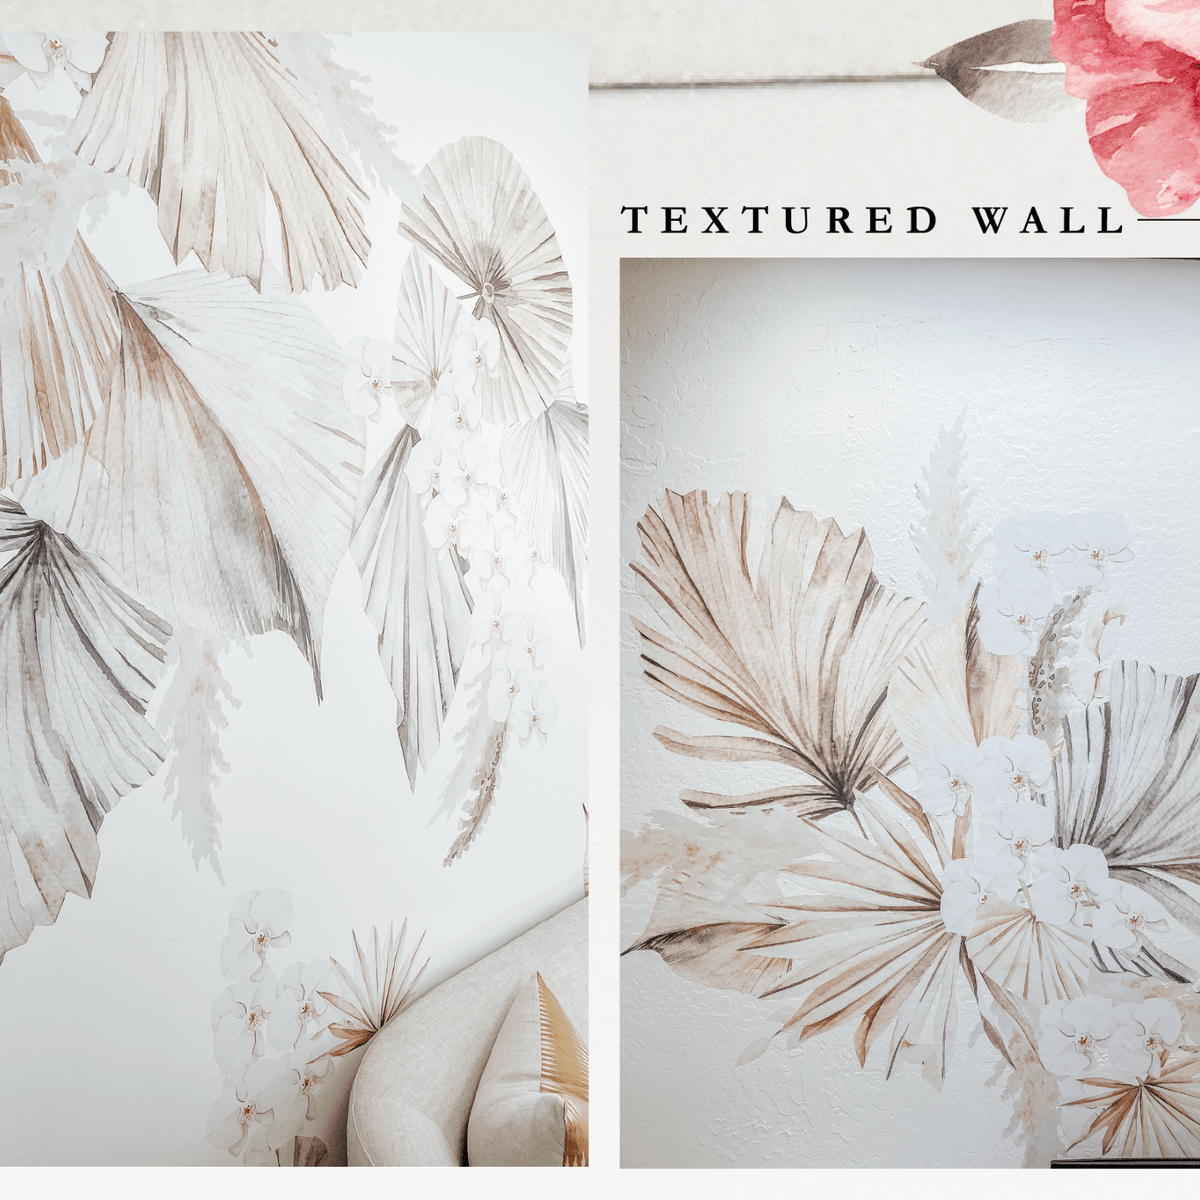
Textured walls can be tricky when you want to add stickers that stay put and look good. Traditional stickers often don’t stick well or peel off quickly on uneven surfaces. Luckily, there are alternative options that work better and let you personalize your space without frustration.
Using Wall Decals
Wall decals are designed specifically for various wall surfaces, including textured ones. They often use flexible vinyl material that can conform to bumps and grooves, making them stick better than standard stickers.
You can find decals in many sizes and designs, from simple shapes to intricate art. If you want something removable yet durable, decals provide a balance between easy application and strong adhesion.
Temporary Adhesive Solutions
Sometimes, you don’t want a permanent fixture. Temporary adhesives like poster putty or removable double-sided tape can help your stickers stay on textured walls without damage.
These solutions let you reposition stickers until you find the perfect spot. Plus, they leave no sticky residue when removed, which is ideal if you like changing your decor often.
Customizing Stickers For Better Fit
Adjusting stickers to fit your wall’s texture can make a big difference. Try trimming edges or cutting stickers into smaller pieces to apply on uneven areas.
Another trick is to gently warm the sticker with a hairdryer. This softens the adhesive and helps it mold better to your wall’s surface. Have you tried customizing your stickers this way before?

Credit: commomy.com
Frequently Asked Questions
How Do I Prepare A Textured Wall For Stickers?
Clean the wall with a damp cloth to remove dust and dirt. Ensure the surface is dry and smooth any rough patches. Use a primer if needed for better sticker adhesion on textured surfaces.
What Type Of Stickers Work Best On Textured Walls?
Vinyl stickers with strong adhesive work best on textured walls. Avoid paper stickers as they may peel off easily. Choose flexible, durable stickers designed for uneven surfaces.
Can I Remove Stickers Without Damaging Textured Walls?
Yes, gently heat the sticker with a hairdryer to soften the adhesive. Slowly peel it off at a low angle. Use adhesive remover if residue remains, taking care not to damage the wall texture.
How To Make Stickers Stick Longer On Textured Walls?
Apply a clear acrylic sealer over the sticker after placement. Press firmly to ensure good contact. Avoid placing stickers in humid or high-traffic areas to prolong adhesion.
Conclusion
Applying stickers on textured walls can be simple with the right steps. Clean the wall well, choose good stickers, and press them firmly. Small bubbles? Smooth them out gently. Take your time for best results. Stickers can brighten up any room, even on rough surfaces.
Try these tips to make your walls look great. Enjoy decorating with ease and confidence.


