
Are you ready to make your Christmas tree shine like never before? Putting up Christmas tree lights might seem simple, but doing it the right way can transform your home into a warm, magical holiday retreat.
Imagine your tree glowing evenly, with every light perfectly placed to create that cozy, festive feeling you and your loved ones will enjoy. In this guide, you’ll discover easy, step-by-step tips to light your tree beautifully and avoid common mistakes that can leave your decorations looking messy or dull.
Keep reading, and you’ll have a stunning tree that brings joy and sparkle to your holiday season!
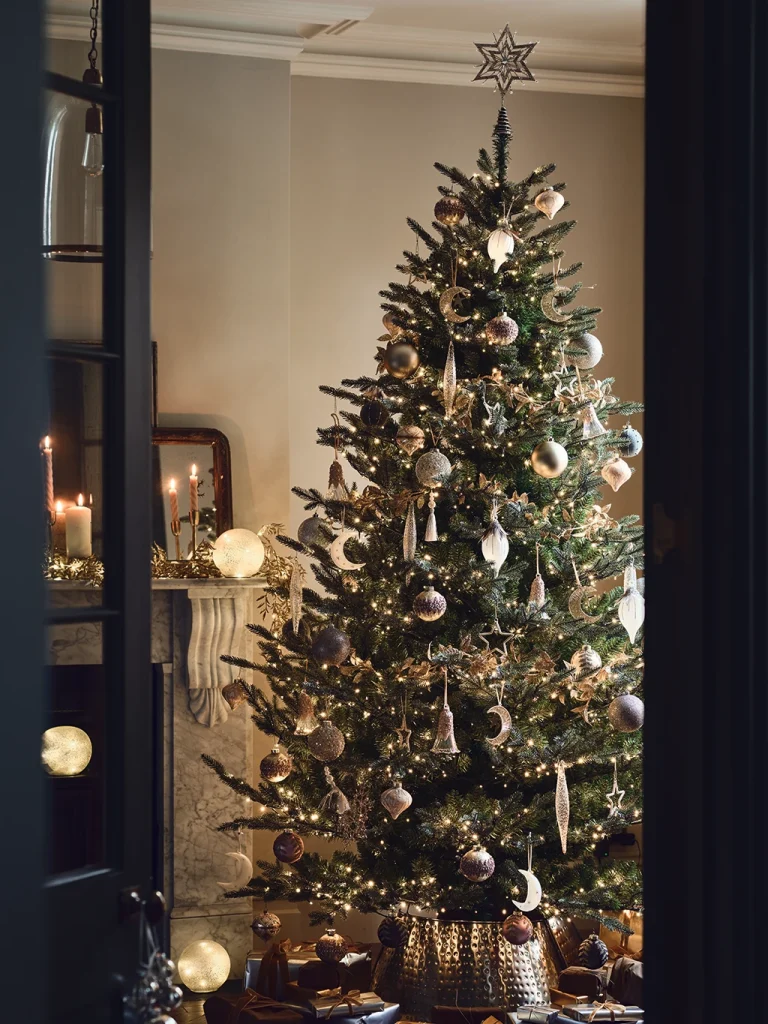
Credit: www.christmastreeworld.co.uk
Choosing The Right Lights
Choosing the right lights for your Christmas tree sets the tone for your holiday decor. The right lights bring warmth, sparkle, and joy to your space. Selecting the best option depends on style, brightness, and energy use. This guide helps you understand different types and find the perfect match.
Types Of Christmas Lights
Christmas lights come in many forms. Each type offers a unique look and feel.
- Incandescent Lights:Classic bulbs with warm glow. Use more energy and get hot.
- LED Lights:Bright, cool to touch, and last longer. Save energy and cost less over time.
- Fairy Lights:Tiny, delicate bulbs perfect for a subtle sparkle.
- Net Lights:Easy to drape over branches for quick coverage.
- Icicle Lights:Hang from branches to mimic icicles.
Energy Efficiency Options
Energy use matters for both the environment and your bills. LED lights offer the best efficiency. They use up to 80% less power than incandescent bulbs. LED bulbs also last longer, reducing waste and replacement costs. Some LED lights come with timers or remote controls to save even more energy.
Color And Style Choices
Color changes the mood and theme of your tree. White lights create a clean and elegant look. Multi-colored lights add fun and playfulness. You can choose warm white or cool white for different effects. Styles range from classic round bulbs to modern shapes like stars or snowflakes. Mixing styles and colors can create a unique, festive display.
Preparing Your Tree
Preparing your Christmas tree properly sets the foundation for a beautifully lit and festive centerpiece. Taking time to get your tree ready ensures the lights will shine evenly and your decorations will look their best. Let’s look at the key steps to prepare your tree before you start stringing those lights.
Selecting The Perfect Tree
Choosing the right tree is more than just picking the tallest or fullest one. Consider the space where your tree will stand—measure the height and width beforehand to avoid surprises. Look for trees with healthy, green needles that don’t shed easily; this means your tree will last longer and hold the lights better.
Think about the type of tree you want: a fir offers sturdy branches, while a spruce has a classic look but softer needles. If you’ve ever struggled with a tree that droops under heavy decorations, you’ll appreciate selecting one with strong, well-spaced branches.
Setting Up The Tree Stand
A stable base is essential to keep your tree upright and safe. Choose a stand that fits your tree’s trunk snugly and can hold enough water to keep it fresh. If your stand doesn’t have a water reservoir, add a shallow dish underneath to catch drips and prevent floor damage.
Before placing the tree in the stand, trim a small slice off the trunk’s bottom to improve water absorption. Once secured, check the tree’s balance—wiggle it gently to make sure it won’t tip over. This small step will save you from a messy cleanup later!
Fluffing The Branches
Fluffing the branches is the secret to making your tree look full and inviting. Start at the bottom and work your way up, gently pulling each branch outward and separating the needles. This process fills in gaps and creates space for lights and ornaments.
Don’t rush this step—take your time to rotate the tree and fluff each side. I once skipped this part and ended up with a sparse-looking tree that needed extra decorations to hide empty spots. Proper fluffing can reduce the number of ornaments you need and give your tree a natural, lush appearance.
Testing The Lights
Before you drape your Christmas tree with twinkling lights, test them. This ensures a hassle-free decorating experience. Well-functioning lights are essential for a dazzling holiday display. Testing lights helps avoid frustration later.
Checking For Damaged Bulbs
Plug in the light string. Look for bulbs that don’t light up. Replace any damaged or burnt-out bulbs. Ensure all bulbs are securely in their sockets. Loose bulbs can disrupt the entire string.
Untangling The Light Strings
Lay the string flat on the floor. Gently separate knots and tangles. Be patient to avoid breaking the wires. Start from one end and work towards the other. This makes the process smoother and faster.
Planning The Lighting Pattern
Planning the lighting pattern is key to making your Christmas tree look magical. It helps spread the lights evenly and enhances the tree’s shape. A good plan saves time and avoids tangled wires. Think about how you want the lights to flow and where to start. This way, the tree will glow beautifully from every angle.
Top-down Vs. Bottom-up Approach
Decide whether to start lighting from the top or the bottom of the tree. Each way has its own style and ease.
- Top-Down:Begin at the top and work downwards. This keeps the plug near the bottom for easy access.
- Bottom-Up:Start at the base and move upward. It feels natural for many and helps check coverage as you go.
Think about your tree’s size and where the power source is. Choose the approach that feels best for your setup.
Wrapping Branches Or Weaving Lights
Think about how to place lights on the branches. Two common ways create different effects.
- Wrapping Branches:Wrap lights tightly around each branch. This gives a bright and detailed look.
- Weaving Lights:Weave the lights in and out between branches. This creates a soft, glowing effect.
Wrapping works well for fuller trees. Weaving suits trees with open spaces. Both ways highlight the tree’s natural beauty.
Installing The Lights
Installing lights on your Christmas tree creates a magical glow that brightens any room. Proper placement enhances the tree’s natural beauty. Careful planning helps avoid tangled wires and dark spots. Follow these tips to install lights evenly and safely.
Starting At The Power Source
Begin near the power outlet to keep cords manageable. Plug in the lights before wrapping them around the tree. This makes it easier to check for broken bulbs or loose connections. Keep the plug accessible to turn lights on and off easily.
Even Distribution Techniques
Wrap lights around the tree in a spiral from bottom to top. Space the strands evenly to avoid crowded or empty areas. Push bulbs gently into branches for a secure fit. Use multiple light strands for a fuller, balanced glow.
Securing The Lights Safely
Use small clips or twist ties to hold lights in place. Avoid sharp objects that can damage wires. Keep cords away from heat sources and water. Check that plugs and cords are not pinched or bent. Safety prevents accidents and keeps lights shining bright.

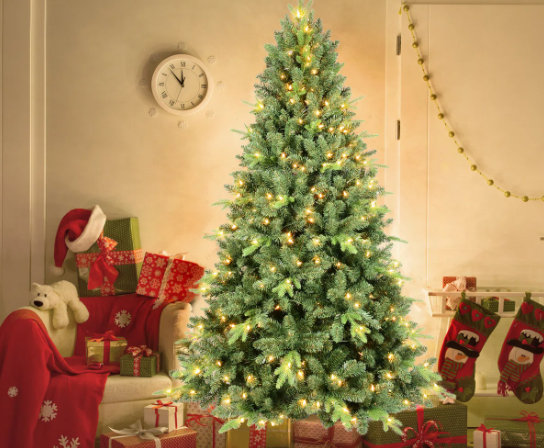
Credit: www.youtube.com
Final Touches
Final touches make your Christmas tree lights look neat and festive. They hide imperfections and boost the holiday mood. Small efforts here create a big difference in the overall look. These tips help you finish the tree lighting perfectly.
Hiding The Cords
Keep cords out of sight for a clean appearance. Tuck them behind tree branches or inside the tree trunk. Use green twist ties or clips to secure cords along branches. Avoid hanging cords loosely; it looks messy and can be unsafe.
Adding Extra Sparkle
Enhance your lights with reflective decorations. Add shiny ornaments or tinsel near the lights. Place clear or white lights alongside colored ones for a balanced glow. Small mirrors or glittery ribbons catch light and brighten the tree.
Testing The Full Setup
Turn on all the lights before finishing the decoration. Check for dark spots or flickering bulbs. Replace any broken or dim bulbs quickly. Ensure plugs and extension cords are secure and safe. A fully lit tree looks warm and inviting.
Safety Tips
Putting up Christmas tree lights brings a magical glow to your home, but safety should never take a backseat. You want your decorations to sparkle without causing any hazards. Paying attention to simple safety tips can prevent accidents and keep your festive spirit bright and worry-free.
Avoiding Overloads
Plugging too many light strings into a single outlet can cause electrical overloads, increasing the risk of fires. Check the wattage limits on your power strips and extension cords before adding more lights. If you notice your plugs or cords getting warm, that’s a clear warning sign to reduce the load immediately.
Think about how many devices you usually plug in daily. Would you connect double that to one outlet? Probably not. Your Christmas lights deserve the same caution. Use multiple outlets or power strips with built-in circuit breakers to spread out the electrical load safely.
Using Outdoor Vs. Indoor Lights
Not all Christmas lights are made equal. Indoor lights are not designed to handle moisture or harsh weather conditions. Using indoor lights outside can lead to short circuits or electric shocks.
Always check the packaging for “outdoor” labels if you plan to decorate your porch or garden. Outdoor lights are built tougher with waterproof coatings and stronger wiring. If you’re unsure, ask yourself: are these lights standing up to rain, snow, or wind? If the answer is no, switch to outdoor-rated lights.
Turning Off Lights When Unattended
Leaving Christmas tree lights on all night or when no one is home can be risky. Lights left on unattended may overheat or malfunction, posing a fire hazard. Make it a habit to turn off your lights before going to bed or leaving the house.
Consider using a timer or smart plugs to automate this process. They ensure your lights shine only when you want them to, saving energy and adding peace of mind. Have you thought about how much easier it would be to never worry about forgetting to switch off your lights?
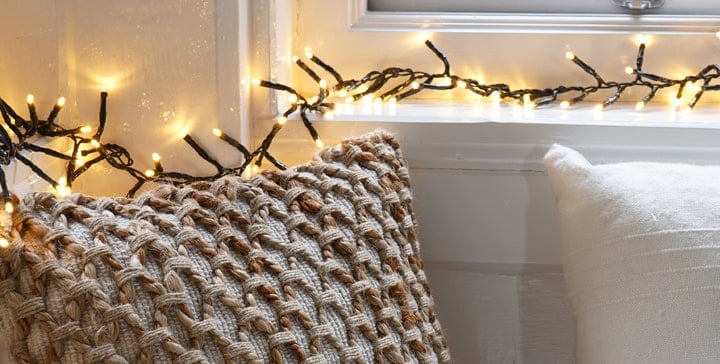
Credit: www.wayfair.ca
Frequently Asked Questions
How Do You Start Putting Lights On A Christmas Tree?
Begin by testing all lights for working bulbs. Start at the tree’s base and wrap lights evenly around branches upwards.
What Type Of Lights Are Best For Christmas Trees?
LED lights are best; they use less energy and last longer. They also stay cool and come in many colors.
How Many Lights Do I Need For My Christmas Tree?
Use 100 lights per foot of tree height for a bright look. Adjust quantity based on tree fullness and personal preference.
Should I Use Indoor Or Outdoor Lights For My Tree?
Use indoor lights for indoor trees to ensure safety. Outdoor lights are designed for weather resistance but may be too bright indoors.
Conclusion
Putting Christmas tree lights takes some care and planning. Start with good quality lights and check them first. Wrap the lights evenly around the tree for a bright look. Keep the plugs and cords safe and dry. Take your time and enjoy the process.
A well-lit tree brings warmth and joy to your home. This simple task can create a magical holiday feeling for everyone. Remember, patience makes the lights shine their best. Happy decorating!


