
Are you ready to transform your space instantly without any hassle? Putting up wall art stickers is one of the easiest and most affordable ways to refresh your room’s look.
But if you’ve ever worried about bubbles, crooked lines, or sticky messes, you’re not alone. In this guide, you’ll discover simple, step-by-step tips that make applying wall art stickers smooth and stress-free. Keep reading, and you’ll be amazed at how quickly your walls can come to life with just a few easy moves.
Choosing The Right Wall Stickers
Choosing the right wall stickers sets the tone for your room’s decor. It helps create a balanced and appealing space. The right choice depends on the material, size, and style of the sticker. This ensures the art complements your walls and personal taste. Consider these factors carefully to make your walls stand out beautifully.
Materials And Finishes
Wall stickers come in various materials like vinyl, fabric, and paper. Vinyl stickers are durable and easy to clean. Fabric stickers add a soft texture to your walls. Paper stickers are lightweight but less durable. Finishes vary from matte to glossy. Matte finishes reduce glare and look subtle. Glossy finishes reflect light and catch attention. Choose material and finish based on room use and lighting.
Size And Design Considerations
Measure your wall space before picking a sticker. Large stickers fill empty walls well. Small stickers work best in tight spaces or grouped sets. Designs range from simple shapes to detailed images. Simple designs create a clean, modern look. Detailed designs add character and depth. Match the size and design to the wall’s size and room’s purpose.
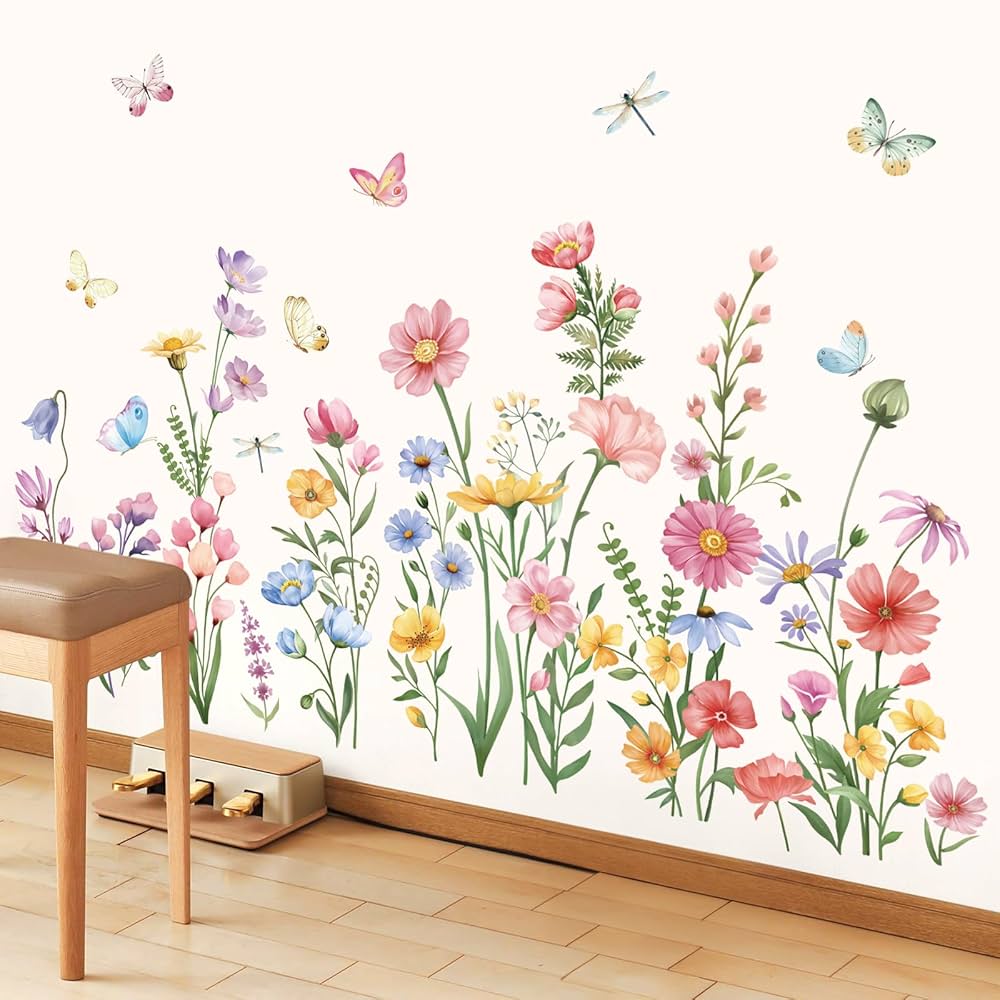
Matching Your Room’s Style
Match wall stickers with your room’s style for harmony. For modern rooms, choose geometric or abstract designs. Rustic rooms suit nature or vintage-themed stickers. Kids’ rooms benefit from bright colors and fun shapes. Neutral colors fit minimalist or classic styles. Think about the room’s color palette and furniture style. Stickers should enhance, not clash with, the existing decor.

Credit: uwdecals.com
Preparing Your Wall Surface
Preparing your wall surface is the first key step before applying wall art stickers. A clean and smooth wall ensures the stickers stick well and last longer. Taking time to prepare the surface helps avoid peeling and bubbles under the stickers. Follow simple actions for the best results.
Cleaning And Drying The Wall
Clean the wall using a mild soap and water solution. Use a soft cloth or sponge to remove dust, dirt, and grease. Avoid harsh chemicals that may damage the paint or wall surface. Rinse with clean water and dry thoroughly with a towel. The wall must be completely dry before applying stickers.
Dealing With Wall Imperfections
Check the wall for cracks, holes, or bumps. Use spackling paste or filler to smooth out imperfections. Sand the filled areas lightly once dry to create an even surface. Avoid rough or uneven walls as they reduce sticker adhesion. Smooth walls give a clean and professional look.
Best Wall Types For Stickers
Wall stickers work best on smooth, non-porous surfaces. Painted drywall, glass, tiles, and metal are ideal. Avoid textured walls like brick, stucco, or heavily embossed wallpaper. These surfaces make stickers peel off quickly. A flat and clean wall offers the strongest hold and best appearance.
Gathering Tools And Supplies
Gather all needed tools like a ruler, cleaning cloth, and a squeegee before starting. Use mild soap and water to clean the wall surface for better sticker adhesion. Ensure the wall is dry and smooth to avoid bubbles under the sticker.
Gathering the right tools and supplies is crucial when you’re ready to add a touch of creativity to your walls with art stickers. Being prepared ensures a smooth process and a stunning result. Imagine trying to bake a cake without a mixing bowl or spatula; similarly, without the proper tools, your wall art project might not turn out as planned. This guide will help you collect everything you need, making the task both fun and efficient.Essential Tools Checklist
Before you dive in, make sure you have these items on hand:- Measuring Tape:Accuracy matters when positioning your stickers.
- Pencil:Lightly mark where each sticker will go.
- Level:Keep your designs straight and aligned.
- Clean Cloth:Wipe the wall to remove dust and ensure adhesion.
- Plastic Squeegee:Smooth out bubbles after applying the sticker.
Optional Accessories For Precision
If you’re aiming for perfection, consider these additional supplies:- Masking Tape:Temporarily hold stickers in place before final placement.
- Craft Knife:Trim any excess sticker material for a clean finish.
- Laser Level:For those who want precision down to the last millimeter.
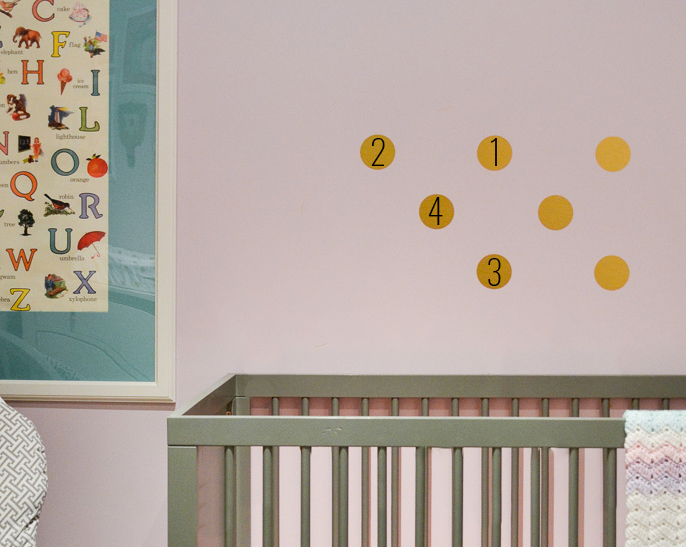
Planning Your Layout
Planning your layout is key to making sure your wall art stickers look great and fit perfectly in your space. Without a clear plan, you risk ending up with crooked or poorly spaced designs that don’t have the impact you want. Taking time to plan helps you visualize the final look and saves you from unnecessary frustration.
Measuring And Marking
Start by measuring the wall area where you want to place your stickers. Use a tape measure to get the exact width and height available. Mark the boundaries lightly with a pencil or painter’s tape so you know your working space.
Measure the sticker dimensions too, so you understand how much space each piece will take. This helps you decide if you want to place them close together or spread out. Accurate marks guide you to avoid awkward gaps or overlaps.
Creating A Design Mockup
Try arranging your stickers on the floor or a large table first. Move them around until you find a layout that feels balanced and pleasing. This hands-on approach often reveals better placement ideas than imagining it in your head.
Taking a photo of your mockup can be useful. You can refer back to it while you work on the wall, ensuring you stay true to your plan. It’s easier to adjust before sticking anything permanently.
Using Templates Or Guides
If your stickers come with templates or if you can print your own guides, use them. Templates help you position each piece precisely without guesswork. This is especially helpful for complex or large designs.
Applying painter’s tape along the template edges can act as a visual boundary. It prevents you from placing stickers too far off or crooked. Would using a template make you more confident about tackling your wall art?
Applying Wall Stickers Step-by-step
Applying wall stickers is a simple process that anyone can follow. It requires patience and a steady hand. The key is to prepare the wall surface and work carefully to avoid bubbles and wrinkles. This step-by-step guide helps you place your wall art stickers neatly and effectively.
Peeling And Positioning
Start by gently peeling the sticker from its backing paper. Avoid pulling too fast to keep the design intact. Hold the sticker by the edges and position it on the wall. Use light pressure to place it without sticking fully. Adjust the position until it looks right.
Smoothing Out Bubbles
Once the sticker is in place, smooth out any air bubbles. Use a soft cloth or a plastic card for this task. Move from the center toward the edges. This pushes the air out and helps the sticker stick better. Take your time to make the surface flat and neat.
Correcting Mistakes
If the sticker is not in the right spot, peel it off slowly. Do this carefully to avoid tearing the sticker or damaging the wall. Reposition the sticker and press it back on the wall. Small mistakes can be fixed easily with patience and care.
Credit: www.amazon.ca
Maintaining Your Wall Art
Maintaining your wall art stickers ensures they stay vibrant and intact for a long time. Proper care prevents peeling, fading, and damage that can ruin the look you’ve worked hard to create. How often you clean and handle your wall art can make a big difference in its lifespan.
Cleaning Tips
Use a soft, dry cloth or a microfiber duster to gently remove dust from your wall art stickers. Avoid harsh chemicals or abrasive materials that might damage the design or adhesive. If you need to clean stubborn spots, lightly dampen the cloth with water and dab gently instead of rubbing.
Have you noticed how a quick dusting brightens your room instantly? That’s the same effect your wall art gets when you keep it clean.
Avoiding Damage Over Time
Keep your wall art stickers away from direct sunlight to prevent colors from fading. High humidity and temperature changes can weaken adhesive, so avoid placing them near heaters, air conditioners, or bathrooms. Touching your stickers frequently can also wear down the surface, so try to keep hands off once applied.
Think about where you spend most of your time and how environmental factors might affect your wall art there.
Removing Stickers Without Residue
To remove wall art stickers smoothly, gently peel from one corner at a slow, steady pace. If the adhesive resists, warm the sticker with a hairdryer on low heat to soften it. This trick helps avoid tearing and leaves less residue behind.
If any sticky residue remains, rub it off with a small amount of rubbing alcohol on a cloth. Test a small area first to ensure it won’t damage your wall paint.

Credit: www.designcafe.com
Frequently Asked Questions
How Do I Prepare The Wall For Art Stickers?
Clean the wall with a damp cloth to remove dust and grease. Ensure the surface is dry and smooth before application. Avoid textured or uneven walls for best results.
Can I Reuse Wall Art Stickers?
Most wall art stickers are designed for one-time use. Removing them can reduce their adhesive quality. For best results, avoid repositioning after initial application.
What Tools Do I Need To Apply Wall Stickers?
You only need a clean cloth, a squeegee or credit card, and a level. These tools help smooth out air bubbles and align the sticker correctly.
How Long Do Wall Art Stickers Last?
Wall art stickers typically last between 3 to 5 years. Their longevity depends on wall condition and exposure to sunlight or moisture.
Conclusion
Wall art stickers bring life to any plain wall. They are easy to apply and remove without damage. Take your time to plan the design before starting. Clean the surface well to help stickers stick better. Smooth out bubbles gently for a neat look.
Enjoy your new wall art that brightens your space. Small changes can make a big difference in your room. Try different designs to find what fits your style best.


