
Do you have a vintage pull cord desk lamp that’s lost its charm? Imagine bringing it back to life with just a few simple steps.
Refurbishing your lamp isn’t just about fixing it—it’s about restoring its unique character and adding a warm, timeless touch to your space. In this guide, you’ll discover easy ways to make your old lamp shine like new again. Ready to transform your vintage find into a stunning centerpiece?
Let’s get started.

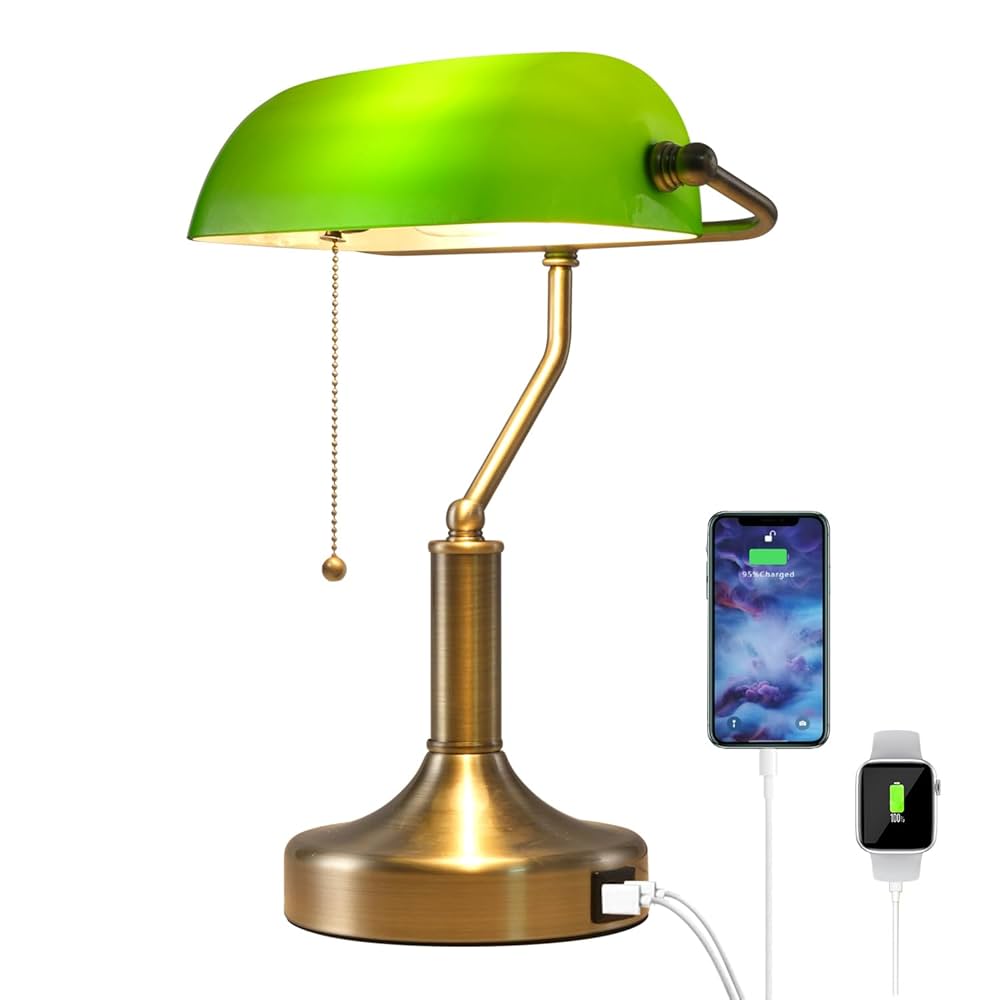
Credit: www.amazon.com
Tools And Materials Needed
Gathering the right tools and materials is the first step to successfully refurbish your vintage pull cord desk lamp. Without proper equipment, you might struggle or even damage the lamp further. Let’s look at the essentials that will make your project smoother and more enjoyable.
Essential Tools
- Screwdrivers:A set of both flathead and Phillips screwdrivers will help you remove and reattach screws of different sizes.
- Pliers:Needle-nose pliers are great for gripping small parts and bending wires carefully.
- Wire Strippers:These will help you safely strip the insulation from wires without damaging the copper inside.
- Multimeter:This tool checks electrical continuity and voltage, ensuring your lamp’s wiring is safe and functional.
- Soldering Iron:Useful if you need to reattach wires or fix connections securely.
Replacement Parts
- Pull Cord Switch:Vintage lamps often have worn-out switches. A new pull cord switch can revive the lamp’s functionality.
- Socket and Bulb Holder:If the original socket is corroded or unsafe, replacing it ensures your lamp works safely.
- Electrical Cord:A new cord with a plug might be necessary if the old one is frayed or outdated.
- Light Bulb:Choose an appropriate bulb that matches your lamp’s specifications and desired brightness.
Safety Gear
- Insulated Gloves:Protect your hands from electrical shocks and sharp edges while handling wiring.
- Safety Glasses:Prevent eye injuries from solder splashes or small debris during disassembly.
- Work Mat:A non-slip surface keeps small parts from rolling away and protects your workspace.
Have you ever started a project only to realize you’re missing a crucial tool halfway through? Preparing everything in advance saves you time and frustration. What’s one tool you think you might overlook but is absolutely essential for your lamp refurbishing?
Assessing The Lamp Condition
Before you dive into fixing up your vintage pull cord desk lamp, it’s crucial to get a clear picture of its current state. Assessing the lamp condition helps you spot potential issues early and plan your refurbishing steps wisely. Taking a close look now can save you time and ensure safety later.
Checking The Cord And Plug
Start by examining the cord for any cracks, frays, or exposed wires. Old cords often become brittle and unsafe, so don’t ignore even small signs of wear. Gently bend the cord along its length to see if the insulation remains intact or if it feels stiff and fragile.
Look closely at the plug too. Are the prongs straight and clean? Any discoloration or burn marks could indicate electrical problems. If the plug looks outdated or damaged, consider replacing it with a modern, grounded one for better safety.
Inspecting The Socket And Bulb Holder
Next, take a careful look inside the socket where the bulb fits. Corrosion or rust can prevent the lamp from working properly and might cause electrical shorts. If the socket feels loose or the contacts look worn out, you will need to replace or clean it.
Try screwing in a bulb that you know works. Does it light up steadily, or flicker? Flickering might mean poor contact or wiring issues inside. This quick test reveals a lot about the socket’s health.
Examining The Lamp Shade And Base
Turn your attention to the lamp shade and base. Is the shade cracked, bent, or discolored? While minor blemishes can add character, large damages might need repair or replacement to maintain the lamp’s charm and function.
The base should sit firmly without wobbling. Check for rust, dents, or missing parts like screws or felt pads underneath. A stable base is essential for safety and usability, so don’t overlook this step.
Disassembling The Lamp
Begin by carefully unplugging the lamp to ensure safety. Remove the lampshade and unscrew parts to access the pull cord mechanism. Keep track of all pieces for easy reassembly later.
Disassembling a vintage pull cord desk lamp can be a rewarding experience, unlocking its unique charm and potential for modern use. Before diving into the exciting process of refurbishment, it’s important to carefully take apart the lamp, ensuring that all components are handled with care. This step-by-step guide will walk you through the disassembly, focusing on key areas that require attention.Removing The Shade
Start by gently unscrewing or unclipping the shade from the lamp. In some vintage models, the shade may be attached with small screws or a simple clip mechanism. Keep these pieces safe, as they are often easy to misplace. As you remove the shade, take a moment to inspect it for any damage or wear. This is a great opportunity to decide if it needs cleaning or a new coat of paint to fit your desired aesthetic.Detaching The Pull Cord Mechanism
The pull cord mechanism is the heart of your vintage lamp’s charm. Carefully examine how the cord is connected to the internal switch. You might find a simple knot or a more complex attachment method. Once you understand how it’s connected, gently untie or unscrew the pull cord from its housing. Remember to note how it was originally set up; a quick photo can serve as a helpful reference for reassembly.Separating Electrical Components
Safety is key when dealing with electrical components. Ensure the lamp is unplugged before proceeding. Begin by identifying the wires connected to the socket and switch. Carefully disconnect the wires, noting the arrangement and any color codes. If you’re unsure, a small diagram or photo can prevent future confusion during reassembly. With these components separated, inspect them for any signs of wear or damage. This is your chance to replace old wiring with new, safer options, ensuring the lamp will be both functional and secure for years to come. As you disassemble your lamp, think about the history it holds and the potential it has to shine anew. Each piece you carefully handle brings you closer to breathing new life into a classic piece of design.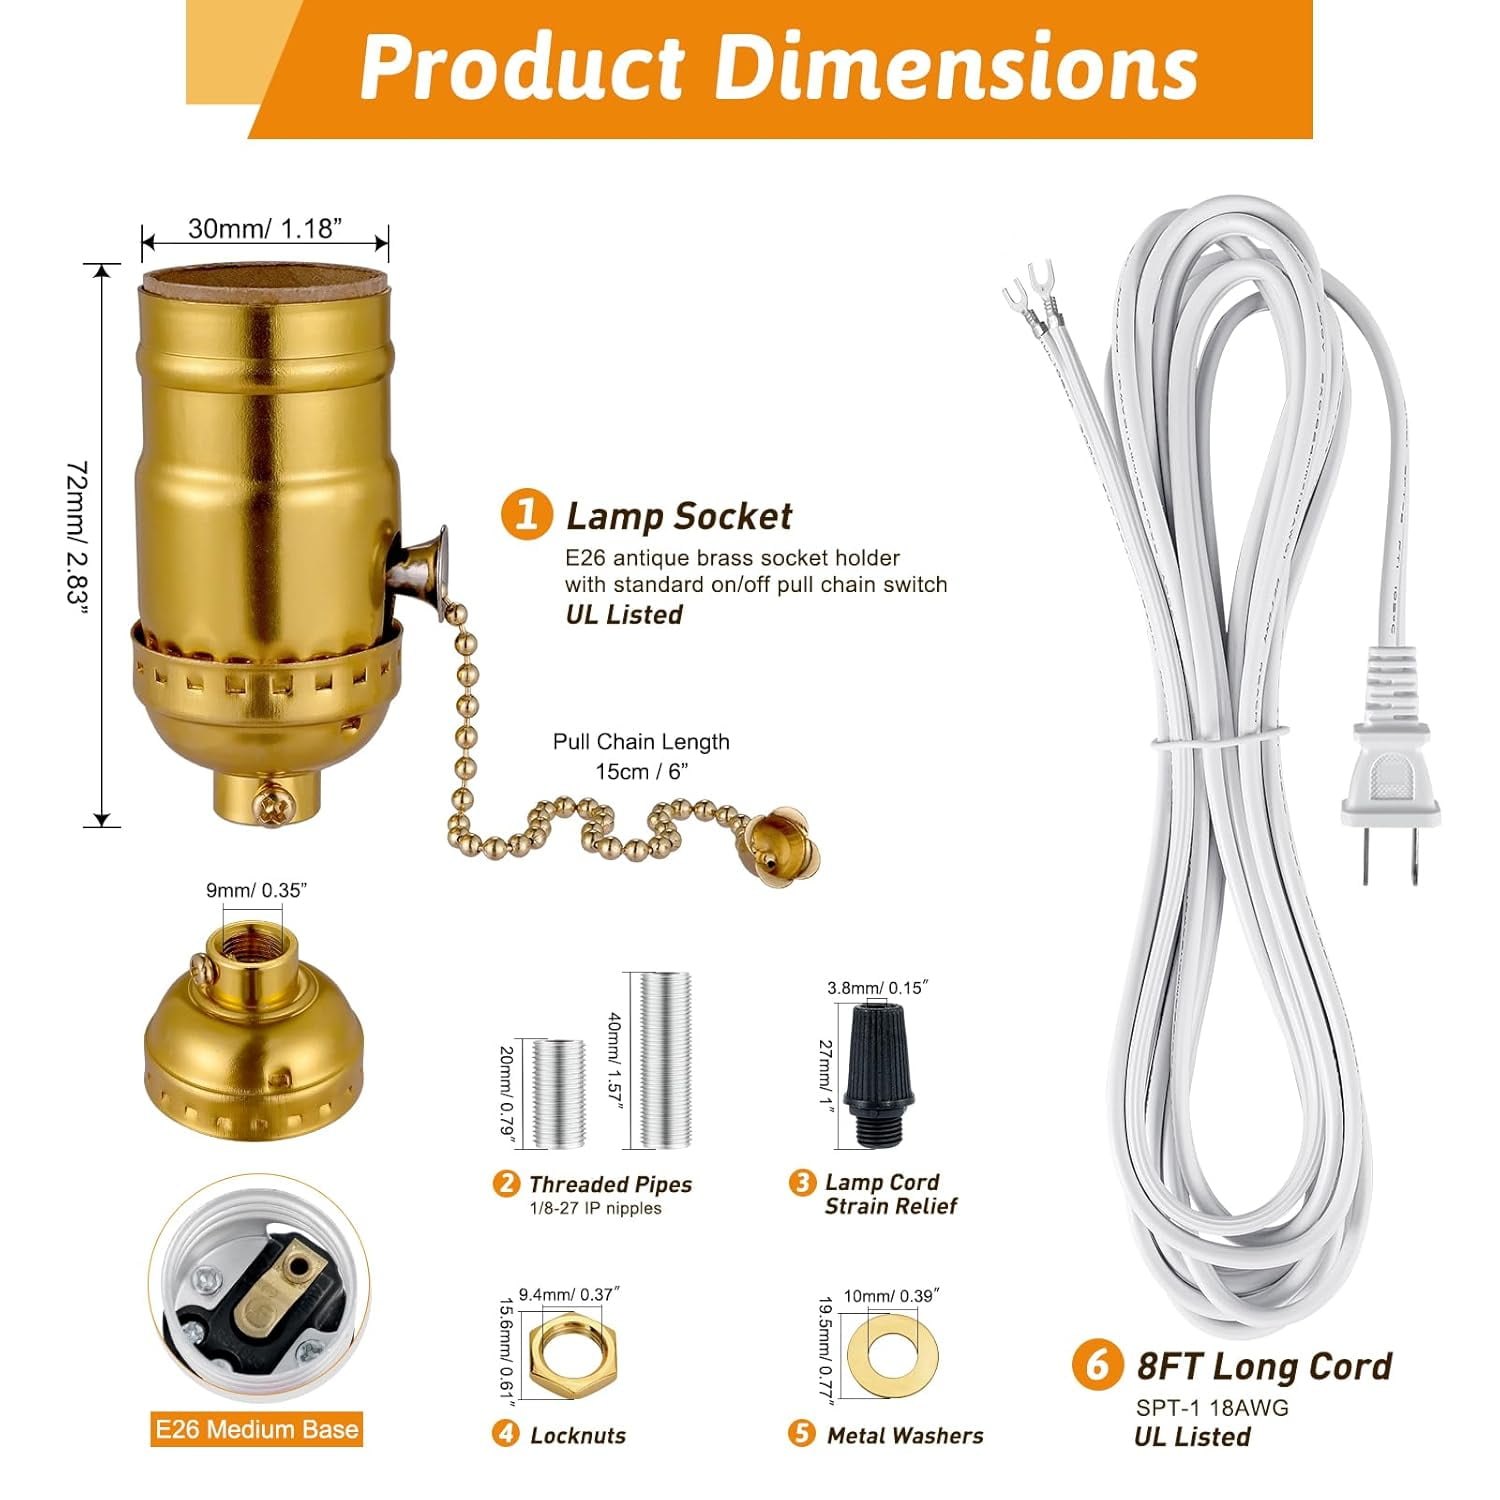
Credit: www.walmart.com
Cleaning And Repairing Parts
Cleaning and repairing parts is a key step in refurbishing a vintage pull cord desk lamp. It restores the lamp’s original shine and ensures it works safely. Careful cleaning removes dirt and rust. Repairing or replacing worn parts brings the lamp back to life.
Cleaning Metal And Glass Surfaces
Start by wiping dust from metal and glass with a soft cloth. Use mild soap and water for stubborn grime. Avoid harsh cleaners that can damage finishes.
- For metal, apply a small amount of metal polish with a cloth.
- Buff gently to restore shine without scratching.
- Clean glass with a glass cleaner or vinegar solution.
- Dry all surfaces thoroughly to prevent water spots.
Fixing Or Replacing The Pull Cord
Check the pull cord for fraying or stiffness. A worn cord can break or get stuck. Replace the cord with a similar style and length for authenticity.
- Remove the old cord carefully from the lamp mechanism.
- Thread the new cord through the pulley and attachment points.
- Secure the cord with knots or clips as needed.
- Test the pull action to ensure smooth operation.
Repairing Electrical Wiring
Inspect the wiring for cracks, wear, or exposed wires. Faulty wiring is a fire hazard and must be fixed. Use a voltage tester to check for power issues.
- Unplug the lamp before starting any electrical work.
- Replace damaged wires with new, rated wire.
- Use wire connectors or solder joints for secure connections.
- Check that the switch and socket work properly.
- Reassemble and test the lamp carefully before use.
Rewiring The Lamp
Rewiring a vintage pull cord desk lamp is a crucial step in bringing it back to life safely and effectively. Old wiring can be brittle, cracked, or unsafe, which makes replacing it a must for both functionality and safety. As you handle the rewiring, keeping a clear focus on the right materials and careful connections will make a big difference in the lamp’s performance and your peace of mind.
Choosing The Right Wire
Selecting the right wire ensures your lamp works safely and lasts longer. Use a two-conductor, insulated electrical wire rated for indoor lighting—usually 18-gauge wire is ideal for desk lamps.
Look for wire with a good quality insulation, like PVC or silicone, which resists heat and flexing. Avoid using thin or damaged wires, as they pose fire hazards and can cause flickering or shorts.
Think about the length you need. It’s better to have a little extra wire to work with than one that’s too short, but avoid excessive slack that could tangle inside the lamp.
Connecting The Socket And Plug
Start by removing the old socket carefully, noting how the wires are attached. Usually, the socket has two terminals: one connects to the live (hot) wire, the other to neutral.
Strip about half an inch of insulation off each wire end to create clean connections. Secure the wires firmly around the socket terminals—loose connections cause flickering or failure.
For the plug end, match the wires correctly: the live wire goes to the brass screw, and the neutral to the silver screw. Double-check the pull cord switch wiring too; it often interrupts the live wire.
Testing Electrical Safety
Before reassembling your lamp, test it to avoid surprises. Plug it into a power source using a lamp tester or a multimeter to check for continuity and correct voltage flow.
Look out for any sparks, flickering, or unusual heat. If you find any, unplug immediately and revisit your wiring connections.
Consider using a portable ground fault circuit interrupter (GFCI) outlet for an extra safety layer while testing. It’s a simple tool that can prevent shocks during your refurbishment process.
Restoring The Lamp Finish
Restoring the lamp finish is a key step in bringing a vintage pull cord desk lamp back to life. The finish shows the lamp’s character and age. A clean, bright finish enhances its style and charm. Focus on metal parts, paint or lacquer, and the lampshade. Each element needs care and attention to look fresh yet keep its vintage feel.
Polishing Metal Components
Metal parts often lose their shine or develop rust spots. Start by cleaning with a soft cloth and mild soap. Use fine steel wool or a metal polish to remove tarnish. Rub gently in a circular motion. Avoid harsh scrubbing to protect delicate details. Buff the metal until it gleams. For brass or copper, a special polish works best. Protect the finish with a thin layer of clear wax or oil.
Touching Up Paint Or Lacquer
Chipped paint or worn lacquer can make the lamp look old and tired. Lightly sand rough areas with fine-grit sandpaper. Choose paint or lacquer that matches the original color. Test on a small hidden spot first. Use a small brush to apply thin coats. Let each layer dry fully before adding another. Finish with a clear protective coat to keep the surface smooth and shiny.
Replacing Or Restoring The Shade
The lampshade completes the lamp’s look. Check for cracks, tears, or stains. Clean fabric shades with a gentle vacuum or soft brush. For paper or plastic shades, wipe gently with a damp cloth. Replace the shade if it is beyond repair. Choose a style that fits the lamp’s vintage design. Secure the shade properly to avoid wobbling or damage.
Reassembling The Lamp
Reassembling a vintage pull cord desk lamp requires patience and care. This stage brings the lamp back to life after cleaning and repairing. Each part must fit perfectly for the lamp to work safely and smoothly. Focus on aligning pieces and securing them tightly. This ensures durability and proper function.
Reattaching The Pull Cord
Start by threading the pull cord through the lamp’s housing. Check the cord for any frays or weak spots before attaching. Tie a strong knot at the end of the cord to hold it firmly. Connect the knot to the switch mechanism inside the lamp. Test the pull action gently to ensure it moves without resistance.
Securing All Components
Gather all cleaned and repaired parts for reassembly. Use screws and fasteners to hold the lamp base, shade, and switch in place. Tighten all screws evenly to avoid misalignment. Double-check that wires are tucked away safely to prevent shorts. Keep the lamp stable by ensuring the base is firmly attached.
Final Functional Check
Plug in the lamp and pull the cord to test the switch. The light should turn on and off smoothly without sticking. Listen for any unusual sounds from the switch or wiring. Inspect the lamp for wobbling or loose parts. Confirm the pull cord is easy to grip and operates freely. Make adjustments if any issues appear before final use.
Tips For Maintaining Vintage Lamps
Maintaining vintage pull cord desk lamps helps keep their charm and function intact. Proper care prevents damage and extends their life. These lamps often need gentle handling and routine upkeep.
Regular Cleaning
Dust the lamp often using a soft cloth. Avoid harsh chemicals that can harm the finish. Clean the cord carefully to prevent fraying. Use a small brush to remove dirt from tight spots.
Safe Usage Practices
Check the wiring for any wear before use. Replace old bulbs with the correct wattage only. Pull the cord gently to avoid damaging the mechanism. Turn off the lamp when not in use to save energy and avoid overheating.
Storage Recommendations
Store lamps in a dry, cool place away from direct sunlight. Cover with a cloth to protect from dust. Avoid stacking heavy items on top to prevent damage. Keep cords untangled and neatly wrapped to maintain their shape.
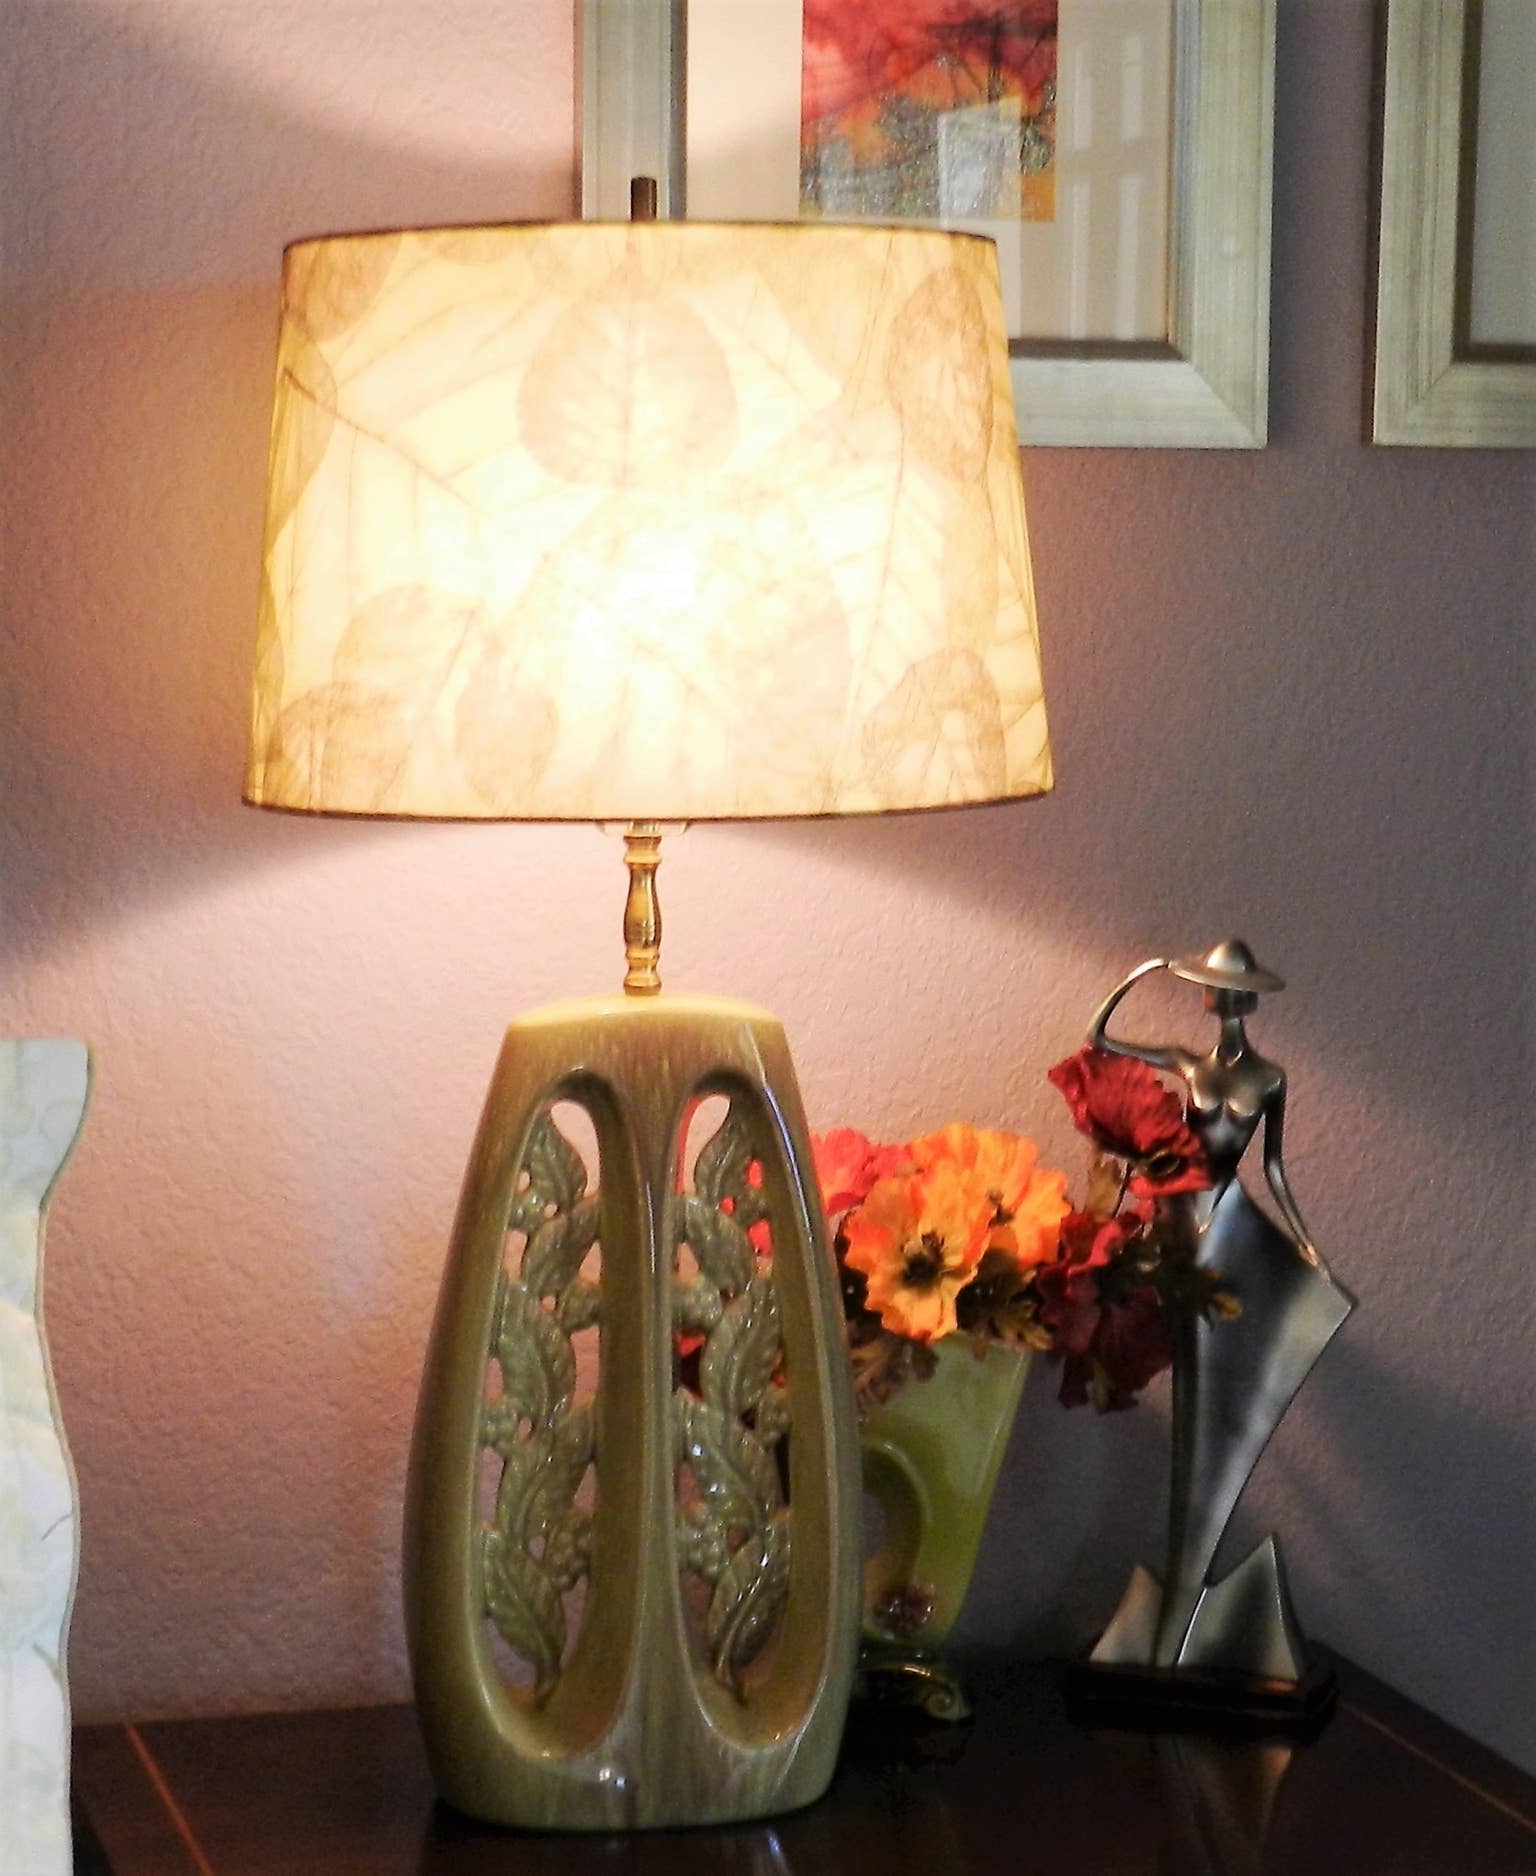
Credit: dengarden.com
Frequently Asked Questions
How Do I Safely Remove The Old Cord From A Vintage Lamp?
Unplug the lamp before starting. Use a screwdriver to open the base. Gently pull out the old cord. Avoid damaging internal wiring or components. Take photos for reference during reassembly.
What Type Of Replacement Cord Is Best For Vintage Lamps?
Use a fabric-covered or braided cord for authenticity. Ensure the cord supports the lamp’s voltage and wattage. Choose a cord with a pull switch if original. This maintains safety and vintage appearance.
How Can I Clean The Lamp Without Damaging It?
Use a soft cloth with mild soap and water. Avoid abrasive cleaners that harm finishes. For metal parts, try a gentle metal polish. Dry thoroughly to prevent rust or corrosion.
Can I Replace The Bulb With Led In Vintage Lamps?
Yes, LED bulbs fit most vintage sockets. Choose a bulb with similar brightness and color temperature. LED bulbs save energy and produce less heat. This extends the lamp’s lifespan and safety.
Conclusion
Refurbishing a vintage pull cord desk lamp can bring it back to life. You save money and enjoy a unique piece. Take your time and follow each step carefully. Small fixes can make a big difference. Enjoy the warm light and charm it adds to your space.
This project is simple and rewarding. Give your old lamp a fresh start today.


