
Have you ever faced the challenge of removing a bathroom mirror without damaging your wall? It might seem tricky, but with the right steps, you can do it safely and easily.
Whether you’re updating your bathroom or fixing a problem, knowing how to remove a mirror the right way can save you time, money, and frustration. Keep reading, and you’ll discover simple tips and tricks that make this task much easier than you expect.
Your walls—and your hands—will thank you!
Credit: bfymirror.com
Tools Needed
Removing a mirror from a bathroom wall requires the right tools. Having the correct equipment makes the job easier and safer. Prepare these tools before starting. This helps avoid interruptions and damage to your wall or mirror.
Basic Tools
- Putty knife or thin scraper – to loosen adhesive or caulk
- Utility knife – to cut through sealant or tape
- Flathead screwdriver – to pry mirror clips or brackets
- Gloves – to protect hands from sharp edges
- Soft cloth or towel – to protect the mirror and surfaces
- Bucket or container – to collect any debris
Safety Equipment
- Safety goggles – to shield eyes from glass shards
- Protective gloves – to avoid cuts and scrapes
- Long-sleeved shirt – to protect arms from sharp edges
- Dust mask – to prevent inhaling dust or particles
- Non-slip shoes – to keep steady on wet bathroom floors

Credit: www.youtube.com
Prepare The Area
Clear the area around the mirror to avoid accidents. Lay down a drop cloth or towels to catch debris and protect surfaces. Ensure good lighting for better visibility while working.
Removing a mirror from a bathroom wall can be tricky. Before starting, it’s vital to prepare the area properly. This ensures a safe and smooth removal process. Proper preparation minimizes the risk of damage or injury.Clear The Surroundings
First, clear the area around the mirror. Remove any items on the bathroom counter. Take down any hanging decorations near the mirror. This prevents accidental knocks or breaks. Ensure the floor around the mirror is free of obstacles. This gives you a clear path to move safely.Protect Surfaces
Next, protect the surfaces in the bathroom. Lay down a drop cloth or old sheet on the floor. This catches any falling debris or broken glass. Cover the sink and countertop with a thick towel. This prevents scratches and chips from tools or mirror fragments. If the mirror is above a sink, consider placing a thick cushion there. It adds extra protection against falling pieces.Turn Off Power
Before you start removing a bathroom mirror, turning off the power is a crucial safety step. Mirrors often have built-in lighting or are placed near electrical outlets and switches. Ignoring this can put you at risk of electric shock or damage to your home’s wiring.
Locate Electrical Sources
First, identify any electrical components near or behind the mirror. Look for light fixtures, outlets, or switches in the bathroom wall. Sometimes, the mirror itself may have integrated lights or touch sensors wired into your home’s electrical system.
Use a flashlight to see behind the mirror’s edges if needed. Check your circuit breaker panel to match the bathroom’s electrical circuit. Knowing exactly where the power runs helps prevent accidental shocks.
Ensure Safety
Once you find the right circuit, switch it off at the breaker box. Don’t rely on just unplugging devices or turning off wall switches. This guarantees no electricity flows to the mirror area while you work.
Test the mirror’s electrical components with a non-contact voltage tester. This small tool confirms the power is indeed off before you touch anything. Safety gear like insulated gloves adds an extra layer of protection, especially if you’re unsure.
Have you ever wondered how many DIY projects go wrong because someone skipped this vital step? Taking the time to turn off the power not only protects you but also prevents costly repairs later.
Credit: bfymirror.com
Assess Mirror Attachment
Before removing a bathroom mirror, understanding how it is attached is crucial. The method of attachment affects the tools and care needed for removal. Some mirrors stick to the wall with glue, while others use screws or brackets. Assessing the mirror’s attachment helps avoid damage to the wall or mirror. It also makes the process smoother and faster.
Check For Adhesive
Look closely around the edges of the mirror. Adhesive often leaves no visible hardware. Press gently on the mirror to see if it feels firmly stuck. Adhesive mirrors may have caulk or sealant along the edges. Use a flashlight at an angle to spot glue residue or a slight gap. Avoid using sharp tools at this stage to prevent damage.
Identify Mounting Hardware
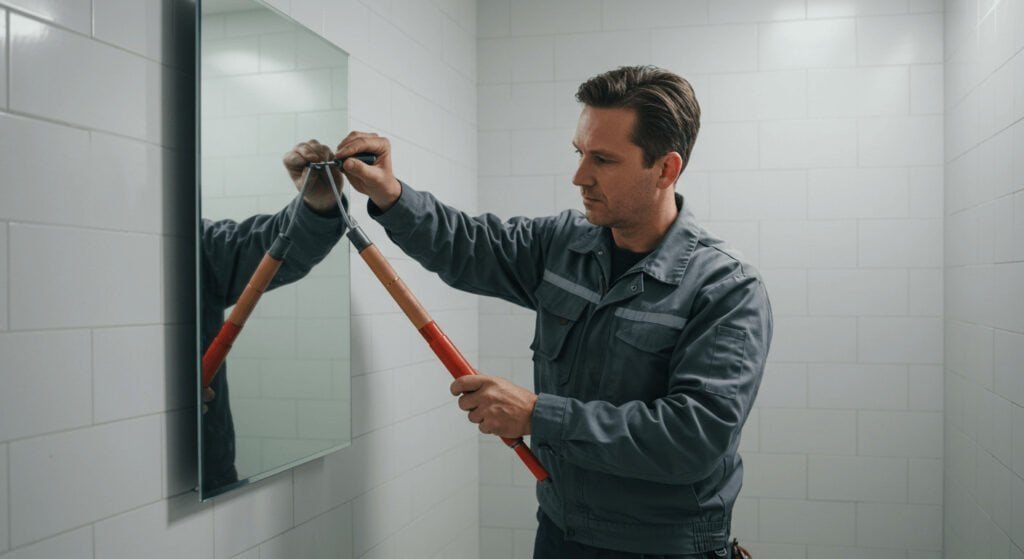
Some mirrors are secured with visible brackets, clips, or screws. Check the top, bottom, and sides for metal or plastic hardware. Use a flashlight to spot small screws or mounting clips. Hardware may be painted over or blend with the wall color. Knowing the hardware type helps select the right screwdriver or tool. Note if the mirror hangs on a wire or bracket behind it.
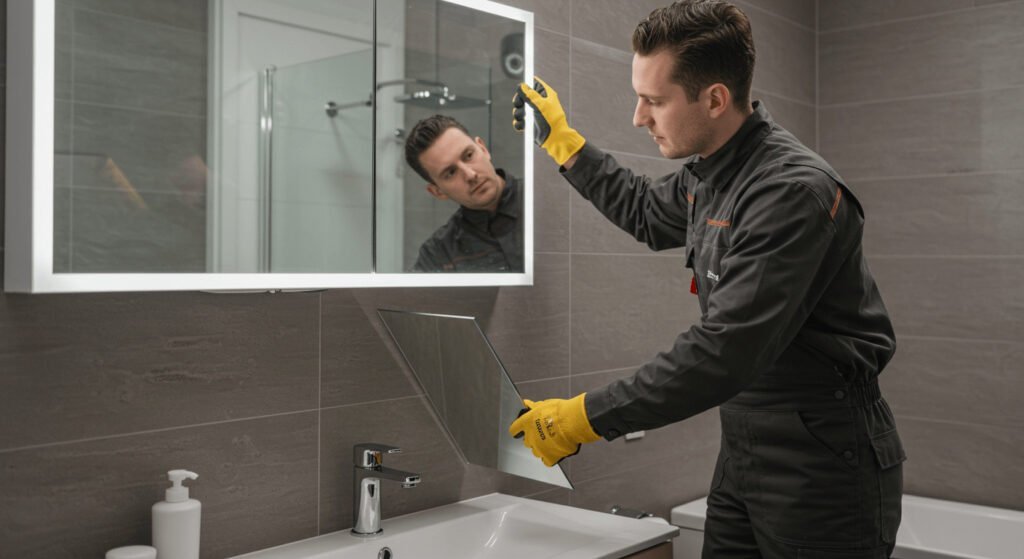
Remove Mirror Carefully
Removing a mirror from your bathroom wall requires patience and care to avoid damage to both the mirror and the wall. Taking your time during this process can save you from costly repairs or injuries. Let’s focus on how to handle the mirror carefully as you get it off the wall.
Loosen Adhesive
Most bathroom mirrors are attached with strong adhesive that needs to be softened before removal. Use a hairdryer or heat gun on a low setting to warm the adhesive gently. Heating it for a few minutes will make the glue more flexible, reducing the risk of cracking the glass.
Have you tried sliding a thin wire or fishing line behind the mirror to cut through the softened adhesive? This technique works well but requires a steady hand. Take breaks if you feel resistance to avoid sudden breaks.
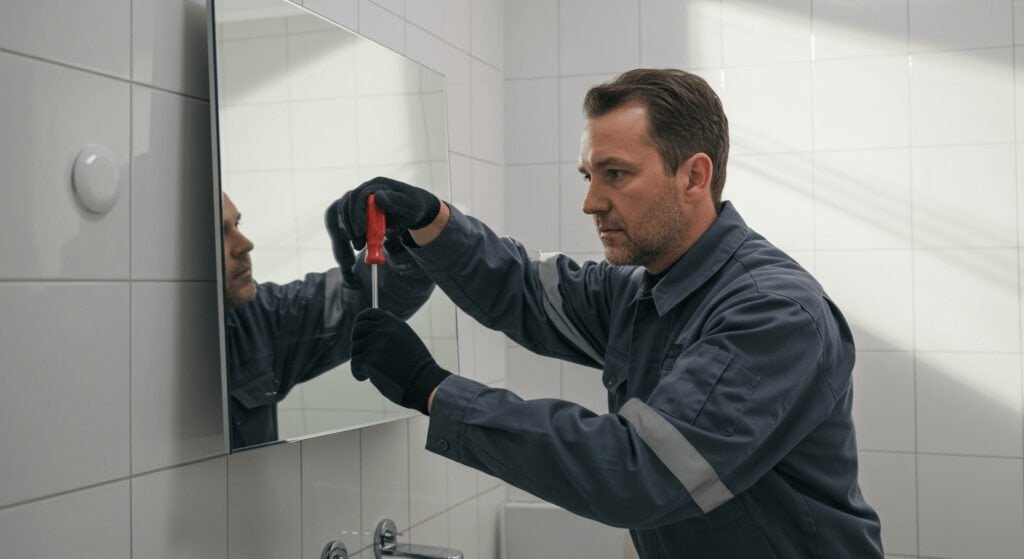
Unscrew Mounts
If your mirror is held with screws or brackets, locate them carefully before starting. Use the correct screwdriver to avoid stripping the screws. Remember to keep all screws and mounting hardware in a safe place for reinstallation or disposal.
Sometimes screws may be hidden under caulk or paint. Gently scrape around the edges with a utility knife to reveal them without damaging the wall. Have you ever overlooked a hidden screw and pulled too hard? That can lead to wall damage that’s harder to fix.
Handle Mirror Safely
Mirrors are fragile and can shatter easily, so wear heavy gloves and safety goggles before you begin handling. Support the mirror from the bottom and sides evenly as you lift it away from the wall. If the mirror is large, ask someone to help you hold it steady.
Think about your next step before lifting. Where will you put the mirror down safely? Clear a spot with a soft surface to avoid scratches or chips. Handling it carefully now means you won’t have to replace it sooner than expected.
Clean Wall Surface
After removing a bathroom mirror, your wall often looks far from perfect. The surface might have leftover glue, paint chips, or even small holes. Cleaning the wall properly prepares it for repainting or hanging a new mirror without issues.
Remove Residue
Sticky residue from adhesive or mounting tape can be stubborn. Use a gentle adhesive remover or rubbing alcohol on a soft cloth to rub off the leftover glue. Be careful not to scrub too hard, or you might damage the paint underneath.
If residue persists, try softening it with a hairdryer on low heat before wiping it away. This technique often makes the glue easier to remove without harsh chemicals. Have you noticed how some adhesives react differently? Testing a small spot first helps avoid surprises.
Repair Wall Damage
Small holes or dents are common after mirror removal. Fill these imperfections with lightweight spackle or wall putty using a putty knife. Smooth the surface and let it dry completely before sanding it lightly for a seamless finish.
For larger damage, you might need a patch kit to restore the area properly. Always check the wall’s texture after repairs to match the rest of the surface. A repaired and clean wall not only looks better but also ensures your next mirror or decoration adheres well and lasts longer.
Dispose Of Mirror Properly
Disposing of a bathroom mirror properly is important for safety and the environment. Mirrors contain glass that can break and cause injury. They also have backing materials that may not be recyclable. Handling disposal carefully helps prevent accidents and reduces waste in landfills.
Knowing the right way to recycle or throw away a mirror keeps your home safe. It also supports eco-friendly waste management. Follow these simple guidelines to dispose of your mirror responsibly.
Recycle Options
Some local recycling centers accept mirrors. Check with them before dropping off your mirror. Mirrors often have special coatings that regular glass recycling does not accept.
- Look for facilities that handle construction or household glass.
- Ask if they recycle mirrors or only plain glass.
- Some centers may require you to remove the frame or backing.
- Drop off the mirror carefully to avoid breakage.
Safe Disposal Methods
If recycling is not an option, dispose of the mirror safely at home.
- Wrap the mirror in thick blankets or cardboard.
- Secure the wrapping with strong tape to prevent glass shards.
- Label the package clearly as “Broken Glass” or “Mirror.”
- Place it in your trash bin on the scheduled pickup day.
- Wear gloves and eye protection while handling the mirror.
Frequently Asked Questions
How Do I Safely Remove A Bathroom Mirror?
Start by protecting the area with a drop cloth. Use a utility knife to cut through caulk or paint around the edges. Gently pry the mirror off using a putty knife or suction cups to avoid damage.
What Tools Are Needed To Remove A Bathroom Mirror?
You will need a utility knife, putty knife, suction cups, gloves, and safety goggles. These tools help cut through sealants and safely pry the mirror from the wall without breaking it.
Can I Remove A Glued Bathroom Mirror Myself?
Yes, you can. Carefully cut the sealant around the mirror edges. Use a putty knife or suction cups to gently pry the mirror off the wall. Take safety precautions to avoid injury or damage.
How To Avoid Wall Damage When Removing A Mirror?
Cut the sealant thoroughly before prying the mirror. Use gentle, even pressure to avoid cracking drywall. Remove adhesive residue with a scraper and clean the surface carefully afterward.
Conclusion
Removing a bathroom mirror can feel tricky at first. Take your time and follow each step carefully. Use the right tools to avoid damage to walls or glass. Safety matters—wear gloves and protect your eyes. Keep the mirror steady while loosening it from the wall.
Clean the area after removal to prepare for a new mirror or paint. You can handle this task with some patience and care. Small efforts make a big difference in home projects. Now, you’re ready to update your bathroom space easily.


