
Have you ever looked at a mirror stuck firmly to your wall and wondered how to get it off without causing damage? Removing a glued mirror can feel tricky and even risky.
You might worry about cracking the glass or ruining your wall’s surface. But don’t worry—you’re about to discover simple, effective steps that make this task easier than you think. Keep reading, and you’ll learn how to safely remove your glued mirror, saving time, money, and stress.
Your walls and your mirror will thank you!
Tools And Materials Needed
Removing a glued mirror from a wall requires more than just strength—it needs the right tools and materials to make the job safe and effective. Having everything ready before you start will save you from frustration and potential damage. Let’s take a look at what you should gather to handle this task smoothly.
Essential Tools
- Utility Knife or Razor Blade:Perfect for cutting through caulk or adhesive edges without damaging the wall.
- Putty Knife or Paint Scraper:Helps in gently prying the mirror away without cracking it.
- Heat Gun or Hair Dryer:Softens the glue, making it easier to separate the mirror from the wall.
- Wire or Fishing Line:Useful for sawing through adhesive behind the mirror, especially in tight spots.
- Suction Cups:Provides a secure grip on the mirror, preventing slips during removal.
- Bucket and Sponge:To clean the wall surface after the mirror is removed.
Have you ever tried to remove a mirror with just one tool? It often leads to broken glass or damaged walls. Using a variety of tools gives you control and precision.
Safety Gear
- Safety Glasses:Protect your eyes from shards of glass or debris.
- Work Gloves:Keep your hands safe from sharp edges and provide a better grip.
- Dust Mask:Guards against inhaling dust or particles from scraping or adhesive residue.
- Long Sleeve Shirt and Pants:Helps protect your skin from accidental cuts or scrapes.
Safety isn’t just about avoiding injury; it’s about feeling confident while you work. When I removed a large bathroom mirror, wearing gloves and glasses made the process less stressful and more controlled. What safety step could you be overlooking right now?
Preparing The Area
Clear the space around the mirror to avoid damage to nearby items. Lay down a protective cloth or sheet on the floor to catch debris. Wear gloves and safety glasses to protect your hands and eyes during removal.
Preparing the area before removing a glued mirror from the wall is a crucial step that ensures safety and efficiency. A little time spent organizing and safeguarding your space can save you from potential mishaps. Plus, a well-prepared area helps you focus on the task without unnecessary distractions.Clearing The Space
Begin by removing any furniture or items close to the mirror. This not only gives you more room to work but also prevents accidental damage. Imagine knocking over a lamp or chair mid-task—no one wants that! Take a moment to look around. Are there any loose items on shelves or tables nearby? Relocate them temporarily. You want a clutter-free zone to move around easily and safely.Protecting Surroundings
Now, think about the surfaces around the mirror. Place a drop cloth or old sheets on the floor to catch any debris or shards of glass. It’s a simple step, but it makes cleanup much easier. Consider taping cardboard or thick paper around the mirror’s edges. This precaution can help shield the wall from potential scratches or dents during removal. Have you ever tried to patch up an unexpected hole? It’s better to prevent than repair. Do you have a tarp or plastic sheeting handy? Cover nearby furniture to protect it from any dust or adhesive residue. It’s these small steps that make a big difference in keeping your space pristine.Assessing The Mirror And Adhesive
Before you start prying a glued mirror off your wall, take a moment to carefully assess both the mirror and the adhesive holding it in place. This step is crucial because it helps you understand the best approach to avoid damage to your wall or the mirror itself. Knowing what you’re dealing with saves time and prevents frustration.
Types Of Adhesive
Mirrors can be attached using various adhesives, and each type demands a different removal technique. Common adhesives include:
- Construction adhesive:Thick and strong, often used for permanent installations.
- Silicone sealant:Flexible and water-resistant, frequently applied in bathrooms.
- Double-sided tape:Easier to remove but can still cause damage if pulled abruptly.
Identifying the adhesive helps you decide if you need solvents, heat, or gentle mechanical tools. Have you ever tried peeling off a mirror only to find a stubborn glue that won’t budge? That’s why knowing the adhesive type upfront is a game changer.
Mirror Size And Weight
The size and weight of the mirror directly affect how you should handle its removal. Larger, heavier mirrors require extra caution and often a second pair of hands to prevent accidents.
Small mirrors might be manageable alone, but even then, understanding their weight helps you choose the right tools. Ask yourself: Can I safely lift and support this mirror while detaching it? If the answer is no, it’s better to get help or use proper lifting aids.
Credit: bfymirror.com
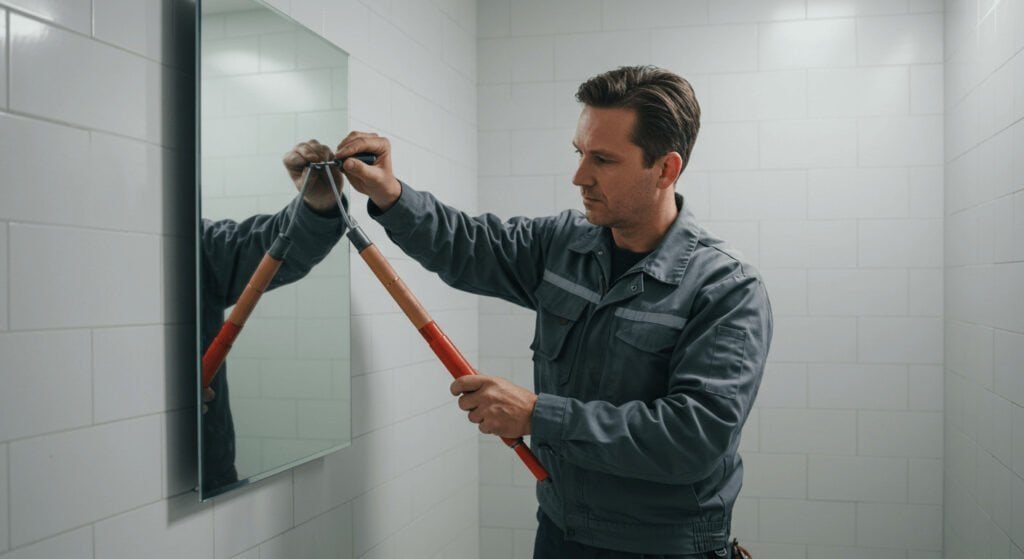
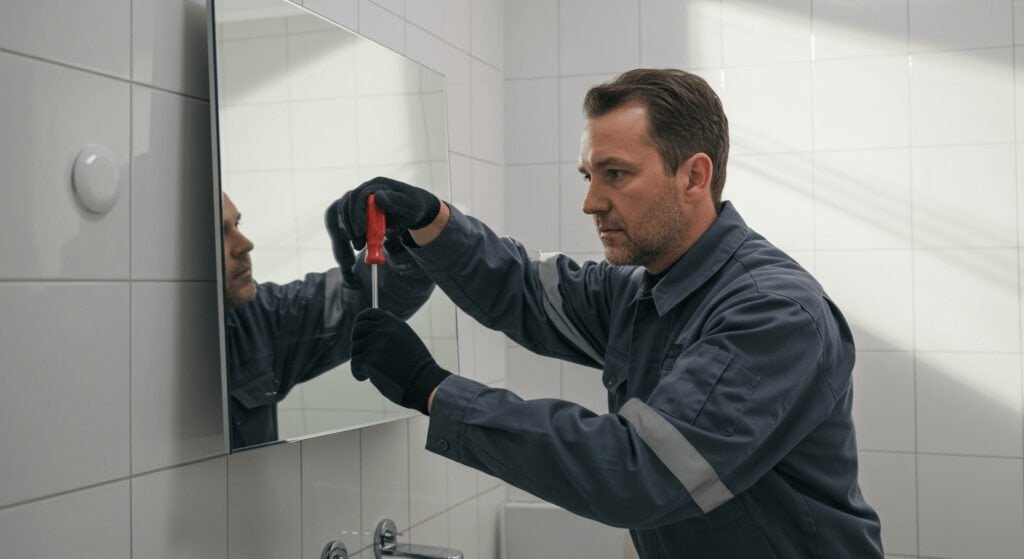
Step-by-step Removal Methods
Removing a glued mirror from a wall requires care and patience. Using the right technique can prevent damage to the mirror and wall. Follow these clear methods to safely separate the mirror from the adhesive.
Using Heat To Soften Adhesive
Heat helps weaken the glue holding the mirror. Use a hairdryer or heat gun on low heat. Move the heat source slowly across the mirror edges. Avoid staying too long in one spot to protect the glass. Once the adhesive softens, gently try to lift the mirror.
Applying Dental Floss Or Wire
Dental floss or thin wire works as a cutting tool for glue. Slide the floss behind the mirror edge. Use a gentle sawing motion to cut through the adhesive. Keep the floss taut and move steadily. This method reduces the risk of breaking the mirror.
Leveraging Plastic Scrapers
Plastic scrapers help pry the mirror away without scratching. Insert the scraper carefully between the mirror and wall. Apply light pressure to loosen the glue. Work the scraper around the edges for even release. Avoid metal tools to prevent damage.
Using Solvents Safely
Solvents dissolve strong adhesives but require caution. Choose a solvent designed for mirror glue removal. Test it on a small wall area first. Apply solvent with a cloth or cotton swab around the mirror edges. Give it time to break down the glue before prying gently. Use gloves and ensure good ventilation during this process.
Preventing Wall Damage
Removing a glued mirror from a wall can be tricky, especially if you want to keep your wall intact. Damage like peeling paint, torn drywall, or even holes can happen if you’re not careful. Protecting your wall means using the right techniques and knowing when to stop before causing harm.
Gentle Techniques
Start by softening the adhesive rather than forcing the mirror off. Warm a hairdryer and gently heat the edges of the mirror. This helps loosen the glue and makes removal easier.
Use thin plastic cards or dental floss to slowly slide between the mirror and wall. Work patiently to avoid pulling the paint or drywall off with the mirror. Slow and steady movements save your wall from unexpected damage.
Avoiding Excessive Force
It might be tempting to yank the mirror off quickly, but that often leads to cracks or holes. If the mirror resists, pause and apply more heat or adhesive remover instead of pulling harder.
Ask yourself: Is the mirror moving smoothly or is it stuck tight? Recognizing this can prevent costly repairs later. Sometimes, waiting a bit longer for the glue to soften is the smartest move you can make.
Cleaning Residual Adhesive
After removing a glued mirror, leftover adhesive can be tough to clean. This sticky residue attracts dust and dirt, making your wall look messy. Removing it properly keeps your wall smooth and ready for repainting or redecoration. Using the right cleaning agents and techniques protects your wall surface from damage.
Safe Cleaning Agents
Choose gentle cleaning agents to avoid wall damage. Use products like:
- Warm soapy water for mild residue
- White vinegar diluted with water
- Rubbing alcohol for tougher spots
- Commercial adhesive removers labeled safe for walls
Avoid harsh chemicals that can strip paint or plaster. Test any cleaner on a small hidden area first.
Removing Sticky Residue
Start by softening the adhesive. Apply your chosen cleaner with a soft cloth or sponge. Let it sit for a few minutes to loosen the glue.
Gently rub the residue in circular motions. Use a plastic scraper or old credit card to lift stubborn bits. Avoid metal tools that can scratch the wall.
Repeat cleaning and scraping until all residue disappears. Wipe the area with a damp cloth to remove cleaner traces. Dry the wall fully before any further work.
Repairing Wall Imperfections
After removing a glued mirror, you’ll often find your wall marked with small holes, leftover adhesive, or uneven patches. Repairing these imperfections is key to restoring a smooth and clean surface. Taking the time to fix these spots not only improves the look but also ensures your next wall decoration or paint job will stick properly.
Filling Small Holes
Start by clearing out any loose debris or dust from the holes left by the mirror’s mounting. Use a putty knife to apply a small amount of spackling paste or wall filler directly into each hole. Press firmly to fill the entire cavity, then smooth the surface so it’s level with the surrounding wall.
Let the filler dry completely before moving on. If you notice the filler shrinking or cracking after drying, apply a second thin layer. This attention to detail makes a noticeable difference in the final wall appearance.
Sanding And Painting Tips
Once the filler is dry, lightly sand the patched areas using fine-grit sandpaper. Sand in gentle circular motions to blend the repair seamlessly with the rest of the wall. Avoid heavy sanding that could damage the surrounding paint or drywall.
Before painting, wipe the wall with a damp cloth to remove dust. Choose a paint that matches your existing wall color and use a small brush or roller for the patched spots. Applying thin, even coats will help avoid visible brush marks and achieve a uniform finish.
Have you ever noticed how a well-repaired wall instantly brightens a room? Taking these simple steps can save you from frustration and make your space feel fresh and polished again.
Credit: mirrorvista.com
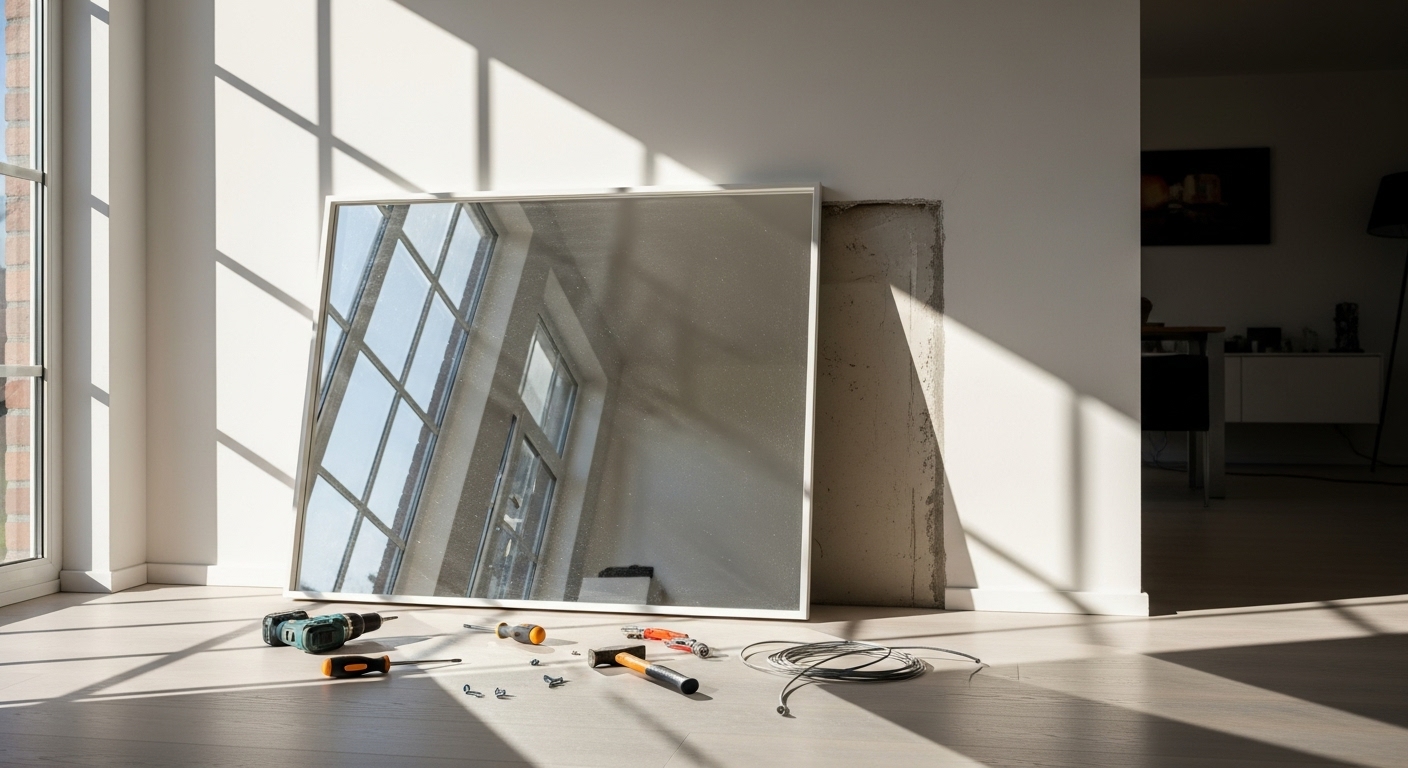
Tips For Reinstalling Mirrors
Reinstalling a mirror after removing it can feel tricky, but with the right approach, you can make it secure and looking great again. Paying attention to the adhesive and mounting method ensures your mirror stays put without damage to your wall. Let’s look at some key tips that will help you get it right the first time.
Choosing The Right Adhesive
Not all adhesives work well for mirrors. You need one that supports weight and resists moisture, especially in bathrooms or kitchens.
- Silicone-based adhesivesoffer strong bonding and flexibility. They also handle temperature changes well.
- Mirror masticis designed specifically for mirrors. It prevents silver backing damage and holds firmly.
- Double-sided mirror tapeworks for smaller mirrors and quick fixes but avoid it for heavy or large mirrors.
Think about where you’re placing the mirror and how much weight it needs to hold. Have you checked the adhesive’s label for suitability? This small step can save you from future trouble.
Proper Mounting Techniques
Correct installation is just as important as the adhesive choice. Clean the wall surface thoroughly before applying any glue or tape.
- Use rubbing alcohol to remove dust, grease, or leftover adhesive. This ensures better grip.
- Apply adhesive evenly on the back of the mirror, focusing on edges and center for balanced support.
- Press the mirror firmly against the wall for at least a minute. Consider using temporary supports like painter’s tape while it cures.
Have you ever pressed a mirror and felt it shift? That’s a sign you didn’t hold it long enough. Take your time to let the adhesive set properly. Your mirror deserves that patience.

Credit: www.youtube.com
Frequently Asked Questions
How Can I Safely Remove A Glued Mirror From The Wall?
Use a plastic putty knife and heat gun carefully. Warm the glue to soften it. Slowly pry the mirror away without breaking it.
What Tools Do I Need To Remove A Glued Mirror?
You need a heat gun, plastic putty knife, gloves, and safety goggles. These tools help soften glue and protect you during removal.
How Do I Prevent Wall Damage When Removing A Glued Mirror?
Apply heat gently and use a plastic scraper. Work slowly to avoid pulling paint or drywall. Patch any minor damage afterward.
Can I Reuse The Mirror After Removing It From The Wall?
Yes, if the mirror isn’t cracked or chipped. Clean off residual glue carefully before reinstallation or repurposing.
Conclusion
Removing a glued mirror takes patience and the right tools. Avoid rushing to prevent damage to your wall. Use gentle heat and careful prying to loosen the glue. Clean the surface well after removal for a smooth finish. Safety matters—wear gloves and protect your eyes.
With care, you can remove mirrors without hassle or harm. Try these steps, and your wall will look great again. Simple tips make the job easier and safer for everyone.


