

Have you ever tried to remove a mirror glued to your wall and ended up frustrated or worried about damaging the surface? You’re not alone.
Taking down glued-on mirrors can feel like a tricky task, but it doesn’t have to be. In this guide, you’ll discover simple, effective steps to safely remove your mirror without leaving a mess or causing harm. Keep reading, and you’ll learn how to protect your walls and get the job done right the first time.

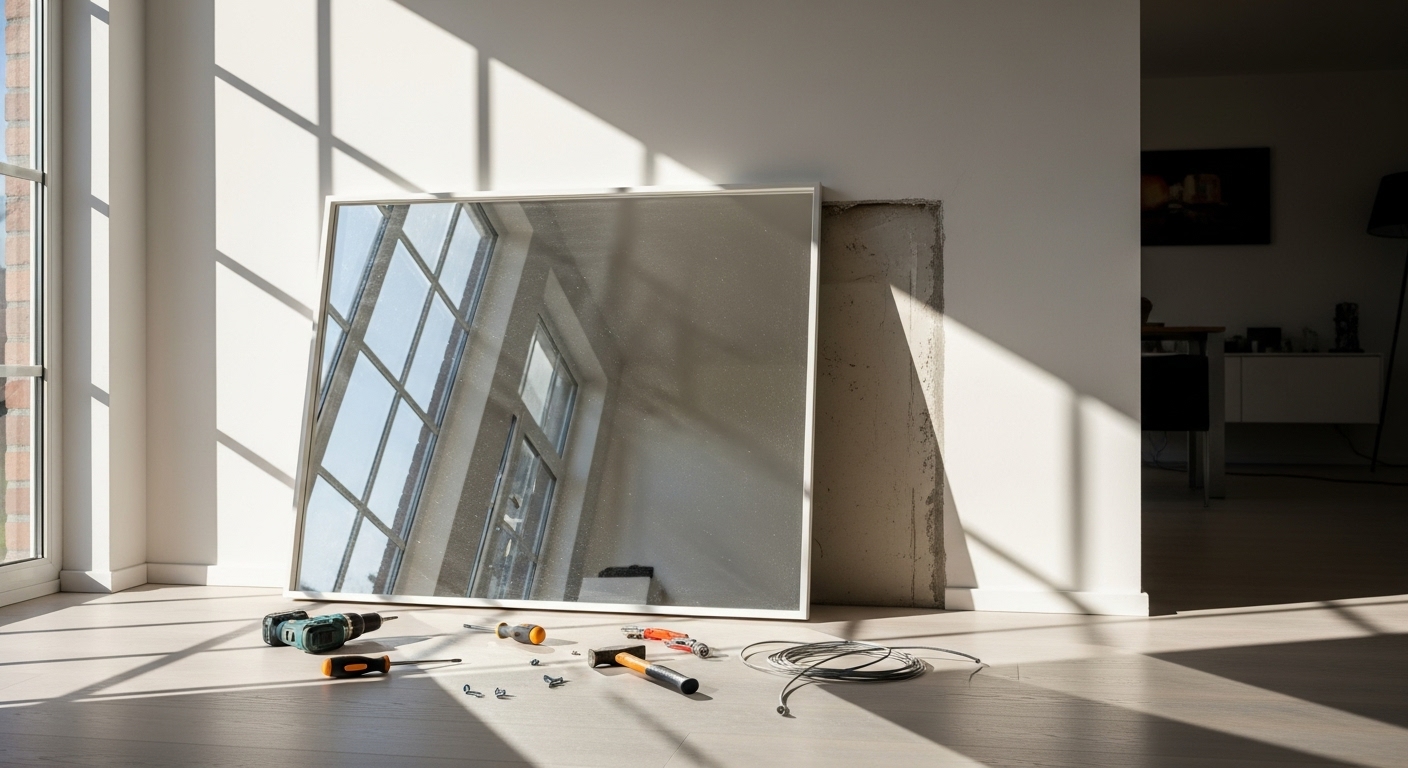
Credit: www.angi.com
Tools And Materials Needed
Removing a glued-on mirror from your wall requires the right set of tools and materials to make the job safe and efficient. Having everything prepared before you start helps prevent damage to your wall and the mirror itself. Let’s go through what you’ll need to gather for this task.
Basic Tools
- Putty knife or scraper:Essential for gently prying the mirror away from the wall without causing cracks.
- Utility knife:Helps cut through adhesive or caulk around the edges.
- Hairdryer or heat gun:Softens the glue, making it easier to remove the mirror.
- Plastic cards:Thin, flexible cards can slide under the mirror to break the adhesive bond.
- Soft cloths or towels:Protects the mirror surface and wall during removal.
Have you ever tried to remove something stuck without the right tools? It’s frustrating and often leads to damage. Using these basics makes your work smoother and safer.
Safety Gear
- Safety goggles:Shields your eyes from flying debris or glass shards if the mirror breaks.
- Gloves:Protects your hands from sharp edges and sticky adhesives.
- Dust mask:Useful if you’re sanding or dealing with old adhesives that might release dust or fumes.
Don’t skip safety gear just because it feels like extra hassle. Protecting yourself is key, especially when handling glass and chemical products.
Adhesive Removers
- Commercial adhesive remover:Products like Goo Gone or WD-40 can dissolve glue without damaging your wall.
- Rubbing alcohol or acetone:Effective for breaking down certain adhesives but test a small area first.
- Warm soapy water:Sometimes the simplest solution softens the adhesive enough for removal.
Think about the type of adhesive your mirror is stuck with. Using the right remover can save you hours of scraping and reduce the risk of wall damage. What’s your experience with adhesives—have you found any tricks that work well?
Credit: mirrorvista.com
Preparing The Workspace
Clear the area around the mirror to create space for safe removal. Protect the floor and nearby surfaces with a drop cloth or old towels. Gather tools like a heat gun, putty knife, and gloves before starting.
Preparing the workspace before removing a glued-on mirror is a crucial step. It sets the stage for a smooth and safe process. A well-prepared workspace ensures that you avoid unnecessary damage or injury.Clear The Area
Start by removing any items near the mirror. This includes furniture, decorations, and other objects that might obstruct your work. A clear area gives you ample space to move around and prevents accidental bumps or breakages.Protect Floors And Furniture
Use drop cloths or old sheets to cover the floor. This will catch any debris or adhesive that may fall during the removal process. If you have nearby furniture that can’t be moved, cover it with plastic or cloth to shield it from dust and damage.Ensure Proper Lighting
Good lighting is essential when working with mirrors. Poor lighting can lead to misjudgments and accidents. Use a bright lamp or flashlight to illuminate the area, especially if the mirror is in a dimly lit room. Have you ever tried removing a mirror only to realize you couldn’t see what you were doing? Proper lighting makes all the difference. It’s a small step that can save you a lot of hassle in the long run.Assessing The Mirror And Adhesive
Before removing a glued-on mirror, start by assessing the mirror and adhesive carefully. This helps avoid damage to the wall or mirror. Understanding the mirror’s size, weight, and adhesive type guides your removal approach. Also, check for any hidden mounting hardware that might hold the mirror in place. A thorough assessment makes the removal process safer and easier.
Check Mirror Size And Weight
Measure the mirror’s height and width using a tape measure. Note the weight by lifting one edge gently if possible. Larger, heavier mirrors need extra caution and may require assistance. Knowing these details helps you plan the right tools and support during removal.
Identify Adhesive Type
Look closely at the mirror’s edges and back. Common adhesives include silicone, construction glue, or double-sided tape. Silicone feels rubbery and flexible. Construction glue is hard and brittle. Tape looks thin and may peel at edges. Different adhesives need different removal techniques.
Look For Mounting Hardware
Some mirrors have hidden clips, brackets, or screws behind or underneath. Use a flashlight to inspect edges and corners carefully. Hardware changes how you remove the mirror. Removing screws or clips first prevents breaking the glass or wall surface.
Safe Removal Techniques
Removing glued-on mirrors requires care and patience. Using the right techniques helps avoid damage to walls and the mirror itself. Safe removal protects your surfaces and prevents injuries. Follow these gentle methods to detach mirrors smoothly.
Using Heat To Soften Adhesive
Heat weakens the glue holding the mirror. Use a hairdryer or heat gun on low settings. Move it slowly across the mirror’s edges. Avoid overheating, which can crack the glass or damage the wall paint. After warming, test if the mirror loosens by gentle pressure.
Applying Adhesive Remover
Choose a remover safe for your wall type and mirror. Apply it carefully along the glued edges with a brush or cloth. Let it sit for the time suggested by the product. The remover breaks down the glue’s hold. Wipe away any residue before prying the mirror off.
Prying Mirror Gently
Use a thin, flat tool like a putty knife or a plastic scraper. Insert it slowly between the mirror and the wall. Work in small sections, moving the tool gently back and forth. Avoid forcing or bending the mirror. Keep hands protected with gloves to prevent cuts.
Handling Common Challenges
Removing glued-on mirrors can be tricky. Challenges like tough adhesives, wall damage, and glass breakage often arise. Preparing for these issues helps make the process smoother. Knowing how to handle each challenge keeps the job safe and effective.
Dealing With Stubborn Adhesive
Some adhesives are very strong and hard to remove. Heat softens glue, making it easier to peel the mirror off. Use a hairdryer or heat gun carefully. Apply gentle pressure with a plastic scraper to lift the edges. Avoid metal tools that can scratch the wall. Sticky residue can be cleaned with adhesive remover or rubbing alcohol. Test removers on a small wall area first to prevent damage.
Avoiding Wall Damage
Protecting the wall is important during mirror removal. Work slowly and avoid forceful pulls. Use a plastic putty knife to separate the mirror from the wall. Cover the floor and nearby furniture to catch falling debris. Patch small holes or scratches with spackle or wall filler. Sand the area smooth and repaint if needed for a clean finish.
Managing Mirror Breakage
Mirrors can break unexpectedly during removal. Wear safety gloves and goggles to protect yourself. Score the mirror surface with a glass cutter to control cracks. If the mirror breaks, carefully collect shards with a broom and dustpan. Dispose of glass safely by wrapping it in thick paper or cloth. Clear the work area to prevent accidents.
Cleaning Residual Adhesive
After removing a glued mirror, sticky adhesive often stays on the wall. Cleaning this residue is important for a smooth, clean surface. Proper cleaning prepares the wall for painting or new fixtures. Use gentle but effective methods to avoid wall damage.
Scraping Off Residue
Use a plastic scraper to lift the sticky glue carefully. Avoid metal tools that can scratch the wall. Work slowly to prevent wall damage. Remove as much residue as possible before moving to other methods. Clean the scraper often to keep it effective.
Using Solvent Cleaners
Apply a small amount of adhesive remover or rubbing alcohol. Let it sit for a few minutes to soften the glue. Gently wipe the area with a cloth or sponge. Test the solvent on a hidden spot first to check for wall damage. Repeat if glue remains stubborn.
Sanding And Smoothing Surface
Use fine-grit sandpaper to smooth any leftover glue or rough spots. Sand lightly to avoid removing too much wall surface. This step helps to create an even wall for painting or wallpaper. Clean the dust with a damp cloth after sanding.
Repairing Wall After Removal
After carefully removing a glued-on mirror from your wall, you’ll likely notice some damage. The adhesive can leave behind holes, cracks, or uneven surfaces that need attention before repainting. Repairing your wall properly not only restores its look but also prevents future issues like peeling paint or further cracks.
Filling Holes And Cracks
Start by cleaning the damaged areas to remove any dust or leftover glue. Use a putty knife to apply a quality spackling compound or wall filler directly into holes and cracks. Press firmly to fill every gap and smooth the surface as much as possible.
After the filler dries, lightly sand the area to create a flat, even finish. If the damage is deep or wide, applying the filler in layers works best. Have you noticed that rushing this step often leads to visible bumps after painting?
Priming And Painting Tips
Priming is essential to seal the repaired spots and ensure the paint adheres evenly. Choose a primer suitable for your wall type—latex primer works well for most drywall surfaces. Apply it with a brush or roller, focusing on repaired areas but blending into the surrounding wall.
Once the primer dries, use high-quality paint that matches your wall color. Applying thin, even coats prevents drips and streaks. Remember, patience here pays off. How much better does a freshly painted, smooth wall make your whole room feel?
Preventing Future Damage
To avoid repeating the hassle, consider how you mount mirrors next time. Using removable adhesive hooks or mirror clips can protect your wall from glue damage. If glue is necessary, test it on a small, hidden spot first to check for wall compatibility.
Also, regularly inspect your walls for early signs of peeling or cracks so you can address them quickly. What small changes can you make now to save time and effort later?
Safety Precautions
Removing glued-on mirrors from walls requires care. Safety comes first. Mirrors can break, and glue can be tough. Follow these safety steps to protect yourself and your space.
Protective Equipment
Wear thick gloves to protect your hands from sharp edges. Use safety goggles to shield your eyes from glass shards. Consider long sleeves to avoid cuts on your arms. Wear sturdy shoes to protect your feet from falling glass.
Handling Broken Glass
Handle broken glass carefully to prevent injury. Use a thick cloth or cardboard to pick up large pieces. Place glass shards in a strong container, like a rigid box. Avoid using bare hands. Sweep smaller shards with a broom and dustpan. Dispose of glass safely following local rules.
Ventilation Tips
Open windows and doors to ensure fresh air flows. Glue removal chemicals can release strong fumes. Use a fan to help move air outside. Keep the room well-ventilated during the entire process. Take breaks outside if the smell feels strong. Good air circulation helps you stay safe and comfortable.

Credit: www.youtube.com
Frequently Asked Questions
How Do I Safely Remove Glued Mirrors From Walls?
Use a hairdryer to warm the adhesive. Gently pry the mirror using a thin, flexible tool. Work slowly to avoid wall damage or mirror breakage.
What Tools Are Needed To Remove Glued Mirrors?
You need a hairdryer, utility knife, thin pry bar, gloves, and safety goggles. These tools help soften adhesive and protect you during removal.
Can I Reuse A Mirror After Removing It From The Wall?
Yes, if the mirror remains undamaged. Clean off residual adhesive carefully. Avoid bending or hitting the mirror to prevent cracks.
How To Prevent Wall Damage During Mirror Removal?
Heat the adhesive evenly before prying. Use thin tools to minimize surface damage. Patch any small holes or marks after removal.
Conclusion
Removing glued mirrors from walls takes patience and care. Use gentle tools and warm the glue to soften it. Work slowly to avoid damage to the wall and mirror. Clean any leftover glue with safe solutions. Taking time helps keep your wall smooth and safe.
Now, you can remove mirrors without stress or mess. Try these steps for a clean, easy mirror removal.


