
Have you ever tried to remove a mirror glued to your wall, only to end up frustrated and worried about damaging the surface? You’re not alone.
Mirrors stuck with strong adhesive can feel impossible to take down without leaving marks or cracks. But don’t give up just yet. You’ll discover simple, effective steps to safely remove those glued mirrors without stress or mess. Keep reading—you’ll soon have the confidence and tools to handle this tricky task like a pro.

Credit: www.youtube.com
Tools And Materials Needed
Removing a mirror glued to your wall requires more than just brute force. Having the right tools and materials at hand makes the process smoother and safer. Before you start, gather everything you need to avoid frustrating interruptions.
Essential Tools
- Utility Knife:A sharp utility knife helps to carefully cut through the adhesive around the edges of the mirror without damaging the wall.
- Putty Knife or Paint Scraper:Use these to gently pry the mirror away from the wall once the adhesive is loosened.
- Heat Gun or Hair Dryer:Applying heat softens the glue, making it easier to separate the mirror from the surface.
- Adhesive Remover:A solvent designed to break down glue residue ensures your wall is clean and ready for repainting or new decoration.
- Soft Cloths:For wiping away glue residue and cleaning the wall after removal.
- Painter’s Tape:This can be applied to the mirror’s surface to prevent shards from falling if the mirror breaks during removal.
Safety Gear
- Safety Glasses:Protect your eyes from glass shards or debris that may fly off during removal.
- Work Gloves:Thick gloves shield your hands from cuts and provide a better grip on slippery surfaces.
- Dust Mask:If you use adhesive remover or work in a dusty area, a mask will protect your lungs from harmful particles and fumes.
Do you have your tools and safety gear ready? Skipping this step can turn a simple project into a messy, dangerous ordeal. Trust me, preparing properly saved me hours of cleanup and a trip to the emergency room after a mirror slipped unexpectedly.
Preparing The Area
Clear the area around the mirror to prevent damage or accidents. Cover nearby furniture and floors with a drop cloth or old sheets. Gather tools like a putty knife, gloves, and safety glasses before starting.
Removing a mirror glued to the wall requires careful preparation. Ensuring the area is ready is key. This minimizes damage and keeps you safe.Clear The Space
Remove any items near the mirror. This includes furniture and decorations. A clear space provides room to work. It also prevents accidental damage to nearby items. Ensure there are no tripping hazards. This is crucial for a smooth process.Protect Surroundings
Cover the floor with a drop cloth or old sheets. This protects against falling debris. Use painter’s tape around the mirror’s edges. It helps protect the wall paint. Consider wearing gloves for hand protection. Safety goggles are also a good idea. They protect your eyes from glass shards.Assessing The Mirror Attachment
Before you start removing a mirror glued to your wall, it’s crucial to understand how it’s attached. Assessing the mirror attachment helps you choose the safest and most effective removal method. Ignoring this step can lead to damage to your wall or even injury.
Types Of Adhesive
Mirrors can be glued using various adhesives, each with different bonding strengths. Common types include:
- Construction adhesive:Strong and durable, often used for heavy mirrors.
- Double-sided tape:Easier to remove but still holds the mirror firmly.
- Silicone sealant:Provides a flexible but tough grip.
- Glue dots or strips:Found in lighter or decorative mirrors.
Knowing the adhesive type helps you determine whether to use heat, solvents, or mechanical tools. Have you ever tried peeling off a mirror only to find it stuck tighter than expected? That’s often due to heavy-duty adhesives.
Mirror Size And Weight
The size and weight of your mirror directly impact your removal approach. Large, heavy mirrors require extra caution and possibly a second pair of hands.
Smaller mirrors might be easier to handle but can still cause damage if pulled abruptly. Think about the risk of the mirror falling or breaking during removal. How secure is your grip? Can you safely manage the mirror’s weight alone?
Assessing both the adhesive type and the mirror’s size helps you plan your tools and techniques effectively. This preparation reduces surprises and keeps your walls and yourself safe.
Credit: mirrorvista.com
Heat Method For Loosening Adhesive
Removing mirrors glued to the wall can be tricky, but the heat method offers a practical way to soften the adhesive holding the mirror in place. Applying heat loosens the glue, making it easier to pry the mirror off without causing damage. This approach is especially useful for stubborn adhesives that don’t respond well to solvents or scraping.
Using A Hair Dryer Or Heat Gun
Both a hair dryer and a heat gun work well to warm the adhesive behind the mirror. A hair dryer is gentler, making it ideal for delicate surfaces or thinner mirrors. Hold the hair dryer close to the edge of the mirror and move it slowly to warm the glue evenly.
If you choose a heat gun, be cautious with the temperature setting. High heat can damage paint or drywall. Keep the heat moving and avoid focusing on one spot for too long.
Once the adhesive softens, try gently sliding a thin, flexible tool like a putty knife between the mirror and the wall. The softened glue should give way more easily, allowing you to remove the mirror without cracking it.
Safety Tips For Heating
- Protect your skin:Heat tools can get very hot, so wear gloves to avoid burns.
- Avoid overheating:Too much heat can crack the mirror or damage the wall surface.
- Work in a ventilated area:Heating adhesives may release fumes, so open windows or use fans.
- Keep a fire extinguisher nearby:Safety first—never underestimate the risk when using heat sources.
Have you ever tried removing a glued mirror without heat? You might find that patience and gentle heat make the task much safer and less frustrating. What small adjustments can you make to your approach next time to avoid damage and save time?
Cutting Through Adhesive
Cutting through adhesive is often the trickiest part of removing mirrors glued to walls. The adhesive holds the mirror firmly, so you need the right tools and techniques to break the bond without causing damage. This step requires patience and a steady hand, but the results are worth it when you can safely remove the mirror.
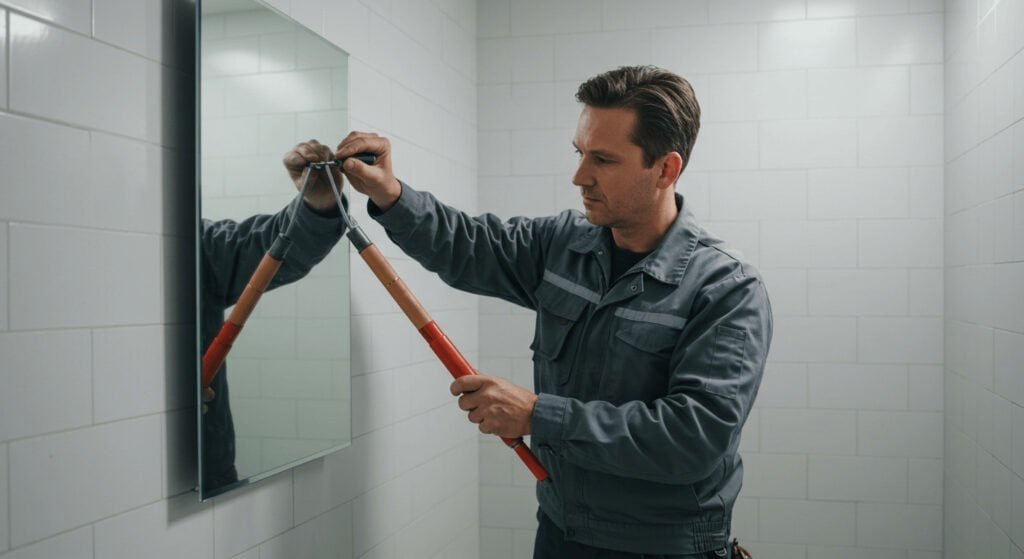
Using A Putty Knife Or Wire
A putty knife is one of the most accessible tools for cutting through adhesive. Choose a thin, flexible putty knife to gently work between the wall and the mirror. Slide it slowly back and forth to create a gap, gradually loosening the adhesive.
Wire, such as picture hanging wire or fishing line, can also be effective. Hold the wire taut and saw it carefully along the edge of the mirror. This technique works well for thicker adhesives but requires steady hands to avoid scratching the wall or breaking the mirror.
- Keep the wire or knife as flat as possible against the wall.
- Work slowly and patiently to avoid sudden breaks.
- Wear gloves to protect your hands from sharp edges.
Techniques To Avoid Damage
Protecting your wall and the mirror is crucial during removal. Never force the tool aggressively; resistance means the adhesive is still firmly stuck. Instead, apply slow, gentle pressure and adjust your angle to prevent cracking the glass or peeling the paint.
Placing painter’s tape around the mirror edges can shield the wall from accidental scratches. If you notice the adhesive is particularly stubborn, apply a bit of heat with a hairdryer to soften it. This small step can make cutting through easier and reduce the risk of damage.
- Use painter’s tape to protect surrounding surfaces.
- Apply heat to soften tough adhesive.
- Take breaks if the process feels risky or difficult.
Have you ever underestimated how strong mirror adhesive can be? Taking your time and using these careful techniques will help you avoid costly repairs while successfully freeing your mirror from the wall.
Chemical Adhesive Removers
Chemical adhesive removers help dissolve glue holding mirrors to walls. These solvents soften adhesives, making mirror removal easier and safer. Choose the right remover to protect your wall and mirror frame. Proper use avoids damage and reduces cleanup time.
Choosing The Right Solvent
Select a solvent that matches the adhesive type. Common adhesives include silicone, epoxy, or construction glue.
- Acetone:Works well on silicone and some glues but can harm paint.
- Isopropyl Alcohol:Mild solvent for light adhesives, safe on most surfaces.
- Commercial Adhesive Removers:Designed for strong adhesives, read labels carefully.
Test the solvent on a small, hidden area before full application. This prevents wall or paint damage.
Application And Precautions
Wear gloves and ensure good ventilation in the room. Apply solvent using a soft cloth or sponge.
- Soak the adhesive area gently without flooding the wall.
- Wait several minutes for the solvent to soften the glue.
- Use a plastic scraper to lift the mirror carefully.
- Do not force the mirror to avoid breaking glass or damaging the wall.
Clean leftover adhesive with solvent and wipe dry. Dispose of used materials safely to avoid hazards.
Removing Residual Adhesive
After removing a mirror glued to the wall, sticky adhesive often remains. This residue can attract dust and dirt, making the wall look untidy. Removing the leftover glue helps restore the wall’s smooth finish. It also prepares the surface for repainting or new decor. Several simple methods work well to clear this sticky mess safely and effectively.
Scraping And Cleaning
Start by gently scraping the adhesive with a plastic putty knife or credit card. Avoid metal tools that might damage the wall. Work slowly to lift the glue without scratching. After scraping, wipe the area with a damp cloth. This removes loose bits of adhesive and dust. Repeat scraping and wiping until most residue is gone. For stubborn spots, soften the glue by applying a warm, damp cloth for a few minutes. This makes scraping easier and safer for the wall.
Using Household Products
Household items can help dissolve sticky glue effectively. Rubbing alcohol works well to break down adhesive residue. Dab a small amount on a cloth and rub gently on the residue. Vinegar is another option. Apply it with a cloth and allow it to sit for a few minutes. Then wipe the area clean. Cooking oil or peanut butter can also soften glue. Apply a thin layer, wait, then wipe off with a cloth. Always test any product on a small hidden spot first to avoid wall damage.

Credit: www.youtube.com
Fixing Wall Damage
Removing a mirror glued to the wall often leaves behind some damage that needs your attention. Fixing wall damage is essential to restore the smooth, clean surface you had before the mirror was installed. Addressing holes, cracks, and uneven areas promptly can save you from more extensive repairs later.
Filling Holes And Cracks
Start by clearing out any loose debris from holes and cracks using a putty knife or a brush. You want the filler to stick well, so a clean surface is key.
Choose a spackling compound or wall filler that suits the size of the damage. For deeper holes, you might need to apply the filler in layers, allowing each to dry fully before adding the next.
After filling, gently press the compound into the damage and smooth it out with your putty knife. Let it dry completely—this step ensures a solid base for sanding and painting.
Sanding And Painting Tips
Once the filler is dry, sand the area with fine-grit sandpaper to create a smooth, even surface that blends seamlessly with the rest of your wall. Don’t rush; uneven sanding can leave bumps that show through paint.
Before painting, wipe the dust off with a damp cloth. This simple step helps the paint adhere better and prevents a rough finish.
Use a primer if the repaired spot is large or if the wall has glossy paint. Applying primer creates a uniform surface and prevents the new paint from peeling or discoloring.
Apply paint in thin, even coats, allowing each to dry fully before adding more. Have you noticed how multiple thin coats always look better than one thick one? This approach also helps avoid drips and streaks.
Preventing Future Damage
Preventing damage to walls and mirrors begins with careful planning. Proper techniques reduce the risk of wall marks and broken glass. Avoid strong adhesives that are hard to remove. Choose solutions that support both the mirror and the wall safely.
Proper Mirror Installation
Use the right tools and materials for mirror mounting. Ensure the wall surface is clean and dry before installation. Select adhesives designed for mirrors and wall types. Follow product instructions carefully to avoid mistakes.
Secure the mirror with even pressure across its surface. Avoid heavy or oversized mirrors on weak walls. Check for studs or solid backing behind drywall. This adds strength and prevents future damage.
Alternative Mounting Methods
Consider using hooks, brackets, or mirror clips instead of glue. These options allow easy removal and repositioning. They also reduce the chance of wall damage.
- Use adhesive strips made for mirrors that peel off cleanly.
- Install a frame with built-in mounting hardware.
- Apply suction cups for temporary mirror placement.
These methods protect both your walls and mirrors. They make future changes simpler and safer.
Frequently Asked Questions
How Can I Safely Remove A Glued Mirror From The Wall?
Use a hairdryer or heat gun to soften the glue. Gently pry the mirror with a thin, flexible tool. Work slowly to avoid damaging the wall or breaking the mirror.
What Tools Do I Need To Remove A Glued Mirror?
You need a hairdryer or heat gun, utility knife, thin pry tool, gloves, and safety goggles. These tools help soften glue and safely detach the mirror without damage.
How Do I Prevent Wall Damage When Removing Mirrors?
Heat the glue to soften it before prying. Use gentle, steady pressure with a thin tool. Avoid rushing to minimize wall cracks or paint peeling.
Can I Reuse A Mirror After Removing It From The Wall?
Yes, if the mirror is intact and undamaged. Clean off any glue residue carefully. Inspect edges for chips or cracks before reusing or relocating.
Conclusion
Removing mirrors glued to the wall takes patience and care. Use gentle tools and avoid rushing the process. Protect the wall to prevent damage. Take your time to loosen the glue safely. Small steps help avoid cracks or scratches. After removal, clean the surface well before any new setup.
Remember, safety matters—wear gloves and work slowly. This way, you keep your walls and yourself safe. A careful approach makes the task easier and stress-free.


