
Is your bathroom pouf back starting to sag or lose its shape? It’s a common problem that can make your daily shower feel less comfortable.
But don’t worry—you don’t need to throw it away or buy a new one. With a few simple steps, you can repair your bathroom pouf back and restore its support. Keep reading, and you’ll discover easy tricks that anyone can do at home to fix this small but frustrating issue.
Your shower routine will feel better than ever once your pouf is back in shape!
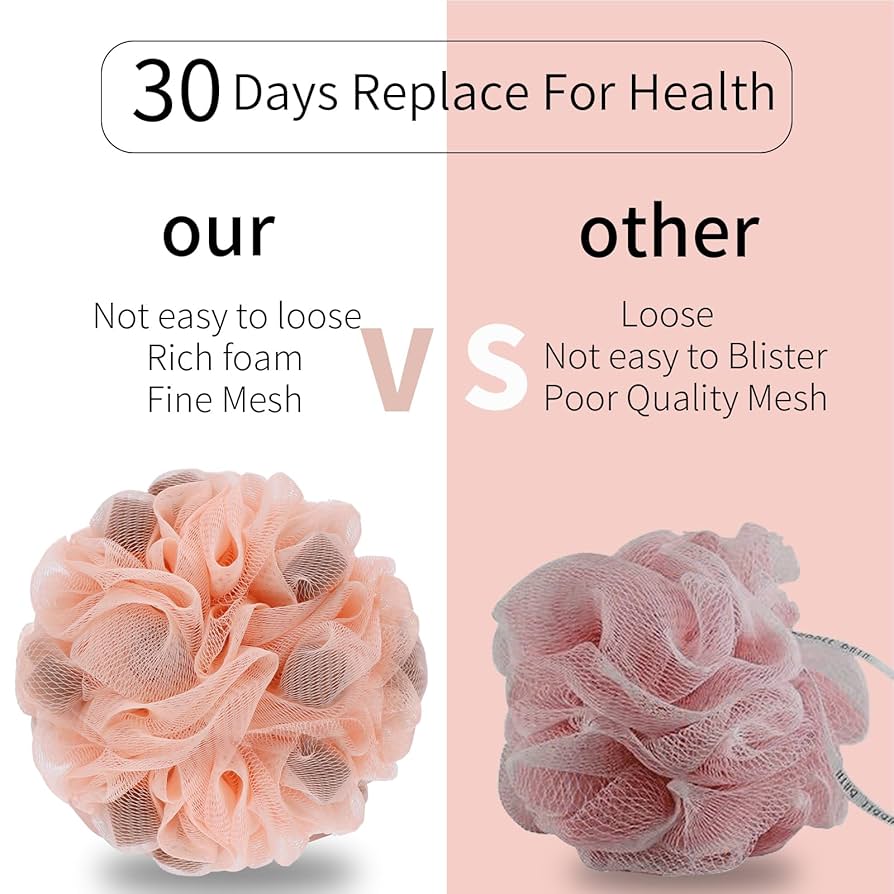
Credit: www.walmart.ca
Identifying Common Pouf Back Issues
Bathroom pouf backs often face wear and tear due to daily use and moisture. Identifying common problems early helps maintain comfort and extend its life. Recognizing these issues is the first step toward proper repair.
Tears And Rips
Tears and rips appear from constant pulling or snagging. These damages expose the inner stuffing, making the pouf less comfortable. Small tears can grow quickly if not fixed.
Loose Seams
Loose seams happen when stitching weakens or breaks. This causes the fabric to separate at the edges. Loose seams often lead to larger holes and stuffing spills.
Worn-out Fabric
Worn-out fabric looks thin, faded, or rough. It loses softness and strength over time. This issue reduces the pouf’s overall durability and comfort.
Tools And Materials Needed
Repairing a bathroom pouf back requires a few simple tools and materials. Having the right supplies makes the task easier and ensures a neat finish. Prepare everything before starting to save time and avoid interruptions.
Gather items that help with sewing, patching, and replacing fabric. Choose materials that match the pouf’s original texture and color. This keeps the repair discreet and long-lasting.
Basic Sewing Kit
- Needles suitable for thick fabric
- Strong thread matching the pouf color
- Scissors for cutting fabric and thread
- Thimble to protect your finger
- Seam ripper to remove damaged stitches
Adhesives And Patches
- Fabric glue that dries clear and flexible
- Iron-on patches for quick fixes
- Double-sided fabric tape for temporary holds
- Small pieces of matching fabric for patching holes
Replacement Fabric Options
- Mesh fabric similar to the original pouf material
- Soft, breathable fabrics that resist water
- Durable fabric scraps from old poufs or towels
- Lightweight cotton or nylon blends
Preparing The Pouf For Repair
Remove any dirt and dry the pouf completely before starting repairs. Check for loose threads or tears to know where to fix. Lay it flat on a clean surface to work comfortably.
Preparing the Pouf for Repair Before you dive into repairing your bathroom pouf, preparation is key. A well-prepared pouf not only makes the repair process smoother but also ensures that the fix lasts longer. By taking the time to set up properly, you can turn a daunting task into a straightforward DIY project.Cleaning The Surface
Start by giving your pouf a thorough clean. Removing dirt and grime will make it easier for patches to adhere properly. Use warm, soapy water and gently scrub the surface with a soft brush. Rinse thoroughly and let it dry completely. A clean pouf ensures that any adhesive or patching material bonds well.Removing Damaged Sections
Next, assess the extent of the damage on your pouf. Carefully cut away any frayed or torn sections using sharp scissors. Be cautious not to remove more than necessary; you want to preserve as much of the original material as possible. This step prevents further tearing and gives you a clear area to work with.Measuring And Cutting Patches
Now that you have a clean and trimmed pouf, it’s time to prepare your patches. Measure the areas that need repair with a ruler or measuring tape. Cut patches slightly larger than the damaged sections to ensure full coverage. Having the right size patch can make all the difference in achieving a seamless repair.
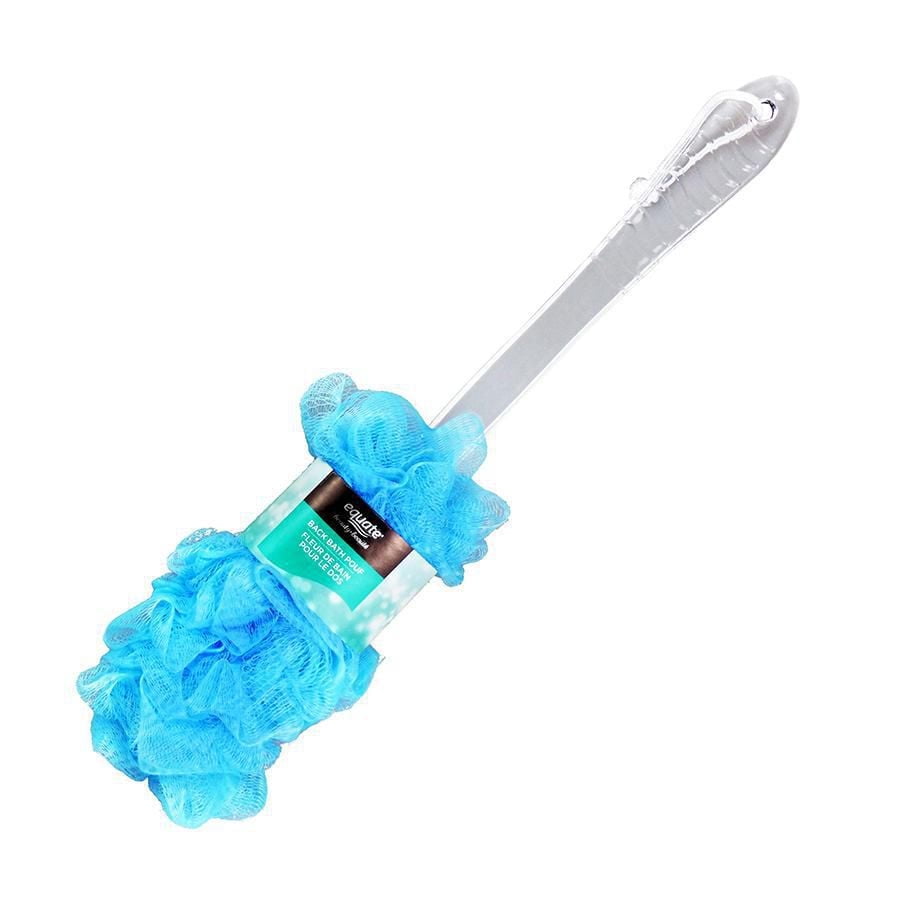
Credit: www.amazon.com
Fixing Small Tears And Rips
Small tears and rips in a bathroom pouf can reduce its life and comfort. Fixing these damages early helps keep the pouf usable and clean. Simple repairs require only a few tools and materials. Choose a repair method based on the tear size and fabric type. Each technique offers a quick way to restore the pouf’s strength.
Hand Stitching Techniques
Hand stitching is a reliable way to fix small tears. Use a needle and thread matching the pouf color. Start by threading the needle and knotting the end. Bring the edges of the tear together carefully. Use small, even stitches to sew along the rip. Try the running stitch or backstitch for durability. Finish with a secure knot to prevent unraveling. Trim excess thread for a neat look.
Using Fabric Glue
Fabric glue works well for quick and easy fixes. Select a glue designed for soft fabrics and water resistance. Apply a thin layer of glue to the torn edges. Press the edges together firmly for a few minutes. Allow the glue to dry completely as per instructions. Avoid using too much glue to prevent stiffness. Fabric glue keeps the pouf soft and flexible after repair.
Applying Iron-on Patches
Iron-on patches provide extra strength to torn areas. Choose a patch that matches the pouf’s color and texture. Cut the patch slightly larger than the tear. Place the patch over the damaged spot on the inside of the pouf. Use a hot iron to press the patch firmly for the recommended time. Let the patch cool before using the pouf again. This method offers a long-lasting and clean repair.
Repairing Loose Seams
Loose seams on a bathroom pouf can cause the stuffing to come out and reduce its lifespan. Repairing these seams helps keep the pouf intact and comfortable to use. Small fixes can prevent bigger tears and improve the pouf’s look.
Reinforcing With Stitching
Use a needle and thread to sew the loose seams back together. Choose a thread color that matches the pouf. Make small, tight stitches along the seam to hold it firmly. Tie a knot at the end to secure the thread. This method strengthens the seam and lasts longer.
Using Fabric Tape
Fabric tape is a quick way to fix seams without sewing. Cut a piece of tape slightly longer than the tear. Press the tape firmly over the seam on both sides. Fabric tape holds the fabric together and prevents further damage. It works well for small or hard-to-reach areas.
Securing With Clips Or Pins
Temporary fixes can use clips or pins to hold the seams closed. Place clips or pins along the open seam to keep it tight. This method helps if you plan to sew or tape the seam later. Be careful not to hurt your fingers when using pins.
Replacing Worn-out Fabric
Replacing worn-out fabric on a bathroom pouf back restores its comfort and appearance. This task extends the life of the pouf and keeps it hygienic. Using the right fabric and technique ensures a neat and durable finish.
Removing Old Fabric
Start by examining the pouf to see how the fabric attaches. Carefully cut the stitches or glue holding the fabric. Peel away the old fabric gently to avoid damaging the foam inside. Dispose of the old fabric properly to keep your workspace clean.
Attaching New Fabric
Choose a soft, water-resistant fabric for the best results. Cut the fabric slightly larger than the pouf surface. Use fabric glue or a sewing needle and thread to attach the new fabric. Work slowly to avoid wrinkles or uneven areas.
Ensuring Proper Fit And Finish
Stretch the fabric evenly over the pouf to prevent sagging. Smooth out any folds or creases for a tidy look. Trim extra fabric carefully without cutting too close to the stitches. Check all edges to confirm a secure hold and neat finish.
Tips For Maintaining A Durable Pouf
Maintaining a durable bathroom pouf extends its life and keeps it fresh. Simple care habits prevent damage and wear. These tips help keep your pouf soft and clean for daily use.
Regular Cleaning Practices
Rinse the pouf after each use to remove soap and dirt. Squeeze out excess water gently without twisting. Wash the pouf once a week with mild soap and warm water. Rinse thoroughly to avoid soap buildup. Hang it in a well-ventilated area to dry completely before the next use.
Avoiding Excessive Moisture
Keep the pouf away from constant wet surfaces. Avoid leaving it in the shower where water pools. Excess moisture causes bacteria and mold growth. Dry the pouf quickly after use to prevent odor. If it smells musty, soak it in vinegar solution for 10 minutes and rinse well.
Storing Properly
Store the pouf in a dry, cool place between uses. Avoid storing it in sealed plastic bags where moisture traps. Use breathable containers or mesh bags instead. Replace the pouf every 2-3 months to maintain hygiene and softness. Proper storage helps keep the pouf clean and ready for use.

Credit: www.gosupps.com
Frequently Asked Questions
How Do I Fix A Torn Bathroom Pouf Back?
To fix a torn pouf back, use strong fabric glue or sew the tear with a needle. Ensure the area is clean and dry before repairing for better adhesion and durability.
What Materials Are Needed To Repair A Bathroom Pouf?
You need needle, thread, fabric glue, scissors, and a clean cloth. Optional items include patches or replacement mesh if the damage is extensive.
Can I Wash A Bathroom Pouf After Repair?
Yes, wash your pouf gently by hand after repair. Avoid harsh detergents and hot water to maintain the repair and fabric quality.
How Long Does A Bathroom Pouf Repair Last?
A well-done repair can last several months to a year. Lifespan depends on usage, repair quality, and material durability.
Conclusion
Repairing a bathroom pouf back is simple with the right steps. Small tears and loose threads can be fixed quickly at home. Regular care helps the pouf last longer and stay clean. Keep tools nearby and follow each step carefully.
A little effort saves money and reduces waste. Enjoy a fresh, comfortable bathroom pouf every day. Easy repairs make a big difference in daily comfort. Try it yourself and see how simple it can be!


