
Are you tired of forgetting to turn off your fairy lights at night? Setting a timer on your fairy lights remote can save you time, energy, and hassle.
Imagine coming home to a beautifully lit room that switches off automatically when you don’t need it. In this guide, you’ll learn simple, step-by-step instructions to set the timer on your fairy lights remote quickly and easily. Keep reading to discover how you can enjoy magical lighting without lifting a finger!
Choosing The Right Fairy Lights
Choosing the right fairy lights can make setting a timer easier and more effective. Not all fairy lights come with the same features or remote controls. Selecting the right type ensures better control over lighting schedules and ambiance.
Types Of Fairy Lights
Fairy lights come in various types, each serving different needs. Some common types include:
- LED String Lights:Energy-efficient and long-lasting, ideal for indoor and outdoor use.
- Battery-Operated Lights:Portable and easy to place anywhere without wires.
- Plug-In Lights:Provide consistent power but need a nearby outlet.
- Solar-Powered Lights:Eco-friendly and charge during the day for night use.
Choosing a type depends on where and how you want to use your lights. Battery or solar options work best for areas without power sources. Plug-in lights offer steady brightness but less flexibility.
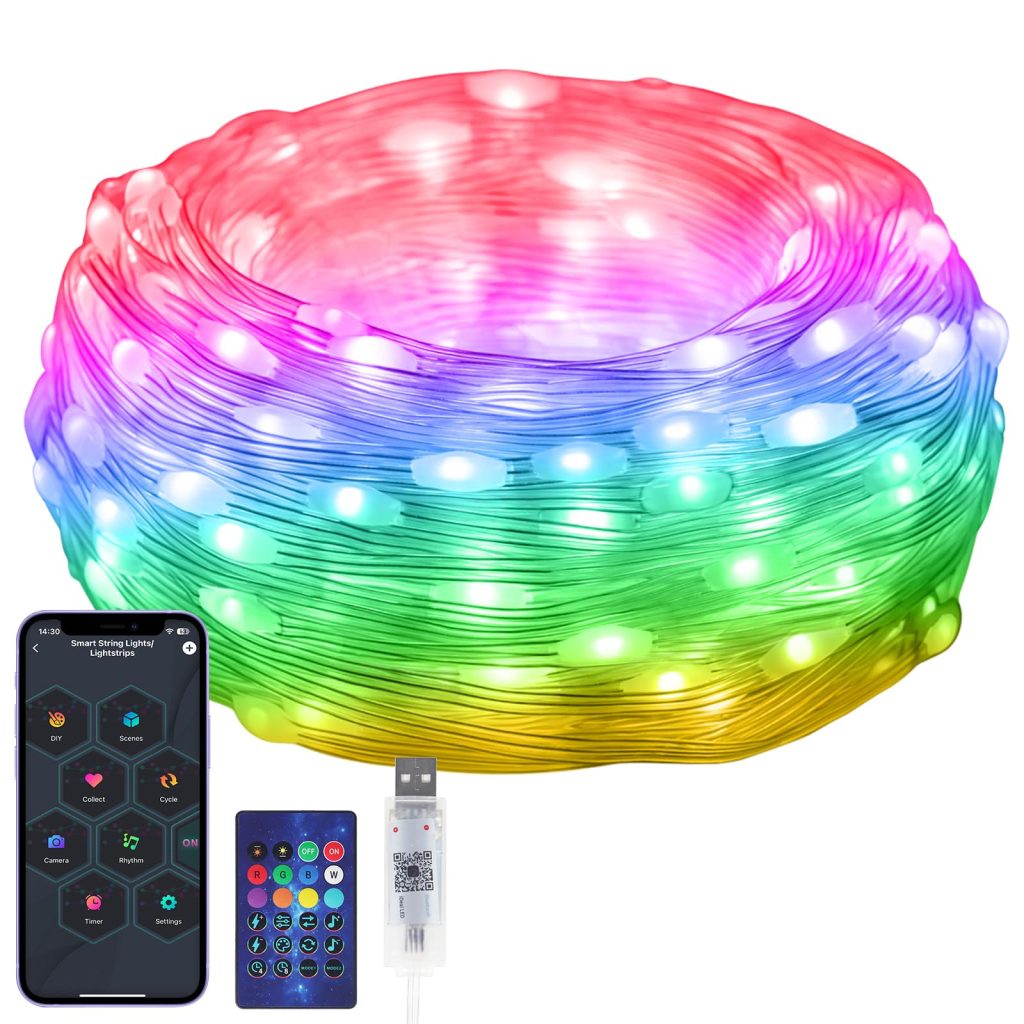
Remote Control Features
Remote controls vary in features and affect timer settings. Look for these key functions:
- Timer Settings:Allows automatic on/off at set times.
- Brightness Control:Adjust light intensity for mood lighting.
- Multiple Modes:Choose steady, flashing, or fading effects.
- Range:Check how far the remote works.
A remote with clear timer options simplifies controlling your fairy lights. Brightness and mode controls add versatility to your lighting experience.

Credit: www.amazon.com
Preparing Your Fairy Lights
Preparing your fairy lights is the first step before setting the timer on the remote. This process ensures the lights work properly and the timer functions as expected. Taking time to prepare helps avoid frustration later.
Unpacking And Checking Components
Start by carefully unpacking the fairy lights and the remote control. Check if all parts are present, including the battery compartment cover, remote, and lights. Look for any damage or loose wires. Confirm the lights match the product description.
Keep the instruction manual nearby. It provides important details about your specific fairy lights model. Verify the remote’s buttons and display are intact. Ensure the remote sensor on the lights is clean and unobstructed.
Inserting Batteries
Insert fresh batteries into the remote control before use. Open the battery compartment with care to avoid damage. Use the correct battery type, usually indicated inside the compartment or in the manual.
Insert batteries following the polarity markings (+ and -). Close the compartment tightly to secure the batteries. If your fairy lights require batteries, install them in the light set as well. Test the remote by pressing any button to check if it powers on.
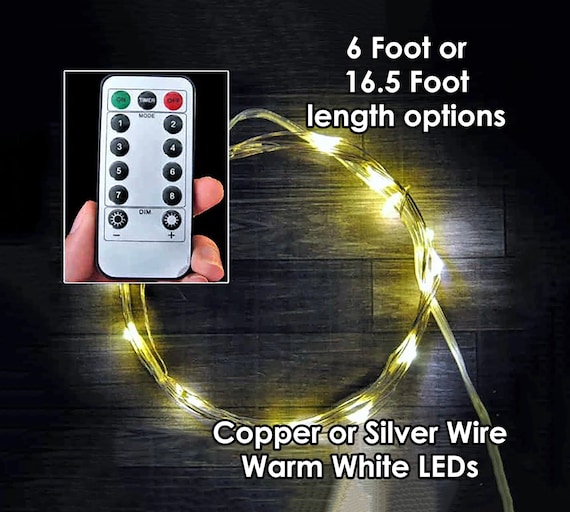
Locating The Timer Button
Find the timer button on the remote, usually marked with a clock icon or labeled “Timer. ” It is often located near the power or mode buttons for easy access. Pressing this button activates the timer function for the fairy lights.
Locating the Timer Button on your fairy lights remote can be simple. Understanding the layout and symbols is essential. With the right guidance, you’ll set it in no time. This guide helps you identify the timer button.Remote Layout
Most remotes are straightforward. They have a similar design. At the top, you find the power button. Below, there are other function buttons. Look for a section labeled “Timer” or “Time.” This is usually near the middle. It’s often marked with a clock icon.Common Timer Symbols
Timer buttons often have specific symbols. The most common is a clock icon. Some remotes use a simple “T” letter. Others might show a digital clock display. Be aware of these signs. Recognizing them is key to setting your timer.
Credit: www.ebay.com.au
Setting The Timer
Setting the timer on your fairy lights remote lets you control when the lights turn on and off. This feature helps save energy and adds convenience to your lighting setup. You can enjoy the lights without needing to switch them manually every time.
Step-by-step Timer Activation
- Find the timer button on your fairy lights remote.
- Press the timer button once to activate the timer mode.
- The lights will turn on and stay lit for a preset time, usually six hours.
- After the set time, the lights will turn off automatically.
- The timer repeats this cycle daily unless you turn it off.
Adjusting Timer Duration
- Check if your remote allows changing the timer duration.
- Press the timer button multiple times to cycle through time options.
- Common durations include 2, 4, 6, or 8 hours.
- Stop pressing when your desired time appears or the lights respond.
- Confirm the setting by leaving the remote idle for a few seconds.
Testing The Timer Function
Testing the timer function on your fairy lights remote ensures your lights operate as planned. This step confirms the timer activates and deactivates the lights at the right time. It helps avoid surprises and makes your lighting setup reliable.
Verifying Timer Activation
Start by setting the timer on the remote according to your preferences. Watch the fairy lights closely to see if they turn on at the scheduled time. Let the lights run for a few minutes, then check if they turn off automatically. This shows the timer works correctly.
Try setting different timer durations for accuracy. Note any delay or failure to switch on or off. Confirm the remote signals the lights clearly without interruption.
Troubleshooting Common Issues
If the timer does not activate, first check the batteries in the remote. Weak batteries often cause signal problems. Ensure the fairy lights are within the remote’s range for proper communication.
Reset the timer and try again if the lights stay on or off incorrectly. Dust or dirt on the remote sensor may block signals. Clean the remote and light sensor gently.
Consult the user manual for specific timer settings. Some remotes require pressing the timer button twice to activate. If problems persist, test the remote with another set of fairy lights if possible.
Credit: www.etsy.com
Tips For Efficient Use
Using the timer on your fairy lights remote can save energy and extend the life of your lights. Simple steps help you get the most out of your fairy lights. Small habits make a big difference in how well your lights work and last.
Maximizing Battery Life
Turn off the remote when not in use. This stops battery drain. Use good quality batteries for longer power. Replace weak batteries quickly to avoid poor remote response. Keep the battery compartment clean and dry to prevent corrosion. Store the remote in a cool, dry place to protect the batteries.
Maintaining Your Fairy Lights
Check the wires regularly for damage. Broken wires can cause lights to stop working. Clean the lights gently with a soft cloth to remove dust. Avoid using water or harsh chemicals. Store lights carefully when not in use to prevent tangling and damage. Avoid pulling or twisting the lights during setup or storage.
Frequently Asked Questions
How Do I Set A Timer On Fairy Lights Remote?
To set the timer, press the “Timer” button on your fairy lights remote. The lights will stay on for 6 hours and off for 18 hours automatically.
Can I Customize The Timer Duration On Fairy Lights?
Most standard fairy lights offer a fixed 6-hour on, 18-hour off timer. Custom durations may require advanced models or smart plugs.
Why Isn’t The Timer Working On My Fairy Lights?
Check the batteries in your remote and ensure the lights are plugged in properly. Reset the timer by pressing the timer button again.
Do All Fairy Lights Remotes Have Timer Functions?
No, not all remotes include timer options. Check product specifications to confirm if your fairy lights support timer settings.
Conclusion
Setting a timer on your fairy lights remote saves time and energy. It helps your lights turn on and off automatically. You can enjoy a cozy atmosphere without any hassle. Just follow the simple steps, and your lights will work as you want.
This small trick makes your space look warm and inviting. Try it today and see the difference it brings. Easy, convenient, and smart.


