
Are you looking for a stylish and functional piece to add to your living space? Sewing your own square pouf ottoman might be easier than you think.
Imagine having a cozy spot to rest your feet, extra seating for guests, or even a trendy accent that matches your home perfectly—all made by your own hands. In this guide, you’ll discover simple steps to create a beautiful pouf ottoman that fits your style and needs.
Ready to turn fabric and stuffing into a piece you’ll love? Let’s get started!
Materials Needed
Gathering the right materials is key to sewing a beautiful square pouf ottoman. Each item plays an important role. Choosing quality materials ensures your project lasts long and looks great. This section covers fabric, filling, and tools needed for this DIY project.
Fabric Selection
Choose a durable fabric that suits your style. Thick cotton, canvas, or upholstery fabric works well. Pick a fabric that feels strong and can handle weight. Patterns or solid colors both fit nicely depending on your room decor. Make sure to buy enough fabric to cover all sides and seams comfortably.
Filling Options
Use filling that gives good shape and comfort. Polyester stuffing is soft and easy to use. Foam pieces offer firmer support and durability. Old cushions or recycled materials can work too. Select filling based on how firm or soft you want your pouf to be.
Tools Required
- Sewing machine for strong, even stitches
- Sharp scissors to cut fabric cleanly
- Measuring tape to get exact dimensions
- Pins to hold fabric pieces together
- Chalk or fabric marker for marking cuts
- Needle and thread for hand sewing small areas
- Zipper or Velcro for easy removal of cover
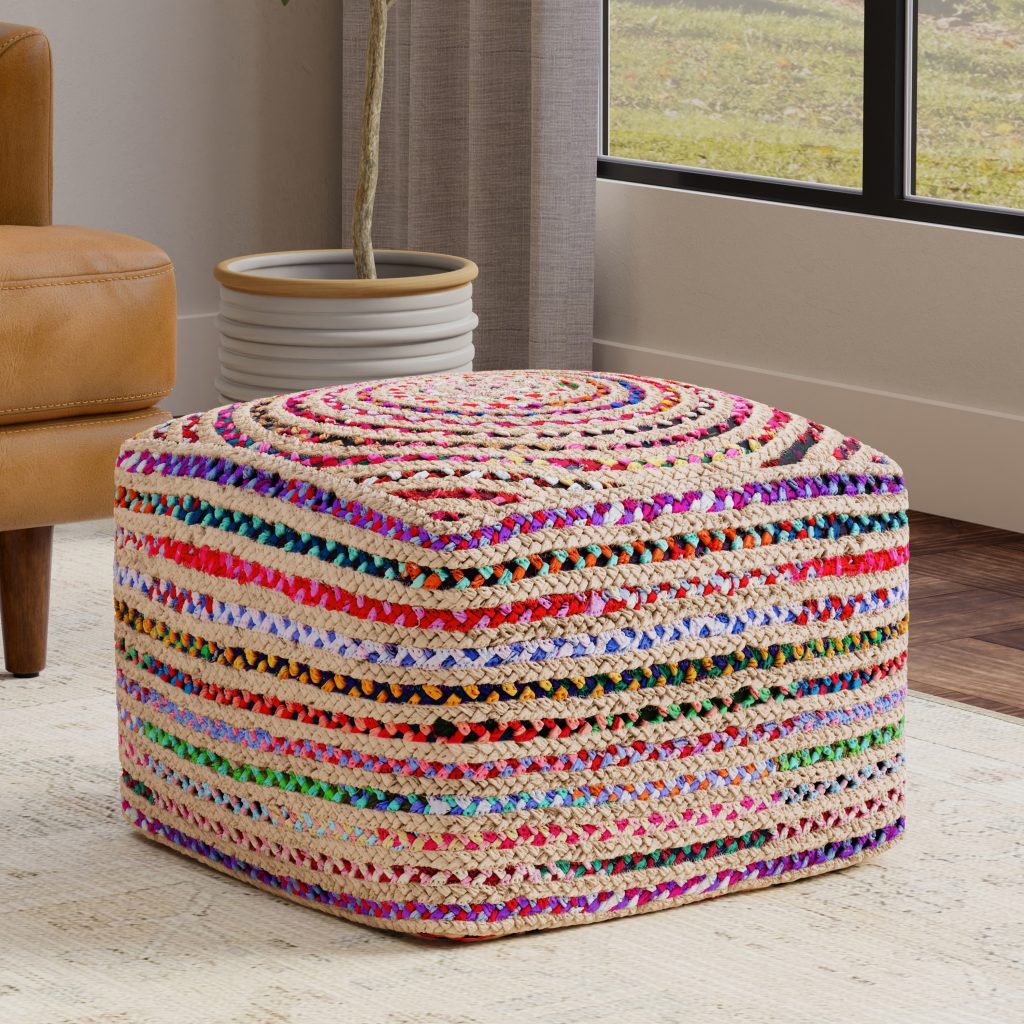
Credit: www.gan-rugs.com
Preparing Your Fabric
Preparing your fabric sets the foundation for a well-made square pouf ottoman. Taking the time to measure and cut accurately ensures your pieces fit together perfectly, saving you from frustrating adjustments later. Careful preparation also helps you avoid fabric waste and guarantees a clean, professional look.
Measuring And Cutting
Start by measuring your fabric carefully against your pouf pattern. Use a clear ruler or measuring tape to get precise dimensions. Double-check your measurements before cutting to avoid mistakes that could ruin your fabric.
Cut your fabric on a flat surface with sharp fabric scissors or a rotary cutter. Keep your hands steady and cut slowly for straight edges. Remember, cutting slightly outside your lines is better than cutting inside, as you can always trim later but can’t add fabric back.
Marking Seam Allowances
Marking seam allowances is crucial for sewing pieces together smoothly. Most pouf ottoman patterns require a seam allowance of about ½ inch. Use tailor’s chalk or a fabric marker to draw these lines clearly on each fabric piece.
Marking seam allowances before sewing helps you stay consistent and avoid uneven seams. It also makes pinning and stitching easier since you have a clear guide. How confident are you in your seam allowance measurements? Taking time here pays off in the final look of your pouf.
Sewing The Pouf Panels
Cut fabric panels carefully to match the pouf size. Sew edges with a straight stitch, joining each panel neatly. Press seams flat for a clean, sharp look.
Sewing a pouf ottoman can be an exciting and rewarding project for any DIY enthusiast. As you prepare to stitch the panels together, remember that this stage is crucial for the pouf’s final shape and durability. Each seam you sew contributes to the overall strength and aesthetics of your ottoman, so precision and care are key.Stitching Side Seams
Begin by placing two side panels right sides together. Pin them along one edge to ensure they stay aligned while you sew. Use a straight stitch, leaving a 1/2 inch seam allowance. Repeat this process for the remaining side panels, forming a continuous loop. Carefully press the seams open with an iron, which helps achieve a crisp edge and professional finish. Stitching the side seams correctly ensures your pouf has a clean, polished look. Can you already imagine how satisfying it will be to see your creation take shape?Attaching The Top And Bottom
Next, align the top panel with the open edge of your side panel loop. Pin the edges securely, then stitch around the perimeter with the same seam allowance. Attach the bottom panel in a similar fashion, but leave a small opening for stuffing the pouf later. When you flip the pouf right side out, you’ll notice how the panels align to create a neat, boxy shape. Ensuring a snug fit between the top and bottom panels is crucial. How does it feel to watch your pouf come together, knowing each stitch brings you closer to a functional piece of furniture?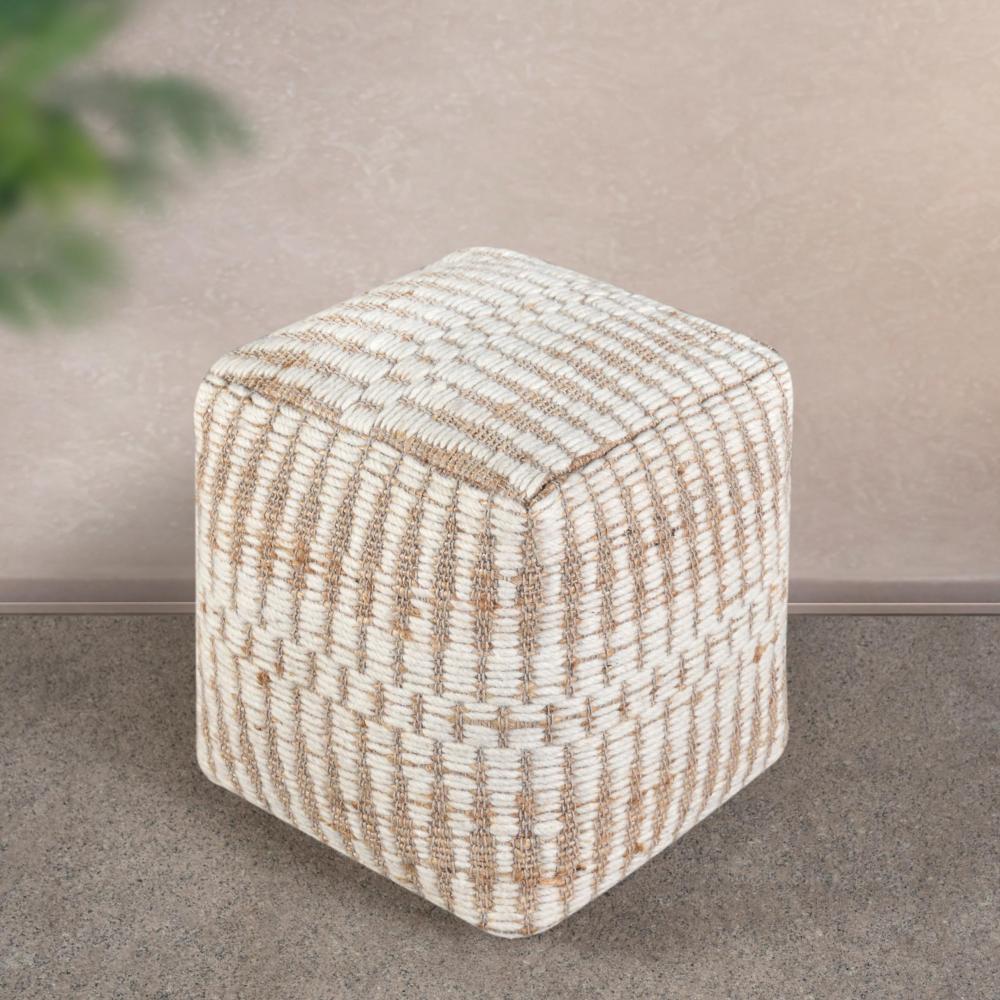
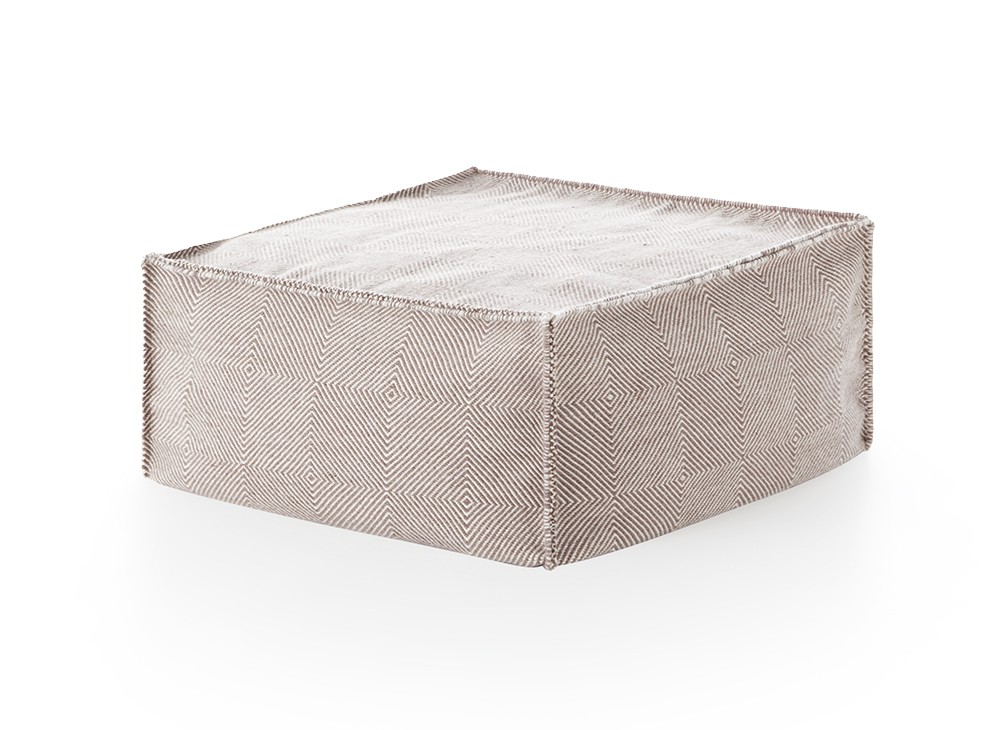
Credit: loftstore.com
Adding The Filling
Adding the filling to your square pouf ottoman is where your project truly starts to take shape. The right stuffing transforms the fabric shell into a comfortable, sturdy piece of furniture that invites you to sit and relax. Getting this step right ensures your pouf will hold its form and provide lasting comfort.
Choosing The Right Stuffing
The type of stuffing you pick affects both the look and feel of your pouf. Polyester fiberfill is soft and easy to work with, giving a plush finish. However, if you want a firmer pouf, try using foam inserts or a combination of shredded foam and fiberfill.
Consider the weight too. Heavier fillings like old cushions or fabric scraps add density but might make your pouf less portable. Think about how you plan to use your pouf—will it be a footrest or extra seating? This helps you choose stuffing that matches your needs.
Filling The Pouf Evenly
To avoid lumps and uneven spots, fill your pouf gradually. Add stuffing in small amounts, spreading it evenly across each section before moving on. Pay special attention to the corners—they often need extra stuffing to keep their shape.
Press the filling down gently as you go, but don’t compress it too much. Your pouf should feel firm yet comfortable. If you notice any sagging or lumps, remove some stuffing and redistribute it until you achieve a smooth, balanced surface.
Finishing Touches
Finishing touches give your square pouf ottoman its polished look and ensure it’s sturdy enough for everyday use. This stage might seem small, but it’s where your project truly comes together. Paying attention here can make your pouf look professionally made and last longer.
Closing The Final Seam
After stuffing your pouf with filling, the last seam must be closed carefully to keep everything secure. Use a ladder stitch or invisible stitch to sew the opening shut by hand. This type of stitch hides the thread and creates a smooth finish without bulky seams.
Make sure the stuffing is evenly distributed before closing. If you notice lumps or empty spots, adjust the filling first. A tight, neat seam prevents the stuffing from slipping out and keeps your pouf’s shape intact.
Adding Decorative Elements
Decorative touches can turn a simple pouf into a standout piece. Consider adding piping around the edges for a clean, tailored look. Piping not only enhances the design but also reinforces the seams.
You might also sew on buttons or attach tassels at the corners. These small details add personality and invite people to use your pouf. What kind of style do you want your space to express? Simple, bold, or playful decorations can help you achieve that.
Care And Maintenance Tips
Caring for your square pouf ottoman ensures it stays comfortable and stylish for years. Regular maintenance not only preserves its look but also extends its life. Let’s dive into practical ways you can keep your pouf looking fresh and fix minor issues before they become big problems.
Cleaning Your Pouf
Start by vacuuming your pouf regularly to remove dust and dirt. Use a soft brush attachment to avoid damaging the fabric. For spot cleaning, gently blot stains with a damp cloth and mild detergent—never rub hard, as that can spread the stain.
If your pouf has a removable cover, check the care label before washing. Machine wash it on a gentle cycle or hand wash to keep the fabric intact. Air dry the cover to prevent shrinking or warping.
Have you noticed any lingering odors? Sprinkle baking soda on the surface, let it sit for 15 minutes, then vacuum it off. This simple trick refreshes the fabric without harsh chemicals.
Repairing Minor Damage
Small tears or loose seams can be fixed quickly with basic sewing skills. Use a matching thread and a sharp needle to carefully stitch the damaged area, making sure to knot securely. This prevents the tear from growing bigger over time.
If the pouf’s stuffing shifts or clumps, redistribute it evenly by kneading and fluffing the ottoman. You can also add extra stuffing through a hidden zipper or by opening a seam temporarily. This keeps your pouf comfortable and well-shaped.
Ever caught a loose button or decorative trim? Reattach it promptly to avoid losing parts and to maintain the pouf’s charm. A small repair done early saves you from costly replacements later.

Credit: dwalinam.com
Frequently Asked Questions
What Materials Are Needed To Sew A Square Pouf Ottoman?
To sew a square pouf ottoman, you need fabric, foam or stuffing, thread, scissors, measuring tape, and a sewing machine. Choose durable fabric for longevity. Foam thickness depends on desired firmness. These materials ensure a sturdy and comfortable pouf.
How Do I Measure Fabric For A Pouf Ottoman?
Measure each side of the pouf plus seam allowances. Add extra fabric for the top, bottom, and sides. Accurate measurements prevent fabric shortages. Always double-check dimensions before cutting to avoid mistakes and ensure a perfect fit.
Can I Use Foam Or Stuffing For Filling?
Yes, foam offers firm support, while stuffing provides softness. Choose foam for a structured pouf and stuffing for a plush feel. You can combine both for balanced comfort. Select high-density foam for durability and shape retention.
How Do I Sew The Pouf Corners Neatly?
Sew the corners by aligning fabric edges precisely. Use pins to hold fabric in place. Stitch slowly, maintaining a straight line. Clip corners to reduce bulk before turning the fabric right side out. This creates clean, sharp corners.
Conclusion
Sewing a square pouf ottoman is a fun and useful project. You can choose fabrics that match your home style. The steps are simple and easy to follow. This project helps you create a cozy seat or footrest. Enjoy your new pouf and the pride it brings.
Try making more in different colors and patterns. Sewing saves money and lets you personalize your space. Keep practicing to improve your skills every time. You now have a stylish and comfy addition to your room.


