
Have you ever wanted to turn your favorite photo into a beautiful canvas artwork? Imagine seeing your special moments or creative designs come to life on a sturdy, textured surface that you can hang anywhere.
Transferring a picture onto canvas might sound tricky, but with the right steps, you can do it yourself easily. In this guide, you’ll discover simple techniques that make your images pop with vibrant colors and lasting quality. Ready to transform your pictures into stunning canvas art?
Keep reading, and you’ll learn exactly how to make it happen.
Materials Needed
Transferring a picture onto canvas can transform your favorite images into stunning works of art. But before diving into this creative process, gathering the right materials is crucial. With the right tools in hand, you can ensure a smooth and successful transfer that will leave your friends and family in awe.
Choosing The Right Canvas
The canvas you choose can significantly affect the outcome of your project. Consider the size of your picture and how it will fit on the canvas. A stretched canvas works well for most transfers, as it provides a sturdy surface and is ready to hang.
Opt for a canvas that is primed and ready to accept your image. This ensures better adhesion and a more vibrant finish. Think about the texture too; a smoother canvas might be easier for beginners, while a more textured one can add a unique touch to the final piece.
Selecting Your Picture
Not all pictures are created equal when it comes to transferring onto canvas. Select a high-quality image with clear details. A blurred or low-resolution picture may not translate well and could leave you disappointed.
Consider the colors and contrast in your picture. Bright and vivid images often make the most striking transfers. Don’t forget to choose a picture that holds personal significance or artistic value to you.
Essential Tools And Supplies
- Gel Medium:This adhesive is essential for transferring your picture onto the canvas.
- Brush:A flat brush helps you apply the gel medium evenly across the canvas.
- Burnishing Tool:A simple tool like a spoon or a squeegee helps press the picture firmly onto the canvas.
- Water Spray Bottle:This helps to gently remove the paper backing from your image after the transfer.
- Soft Cloth:Use it to smooth out any air bubbles and wrinkles during the transfer process.
Have you ever tried transferring a picture onto canvas? What tricks did you find most helpful?
Arming yourself with these materials and tools can make the transfer process not only easier but more enjoyable. With each careful step, you’ll see your picture come to life on canvas, creating a lasting piece of art that you can proudly display. So, gather your supplies, and let your creativity flow!
Preparing The Image
Getting your image ready before transferring it onto canvas sets the stage for a successful and beautiful result. This preparation ensures the image fits perfectly and the transfer process goes smoothly. Paying attention to details now saves you from frustrating mistakes later.
Resizing And Printing
Start by resizing your image to match the dimensions of your canvas. Use simple photo editing tools to adjust the size without losing quality. Printing the image in the exact size you want on the canvas helps avoid stretching or cropping after transfer.
Choose the right printer and paper for the best outcome. Inkjet printers generally work well for transfers, but make sure your ink is fresh and not smudging. Print on regular paper or a specific transfer paper, depending on your chosen method.
Converting To Black And White
Converting your image to black and white can improve the clarity of details after transfer. Black and white images often show contrast better, making the transferred design sharper on the canvas. You can easily adjust brightness and contrast using basic photo editors to highlight key areas.
Think about the mood you want your final piece to have. Sometimes, a simple monochrome image makes a stronger statement than a colored one. Does your picture convey the emotion better in black and white?
Using Transfer Paper
Transfer paper is a handy tool that simplifies the image transfer process. It works by printing your image onto the paper, then pressing it onto the canvas to leave a clear imprint. This method is especially useful if you want to keep all the fine details intact.
Make sure to mirror your image before printing on transfer paper. This step is crucial if your design includes text or directional elements. Have you ever transferred an image only to find it reversed? Mirroring prevents that common mistake.
Canvas Preparation
Preparing the canvas is a key part of transferring a picture. It makes sure the image sticks well and looks clear. The right surface helps paint and other materials stay strong. Getting the canvas ready takes some basic steps. These steps improve texture and strength for your artwork.
Priming The Canvas
Priming adds a protective layer to the canvas. It stops paint from soaking in too much. Use gesso, a white paint primer, for this task. Apply it evenly with a brush or roller. Let the first coat dry completely. Add a second coat for better coverage and smoothness. Priming creates a bright, clean base for your picture.
Sanding For Smoothness
Sanding helps make the canvas surface smooth. Use fine-grit sandpaper, around 220 grit. Gently rub the dried primer to remove rough spots. This step ensures the picture transfers cleanly without bumps. After sanding, wipe away dust with a soft cloth. Smooth canvas means a sharper and clearer image transfer.
Securing The Canvas
Secure the canvas tightly on a flat surface. Use a sturdy board or table for support. Stretch the canvas if needed to avoid wrinkles. Tape or clamps help keep it from moving. A stable canvas surface makes transferring easier and more precise. This step prevents smudges or shifts during the process.

Credit: fixthephoto.com
Transfer Techniques
Transferring a picture onto canvas can be a rewarding process, and the technique you choose affects both the final look and the effort involved. Each transfer technique offers unique advantages depending on your materials and the level of detail you want to achieve. Understanding these methods helps you pick the one that fits your style and project perfectly.
Graphite Transfer Method
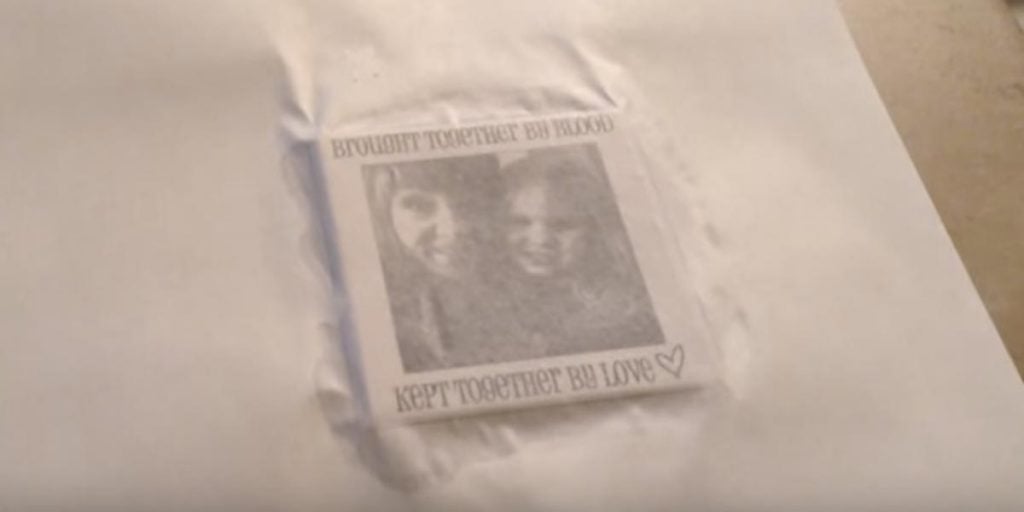
The graphite transfer method is simple and requires minimal materials. You start by shading the back of your printed image with a graphite pencil, then place it face-up on the canvas and trace over the lines. The pressure from tracing transfers the graphite onto the canvas, creating a clear outline to paint over.
This technique works well for detailed drawings and allows you to maintain control over the placement of your image. Have you tried tracing before and noticed how it helps refine your artwork’s accuracy? It’s especially useful if you want to customize or tweak the design as you go.
Gel Medium Transfer
Gel medium transfer uses an acrylic gel to embed your image into the canvas surface. You apply a layer of gel medium on the canvas, press your laser-printed image face down, and smooth out any bubbles. After drying, you gently rub off the paper with water, leaving the image embedded in the gel.
This method gives a textured, artistic effect and works beautifully with photocopies or laser prints. It can be a bit messy but produces a unique look that feels part painting, part print. Have you ever thought about how texture can add depth to a simple image?
Iron-on Transfer
Iron-on transfers involve printing your picture onto special transfer paper and using heat to transfer the image to the canvas. You place the printed side down on the canvas and apply heat with an iron according to the transfer paper instructions. The heat melts the ink onto the fabric, resulting in a sharp and vibrant image.
This method is fast and produces clear images, ideal if you want a polished, professional look quickly. It works best on lighter canvas colors and requires a steady hand with the iron. Have you considered how heat can bond ink to fabric without any paint or gel?
Applying The Image
Applying the image onto your canvas is a crucial stage that shapes the final look of your artwork. It requires patience and precision to ensure the picture transfers clearly and accurately. Let’s dive into how you can position, trace, and let your image set perfectly on the canvas.
Positioning The Picture
Start by deciding exactly where you want the image to appear on your canvas. Lay the picture flat and move it around until you find the perfect spot that balances your composition.
Use light masking tape or painter’s tape to hold the picture in place. This prevents any shifting during tracing, which can ruin your alignment.
Ask yourself: Does the placement enhance the overall design? Take a moment to visualize before committing.
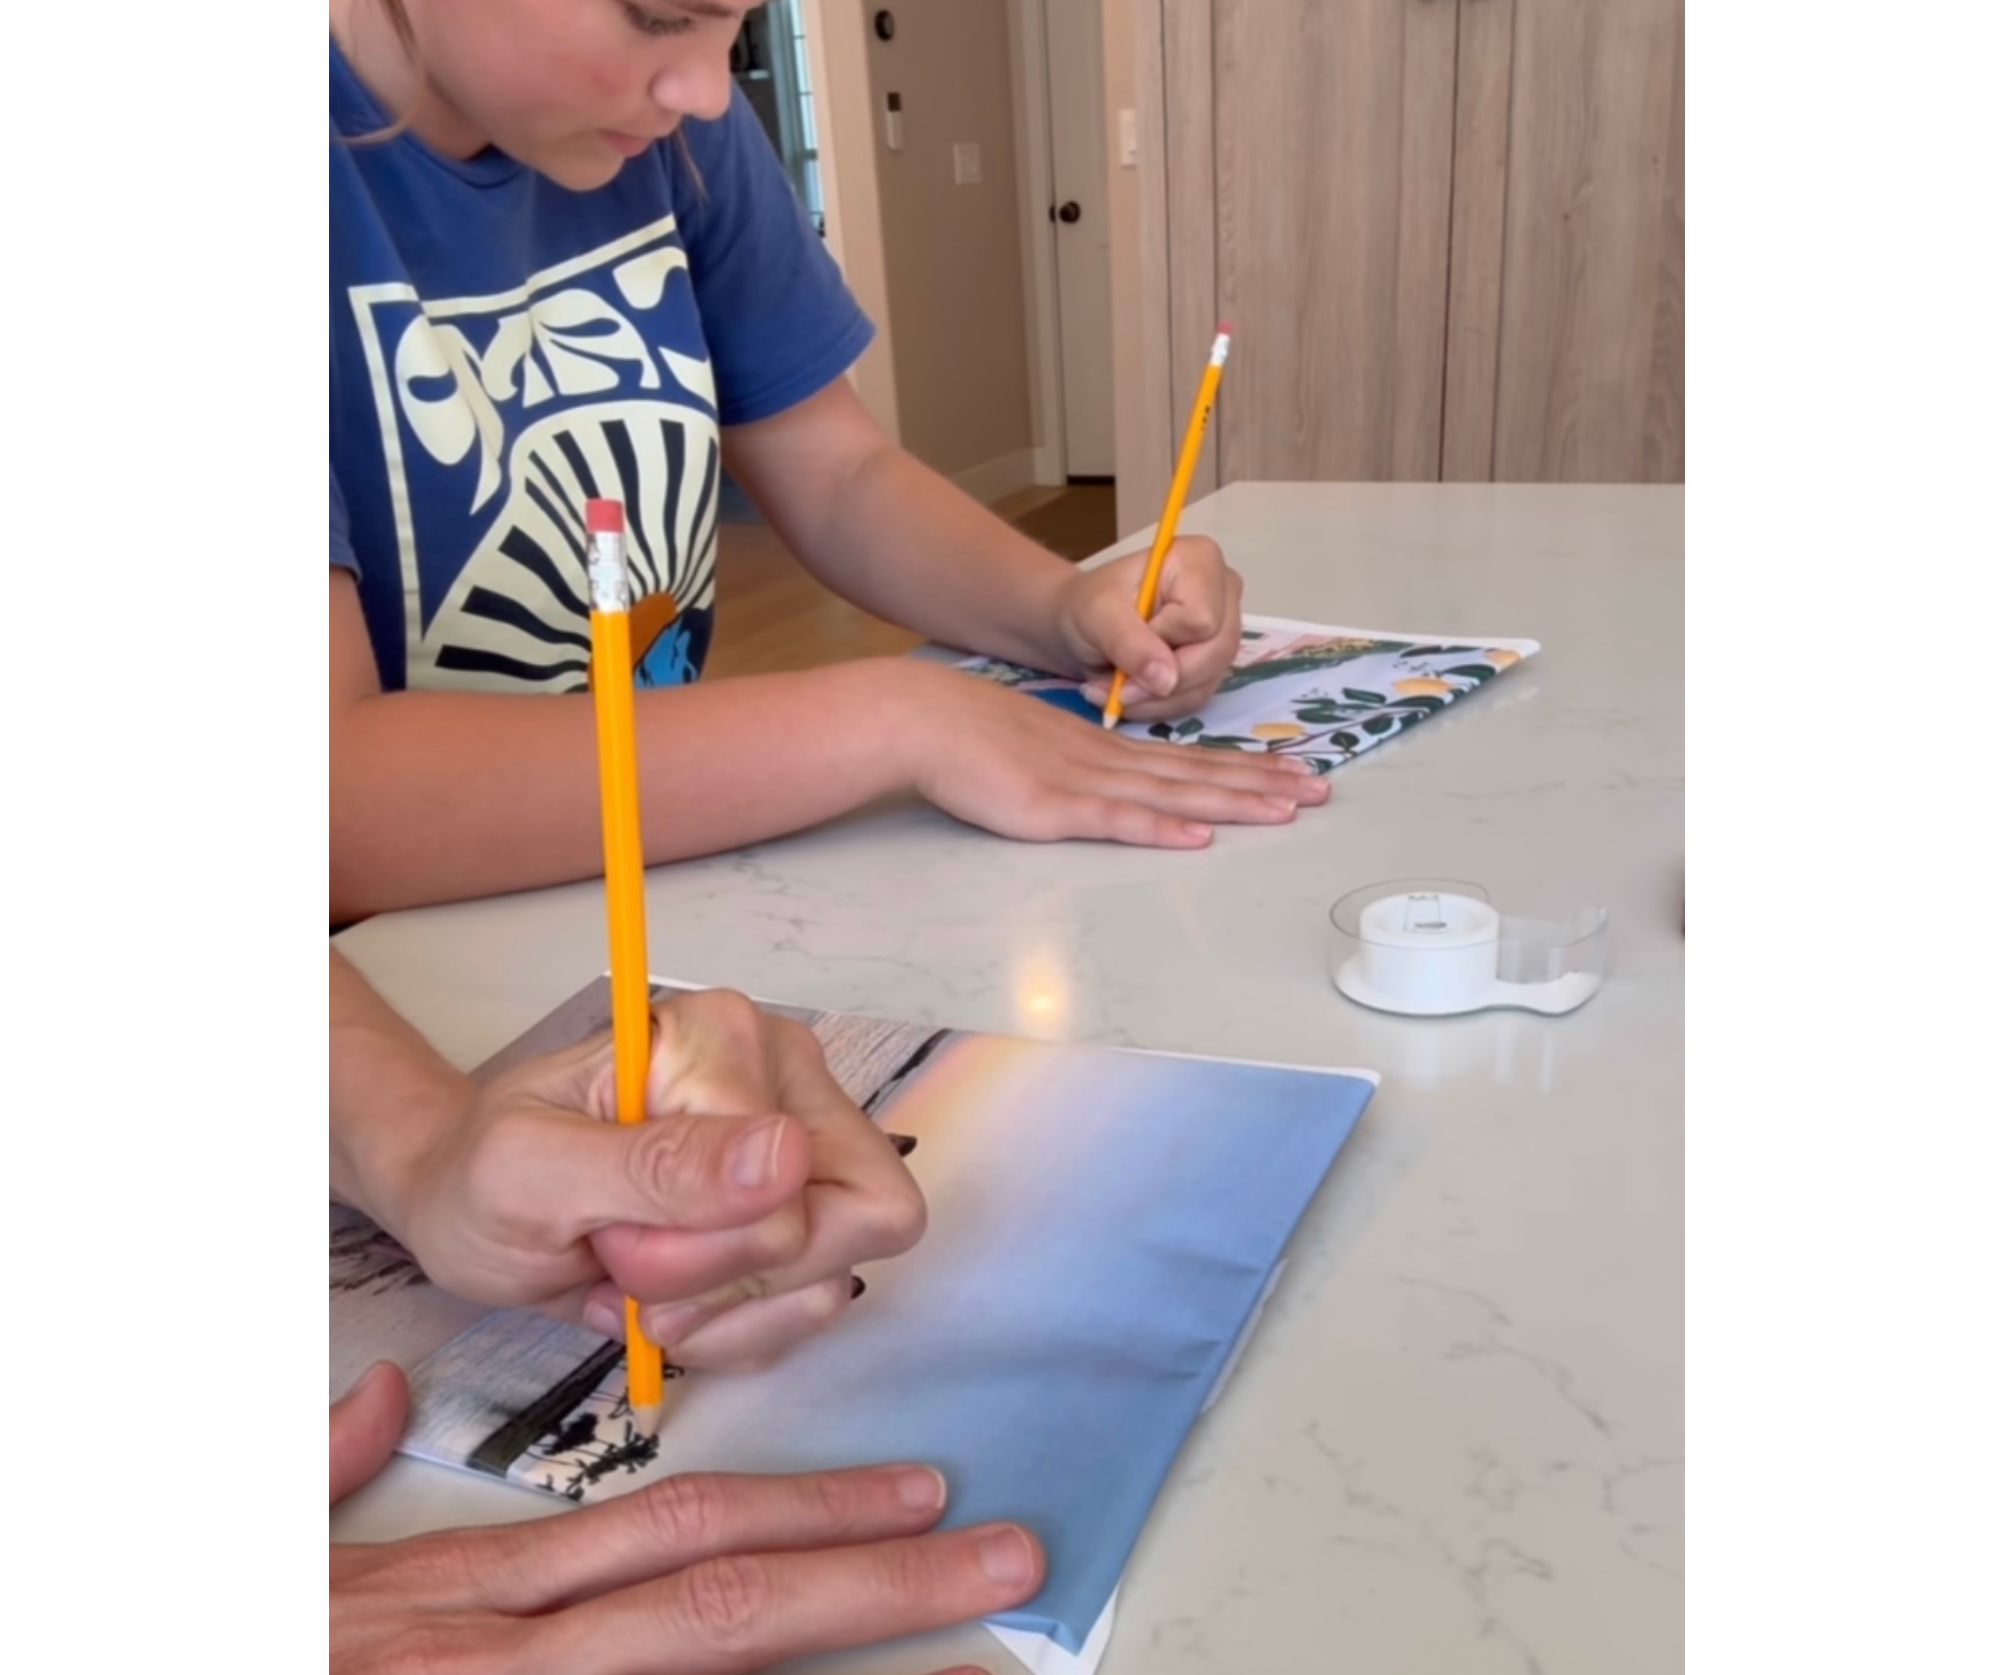
Tracing And Transferring
With the picture secured, use a pencil or transfer paper to trace the outlines onto the canvas. Light, steady strokes work best to avoid indenting the canvas fibers.
If you prefer, carbon or graphite transfer paper can help replicate details more precisely without direct tracing. Simply place the transfer paper between your picture and the canvas.
Remember, patience pays off. Rushing this step often leads to smudges or incomplete transfers that are hard to fix later.
Drying Time Tips
After transferring the image, allow the canvas to rest before starting to paint or add further layers. This helps the transferred lines settle and prevents unwanted smearing.
Try to keep the canvas in a dry, dust-free area during this period. Quick drying can sometimes cause cracks or fading of the image outlines.
How long to wait? Usually, 15 to 30 minutes is enough, but if you used any wet medium in the transfer, extending drying time is wise.
Credit: diyjoy.com
Adding Artistic Touches
Adding artistic touches to your transferred picture transforms a simple image into a unique piece of art. This stage lets you personalize the canvas and bring out the emotions or story you want to share. It also gives you the chance to fix any imperfections from the transfer process.
Painting Over The Transfer
Once the picture is firmly on the canvas, start painting over it with acrylics or oils. Use thin layers to keep the original details visible while enhancing colors and shapes. Don’t be afraid to add your own style—maybe brighten the background or soften certain edges to create depth.
Think about which areas you want to highlight or make pop. Adding shadows or highlights can give your image more dimension and life. Have you tried using a dry brush technique? It’s great for adding texture without covering the entire image.
Enhancing Details
Zoom in on the finer points of the picture to enhance them with small brushes or even fine liners. This is where you can sharpen features like eyes, outlines, or intricate patterns. Adding subtle accents can dramatically improve the overall impact.
Consider mixing colors to create unique shades that match your vision perfectly. Use layering to build up the complexity of details slowly. Are you paying attention to the balance between keeping the transferred image clear and making your own artistic marks?
Sealing The Artwork
After your painting is complete and dry, protect your work by sealing it with a clear varnish or sealant. This step shields the canvas from dust, moisture, and fading over time. Choose a matte or glossy finish based on the look you want.
Apply the sealant evenly with a soft brush or spray, ensuring full coverage without disturbing your paint. This final touch will keep your artwork vibrant and durable. Have you checked the sealant’s compatibility with your paint type to avoid any unwanted reactions?
Troubleshooting Common Issues
Transferring a picture onto canvas can sometimes lead to issues that affect the final look. These problems often happen during the transfer process but can be fixed with simple solutions. Knowing how to spot and solve these problems saves time and improves your artwork.
Faded Transfers
Faded images usually mean the transfer didn’t hold well on the canvas. This happens if the transfer medium is too thin or not dry enough before removing the paper. Pressing too lightly can also cause weak image transfer.
- Use enough transfer medium for full coverage.
- Let the medium dry completely before peeling off paper.
- Apply firm and even pressure when transferring.
Smudges And Blurs
Smudges appear when the ink or paint moves during the transfer. Excess moisture or moving the paper too soon causes blurring. Also, touching the surface before it dries can smear the image.
- Avoid wetting the paper too much.
- Keep the paper still until the transfer sets.
- Do not touch the canvas surface until dry.
Canvas Damage
Canvas can tear or wrinkle if handled roughly during transfer. Pulling the paper off quickly or using sharp tools can harm the fabric. Using too much water may also weaken the canvas fibers.
- Peel paper gently and slowly.
- Use soft tools or fingers for removing paper.
- Limit water usage to protect the canvas.
Creative Variations
Creative variations bring new life to transferring pictures onto canvas. They offer ways to add personality and style beyond the basic transfer. These techniques can make your art stand out with color, texture, and depth.
Using Colored Transfers
Colored transfers add vibrancy to your canvas artwork. Instead of black and white, use colored images printed on special transfer paper. This method keeps the colors bright and clear after transfer. It works well for portraits, landscapes, and abstract designs. Choose colors that match your canvas background for a smooth blend.
Mixed Media Approaches
Combine transfers with other art materials for a unique look. Paint over the transferred image with acrylics or watercolors. Add texture using gel mediums, pastes, or fabric pieces. Use pencils or markers to highlight details or add shading. This mix of media creates depth and interest in your canvas piece.
Layering Techniques
Layering transfers builds complexity in your artwork. Transfer multiple images on top of each other with varying opacity. Let parts of the bottom layers show through for a rich effect. Use stencils or masking tape to control where each layer appears. This technique works well for storytelling or abstract compositions.
Credit: livingwithlady.com
Frequently Asked Questions
What Materials Are Needed To Transfer A Picture Onto Canvas?
You need canvas, a printed image, transfer medium (gel or glue), a brush, and a burnishing tool. These items ensure a smooth, clear picture transfer onto the canvas surface.
How Do I Prepare The Canvas Before Transferring The Image?
Clean the canvas surface and apply a thin, even layer of transfer medium. Let it dry slightly for better picture adhesion during the transfer process.
Can I Use Any Type Of Image For Canvas Transfer?
Yes, but laser-printed images work best for clean transfers. Avoid inkjet prints unless you use special transfer paper designed for inkjet printers.
What Is The Best Method For Transferring A Picture Onto Canvas?
Apply transfer medium on canvas, place the image face down, and burnish. After drying, carefully peel the paper to reveal the transferred image.
Conclusion
Transferring a picture onto canvas can be simple and fun. Follow the steps carefully and take your time. Use the right materials for best results. Practice helps improve your technique. Enjoy creating your own artwork on canvas. This process brings your photos to life.
Try different pictures and styles to see what works. Keep experimenting and learning as you go. Your canvas art will become unique and personal. Embrace the creative journey and have fun with it.


