
Do you have favorite photos you wish you could turn into beautiful wall art? Imagine seeing your special moments come to life on a canvas, adding a personal touch to your home or office.
Transferring your photos to canvas might sound tricky, but it’s easier than you think. You’ll discover simple, step-by-step ways to make your memories stand out in a stunning and lasting way. Ready to transform your photos into art that speaks to you every day?
Keep reading, and you’ll learn exactly how to do it.
Credit: diyjoy.com
Choosing The Right Photo
Choose a clear and high-quality photo for the best canvas result. Bright images with good contrast work well on canvas prints. Simple pictures with few details transfer more cleanly and look sharper.
Choosing the right photo to transfer onto a canvas is a critical step that can make or break the final product. You want your canvas to tell a story or evoke an emotion every time you see it. It’s not just about aesthetics; it’s about capturing a moment that deserves a special place on your wall.Image Resolution And Quality
When selecting a photo, ensure it’s of high resolution. Low-quality images can result in pixelation and a blurred canvas print. Aim for at least 300 DPI (dots per inch) for the best results. Check if your image is clear and sharp. A blurry photo won’t magically transform into a masterpiece once printed. High resolution guarantees that every detail is captured perfectly on the canvas.Selecting The Perfect Subject
What message do you want your canvas to convey? Whether it’s a cherished family photo or a breathtaking landscape, choose a subject that resonates with you. Personal connection makes the artwork more meaningful. Consider the setting and background of your photo. A clutter-free background enhances the subject, making it stand out. Sometimes the simplest images can have the most profound impact.Color Considerations
Colors can influence mood and ambiance. Think about how the colors in your photo will look on canvas and how they complement your existing decor. Vibrant colors can energize a room, while softer tones offer a calming effect. Take a moment to visualize the canvas in its intended space. Will the colors clash or harmonize with your room’s palette? This foresight ensures a seamless integration into your home environment.Preparing Your Photo
Preparing your photo is a crucial step before transferring it to canvas. The quality of your final artwork depends heavily on how well you edit and adjust your image. Taking time to enhance your photo ensures it looks sharp, vibrant, and perfectly sized for your canvas.
Editing For Best Results
Start by reviewing your photo carefully. Look for any imperfections, such as unwanted objects or color imbalances. Using simple editing tools, you can clean up these issues to make your image stand out.
Try adjusting elements like sharpness and saturation to make details pop. Sometimes, reducing noise or smoothing out certain areas improves the overall look. Have you ever noticed a photo that seemed dull until you tweaked the colors? That’s the power of good editing.
Adjusting Brightness And Contrast
Bright photos tend to look more appealing on canvas, but too much brightness can wash out details. Adjust the brightness to find a balance that keeps shadows and highlights visible. Contrast helps define shapes and textures, giving your image depth.
Play with these settings until your photo feels lively yet natural. Does your photo look flat or lifeless on your screen? Try increasing contrast slightly to add dimension without losing subtle tones.
Cropping And Resizing
Think about the canvas size you want and crop your photo accordingly. Removing unnecessary background or empty spaces focuses attention on the main subject. Cropping can also improve the composition by applying rules like the rule of thirds.
Resizing is just as important. Your image resolution should match the canvas size to avoid blurry prints. A good rule is to keep the resolution at least 150-300 DPI for sharp results. Are you ready to adjust your photo so it fits perfectly on your canvas?
Materials Needed
Transferring photos to canvas requires specific materials for clear, lasting results. Gathering the right supplies prepares you for a smooth process. Each item plays a key role in achieving the best image transfer.
Types Of Canvases
- Stretched canvas: pre-stretched and ready to use
- Canvas board: canvas mounted on a firm backing
- Roll canvas: blank canvas fabric for custom sizes
- Primed canvas: coated for better paint and transfer adhesion
Transfer Mediums And Tools
- Gel medium: clear adhesive to transfer images
- Mod Podge: popular for photo transfers and sealing
- Transfer paper: special paper for image tracing
- Brushes or foam applicators: apply medium evenly
- Squeegee or credit card: smooth out air bubbles
Additional Supplies
- Laser-printed photo: works best for transfers
- Scissors: cut images to desired size
- Water spray bottle: helps with image removal process
- Soft cloth or sponge: gently rub paper off
- Protective gloves: keep hands clean and safe
Methods To Transfer Photos
Transferring photos to canvas creates beautiful, lasting art. Various methods help place your favorite images onto canvas. Each technique offers unique results and suits different skill levels. Understanding these methods helps choose the best one for your project.
Gel Medium Transfer
Gel medium transfer uses a special acrylic gel to move a photo onto canvas. First, print the photo on regular paper using a laser printer. Apply gel medium evenly on the canvas. Place the photo face down on the gel layer. Let it dry completely, then gently rub the paper away with water. The image stays on the canvas, showing a soft, artistic look.
Iron-on Transfer
Iron-on transfer uses heat to move images from transfer paper to canvas. Print the photo on iron-on transfer paper. Place the paper on the canvas with the image side down. Use a hot iron to press the photo onto the canvas. Heat activates the paper’s adhesive, bonding the image to the fabric. This method works well for bright, clear pictures.
Photo Printing On Canvas
Photo printing on canvas uses a printer that prints directly on canvas material. This method produces high-quality, sharp images. The canvas is stretched on a frame for display. It is a popular choice for professional-looking art. Many print shops and online services offer this option. It saves time and gives vibrant, durable prints.
Step-by-step Transfer Process
Transferring photos to canvas creates a unique way to display memories. The process involves a few clear steps. Each step helps ensure the photo looks great and lasts long on the canvas. Follow these simple instructions to get a smooth and beautiful finish.
Preparing The Canvas
Start with a clean, dry canvas. Remove any dust or dirt using a soft cloth. Apply a layer of acrylic gesso to the canvas surface. This helps the photo stick better and prevents damage. Let the gesso dry completely before moving on. Make sure the canvas is flat and firm on your workspace.
Applying The Photo
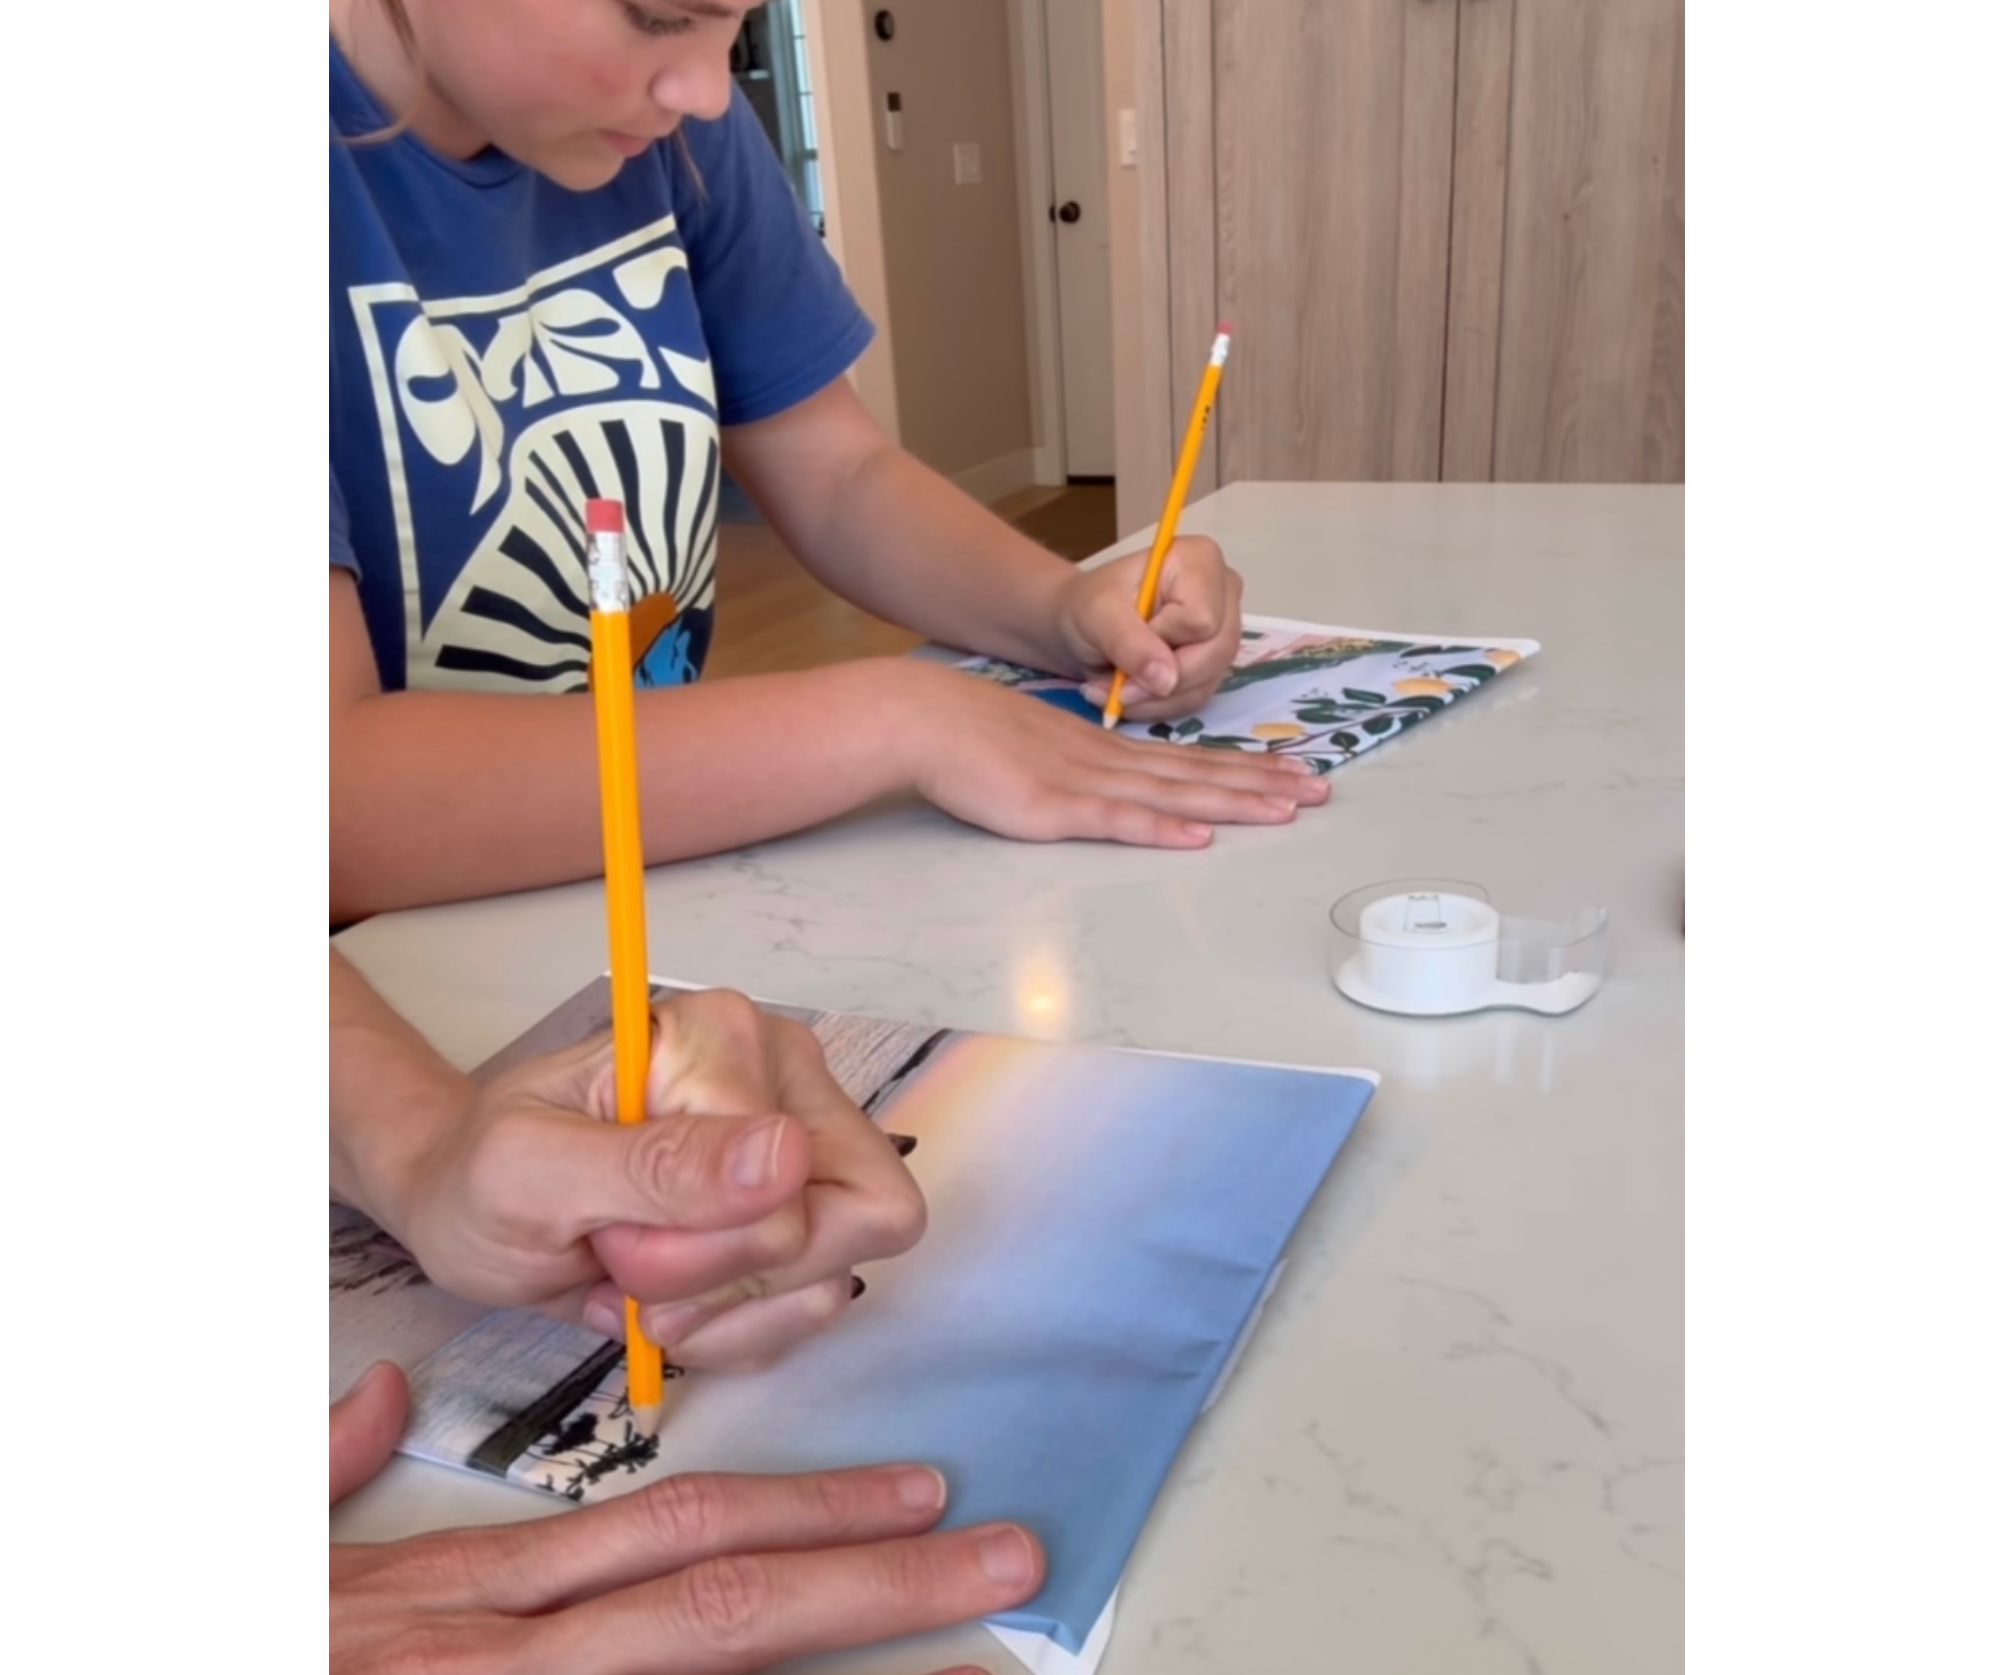
Choose the photo you want to transfer. Print it on regular paper using a laser printer for best results. Apply a thin, even coat of gel medium on the canvas. Place the printed photo face down on the wet gel. Press gently to remove air bubbles and wrinkles. Let it dry for several hours or overnight for strong adhesion.
Sealing And Finishing Touches
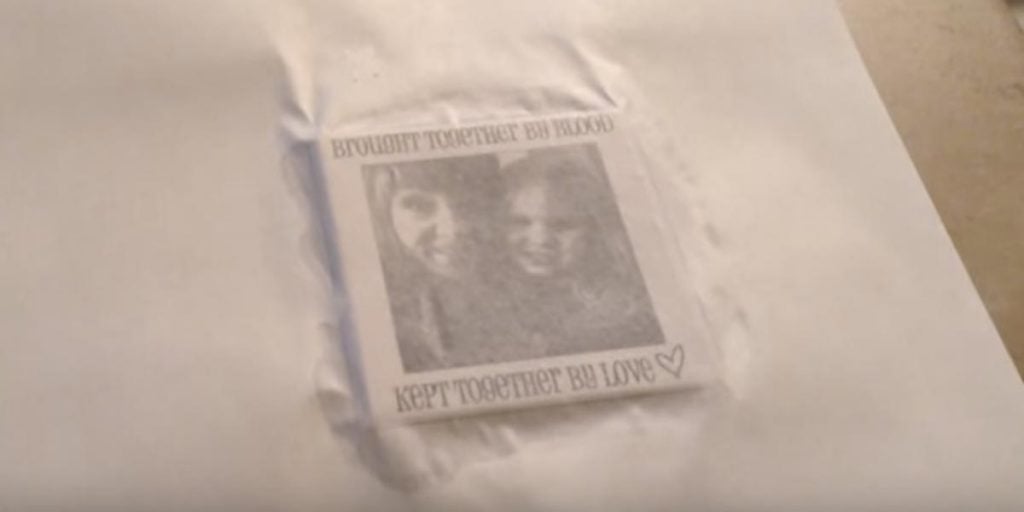
After the photo dries, dampen the paper with water. Rub the paper gently with your fingers to remove it. Be careful not to damage the image underneath. Once the paper is gone, apply a clear acrylic sealer on the canvas. This protects the photo and adds a nice shine. Allow the sealer to dry fully before displaying your artwork.
Troubleshooting Common Issues
Transferring photos to canvas can sometimes bring unexpected challenges. These common issues often interrupt your creative flow, but you can fix them with simple tricks. Knowing how to troubleshoot saves time and keeps your project looking sharp.
Avoiding Image Smudges
Smudges are one of the most frustrating problems during photo transfers. They usually happen when the transfer medium stays wet for too long or when you apply too much pressure.
Try using a soft, dry cloth to gently blot the surface instead of rubbing. This keeps the image clear without spreading the ink or paint.
Also, make sure your hands are clean and dry before touching the canvas. Oils from your skin can cause unwanted marks.
Fixing Transfer Mistakes
Did a section of your photo transfer come out blurry or incomplete? Don’t panic. You can often fix this by carefully sanding the area with fine-grit sandpaper once it’s fully dry.
After sanding, reapply the transfer medium and press the image again, focusing on the problem spot. This targeted approach prevents you from redoing the entire canvas.
Have you tried layering your transfers? Sometimes multiple thin layers yield better results than one thick one.
Maintaining Canvas Durability
Your transferred photo will look best and last longer if you take steps to protect the canvas. Applying a clear sealant or varnish helps shield the image from dirt and moisture.
Choose a sealant that matches your desired finish—matte or glossy—to keep the look consistent. Remember to apply thin, even coats and allow each layer to dry completely.
Storing your canvas away from direct sunlight and humidity also prevents fading and warping. Have you checked your workspace environment? It can make a big difference in durability.
Creative Ideas For Canvas Art
Transforming photos into canvas art opens up many creative possibilities. It allows you to create unique pieces that reflect your style and memories. Enhancing your canvas with artistic touches makes your photo stand out. Use different techniques to add depth and character. Explore ideas that bring life to your canvas beyond just the photo.
Adding Textures And Layers
Textures add a tactile feel to canvas art. Use materials like fabric, sand, or modeling paste. Apply them around or over your photo for a 3D effect. Layering paints or glazes can create a rich background. This technique gives your canvas more visual interest. Experiment with rough or smooth textures to find what fits your photo best.
Incorporating Mixed Media
Mixed media combines various art materials on one canvas. Use elements like paper cutouts, stamps, or stickers. Adding natural items like leaves or small stones works well too. Mix paints with ink or charcoal for different effects. This approach makes your canvas art unique and personal. It also tells a story beyond the photo itself.
Personalizing With Hand-painting
Hand-painting adds a personal touch to photo canvases. Highlight parts of the photo with brush strokes or color accents. Create borders or small drawings that complement your image. Use simple shapes or patterns to keep it clean and neat. Even light painting can brighten or soften areas. This makes the canvas feel handcrafted and special.
Credit: livingwithlady.com

Credit: www.youtube.com
Frequently Asked Questions
How Do I Transfer Photos To Canvas Easily?
You can transfer photos to canvas by using photo transfer paper or gel medium. Print the image, apply transfer medium, and press onto the canvas. Allow it to dry, then seal with varnish for durability and a professional finish.
What Photo Formats Work Best For Canvas Printing?
JPEG and PNG formats work best for canvas printing. Ensure the image resolution is at least 300 DPI for clear, sharp prints. High-resolution files produce the best quality canvas transfers without pixelation or blurriness.
Can I Use A Smartphone Photo For Canvas Printing?
Yes, smartphone photos can be used if they have high resolution. Make sure the image is sharp and well-lit. Edit and enhance the photo for the best print quality before transferring to canvas.
What Tools Are Needed To Transfer Photos To Canvas?
You need photo transfer paper or gel medium, a printer, a brush, and a canvas. Optionally, use a sealer or varnish to protect the final artwork. These tools make the transfer process smooth and effective.
Conclusion
Transferring photos to canvas brings your memories to life. Choose a clear image and the right size. Use simple steps for printing or DIY methods. Enjoy seeing your favorite moments as art on your wall. This process is easy and fun for everyone.
Try it today to add a personal touch to your space. Your photos deserve to be displayed beautifully and proudly.


