
Want to make your designs truly yours? Uploading your own photos to Canva is the easiest way to add a personal touch that stands out.
Whether you’re creating a social media post, a flyer, or a presentation, using your own images can take your project from ordinary to eye-catching. In this guide, you’ll learn exactly how to upload your photos to Canva quickly and effortlessly.
By the end, you’ll be ready to create designs that capture attention and express your unique style. Let’s dive in!
Getting Started With Canva
Canva is a user-friendly platform for creating stunning designs. It’s perfect for beginners and professionals alike. Uploading photos to Canva is simple and quick. Start with a few basic steps to get going. Let’s dive into how to get started with Canva.
Creating A Free Account
Visit Canva’s website. Click on the “Sign up” button. Use your email or Google account to register. Follow the prompts to complete your registration. It’s quick and free. Once registered, you’ll have access to Canva’s vast resources. Now, you can start exploring its features.
Navigating The Dashboard
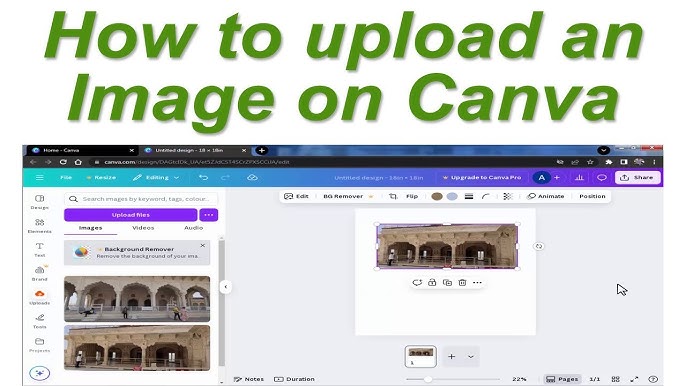
After logging in, you see the Canva dashboard. It’s your creative hub. On the left, there’s a menu with various options. You can access templates, designs, and uploads. The central area displays your recent projects. At the top, there’s a search bar. Use it to find specific templates or elements. Familiarize yourself with the options available. This will make designing easier and faster.

Credit: www.youtube.com
Preparing Your Photo
Preparing your photo before uploading it to Canva can save you time and improve your design’s overall look. Taking a moment to get your image ready ensures it fits perfectly and maintains high quality. This preparation step helps avoid common issues like blurry images or unsupported formats that can slow down your creative process.
Choosing The Right File Format
Not every image format works well with Canva. JPEG and PNG are the most reliable choices because they balance quality and file size effectively. JPEG is perfect for photos with lots of colors and gradients, while PNG supports transparency, which is handy if you want to layer your image.
Avoid using formats like BMP or TIFF, as Canva might not support them or they may cause your upload to fail. Have you ever struggled with uploading a file only to find out it’s the wrong format? Choosing the correct file type upfront can prevent that frustration.
Optimizing Image Quality
High-quality images create a professional vibe in your design, but large files can slow down Canva or even crash your browser. Aim for a resolution of 72 DPI for web projects, which is usually enough to keep your image sharp without making it too heavy.
Before uploading, resize your image to the dimensions you need in Canva. For example, if your final design is 800×600 pixels, resize your photo to those dimensions. This step reduces loading times and keeps your design process smooth.
Have you noticed how a pixelated image can ruin an otherwise great design? Taking time to optimize your photo quality helps you avoid that pitfall and keeps your work looking crisp and clear.
Uploading Photos To Canva
Uploading photos to Canva is a straightforward process that lets you personalize your designs with your own images. Whether you’re working on a presentation, social media post, or flyer, adding your photos can make your project stand out. There are several simple ways to get your pictures into Canva, each suited to different preferences and devices.
Using The Upload Button
The upload button is the most direct way to add photos to Canva. You simply click on the Uploadtab on the left sidebar, then hit the Upload mediabutton. This opens a file browser where you can select images stored on your computer or device.
This method supports various file types like JPG, PNG, and GIF, making it flexible for different photo formats. Once uploaded, your images appear in the uploads section, ready to drag into your design. Have you noticed how quickly your photos become part of the creative process when using this button?
Drag And Drop Method
If you prefer a faster way, Canva supports drag and drop. Just grab an image file from your desktop or folder and drag it directly into the Canva workspace or upload area. It instantly uploads and adds the photo to your current project.
This technique is especially handy when working with multiple images, as it avoids extra clicks. It also lets you preview your photos as you add them, speeding up your workflow. What’s your experience with drag and drop—does it save you time when designing?
Importing From External Sources
Canva also lets you import photos from external sources like Google Drive, Dropbox, Facebook, or Instagram. You can find these options under the upload menu, making it easy to connect your accounts. This feature helps you access cloud-stored images without downloading them first.
It’s perfect if your photos are scattered across different platforms. For example, you can quickly import a Facebook album or a shared Dropbox folder directly into your design. How often do you find yourself needing images stored outside your device for your projects?
Credit: www.canva.com
Organizing Uploaded Images
Organizing uploaded images in Canva helps keep your workspace tidy. It saves time by making images easy to find. A well-organized image library improves your design flow. You can arrange photos so projects run smoothly and without stress.
Creating Folders
Folders group similar images together in one place. This makes browsing faster and more efficient. To create a folder in Canva:
- Go to the “Uploads” tab.
- Click the “+ New Folder” button.
- Name your folder clearly based on the content.
- Drag and drop images into the folder.
Folders keep your photos sorted by theme, project, or date. This helps you avoid clutter and find images quickly.
Tagging And Sorting Photos
Tags add keywords to images, improving search within Canva. You can assign multiple tags to one photo. This helps locate images using different criteria.
- Select an uploaded image.
- Open the tag or label option.
- Enter relevant words like “nature,” “logo,” or “holiday.”
- Save the tags to the image.
Sorting lets you arrange images by date, name, or type. Use the sorting options in the uploads panel. This keeps photos organized and easy to manage.
Inserting Photos Into Designs
Inserting photos into your Canva designs makes them more attractive and personal. It helps convey your message clearly and holds viewers’ attention. Canva offers simple tools to add and customize images within any template or blank design.
Adding Photos To Templates
Start by opening a Canva template. On the left panel, click the “Uploads” tab to upload your photo. Drag your photo directly onto the design. It fits automatically into placeholders if the template has any.
You can also browse Canva’s photo library for free images. Click and drag any image from the library onto your design to add it quickly.
Adjusting Size And Position
Click the photo to select it. Use the corner handles to resize the image without distortion. Drag the photo to move it anywhere on the design. Canva shows alignment guides to help center or align your photo with other elements.
Double-click the photo to crop or zoom in. Adjust the crop box to show only the part you want.
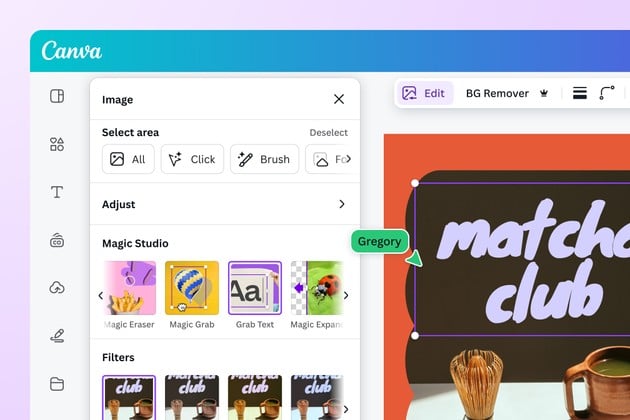
Applying Filters And Effects
Select your photo and click “Edit image” above the toolbar. Choose from preset filters to change the photo’s look instantly. Adjust brightness, contrast, and saturation for fine-tuning.
You can also add effects like blur, vignette, or pixelate. These options help your photo blend well with your design style.
Tips For Stunning Canva Designs
Creating stunning designs in Canva requires more than just uploading photos. The way you use images, text, and style makes all the difference. Follow these tips to make your Canva projects look clean and professional.
Using High-quality Images
Choose clear and sharp images for your designs. Blurry or pixelated photos reduce the overall quality. Upload photos with good lighting and focus. High-quality images grab attention and improve the design’s impact.
Balancing Text And Photos
Keep a good balance between text and images. Avoid overcrowding your design with too much text or too many photos. Use enough space so each element stands out. Clear text over images is easier to read and looks neat.
Maintaining Consistent Style
Pick a style and stick to it throughout your design. Use matching colors, fonts, and photo filters. Consistency helps your design look professional and cohesive. It creates a smooth flow that guides the viewer’s eyes naturally.

Credit: www.youtube.com
Frequently Asked Questions
How Do I Upload A Photo To Canva?
To upload a photo to Canva, click on the “Uploads” tab on the left. Then, select “Upload media” and choose your photo file from your device. The image will appear in your uploads and can be dragged into your design.
What File Types Can I Upload To Canva?
Canva supports JPG, PNG, SVG, and GIF file formats for photo uploads. Ensure your photo is in one of these formats to upload successfully. This flexibility allows easy integration of various image types into your Canva projects.
Can I Upload Photos From My Phone To Canva?
Yes, you can upload photos from your phone using the Canva app. Open the app, tap the “+” icon, select “Uploads,” and choose photos from your phone gallery. This makes designing on the go simple and efficient.
Is There A Size Limit For Photos Uploaded To Canva?
Canva allows photo uploads up to 100MB in size. Larger files might fail to upload or slow down your project. For best performance, keep photo sizes optimized and under the limit.
Conclusion
Uploading photos to Canva is quick and simple. You just select your image and add it to your design. This helps make your projects look personal and unique. You can use photos from your computer or phone. Remember to save your work often.
Practice a few times to get comfortable. Now, creating beautiful designs with your own photos is easy and fun. Give it a try today!


