
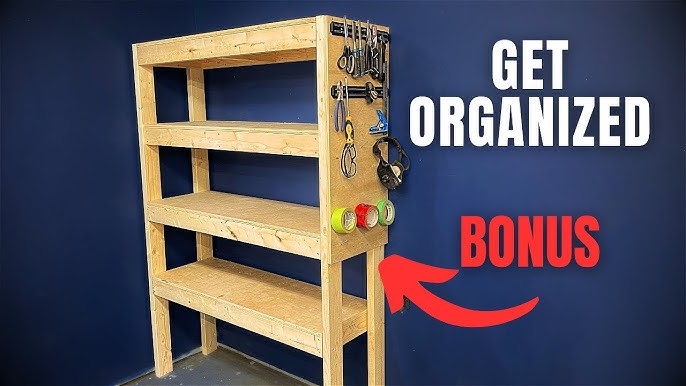
Are you looking to add extra storage or a stylish display to your space? Building a shelving unit on your wall is a smart way to organize your things and upgrade your room’s look.
But maybe you’re worried it’s too hard or you don’t have the right skills. Don’t worry—you can do this! In this guide, you’ll find simple, step-by-step instructions that anyone can follow. By the end, you’ll have a strong, beautiful shelf that fits your space perfectly.
Ready to transform your wall and make your room more functional? Let’s get started!

Credit: www.youtube.com
Choosing The Right Shelving Design
Choosing the right shelving design sets the foundation for a successful wall shelving project. It influences how well the unit fits your space, supports your items, and blends with your room’s style. Taking time to understand your options ensures you build shelves that are both functional and visually appealing.
Types Of Wall Shelves
Wall shelves come in many styles, each serving different needs. Floating shelves offer a clean, modern look by hiding brackets, while bracket shelves are sturdy and easier to install. You might also consider corner shelves to maximize unused space or ledge shelves to hold picture frames and books.
Think about what you want to display. Do you need strong shelves for heavy books or delicate ones for decor? Your choice should match the purpose and the room’s vibe.
Selecting Materials
The material you choose affects durability, weight capacity, and appearance. Wood is a classic choice—solid wood offers strength and warmth, while plywood provides affordability and versatility. Metal shelves add an industrial feel and can hold heavier items but might require special tools to mount.
Consider moisture levels too. For example, MDF may warp in humid rooms, so opting for treated wood or metal might be smarter in kitchens or bathrooms. What materials do you already have on hand? Using leftover wood or repurposed materials can save money and add character.
Measuring Your Space
Accurate measurements prevent frustration and wasted materials. Start by measuring the wall space where you plan to install shelves, noting width, height, and depth. Don’t forget to check for obstacles like light switches, outlets, or heating vents that could interfere.
Visualize how much storage you need. Would a few wide shelves work better than many narrow ones? Taking a tape measure to your items—books, plants, or kitchenware—helps you design shelves that fit perfectly without overcrowding or looking sparse.
Gathering Tools And Supplies
Building a shelving unit on a wall starts with gathering the right tools and supplies. Having everything ready saves time and avoids interruptions. Preparation makes the project smoother and safer.
Essential Tools List
- Drill with various drill bits
- Stud finder
- Level
- Measuring tape
- Screwdriver (manual or electric)
- Hammer
- Wrench or pliers
- Pencil for marking
- Safety goggles
Materials Checklist
- Wood boards or pre-cut shelves
- Wall brackets or shelf supports
- Screws and wall anchors
- Wood screws matching bracket holes
- Sandpaper for smoothing edges
- Paint or wood finish (optional)
Safety Equipment
- Safety goggles to protect eyes
- Work gloves to prevent splinters
- Dust mask to avoid inhaling sawdust
- Ear protection if using loud tools
- Closed-toe shoes for foot safety
Preparing The Wall
Start by cleaning the wall surface to remove dust and dirt. Check for studs using a stud finder to ensure strong support. Mark the spots clearly before drilling holes for the shelving brackets.
Preparing the wall for your new shelving unit is a crucial step that sets the foundation for a sturdy and reliable installation. Before drilling holes and mounting brackets, you’ll want to make sure everything is aligned perfectly. This not only ensures your shelves will hold weight effectively, but it also enhances the overall look of the space.Locating Studs
Finding studs in your wall is the first step to ensuring your shelving unit is well-supported. Use a stud finder, a handy tool available at most hardware stores. Run it along the wall until it indicates the presence of a stud. Once located, mark the stud positions lightly with a pencil. This will guide you in placing your brackets securely. If you’re unsure about using a stud finder, tapping the wall to listen for a solid sound is an old-school technique that can work too.Marking Shelf Positions
With the studs located, decide where you want your shelves to be. Consider the purpose of the shelves—will they hold books, plants, or decorative items? Once you’ve decided, use a measuring tape to mark the height of each shelf on the wall. A level is your best friend here; it ensures your markings are perfectly horizontal, preventing slanted shelves that could lead to falling objects.Wall Surface Preparation
Before attaching anything to the wall, it’s essential to prepare the surface. Clean the wall area with a damp cloth to remove dust and grime. This ensures that any adhesive or paint will stick properly. If the wall has any holes or imperfections, fill them with a wall filler and sand it smooth once dry. This not only improves the visual appeal but also provides a flat surface for the shelving unit. Preparing the wall might seem tedious, but it’s a small effort that pays off in stability and aesthetics. Have you ever experienced the frustration of a crooked shelf? Preparing your wall meticulously can save you from such annoyances and create a space you’re proud of.Assembling The Shelving Unit
Assembling the shelving unit is where your project starts to take shape. This phase requires precision and care, ensuring each component fits perfectly. Paying attention to details now will save you time and frustration later.
Cutting And Sanding Wood
Start by cutting your wood pieces to the exact sizes needed for your shelves. Use a saw that you feel comfortable with, whether it’s a handsaw or a power saw. Make sure to measure twice before cutting to avoid mistakes.
After cutting, sand each piece thoroughly. Smooth edges prevent splinters and create a professional look. I learned the hard way that skipping sanding leads to rough surfaces that can damage walls or hands.
Assembling Brackets And Supports
Choose sturdy brackets that can hold the weight of your shelves and their contents. Attach the brackets to the support pieces first, ensuring they align properly. This step is crucial for the stability of your entire unit.
Keep your workspace organized. Lay out all brackets and supports before fastening to check the fit. Have you ever tried to fix misaligned brackets halfway through? It’s a hassle best avoided by a quick dry fit.
Pre-drilling And Screwing
Pre-drill holes where screws will go to prevent the wood from splitting. This step is especially important when working with hardwood or thinner pieces. Use a drill bit slightly smaller than your screws.
Secure all pieces with screws, but don’t overtighten. Over-tightening can strip the wood and weaken the joint. If you notice any cracking, back off and try a larger pilot hole or smaller screw.
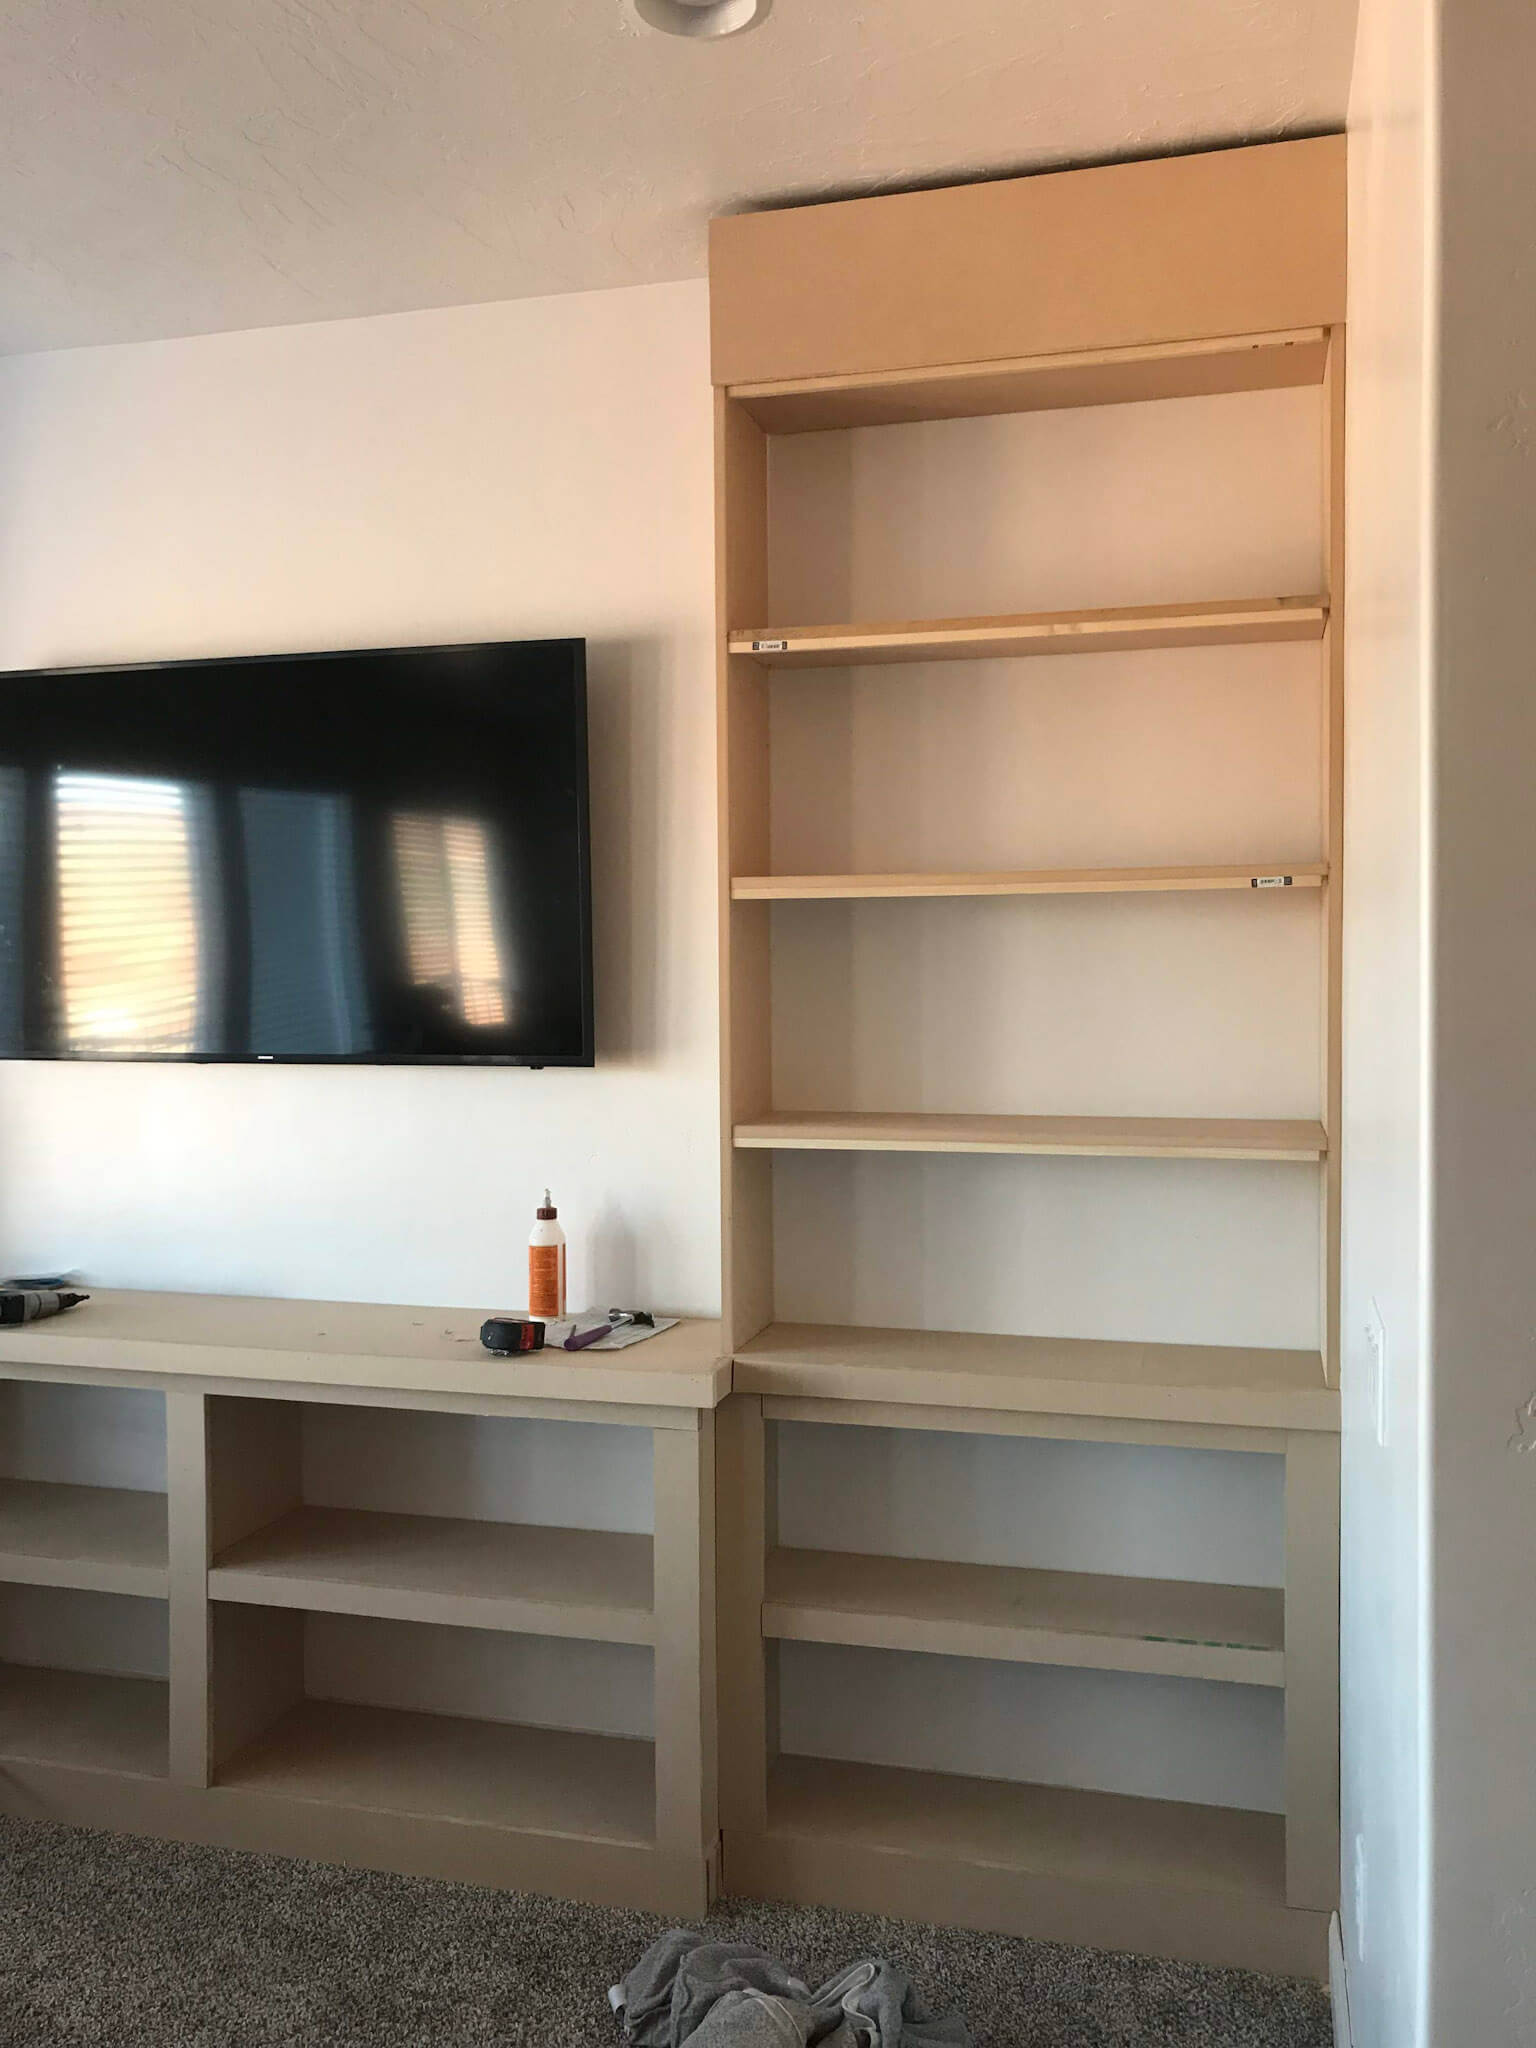
Mounting Shelves To The Wall
Mounting shelves to the wall is a key step in building a sturdy shelving unit. Proper mounting ensures your shelves hold weight safely and stay secure over time. Careful preparation and precise placement make the process easier and help avoid damage to the wall or shelves.
Aligning Shelves
Start by deciding the height and position of each shelf. Use a pencil to mark the wall where brackets will go. Measure the distance between brackets on the shelf. Transfer these measurements to the wall marks. Make sure the spacing suits the items you plan to store. Check the marks twice before drilling.
Securing Brackets
Choose the right screws and wall anchors for your wall type. Drill pilot holes at the marked spots. Attach brackets firmly to the wall using screws. For drywall, use anchors to prevent brackets from pulling out. Tighten screws until brackets feel solid. Avoid overtightening, which can damage the wall.
Ensuring Level Installation
Place a level on each bracket before mounting the shelf. Adjust brackets to make sure they are perfectly horizontal. A crooked shelf looks bad and can cause items to fall. Check the level again after securing brackets. Install shelves onto brackets carefully, then verify level once more. Small adjustments now save future problems.
Credit: crystelmontenegrohome.com
Finishing Touches
Finishing touches transform a basic shelving unit into a standout feature in your space. These final steps add personality, protect your work, and make your shelves truly functional. How you finish your shelves can completely change the vibe of the room, so think carefully about what suits your style and needs.
Painting Or Staining
Choosing the right paint or stain enhances the look and durability of your shelves. Paint offers a smooth, colorful finish that can brighten any room or match your existing decor.
Stain, on the other hand, shows off the natural wood grain and adds warmth. You might want to test a small area first to see how the color develops on your wood. Don’t forget to apply a clear sealant after painting or staining to protect the surface from scratches and moisture.
Adding Decorative Elements
Decorative touches personalize your shelving unit and make it unique. Consider adding molding or trim around the edges for a polished look.
Hardware like brass brackets or decorative hooks can add charm and extra functionality. You might even add LED strip lighting underneath each shelf to highlight your items and create a cozy atmosphere. What small detail could make your shelves feel more “you”?
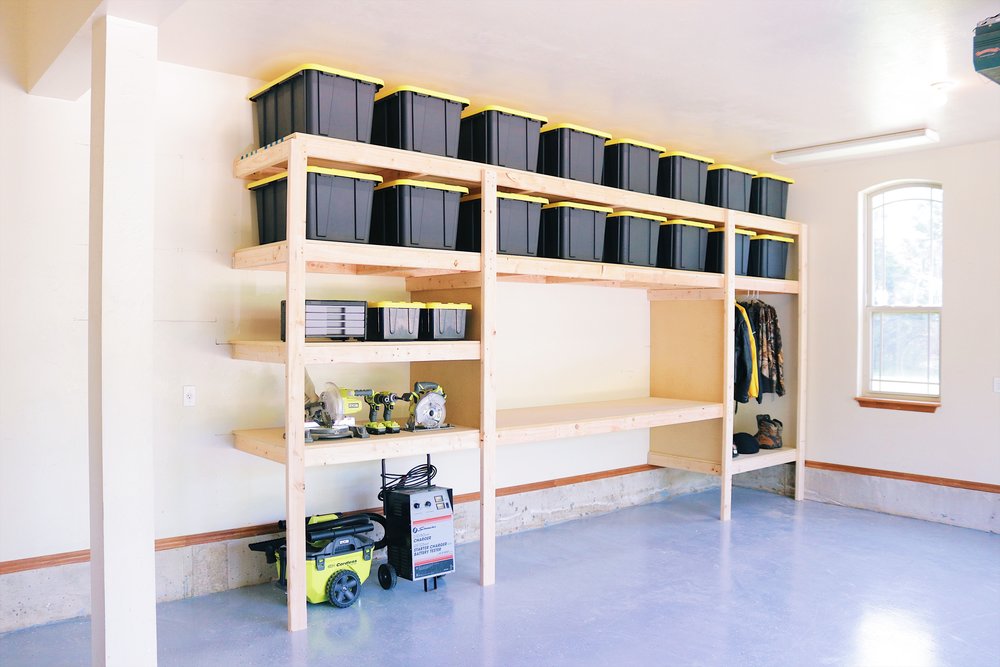
Organizing Your Storage
Effective organization turns your shelves from cluttered to clean and useful. Use baskets, bins, or labeled boxes to group similar items and keep everything easy to find.
Arrange your items by frequency of use—place daily essentials at eye level and less-used objects higher or lower. Play with vertical space by stacking books or using shelf dividers. How can you arrange your shelves to make your daily routine smoother?
Common Mistakes To Avoid
Building a shelving unit on the wall can be a rewarding project. Avoiding common mistakes saves time and effort. These errors often lead to weak shelves or damage. Focus on these key pitfalls to keep your shelves strong and safe.
Ignoring Wall Type
Different walls need different anchors and screws. Drywall, brick, and plaster require unique fasteners. Using the wrong hardware causes shelves to fall. Check your wall type before buying materials. This step ensures strong support and safety.
Overloading Shelves
Shelves have weight limits. Putting too many heavy items causes sagging or collapse. Know the maximum weight your shelves can hold. Distribute weight evenly across the shelf. This prevents damage and keeps items secure.
Poor Measurement
Accurate measurements are essential. Measuring incorrectly leads to uneven or unstable shelves. Use a level and tape measure for precision. Double-check all dimensions before drilling holes. Proper measurement ensures a neat and sturdy finish.
Credit: www.modernbuilds.com
Maintenance Tips
Keeping your shelving unit in top shape extends its life and keeps your space safe and organized. Maintenance isn’t just about looks—it’s about ensuring the unit remains sturdy and functional over time. Let’s look at some simple ways you can care for your wall shelves.
Regular Cleaning
Dust and dirt can build up quickly on shelves, especially if you display items that attract dust. Use a soft cloth or microfiber duster to wipe down shelves weekly. Avoid harsh chemicals; a mild soap solution works well without damaging the finish.
Have you noticed how a clean shelf instantly brightens a room? Regular cleaning prevents grime from settling into cracks and corners, making future cleaning easier and protecting the materials.
Checking For Stability
Over time, screws and brackets can loosen, making your shelves wobbly. Take a moment every month to gently shake the shelves and listen for creaks or movement. Tighten any loose screws with a screwdriver to keep everything secure.
Think about how a little looseness can become a big problem if left unchecked. Stability checks help you catch issues early, avoiding accidents and damage to your belongings.
Repairing Damages
Small scratches, dents, or chips on your shelving unit can usually be fixed quickly. Use wood filler for dents and touch-up markers to cover scratches on wooden shelves. For metal shelves, a bit of rust remover followed by paint touch-up can restore the look.
Don’t ignore minor damage—you might feel tempted to overlook it, but fixing issues promptly keeps your shelves looking fresh and prevents further deterioration. Have you ever let a small crack grow until it became a major headache?
Frequently Asked Questions
What Tools Are Needed To Build A Wall Shelving Unit?
You need a drill, screws, a level, measuring tape, stud finder, and brackets. These tools ensure secure and accurate installation.
How Do I Find Studs For Mounting Shelves On The Wall?
Use a stud finder to locate studs behind drywall. Mark the stud positions to anchor the shelving unit firmly.
What Materials Are Best For A Sturdy Wall Shelving Unit?
Choose solid wood or plywood for shelves and metal brackets. These materials offer strength and durability for heavy items.
How High Should I Install Wall Shelves For Easy Access?
Install shelves at eye level or slightly above for convenience. Adjust height based on shelf contents and user reach.
Conclusion
Building a shelving unit on your wall adds space and style. Start with strong materials and measure carefully. Use the right tools to secure shelves safely. Take your time and follow each step closely. This project saves money and makes your room neat.
Enjoy your new shelves for books, plants, or decor. Keep safety in mind while working. You will feel proud of your handy work. Simple steps lead to great results. Ready to try it yourself?


