
Have you ever wanted to create a beautiful tapestry that tells your story or adds a unique touch to your space? Making a tapestry might seem complicated, but with the right steps, you can craft one yourself.
Imagine turning simple threads into a stunning piece of art that reflects your style. You’ll discover easy-to-follow tips and tricks to help you start weaving your own tapestry today. Ready to bring your creativity to life? Let’s dive in!
Materials Needed
Gathering the right materials is crucial before starting your tapestry project. The quality and type of supplies will impact the look and feel of your finished piece. Let’s look closely at what you’ll need to get started and create something truly special.
Choosing The Right Yarn
The yarn you pick sets the tone for your tapestry. Thick wool yarns give a cozy, textured effect, while cotton or silk yarns offer a smoother finish. Think about the colors and textures you want—do you want bold contrasts or subtle blends?
Try mixing yarns of different thicknesses to add depth. I once combined chunky wool with thin metallic threads, and the result was surprisingly striking. What kind of visual story do you want your yarn to tell?
Selecting A Loom
A loom is your workspace for weaving. You can choose from frame looms, floor looms, or even simple DIY options. If you’re new, a small frame loom is easier to manage and perfect for experimenting.
Consider the size of your tapestry too. Larger looms allow you to create bigger pieces but require more space and patience. Do you have room to handle a large loom, or would a compact one fit your lifestyle better?
Additional Tools
Besides yarn and a loom, a few extra tools will make weaving smoother. You’ll want a weaving needle or shuttle to pass yarn through the warp threads efficiently. A comb or beater helps pack the yarn tightly for a neat finish.
Scissors and a tapestry needle for finishing edges are also handy. I once forgot a weaving needle and ended up spending hours pushing yarn through by hand—don’t make my mistake! What tools could simplify your process?
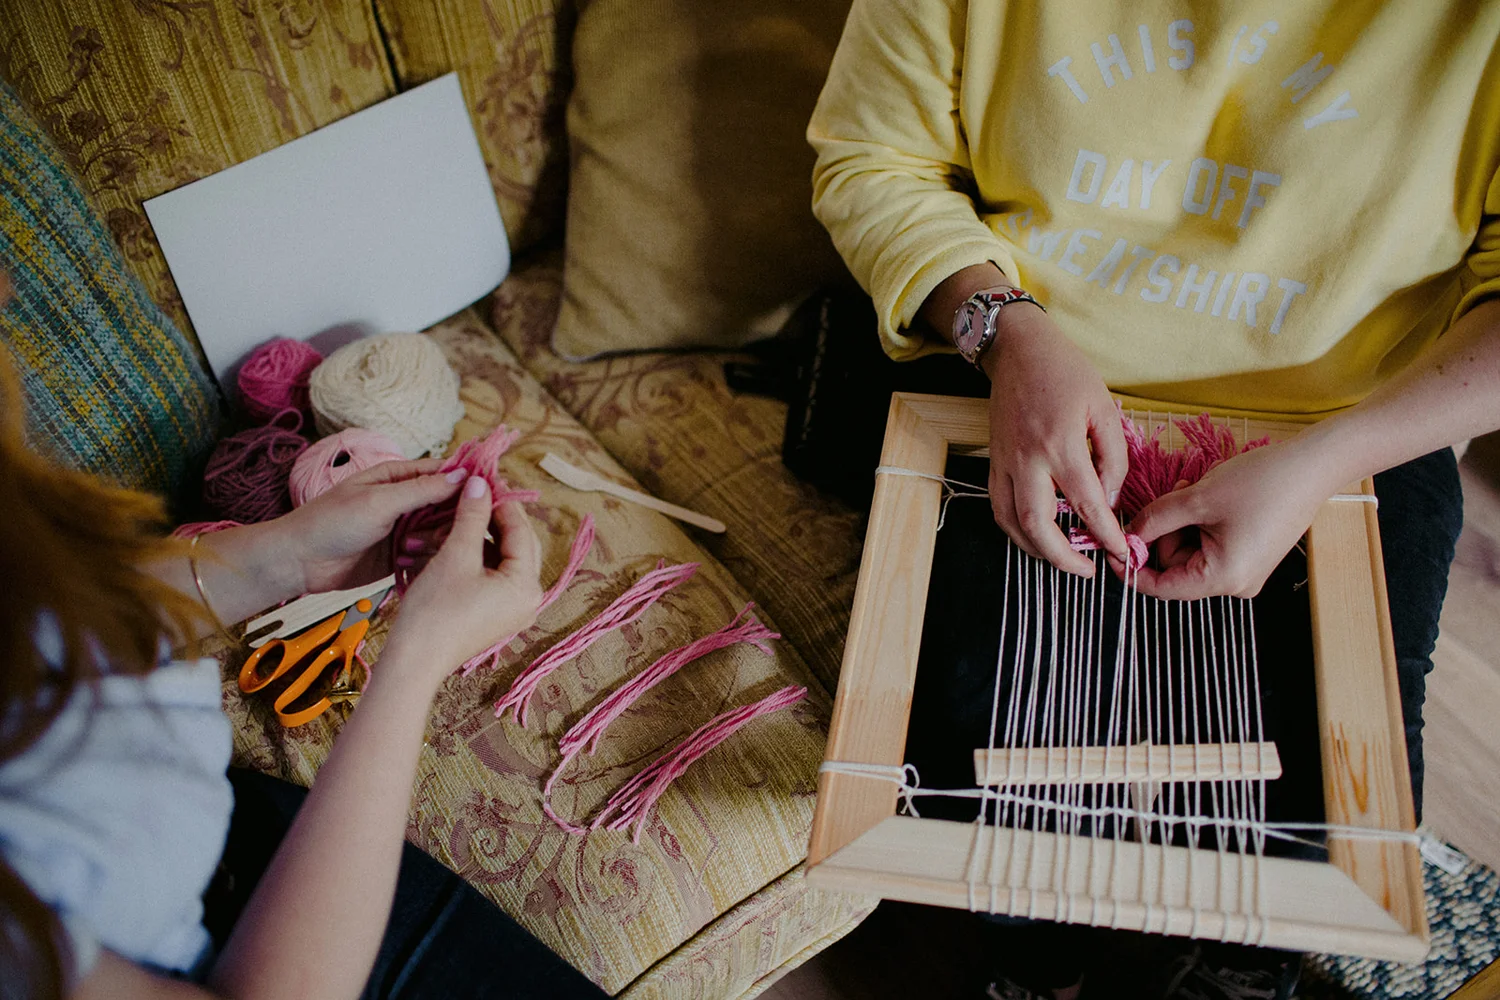
Credit: www.abigailwastie.co.uk
Setting Up The Loom
Setting up the loom is the first key step in making a tapestry. It prepares the frame and yarn for weaving. A well-set loom ensures smooth weaving and a neat final piece. This process involves carefully arranging the threads and securing them tightly. Patience and precision matter here.
Warping The Loom
Warping means stretching the vertical threads on the loom. These threads form the base for weaving. Use a strong yarn for warping. Measure the yarn length to match your tapestry size.
- Attach the yarn to one side of the loom.
- Stretch it tightly across to the opposite side.
- Wrap the yarn around the loom’s frame.
- Repeat until you have enough warp threads.
Keep the threads evenly spaced. This keeps the tapestry’s shape balanced. Tight tension is important but avoid overstretching.
Securing The Yarn
Securing the yarn stops the warp threads from slipping. Tie knots or use clamps at the ends. Check that the yarn is firm and stable. Loose threads can cause weaving problems later.
- Tie a knot at the starting edge to lock yarn.
- Use a small piece of tape or clips for extra hold.
- Double-check all warp threads for tightness.
Properly secured yarn sets a strong foundation. It helps keep your tapestry neat and even during weaving.
Basic Weaving Techniques
Creating a tapestry involves mastering basic weaving techniques. These techniques form the foundation of your textile art. They add texture, color, and character to your tapestry. Let’s explore a few essential methods.
Plain Weave
The plain weave is the simplest technique. It involves interlacing warp and weft threads. This method creates a checkerboard pattern. It’s ideal for beginners due to its simplicity. Use it to create a strong, durable base for your tapestry.
Soumak Weave
The Soumak weave adds a decorative twist. It creates a raised, braided effect. This technique adds texture and depth to your work. Wrap the weft around the warp threads for this effect. Soumak offers a more detailed design compared to the plain weave.
Rya Knots
Rya knots introduce a unique, shaggy texture. They’re perfect for adding dimension and interest. Loop the yarn around the warp threads to create these knots. This technique mimics the look of a plush, cozy rug.
Creating Your Design
Creating your design is the heart of making a tapestry. This stage shapes the look and feel of your finished piece. Careful planning helps bring your vision to life. It sets a clear path for weaving and color choices. Start with a simple idea and build it step by step. Your design will guide every thread you place.
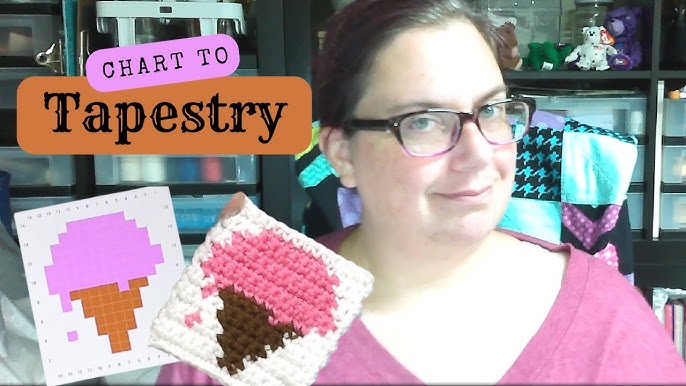
Sketching Your Pattern
Begin by drawing your pattern on paper. Keep the shapes clear and simple. Use pencils to make changes easily. Focus on the main elements of your design. Avoid too many tiny details. Use grid paper to match the tapestry size. This helps plan the weaving more accurately.
Choosing Colors
Pick colors that match your design’s mood. Use a small palette to keep it balanced. Test colors on a sample fabric first. See how they look next to each other. Choose shades that create contrast and harmony. Natural fibers often show colors richer and deeper.
Planning Texture
Texture adds depth and interest to your tapestry. Decide where to use smooth or rough threads. Mix different yarn thicknesses for variety. Consider using wool, cotton, or silk blends. Plan raised areas for a 3D effect. Texture helps your design feel alive and tactile.
Weaving The Tapestry
Weaving a tapestry is a careful, creative process. It transforms threads into a beautiful piece of art. This stage brings the design to life. It requires patience and attention to detail. Each step adds depth and meaning to the work.
Following The Design
Start by reading the pattern closely. The design guides the placement of every thread. Keep your eyes on the shapes and lines. Work slowly to avoid mistakes. Use the design as a map for weaving.
Changing Colors
Switch colors smoothly for a clean look. Tie off old threads neatly to keep the back tidy. Introduce new colors at the edges of shapes. This method prevents color bleeding. Plan color changes before weaving to save time.
Adding Texture
Use different yarn types for texture. Mix thick and thin threads for interest. Try looping or knotting to raise areas. Texture adds life and touch to the tapestry. Experiment with materials to find unique effects.

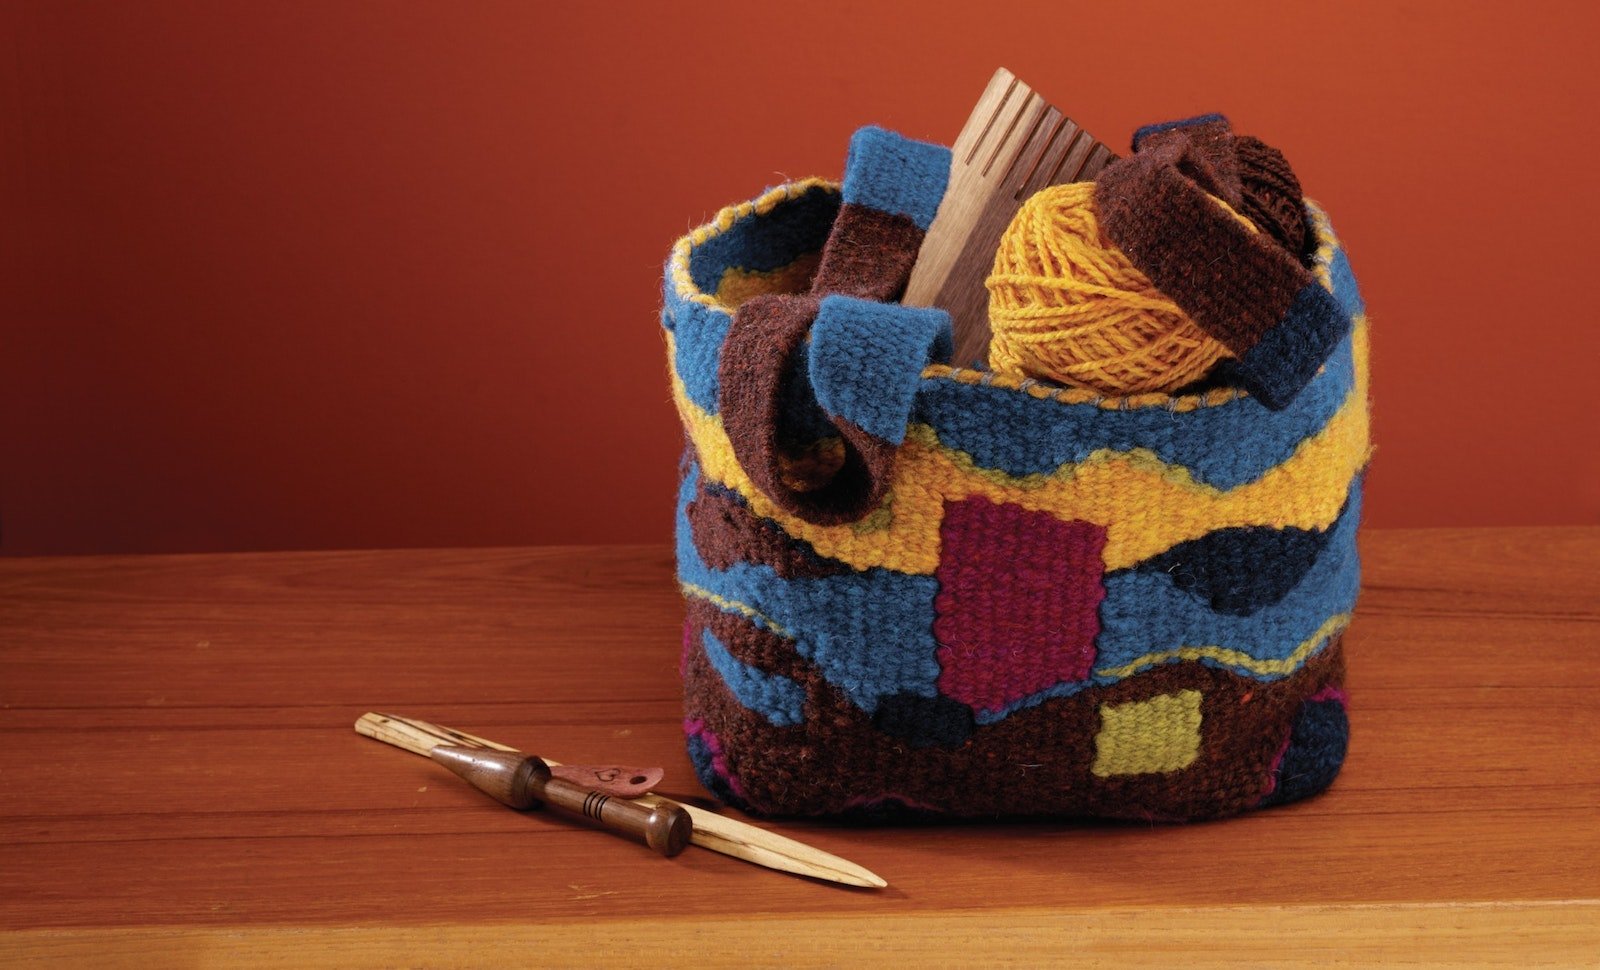
Credit: littlelooms.com
Finishing Touches
The final stage of making a tapestry adds strength and beauty to your work. Finishing touches protect the design and prepare it for display. This phase requires care and patience. Proper finishing improves the tapestry’s durability and appearance.
Securing Loose Ends
Loose ends can make a tapestry look messy and unravel over time. Tie or weave these ends back into the fabric. Use a small needle to tuck yarn ends into the weave. Trim any excess threads carefully to avoid fraying. This keeps the tapestry neat and holds the design firmly.
Removing From Loom
Take the tapestry off the loom gently to avoid stretching or damaging it. Cut the warp threads close to the loom frame. Tie off the warp ends securely to stop unraveling. Handle the tapestry with clean hands to keep fibers clean. This step readies the tapestry for final shaping and hanging.
Blocking And Shaping
Blocking smooths and shapes the tapestry to its final form. Lay the tapestry flat on a clean surface. Use pins to gently stretch it to the desired size and shape. Spray lightly with water to relax the fibers. Let it dry completely before removing the pins. This process enhances the tapestry’s texture and display quality.
Displaying Your Tapestry
Displaying your tapestry is just as important as creating it. How you present your artwork can highlight its beauty and craftsmanship. The right display method can turn your tapestry into a stunning centerpiece that draws attention and admiration.
Framing Options
Framing a tapestry gives it a polished look and protects it from dust and damage. You can choose a shadow box frame that provides depth and keeps the fabric from pressing against the glass. Another option is a simple wooden frame that complements the colors and style of your tapestry.
Sometimes, a minimalistic frame without glass works best, especially if you want to preserve the texture and feel of the fabric. Consider how the frame’s color and material will enhance or contrast with your tapestry’s design. Would a sleek black frame make your colors pop or would a rustic wood bring warmth?
Hanging Techniques
Hanging your tapestry properly ensures it stays flat and secure on the wall. You can use a wooden dowel or curtain rod threaded through a sewn sleeve on the back of the tapestry. This method distributes weight evenly and prevents sagging.
Another effective technique involves attaching Velcro strips or hanging clips directly to the fabric. This allows easy removal and repositioning without damaging the tapestry. Think about the wall space you have—does your tapestry need to be the focal point, or part of a gallery wall?
Care And Maintenance
Maintaining your tapestry keeps it looking fresh and vibrant over time. Regularly dust it gently with a soft brush or low-powered vacuum to remove dirt. Avoid direct sunlight, which can fade colors quickly and weaken fibers.
If your tapestry gets stained, spot clean carefully with mild soap and cold water. For delicate or valuable pieces, consider professional cleaning. How often do you check your tapestry for signs of wear or damage? Small repairs early on can save you from bigger problems later.
Credit: littlelooms.com
Frequently Asked Questions
What Materials Do You Need To Make A Tapestry?
You need yarn, a loom or frame, a needle, and scissors. Choose different yarn colors and textures to create patterns. A simple frame loom works well for beginners. These materials help you weave and shape your tapestry effectively.
How Long Does It Take To Make A Tapestry?
Time varies based on size and complexity. Small tapestries may take a few hours. Larger, detailed ones can take days or weeks. Consistent weaving and practice speed up the process. Plan your project according to your available time.
What Weaving Techniques Are Used In Tapestry Making?
Common techniques include plain weave, soumak, and rya knots. These methods create texture and pattern variety. Learning basic weaving helps beginners craft beautiful tapestries. Experimenting with techniques adds depth and uniqueness to your work.
Can Beginners Create Their Own Tapestry Easily?
Yes, beginners can start with simple designs and basic weaving. Using a small loom and thick yarn helps learning. Following tutorials and practicing regularly improves skills quickly. Tapestry making is accessible and enjoyable for all skill levels.
Conclusion
Making a tapestry takes patience and creativity. Start with a simple design and choose your colors carefully. Weaving each thread by hand makes the process special. Enjoy the quiet moments while working on your art. Every tapestry tells a story you create.
Keep practicing to improve your skills. Soon, you will have a beautiful piece to display proudly. Tapestry making is a fun way to express yourself and add warmth to any space. Give it a try and see what you can create!


